Your group cosplay photoshoot needs the right poses to tell a compelling story. Start with a full-group hero shot, then layer in dynamic action poses, character interaction moments, and symmetrical formations for visual balance. Use mixed heights to add depth, unity poses to show team cohesion, and villain-versus-hero face-offs for narrative tension. Stagger positions, vary stances, and assign clear focal anchors — and there’s much more to unpack for each pose type ahead.
Key Takeaways
- Stagger group members at varying heights using standing, crouching, and kneeling positions to build visual depth and avoid flat, blocked compositions.
- Anchor a central focal character and mirror poses outward symmetrically to distribute visual weight evenly across the frame.
- Capture dynamic action poses mid-movement with bent limbs, angled weapons, and intense expressions to avoid rigid, static silhouettes.
- Use asymmetrical faction arrangements diagonally instead of parallel to create tension, conflict narrative, and compositional dynamism.
- Manage spacing intentionally by pulling allies close and positioning rivals apart to reinforce faction relationships through body language.
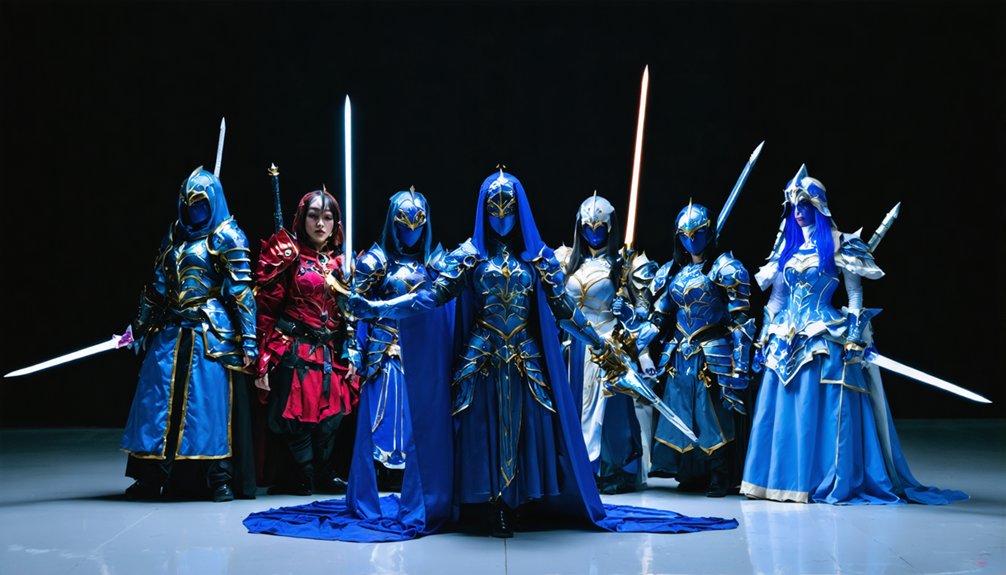
The Full-Group Hero Shot Every Cosplay Team Needs
Before anything else gets adjusted, touched up, or rearranged, lock in your full-group hero shot. Shoot this setup first, before fatigue sets in and costume coordination starts breaking down. Every adjustment made mid-session risks misaligned accessories, shifted props, or inconsistent styling across the cast.
Frame the group wide enough to keep every costume element fully visible. Skip the flat shoulder-to-shoulder line and build a formation with intentional depth and clear spacing instead. Stagger positions to prevent overlap and protect prop placement visibility throughout the composition.
Hold neutral-to-strong expressions that reinforce your group’s shared visual identity. Once your base formation is locked, run small positional variations without rebuilding the layout. That approach generates multiple usable frames fast while keeping costume coordination and prop placement consistent across every shot.
Dynamic Cosplay Action Poses That Bring Characters to Life
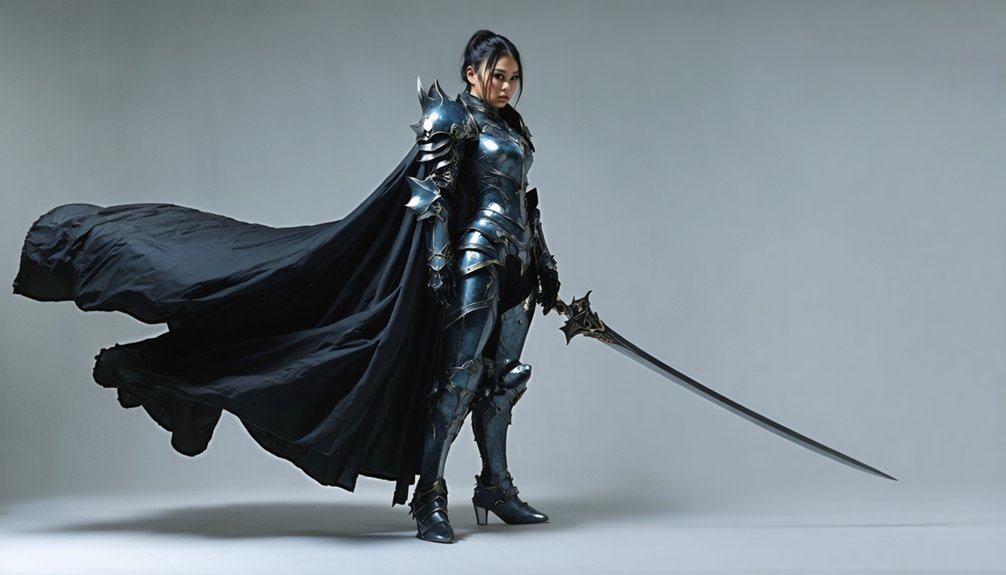
Once the hero shot is locked, shift your group’s energy into motion. Capture mid-movement frames where weapon dynamics and facial intensity carry the scene’s narrative weight. Avoid stiff, fully extended limbs — angled positioning creates stronger visual tension.
Mid-movement frames hit harder — let weapon dynamics and facial intensity carry the story your hero shot started.
- Leap, lunge, or charge together using synchronized timing for cohesive action frames.
- Mix aggressive, defensive, and neutral stances across members to build visual contrast.
- Angle weapons mid-swing or mid-draw to amplify weapon dynamics authentically.
- Push facial intensity beyond neutral — grimaces, war cries, and focused glares read clearly on camera.
- Keep limbs slightly bent throughout movement to prevent flat, rigid silhouettes.
Stagger your group’s depth positioning so overlapping bodies don’t flatten the composition during active shooting.
Character Interaction Poses That Show Real Relationships
Shifting from action to interaction, your group’s next setup should focus on posing characters as if they’re reacting to each other rather than performing for the camera. Deliberately manage personal space — pull allies close and push rivals apart to communicate relationship dynamics without dialogue.
Assign staggered eyelines so only select performers break eye contact with the lens, creating layered depth across the frame. Use shoulder contact, pointed gestures, and mock confrontations to build visual narrative between costumes.
Stage opposing characters in face-offs and mirror allied characters’ body language to reinforce faction identity. Lean bodies inward during tense exchanges and outward during comedic or surprised reactions.
These physical cues transform a standard group frame into a scene that communicates character relationships instantly and authentically.
Symmetrical Formation Poses That Create Visual Balance
After capturing dynamic interactions, build your next setup around a central axis to establish clean visual order. Mirror symmetry and balanced composition transform group chaos into structured, intentional imagery that reads instantly.
- Anchor one character at the center, then mirror body angles outward on both sides.
- Shape the group into triangles, arcs, or layered rows for geometric precision.
- Vary height using standing, crouching, and kneeling positions to prevent flat symmetry.
- Distribute equal visual weight across both frame halves to maintain balanced composition.
- Match stances or expressions on mirrored sides to reinforce intentional mirror symmetry.
Rotate bodies approximately 45 degrees rather than shooting everyone straight-on. This small adjustment adds dimension while preserving the formation’s structural integrity within the frame.
Mixed-Height Poses That Add Depth to Group Shots
Place your tallest cosplayers in the back row and stagger shorter members toward the front using standing, crouching, and kneeling positions to build natural depth layers. You’ll want to offset each row slightly rather than stacking them in a straight line, which keeps individual costumes visible and prevents front-row performers from blocking key design details behind them.
Rotating bodies about 45 degrees and shifting weight onto one leg adds dimensional shape to each layer, so the overall composition reads as a structured scene rather than a flat lineup.
Layering Heights Effectively
When every performer stands at the same height, the composition flattens and the group reads as a single undifferentiated mass. Vertical layering solves this by distributing performers across multiple height planes, creating natural depth. Height contrast sharpens individual readability and strengthens the overall frame structure.
- Position your tallest characters standing at the back or offset slightly behind shorter ones
- Place mid-tier characters in staggered half-turns or weight-shifted stances at center depth
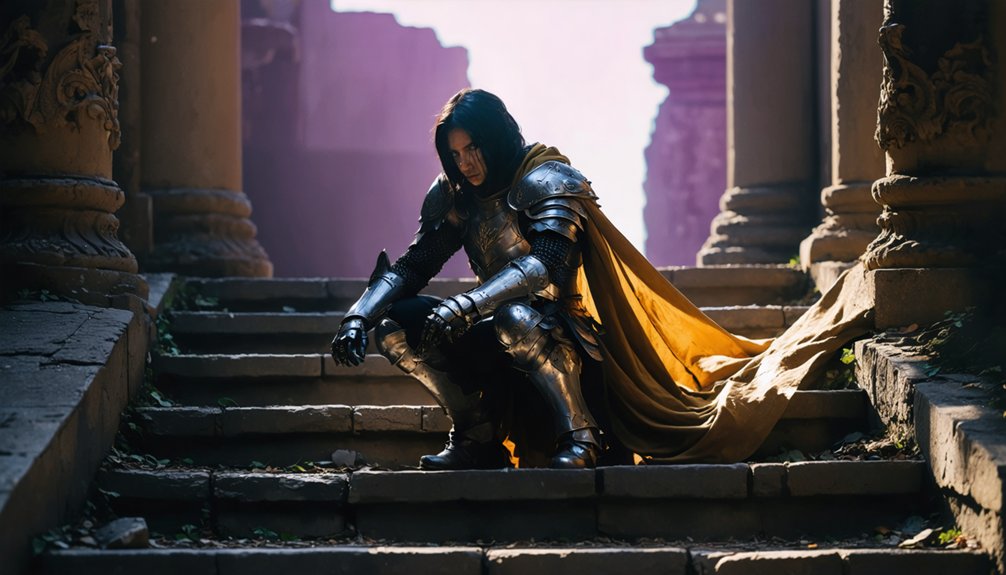
- Assign front-row performers to crouches, kneels, or seated positions for a grounded anchor
- Rotate bodies roughly 45 degrees rather than facing flat to the camera
- Reserve floor-level poses for characters whose costumes photograph cleanly from above
Distribute heights intentionally across every depth plane so each performer occupies a distinct visual layer.
Staggering Positions for Depth
Layering heights gives each performer a distinct vertical plane, but depth comes from pushing those layers forward and backward in the frame, not just up and down.
Place your front row closer to the lens, your middle row one step back, and your rear row two steps further. This physical stagger creates genuine layered depth rather than a compressed, flat arrangement.
Vertical stacking still applies, so combine crouching front performers with standing rear ones to maximize spatial contrast.
Angle bodies at 45 degrees instead of facing straight ahead, which widens each performer’s footprint and naturally separates planes.
Offset positions slightly left or right across rows to prevent figures from directly blocking one another.
The result reads as a three-dimensional scene rather than a posed lineup.
Unity Poses That Show Your Group Is a Team
A single well-executed unity pose communicates teamwork faster than any caption or prop ever could. To project collective strength and reinforce group cohesion, structure your pose with intentional physical connection and synchronized energy.
- Link arms, touch shoulders, or form a human chain to signal teamwork through physical contact.
- Synchronize expressions and body language so the group reads as one unified force.
- Stand tall with open, expansive posture to project confidence across the frame.
- Position characters in tight proximity, eliminating visual gaps that fragment the composition.
- Keep the arrangement visually clean so costumes and bodies don’t obscure each other.
Avoid loose, disconnected spacing. Every performer should feel anchored to the group, not floating beside it. Tight execution here transforms individual costumes into a single, compelling visual statement.
Villain vs. Hero Face-Off Poses for Narrative Drama
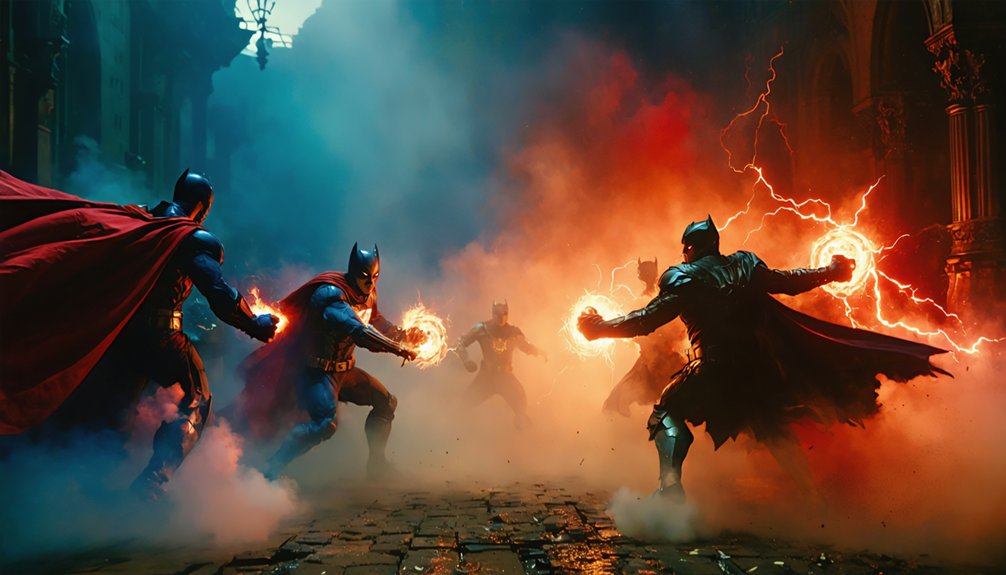
Few pose concepts generate narrative tension as effectively as the villain-versus-hero face-off, and executing it well requires deliberate staging rather than simply placing two groups across from each other.
Position villains using intimidation tactics like forward-leaning stances, raised weapons, and downward eyelines that project dominance.
Counter that energy by placing heroes in strategic stances — weight forward, arms guard-ready, expressions locked with focused resistance.
Stagger both factions diagonally rather than parallel to create visual depth and suggest imminent clash.
Assign a clear power anchor on each side, typically your most recognizable costume, and build outward from there.
Mismatched heights between factions amplify tension naturally.
Avoid symmetry here — imbalance between the two groups reinforces conflict, making your shot feel like a frozen story moment rather than a posed lineup.
Frequently Asked Questions
How Many Poses Should a Group Cosplay Photoshoot Typically Include?
Plan perfectly by pursuing six posing variations — you’ll cover every essential formation strategy, from dynamic action shots to symmetrical setups, ensuring your group captures cohesive, compelling, and creatively complete cosplay content efficiently.
What Time of Day Works Best for Outdoor Group Cosplay Shoots?
Shoot during golden hour for ideal lighting conditions. You’ll get soft, directional light that flatters costumes and reduces harsh shadows. Factor in weather considerations early, as midday sun creates unflattering contrast and wind disrupts elaborate costume details.
How Do You Handle Large Groups With More Than Ten Cosplayers?
Split your large group into tiers using mixed heights and staggered rows. You’ll maintain costume coordination by clustering related characters together. Rotate pose variety across subgroups, capturing dynamic and symmetrical formations efficiently before fatigue disrupts cohesion.
Should You Hire a Professional Photographer or Use a Tripod Setup?
Hiring a professional photographer transforms your shoot infinitely. They’ll master lighting techniques, optimize location selection, and capture dynamic angles you’d never achieve alone with a tripod, ensuring every cosplayer’s detail stays sharp and professionally framed.
How Do You Coordinate Matching Expressions Across an Entire Cosplay Group?
Achieve facial synchronization by assigning one shared emotion cue before each shot. You’ll maintain emotion consistency by counting down together, mirroring a lead performer’s expression, and rehearsing the target look during warmup so everyone locks in simultaneously.
References
- https://www.youtube.com/watch?v=f8Z4ma2RUYA
- https://starstruckpanda.com/unique-cosplay-photoshoot-poses-for-groups/
- https://rossicatberry.medium.com/posing-for-photos-101-cosplay-edition-9b28fcfcf9a4
- https://www.tumblr.com/wjscosplayphotography-blog/139159185605/posing-tips-for-cosplay-photos-part-2
- https://aliceincosplayland.com/2013/05/posing-basics-for-cosplay.html
- https://starstruckpanda.com/best-poses-for-cosplay-photography/