For cosplay photography, natural light mastery starts with timing. You’ll get the most flattering results shooting during golden hour’s warm, low-angle glow or blue hour’s cinematic cool tones. Overcast skies act as a natural softbox, while backlighting adds dramatic rim-light definition. Reflectors, mirrors, and metallic surfaces let you redirect and sculpt light precisely. Window light, proper subject angle, and exposure control round out your essential toolkit — and each technique unleashes even more creative possibilities when combined strategically.
Key Takeaways
- Shoot during golden hour for warm, directional light that flatters skin tones, enhances costume textures, and creates natural depth.
- Use blue hour’s cool, diffused light for cinematic sci-fi or fantasy cosplay shots with enhanced metallic textures.
- Overcast skies act as a natural softbox, evenly diffusing light and preserving subtle costume detail without harsh shadows.
- Position reflectors opposite the key light at 45° to fill shadows and reveal hidden costume and makeup detail.
- Backlighting creates dramatic rim light along costume edges; expose for the subject’s face to retain skin tone detail.
Shoot During Golden Hour for Flattering Cosplay Light
Golden hour—the window just after sunrise and just before sunset—gives you soft, directional sunlight that flatters skin tones, brings out costume texture, and reduces the harsh facial shadows that midday sun produces.
Soft, directional golden hour light flatters skin tones and eliminates the harsh shadows midday sun casts on cosplay subjects.
Low-angle light travels through more atmosphere, scattering wavelengths that warm cosplay makeup and make it appear more intentional and polished on camera. You’ll also notice that costume fabric gains visible dimension during golden hour because the light skims across surface details rather than flattening them.
Color separation between your subject and background elements improves markedly, strengthening compositional depth.
Plan your shoot schedule around these windows deliberately—they’re short, often lasting 20 to 30 minutes. Use a sun-tracking app to confirm exact timing at your location and arrive early to establish your angles before the light shifts.
Use Blue Hour for Cinematic Fantasy and Sci-Fi Cosplay Shots
Blue hour, the brief window just after sunset or before sunrise, bathes your scene in cool, diffused ambient light that suits fantasy, sci-fi, and dark-themed cosplay far better than golden hour’s warmth.
You’ll find that the deep blue-indigo tones create natural color separation between your costume and the sky, lending a cinematic quality without heavy post-processing.
To compensate for the reduced light, shoot at wide apertures like f/1.8 or f/2.8, raise your ISO incrementally, and use a tripod to maintain sharpness across longer exposures.
Blue Hour Light Quality
The 2 twilight windows that follow sunset and precede sunrise—blue hour and golden hour—serve distinct creative purposes, and blue hour‘s cooler ambient light makes it the stronger choice for fantasy, sci-fi, and moody cosplay themes.
During blue hour, diffused ambient light wraps evenly around your subject, eliminating the harsh directional shadows that midday sun produces. You’ll achieve stronger color contrast between costume elements and environmental backgrounds because the cool blue tones separate warm fabric hues and metallic surfaces more effectively. This separation gives your images a cinematic quality without heavy post-processing.
Expose carefully to retain highlight detail in reflective armor or synthetic materials. Bracket your shots across the blue hour window because light shifts rapidly, and even minor exposure adjustments dramatically alter mood and tonal balance.
Best Themes For Blue Hour
Once you understand how blue hour’s cool ambient light behaves, you can match it deliberately to cosplay themes that benefit most from its cinematic quality. Fantasy, sci-fi, and dark mythology characters gain the most from its desaturated, otherworldly tone.
The cooler color temperature enhances metallic costume fabric textures, deepens the contrast on armor and structured garments, and makes bioluminescent or iridescent materials read more dramatically on camera.
For cosplay makeup, blue hour suppresses warm skin tones, intensifying theatrical applications like UV-reactive pigments, silver body paint, or heavy contouring designed for non-human characters.
Avoid using blue hour for warm-toned characters like fire mages or sun deities, since the color cast will fight the costume’s intended palette and reduce visual coherence.
Exposure Tips For Blue Hour
Capturing clean exposures during blue hour requires you to act quickly, since the usable window lasts only 20 to 30 minutes before ambient light drops below workable levels. Dial in your camera settings before the window opens to avoid wasting time.
- Set ISO between 800–1600 to retain ambient depth without introducing excessive noise
- Use apertures between f/1.8–f/2.8 to maximize light intake while keeping your subject sharp
- Select shutter speeds between 1/60–1/125 to freeze subtle movement in capes or props
- Shoot RAW to preserve full latitude for color grading in post-production
- Enable manual white balance around 3200K–4000K to retain the natural cool-blue atmosphere
These camera settings give you consistent, repeatable results and provide a strong foundation for color grading that enhances your cosplay’s cinematic tone.
Find Open Shade for Cosplay Shoots in Harsh Sun
When shooting cosplay in bright sun, open shade is one of your most reliable tools for achieving even, flattering light without additional gear. Treat architectural overhangs, tree canopies, and building facades as natural light modifiers that eliminate harsh facial shadows and protect reflective costume materials from blown highlights.
Prioritize outdoor location scouting before your shoot to identify usable shade zones relative to the sun’s position during your scheduled session. Shade quality shifts throughout the day, so note how light spills at the edges of shadowed areas.
Position your subject facing the open sky rather than a dark wall to maximize ambient fill. This approach preserves costume texture detail, reduces contrast, and keeps color accurate across both matte and metallic materials without requiring reflectors or diffusion panels.
Shoot on Overcast Days for Even, Shadow-Free Light
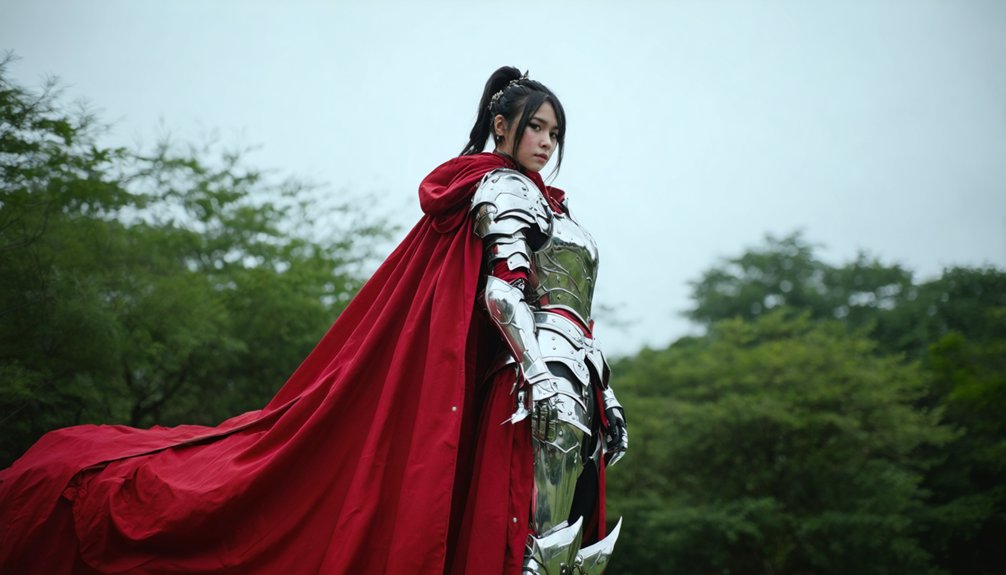
Overcast skies function as a massive natural softbox, diffusing sunlight evenly across your entire scene and eliminating the directional shadows that complicate cosplay photography in direct sun. Cloudy conditions preserve highlight detail on reflective armor, metallic fabrics, and props while revealing subtle costume texture that harsh sun typically destroys. Color grading also becomes more efficient in post because your tonal range stays controlled and consistent.
Overcast skies act as nature’s softbox—diffusing light evenly, protecting highlight detail, and simplifying your entire post-processing workflow.
- Expose for your subject’s face, not the sky
- Shoot RAW to maximize color grading flexibility
- Use overcast light to reveal intricate costume texture details
- Avoid mixed lighting by staying away from artificial sources
- Position your subject in open areas to maximize uniform coverage
Overcast days aren’t limitations—they’re precision tools for technically demanding cosplay portraits.
Use Backlighting to Make Cosplay Costumes Glow
While flat, diffused light from overcast skies gives you control and consistency, backlighting gives you drama. Position the sun directly behind your subject to create rim light that traces costume texture—armor edges, cape folds, and wig strands all catch the light distinctly.
This separation pulls your subject away from the background and adds visual depth that front-lit images rarely achieve.
To retain skin tone detail, expose for the face rather than the background. You’ll likely blow out the sky, but that tradeoff often strengthens the image’s mood.
Use a reflector or a white bounce surface in front of your subject to fill shadows without killing the backlit effect.
For added atmosphere, position the sun partially in frame to introduce controlled lens flare.
Shoot Cosplay Silhouettes to Highlight Costume Shape and Props
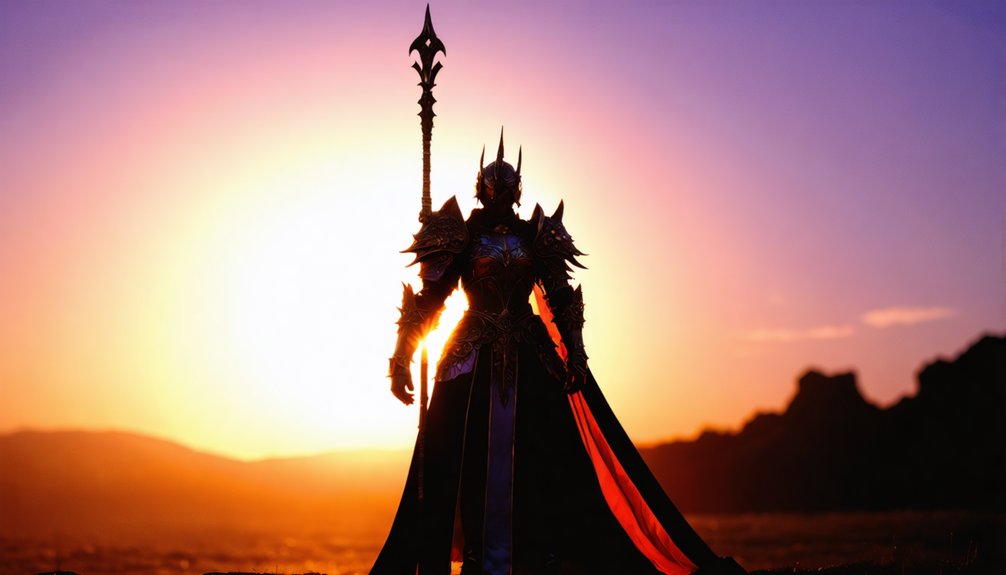
Silhouettes strip away color, texture, and detail to foreground what matters most: your costume’s outline, props, and pose. Position yourself against a bright sky, window, or sunlit backdrop, then expose for the background to render your costume silhouette as solid black.
- Place your prop outline perpendicular to the camera to maximize shape readability
- Choose poses that separate limbs, weapons, and costume elements from the body
- Shoot during golden or blue hour for richer background color gradients
- Use a strong backlight source directly behind you for clean edge definition
- Avoid overlapping props and limbs, which collapses the silhouette into an unreadable mass
Precise posing and deliberate light placement determine whether your silhouette reads as a recognizable character or an ambiguous shape.
Use a Reflector to Fill Shadows in Cosplay Portraits
Hard shadows from direct sunlight can flatten costume detail, wash out facial features, and create unflattering contrast across reflective armor or textured fabric. A reflector solves this by bouncing ambient light back into shadow zones, lifting detail without introducing an artificial source.
Harsh sunlight flattens detail and washes out features — a reflector bounces light back where it matters.
Reflector placement determines everything. Position it opposite your key light at roughly a 45-degree angle, angling the surface until you see shadow reduction across the face and costume. Move it closer to increase fill intensity, farther to maintain natural contrast.
Silver surfaces produce stronger, cooler fill; gold adds warmth that complements skin tones during golden hour; white delivers neutral, subtle lift.
Have your subject or an assistant hold the reflector just outside the frame. Small positional shifts create significant exposure changes, so adjust incrementally and review results before locking in your composition.
Redirect Light With Mirrors and Metallic Surfaces in Cosplay Shots
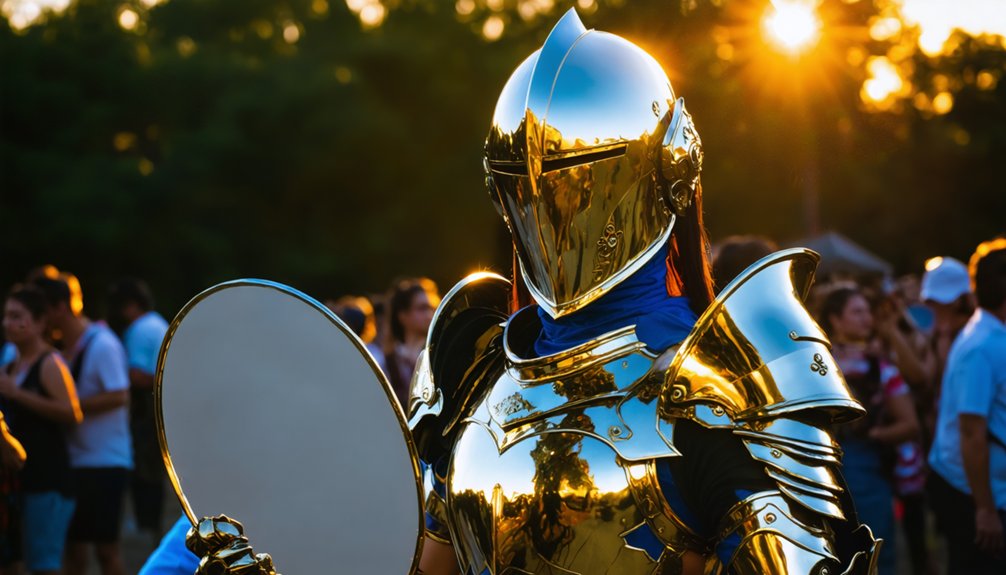
When working outdoors, you can position a mirror at a deliberate angle to redirect sunlight onto your subject’s face or costume details with far more precision than a standard reflector allows.
Unlike fabric reflectors, mirrors produce a harder, more concentrated beam, so you’ll need to adjust placement carefully to avoid overpowering the subject or creating unflattering hot spots.
Metallic costume elements, props, and nearby surfaces also act as secondary light sources, bouncing specular highlights that add depth and a stylized luminosity to your final shots.
Positioning Mirrors For Effect
Mirrors and metallic surfaces let you redirect natural light with a level of control that standard reflectors can’t always match. Strategic mirror placement lets you sculpt light precisely onto armor edges, props, or facial features.
Use these mirror placement and reflective surfaces techniques:
- Position mirrors at a 45-degree angle to bounce window light directly onto shadowed costume areas
- Use small handheld mirrors to add targeted highlights to metallic armor or accessories
- Angle reflective surfaces away from the face to avoid washing out skin tones
- Stack multiple reflective surfaces to layer light for dramatic, multi-directional effects
- Monitor intensity carefully—reflective surfaces can produce harsh spots if angled too aggressively
Adjust mirror distance and angle incrementally, checking your viewfinder after each change to confirm precise light shaping.
Metallic Surfaces Create Highlights
Metallic costume elements—armor plates, prop weapons, decorative trim—don’t just catch natural light passively; they actively redirect it, creating concentrated highlights that standard reflectors can’t replicate. Metal reflections behave differently than matte or fabric surfaces because they mirror the light source directly, producing specular highlights with sharp, defined edges.
To control highlight intensity, adjust your shooting angle relative to the metallic surface. Small positional shifts dramatically change where concentrated light lands—on the subject’s face, background, or secondary costume elements.
Position your subject so metallic components redirect natural light toward areas you want illuminated. Overcast conditions soften these reflections while retaining their directional character. Direct sunlight amplifies highlight intensity but risks overexposure, so expose carefully for the brightest metallic point to preserve surrounding costume detail.
Diffuse and Angle Window Light for Cleaner Indoor Cosplay Portraits
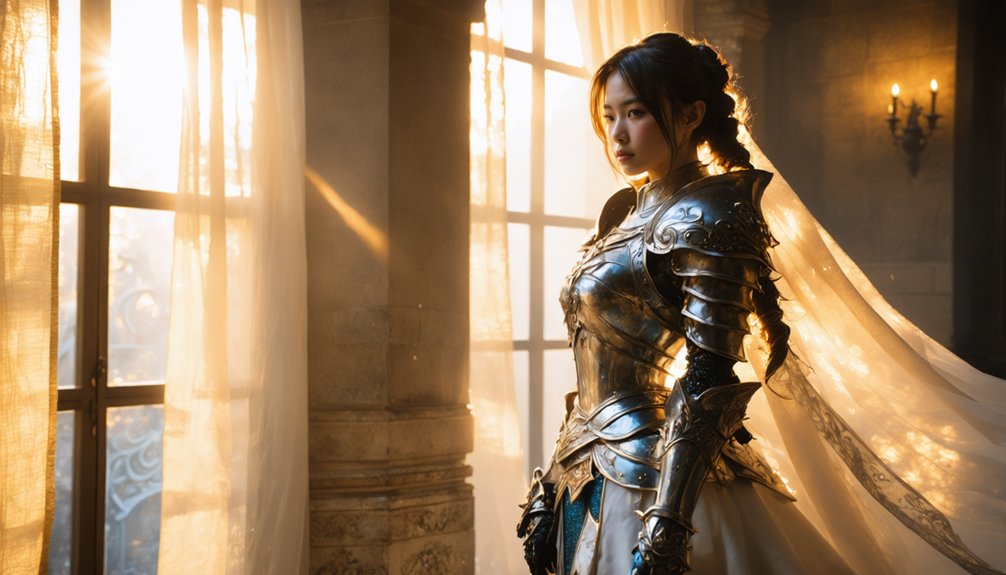
Window light offers 3 controllable qualities you can shape for indoor cosplay portraits: intensity, direction, and diffusion. Unlike complex indoor lighting setups, a single window with the right natural light modifiers delivers clean, professional results.
Apply these techniques to maximize window light performance:
- Position your subject 1–3 feet from the window to control light falloff and contrast
- Use sheer curtains or white fabric as natural light modifiers to diffuse harsh direct sunlight
- Angle your subject at 45 degrees to the window for dimensional facial and costume detail
- Turn off all artificial room lights to eliminate color casts and mixed-light problems
- Adjust your aperture to f/1.8–f/2.8 in lower-light conditions to maintain proper exposure
Controlling these three qualities transforms ordinary window light into a precision portrait tool.
Adjust Angle and Exposure to Nail Cosplay Shots in Any Light
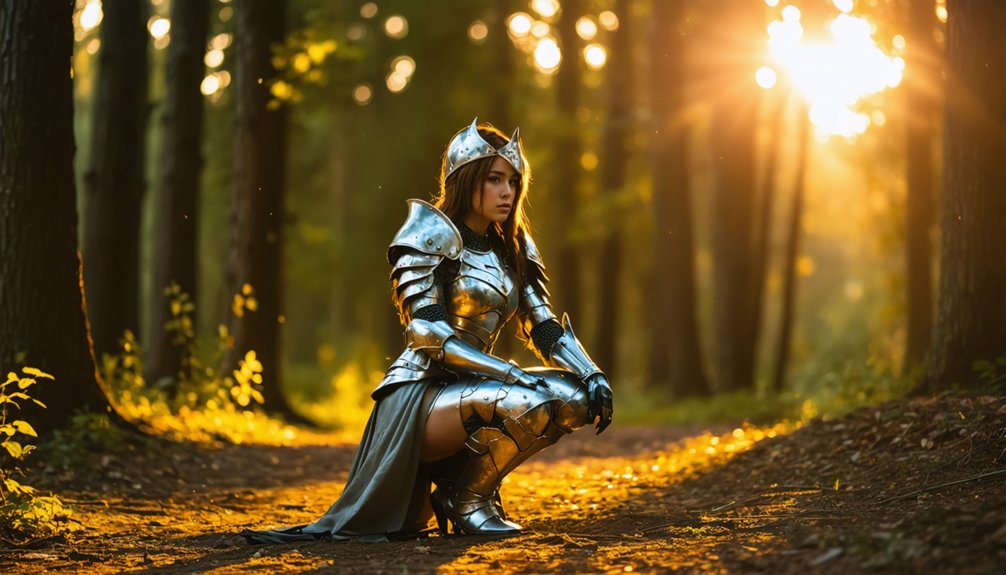
Two variables you control in any lighting condition—angle and exposure—determine whether your cosplay shots look polished or flat. Lighting angles shape how shadows fall across costume textures and facial features, so rotate your subject incrementally until highlights define structure rather than obscure it. Even small positional shifts dramatically alter depth and dimension.
Exposure adjustments let you interpret available light intentionally. In open shade, push exposure slightly to retain costume detail. In backlit conditions, underexpose to protect highlight edges while preserving rim-light drama. Switching between cloudy and direct sun requires immediate recalibration—trust your histogram over your screen preview.
Combine both variables systematically: lock your angle first, then dial exposure to match the mood your character demands. That sequence keeps your workflow precise and your results consistent.
Frequently Asked Questions
Can Phone Cameras Capture Good Natural Light Cosplay Photos?
Why limit yourself? Yes, you can capture stunning cosplay photos with your phone. Master camera settings like exposure compensation, and use light diffusion through open shade or overcast skies to maximize your phone’s natural light performance.
How Do I Protect My Costume From Outdoor Weather During Shoots?
Protect your costume by packing weatherproof gear like sealed bags and fabric sprays. Prioritize costume maintenance by monitoring forecasts, scheduling shoots during stable conditions, and keeping repair kits accessible to address unexpected damage instantly.
What Time of Year Offers the Best Natural Light for Cosplay?
Spring and autumn’s “gentle atmospheric conditions” offer you the finest seasonal sunlight for cosplay shoots. You’ll benefit from lower sun angles, milder weather conditions, and naturally diffused golden-hour light that flatters costumes with precision.
Should I Edit Natural Light Cosplay Photos Differently Than Studio Shots?
Yes, you’ll edit them differently. Natural light demands stronger color correction to neutralize shifting color temperatures. Apply targeted editing techniques to recover highlight detail in reflective materials and balance uneven ambient tones that studio strobes inherently control.
How Do I Find Good Outdoor Locations for Natural Light Cosplay Shoots?
Scout locations during golden hour to evaluate seasonal lighting conditions. You’ll want backgrounds that complement your costume’s color palette, offer open shade options, and provide architectural or natural elements that enhance rim lighting and depth.
References
- https://kolarivision.com/10-tips-to-make-the-most-of-natural-light/
- https://digital-photography-school.com/12-tips-indoor-natural-light-photography/
- https://www.reddit.com/r/cosplay/comments/ohg9aq/help_tips_on_cosplay_photography_lighting/
- https://www.colborlight.com/blogs/articles/guide-to-set-up-cosplay-photography-lighting
- https://starstruckpanda.com/using-natural-light-for-stunning-cosplay-photos/
- https://rogersenpai.com/cosplay-photography-lighting/
- https://starstruckpanda.com/why-is-proper-lighting-crucial-for-cosplay-photography/
- https://tokyo-cosplay.com/pro-lighting-tips-for-elevated-cosplay-photography/