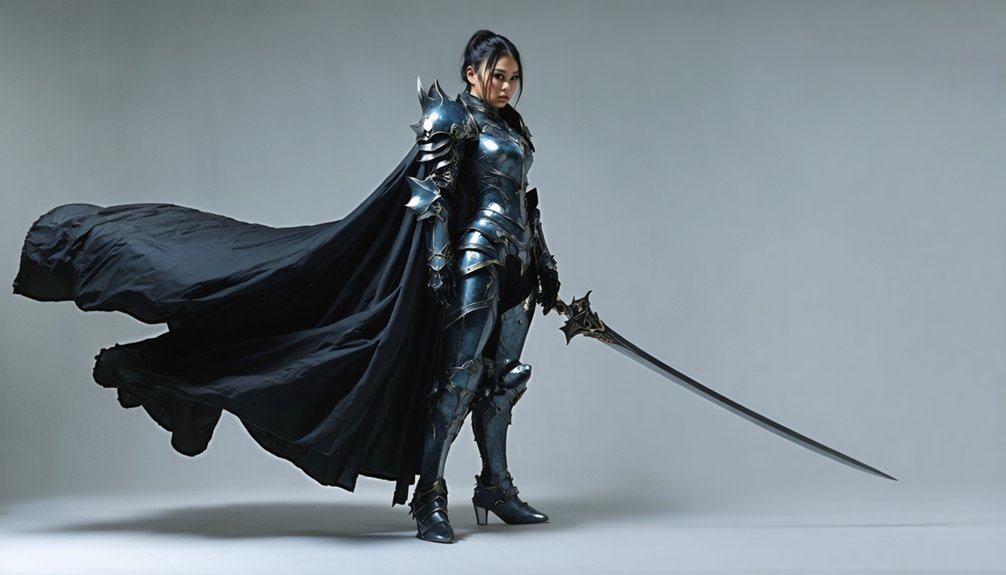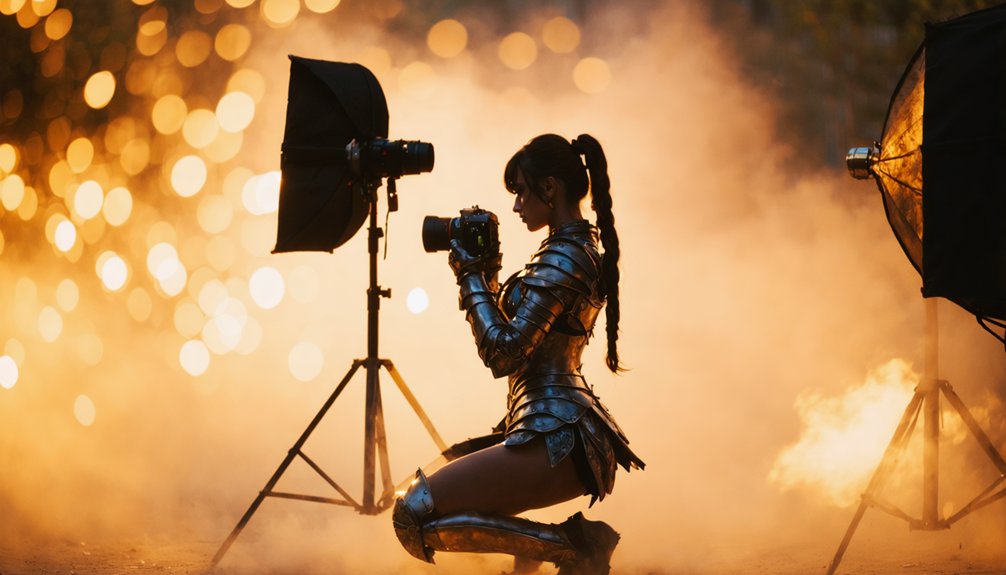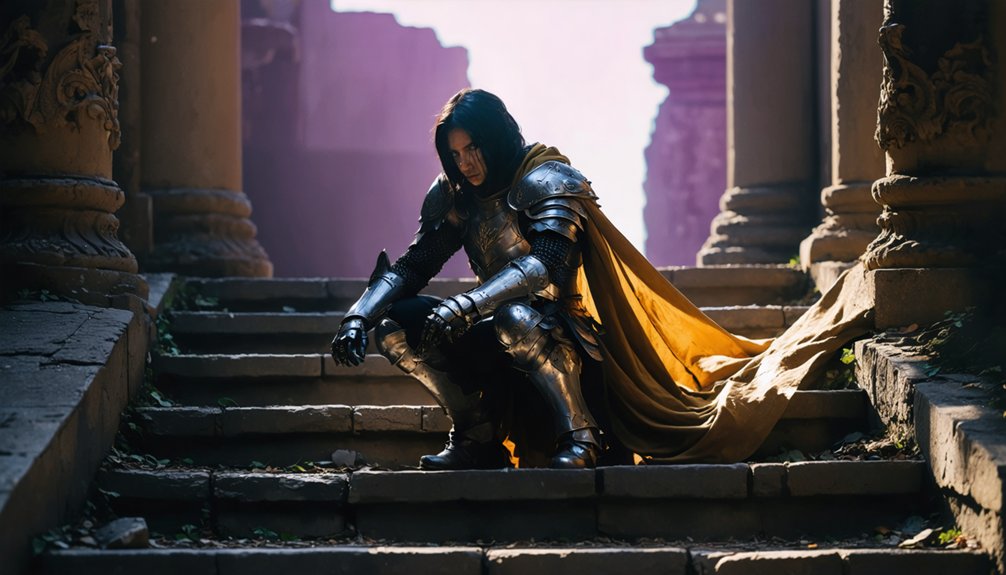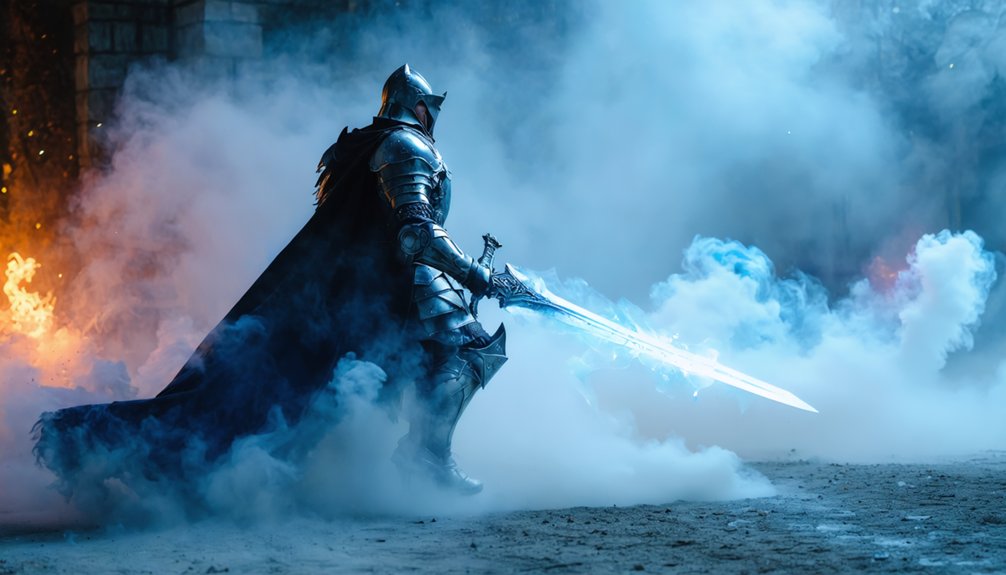
For powerful action cosplay photos, you’ll want to angle your body 45 degrees from the camera, shift weight onto your dominant foot, and freeze mid-motion at peak extension rather than hesitation. Point weapon tips below the lens to avoid foreshortening, and part your lips slightly to release jaw tension during fight expressions. These mechanical adjustments communicate power before your costume or props even register. Each technique builds on the next in ways that’ll transform your entire approach.
Key Takeaways
- Rotate your torso 45 degrees from the camera and angle hips opposite shoulders to create torque, depth, and interrupted motion energy.
- Freeze mid-swing at peak extension during attack poses, letting body momentum and trailing fabric communicate explosive power naturally.
- Position with light behind you to create rim lighting that dramatically traces costume edges and enhances silhouette clarity.
- Angle weapons at 45 degrees to your body and point blade tips below the lens to maintain three-dimensional visibility.
- Part lips slightly, lock gaze off-camera, and engage brows downward to convey fierce, active aggression without over-frowning.
Dynamic Attack Freezes That Actually Look Powerful in Cosplay Photos
When executing a dynamic attack freeze, your body’s momentum tells the story — so commit fully to the motion before stopping. Lunge forward with one leg extended, back knee bent, and chin slightly raised to lock intensity into your gaze. Freeze mid-swing rather than mid-preparation — peak extension reads as power, not hesitation.
Dynamic camera angles amplify every committed freeze, so position your photographer low and slightly off-axis to exaggerate depth and force. Avoid squaring directly to the lens; instead, angle your torso 45 degrees to maintain three-dimensional spatial presence.
Costume movement is your visual ally — initiate the freeze immediately after a sharp pivot so fabric edges trail naturally, adding kinetic energy to an otherwise static capture. That residual motion separates a powerful freeze from a stiff, unconvincing pose.
Body Angles That Make Cosplay Action Poses Read Powerfully on Camera
Because the camera compresses three-dimensional space into a flat plane, your body angles determine whether a pose reads as powerful or flat. Perspective distortion works for you when you position limbs toward the lens rather than parallel to it.
- Rotate your torso 45 degrees from camera to create diagonal depth lines across your chest.
- Use dynamic limb extension by pushing one arm or leg directly toward the lens, amplifying perceived force.
- Drop your back shoulder slightly to generate a natural diagonal spine line that signals momentum.
- Angle your hips opposite your shoulders to build torque, making static freezes read as interrupted motion.
These angular relationships transform flat documentation shots into images that communicate genuine kinetic power.
Cosplay Weapon Poses That Keep Props Visible and Dramatic
Keeping your prop weapon visible and dramatic in frame requires deliberate angling decisions that work against the camera’s natural tendency to flatten or erase depth.
Deliberate angling decisions keep prop weapons visible and dramatic, working against the camera’s natural tendency to flatten depth.
Point blade tips below the camera lens to prevent foreshortening from erasing your edge lines entirely.
Use weapon grip variations like pulling the hilt or touching the grip rather than static holding, which communicates active tension.
Prop positioning techniques matter equally — angle weapons at 45 degrees to your body to maintain three-dimensional spatial presence.
Hold staffs vertically against your shoulder to frame your face while preserving silhouette clarity.
For heavy props, resting them on the ground during wide shots keeps them fully readable.
Every angle decision should prioritize dimensional visibility over comfort or habit.
Facial Expressions That Sell the Fight Moment in Cosplay Photography
Your face carries the fight scene when your body alone can’t close the performance gap. Facial tension and eye intensity transform static poses into believable combat moments. Execute these four techniques precisely:
- Part your lips slightly to release jaw tension and signal active aggression rather than posed stillness.
- Lock your gaze on a specific off-camera point to simulate genuine threat awareness and enemy focus.
- Raise your chin slightly while lengthening your neck to eliminate double-chin compression during forward-leaning attack freezes.
- Engage your brow muscles downward without fully frowning to maintain fierce expression depth without flattening character emotion.
Avoid expressionless defaults. Your facial tension must match your weapon grip intensity, otherwise the photograph reads as costume display rather than character storytelling.
Common Cosplay Posing Mistakes That Kill the Action Feel
Three posing mistakes consistently drain action energy from cosplay shots: gripping your weapon in a locked, static hold with no interaction or angle variation.
Squaring your body directly toward the camera so your stance reads flat and two-dimensional.
And defaulting to a neutral or tightly frowning expression that strips your character of emotional intensity.
When you hold a sword or staff without pulling the hilt, touching the grip dynamically, or angling the blade at 45 degrees to the body, the prop becomes a rigid accessory rather than a functional weapon.
Combine that stiffness with a squared stance and a dead expression, and you’ve eliminated every visual cue that signals movement, threat, or narrative tension.
Stiff Static Weapon Holding
Stiff static weapon holding is one of the most common mistakes that drains energy from cosplay action photography before the shutter even clicks. A static stance paired with a rigid weapon grip kills visual momentum instantly. Transform your approach with these four techniques:
- Pull or grip the hilt actively rather than passively cradling the weapon.
- Angle props at 45 degrees to your body to preserve 3D spatial presence.
- Point blade tips below the camera lens to prevent foreshortening erasure.
- Touch or interact with the weapon mid-motion rather than freezing in neutral hold.
Your weapon should appear mid-story, not mid-storage. Every grip decision communicates intent, so treat your prop as an extension of your character’s kinetic energy.
Squared Body Camera Alignment
Squaring your body directly toward the camera is one of the fastest ways to flatten an action pose into a passport photo. Perfect pose symmetry reads as static because it eliminates depth, reduces visual tension, and strips your character of dimensional energy.
Instead, rotate your torso 30 to 45 degrees off-axis from the camera framing to immediately introduce diagonal lines that suggest movement and force. Pull one shoulder forward while driving the opposite hip back, creating a natural torque through your spine.
This angular displacement transforms a two-dimensional silhouette into a three-dimensional presence. Reserve direct camera alignment exclusively when your character demands an intimidating frontal confrontation.
Every other action moment benefits from broken symmetry, angled limbs, and deliberate spatial offset between your body planes and the lens axis.
Flat Unexpressive Facial Posing
When your face goes blank, the entire illusion of your character collapses regardless of how technically perfect your body positioning is. Flat facial expression destroys narrative tension instantly. Your eye focus communicates intent, danger, and emotional stakes that body mechanics alone can’t carry.
Avoid these four expression failures:
- Relaxing jaw muscles completely, producing a vacant, disconnected look that undermines character authenticity.
- Squinting defensively rather than projecting controlled intensity through deliberately focused eye focus.
- Allowing facial expression to default to neutral between shots instead of sustaining character energy.
- Dropping chin and breaking eye line, which collapses the fierce engagement your pose demands.
Keep lips slightly parted, chin raised, and eyes locked with deliberate purpose. Every shot requires sustained emotional commitment, not just physical positioning.
Stances That Build a Strong Base for Action Cosplay Characters
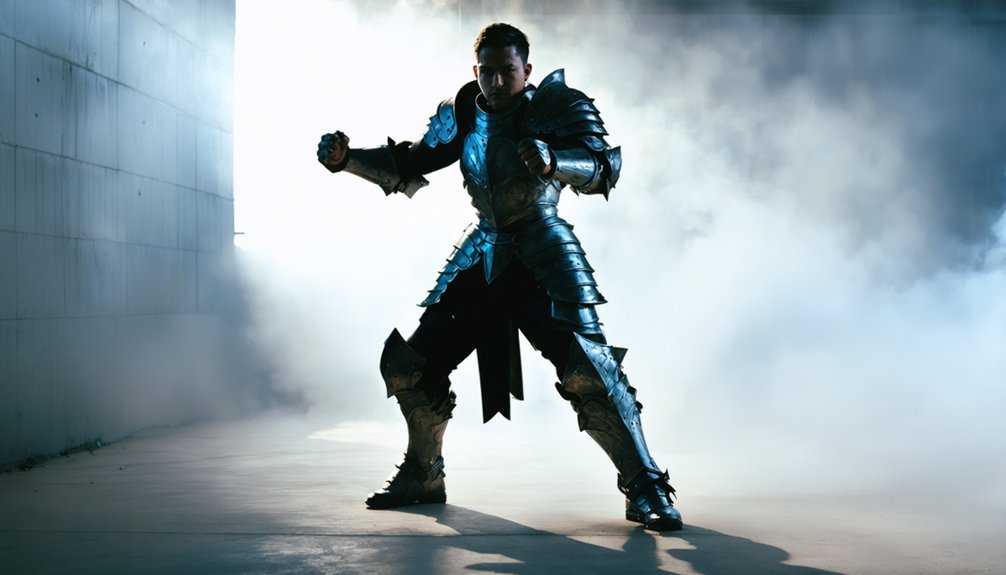
Building a strong base stance transforms static cosplay photos into dynamic, powerful shots. You’ll want to spread your legs shoulder-width apart with one knee pushed slightly forward, creating a stable yet aggressive foundation.
Dynamic stance variations elevate visual impact dramatically—try lunging forward with your back knee bent low, generating real depth and spatial tension.
Grounding techniques anchor your energy into the frame; shift your weight onto your dominant foot while keeping your spine straight and shoulders pulled back to project confidence.
Avoid squaring directly to camera unless your character demands intimidation. Instead, angle your body at 45 degrees, opening the silhouette and maintaining three-dimensional presence.
These deliberate mechanical adjustments communicate power before your expression or weapon ever enter the equation.
How to Use Your Environment for Depth and Drama in Cosplay Shots
Your environment isn’t just a backdrop—it’s an active compositional tool that shapes depth, drama, and character presence in every frame. Strategic placement transforms ordinary locations into dynamic visual narratives.
- Position near walls or corners to generate spatial depth and separate your silhouette from competing background patterns.
- Leverage natural rim lighting by placing light sources behind you, creating dramatic edge definition against color contrast in the environment.
- Relocate to low-traffic zones to guarantee clean, uncluttered compositions that keep viewer focus on character storytelling.
- Move props to your body’s side to prevent silhouette obstruction while maintaining visual relationship with surrounding architectural elements.
Actively read your shooting location before framing. Identifying strong color contrast zones and intentional background patterns elevates technical execution into purposeful visual communication.
Creating Motion and Blur in Still Cosplay Action Photos
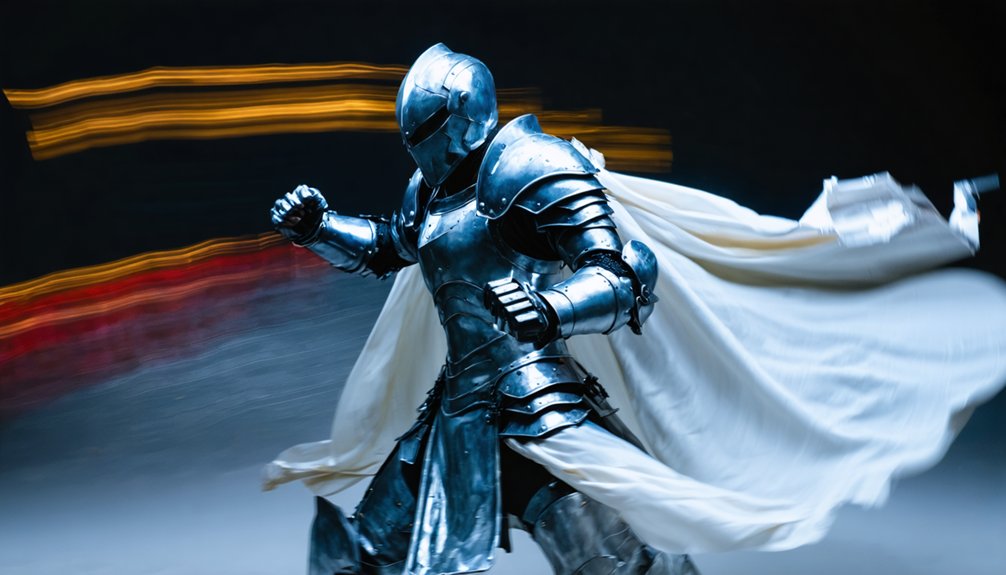
Still photos can carry kinetic energy if you execute motion techniques with precision during the capture window. Dynamic motion begins before the shutter fires — walk slowly toward or away from the lens to introduce subtle movement without sacrificing pose control.
For sharper blur techniques, swirl cape edges or loose fabric fractions of a second before capture, letting clothing trails register as motion arcs against a clean background.
Execute attack freezes at peak intensity rather than completing the full motion, preserving the explosive midpoint that communicates power.
Toss lightweight accessories upward just before the shot to create genuine airborne energy.
Each technique demands timing coordination with your photographer, so establish clear cue signals beforehand. Precision between cosplayer and camera operator transforms static frames into visually charged action sequences.
Where to Position Yourself Against Light for Dramatic Cosplay Impact
Positioning yourself with a natural light source behind you creates rim lighting that traces your costume’s silhouette and separates you visually from the background.
You’ll want to angle your body so the light catches your costume’s edges at roughly 45 degrees, preventing flat, washed-out results while maintaining dimensional depth in the frame.
Move away from crowded backdrops and use that backlighting contrast to push your figure forward, making your character read clearly even in complex convention environments.
Backlighting For Dramatic Rim
When you place a strong light source directly behind you, it wraps around your costume’s edges and weapons to produce a rim of glowing separation that lifts your silhouette clean off the background. This technique amplifies color contrast and highlights intricate costume details without front-lighting washing them flat.
Execute backlighting effectively by following these positioning steps:
- Stand 3–6 feet in front of your light source to control rim intensity without overexposure
- Angle your body at 15–20 degrees off-center to reveal dimensional costume details along one edge
- Raise props slightly above shoulder height so light traces weapon outlines clearly
- Position a secondary reflector opposite the light to recover shadow-side costume details
Adjust your distance incrementally until the rim glow defines your silhouette without blooming.
Natural Light Source Angles
Natural light shifts throughout the day, so understanding where to stand relative to the sun determines whether your cosplay shot reads as flat or cinematically charged. Position yourself at a 45-degree angle to the light source to maximize color contrast across your costume’s surface planes.
Morning and late afternoon light strikes at low angles, raking across costume textures and revealing fabric depth, embroidery details, and surface dimension that midday overhead light completely flattens. Avoid facing directly into harsh sunlight, which bleaches color contrast and forces unflattering squinting expressions.
Instead, angle your body so light catches one shoulder and cheekbone simultaneously, creating a natural diagonal shadow line. Overcast conditions diffuse light evenly, which works better for intricate costume textures requiring full surface clarity without competitive shadows disrupting detail visibility.
Separating Subject From Background
Knowing where light falls only solves half the equation — where you stand relative to your background determines whether the camera reads you as a sharp, defined subject or a figure dissolving into visual noise.
Subject isolation demands intentional placement, not luck.
Use these four positioning strategies for maximum background separation:
- Corner positioning — Place yourself near walls or corners to create depth layers between you and the environment.
- Rim lighting gaps — Stand where natural light wraps your silhouette, cutting you cleanly from darker backgrounds.
- Prop clearance — Shift weapons to your body’s side to prevent props from merging with background elements.
- Low-traffic zones — Select uncluttered areas where background separation isn’t competing against environmental noise.
Intentional placement transforms background separation from accidental into architectural.
Frequently Asked Questions
What Camera Settings Work Best for Freezing Cosplay Action Poses?
Capture fleeting moments of brilliance with a shutter speed of 1/500s or faster. You’ll want dynamic lighting support and fast lenses at f/2.8, boosting ISO to 800–1600 for sharp, freeze-frame precision.
How Do You Coordinate Poses Effectively When Shooting Cosplay Group Scenes?
Achieve group synchronization by assigning each cosplayer a distinct dynamic positioning role—leader lunges forward, supporters flank diagonally, and background characters crouch low. You’ll create layered depth, triangular compositions, and unified directional energy that transforms chaotic groups into compelling, cinematic action narratives.
Which Editing Software Enhances Action Energy in Cosplay Photos Best?
Use Adobe Photoshop or Lightroom to amplify your action energy. You’ll enhance dynamic backgrounds with radial filters and apply motion blur techniques to weapon swings, creating cinematic intensity that transforms static cosplay shots into powerful, story-driven visuals.
How Long Should a Typical Cosplay Action Photography Session Last?
Plan for 2–3 hours; you’ll maximize lighting techniques during golden hour shifts while protecting costume durability from extended wear. Rotate dynamic poses every 20 minutes, ensuring you’re capturing peak energy without fatiguing your character’s structural integrity.
Can Beginner Cosplayers Achieve Powerful Action Shots Without Professional Photographers?
Yes, you can achieve powerful action shots solo. Use natural rim lighting techniques to dramatize your costume durability, set a timer, execute freeze mid-attack stances, and angle props at 45 degrees for professional-quality results.
References
- https://www.tumblr.com/wjscosplayphotography-blog/139159185605/posing-tips-for-cosplay-photos-part-2
- https://www.youtube.com/watch?v=Ykczjok7mJs
- https://medium.com/@laurettabeier1/cosplay-photography-guide-must-have-props-and-standing-techniques-555cc6065262
- https://rogersenpai.com/cosplay-poses-and-tips/
- https://cosplayadvice.com/100-pose-ideas-for-cosplay-photography/
- https://cosplayadvice.com/17-action-cosplay-pose-ideas/
- https://www.lyricalvillaincosplay.com/post/cosplay-photography-posing-basics
- https://cosplay.com/archive/thread/5p8dg0/a-n00b-s-guide-to-posing-for-cameras
- https://socksycosplay.home.blog/2019/04/15/go-to-poses-for-cosplay-modeling/
- https://cosplayadvice.com/posing-in-cosplay/