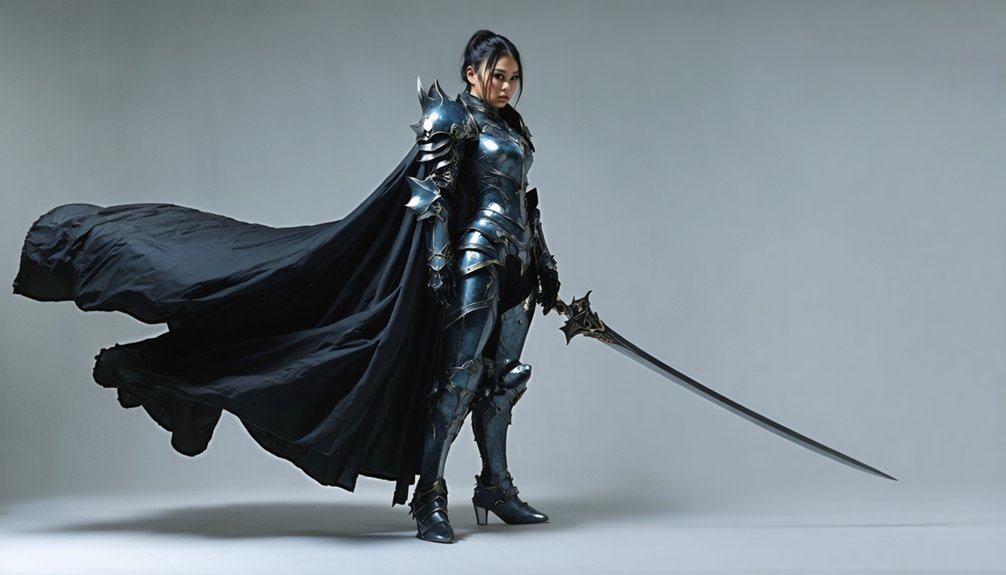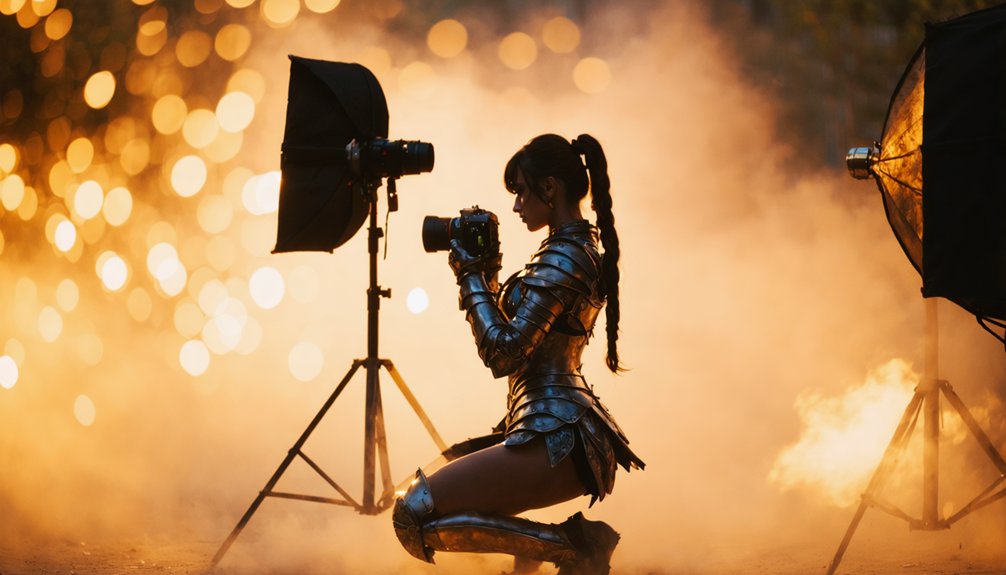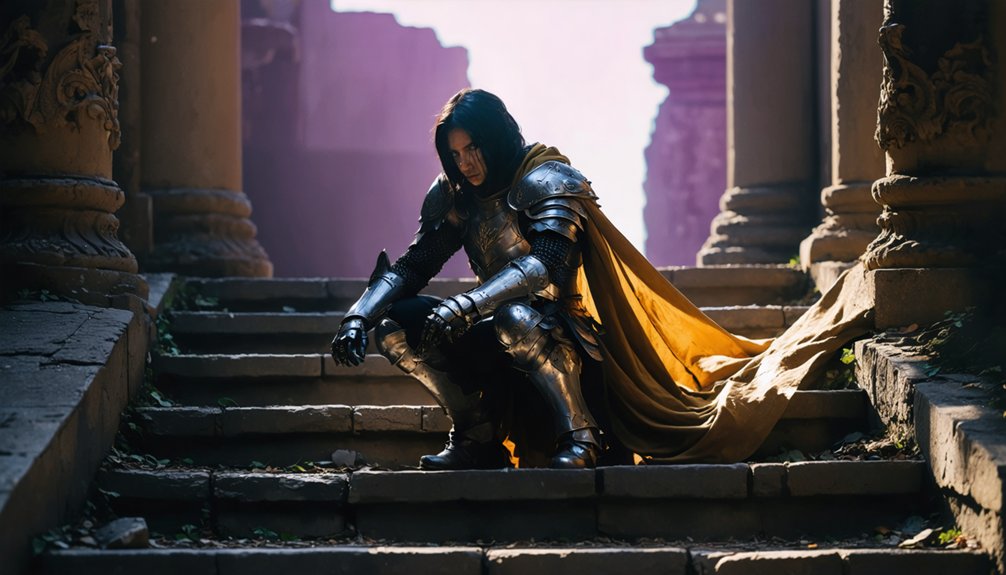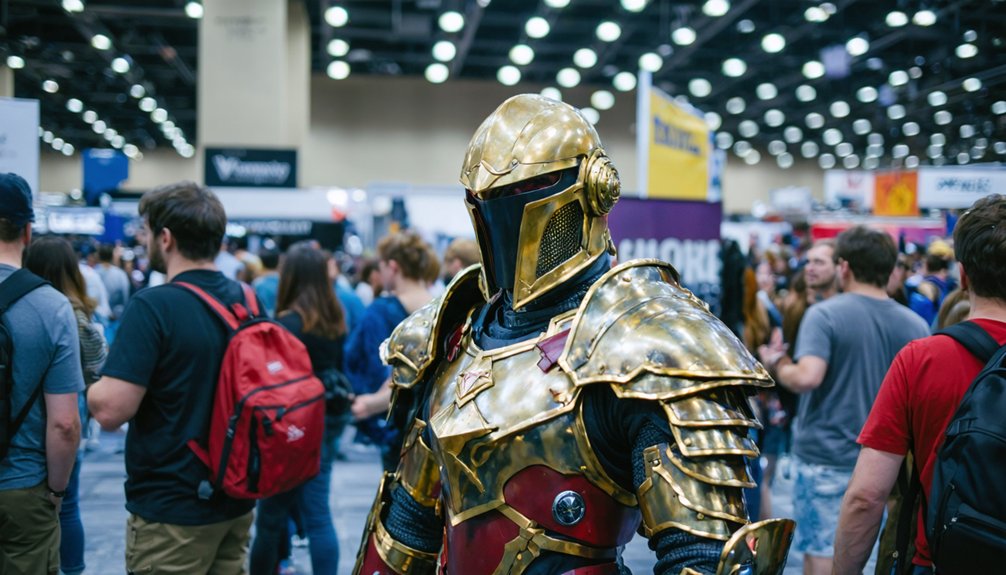
Always ask permission before photographing a cosplayer—unsolicited shots damage trust fast. Use a 35mm–50mm prime lens at f/1.8 or wider to handle low light and separate subjects from cluttered backgrounds. Scout alcoves, lobbies, and stairwells for natural light and open space that won’t block foot traffic. Keep posing directions short and confident, and deliver edited images within 48 hours. Every tip here connects to a deeper skill you’ll want to master.
Key Takeaways
- Always ask permission before photographing cosplayers, respecting refusals politely to maintain trust and a positive reputation within the community.
- Use fast prime lenses (35mm–50mm) with wide apertures to handle low light and separate subjects from cluttered backgrounds.
- Scout natural light sources like lobbies and windows; use small flash with warming gels when natural light is unavailable.
- Position yourself in alcoves or side areas away from high-traffic corridors to avoid blocking crowds and improve shot quality.
- Begin editing within 48 hours, culling aggressively and delivering organized, web-optimized files via platforms like Google Drive or Pixieset.
Always Ask Before You Shoot Cosplay Photos
Consent is the foundation of cosplay photography etiquette, and you should always ask before raising your camera. Approaching a cosplayer directly and requesting permission isn’t just polite—it’s a non-negotiable standard.
Consent isn’t optional in cosplay photography—always ask before you shoot.
Candid or unsolicited shots violate trust and damage the collaborative environment conventions depend on.
Timing your approach matters. Don’t interrupt cosplayers who are eating, on the phone, or engaged with vendors.
Once you’ve secured permission, use that brief window efficiently. Scout your lighting techniques in advance so you’re not fumbling with settings mid-interaction. Pre-planned camera angles and proper equipment maintenance ensure your gear performs reliably when the moment arrives.
Respect also means reading body language. If someone seems hesitant, accept that gracefully and move on.
Permission-first photography builds trust and opens doors to more authentic, high-quality shots.
How to Frame a Full Costume Without Cropping Details
Once you’ve secured permission and positioned yourself for the shot, framing becomes your next immediate challenge. Costume accuracy depends entirely on what you include in the frame, so step back before you shoot. Tight framing destroys context—cropped gauntlets, severed capes, and missing footwear undermine the cosplayer’s full construction effort.
Use a wider focal length, ideally 50mm or below, to capture head-to-toe coverage without distortion. Lower your angle slightly to balance vertical proportions naturally.
When props are involved, account for prop safety by leaving spatial buffer around extended weapons or fragile pieces—don’t force subjects to contort their grip for your frame. Instead, adjust your position. Shoot medium and wide variations so both character identity and construction detail are represented across your final selects.
Find Better Light for Cosplay Photography on the Convention Floor
Convention floors are notoriously hostile lighting environments, so you’ll need to scout before you shoot rather than settling for whatever overhead fluorescents happen to fall on your subject.
Prioritize windowed lobbies, atrium spaces, and exterior doorways where natural vs. artificial light blends more predictably and flatters costume detail without harsh color casts.
When natural options aren’t accessible, apply targeted lighting techniques using a small shoe-mount flash with a warming gel to counteract the venue’s typically cool, mixed ambient.
A compact reflector redirects existing spill light effectively in tight corridors.
Dial in your white balance manually rather than relying on auto, especially when shifting between zones.
Consistent light quality across a session signals professionalism and produces images cosplayers actually want to share.
The Best Camera and Lens Setup for Crowded Convention Halls
Pairing good light with the wrong glass wastes both the location and the subject, so your gear choices matter as much as where you position your cosplayer.
On a crowded convention floor, a fast prime in the 35mm to 50mm range delivers sharp results without the bulk of a telephoto. A wide maximum aperture, f/1.8 or faster, handles low ambient light while separating your subject from chaotic backgrounds.
Lens compatibility with your body’s autofocus system becomes critical when you’re shooting quickly between foot traffic gaps. Camera stabilization, whether sensor-based or optical, compensates for handheld shake in dimly lit hallways.
A mirrorless body with a compact form factor also reduces the physical footprint, letting you maneuver efficiently without disrupting convention traffic or intimidating your subject.
Simple Posing Direction That Works in Busy Convention Spaces
Before you offer any posing direction, ask the cosplayer if they’d like guidance, since many arrive with practiced character poses already locked in.
When direction is welcome, keep your instructions tight—one or two clear cues at most, like “shift your weight to your back leg” or “bring the prop up to eye level.”
Convention floors move fast, so you’ll get better results by staying efficient and letting the cosplayer’s familiarity with their character do most of the work.
Ask Before Directing
Posing direction works best when you ask first, since many cosplayers already arrive with practiced character poses ready to execute. Unsolicited direction disrupts their workflow and wastes time on a busy convention floor.
Instead, introduce yourself, confirm they’re available, then ask whether they’d like pose suggestions or prefer to lead. Most will appreciate the option.
If they want guidance, keep your instructions precise and minimal — one adjustment at a time. While you’re directing, apply your lighting techniques actively, repositioning the subject toward available fill light rather than reshooting later.
Equipment maintenance also matters here; a sluggish shutter or misfiring flash mid-session breaks momentum and tests the cosplayer’s patience.
Asking before directing signals professionalism, builds immediate trust, and keeps the entire interaction efficient, respectful, and productive.
Keep Instructions Brief
Convention floors move fast, so when you’re directing a cosplayer, keep every instruction to a single actionable cue — “chin down slightly” or “shift your weight to your back foot” lands faster than a multi-step explanation.
You’ve already dialed in your lighting techniques and camera settings before the session begins, so the pose is the only variable left to solve quickly. Treat each cue as a micro-adjustment rather than a full creative session.
One direction, one frame, then evaluate. If something isn’t working, swap one element — angle, weight distribution, eye line — not everything simultaneously.
Cosplayers who’ve been stopped a dozen times that day respond better to confident, specific language than vague requests. Precision in your verbal direction mirrors the precision you’ve already built into your technical setup.
Pick Shooting Spots That Don’t Block Foot Traffic
When you stop to shoot in the center of a convention hallway, you block foot traffic and create congestion that frustrates attendees and cosplayers alike.
Instead, move to open side areas, alcoves, or less-trafficked edges of the floor where you have room to work without obstructing the flow.
Scouting these spots before you shoot saves time and keeps the experience smooth for everyone involved.
Find Open Side Areas
Busy convention hallways create constant foot traffic that can make impromptu photo sessions a logistical headache, so you’ll want to scout open side areas before committing to a shooting spot. Finding quiet corners and spotting unobstructed views early saves time and produces cleaner results.
Target these four location types:
- Windowed lobbies — natural light eliminates flash dependency and reduces mixed-lighting issues.
- Vendor hall edges — perimeter walls provide neutral backgrounds without crowd interference.
- Stairwell landings — elevated or recessed spaces create depth while clearing foot traffic entirely.
- Outdoor shaded exits — diffused daylight delivers flattering, controllable illumination with minimal congestion.
Positioning in these zones protects both your shots and surrounding convention-goers, keeping interactions efficient, respectful, and visually productive.
Avoid Crowded Hallway Centers
Stopping in the middle of a crowded hallway to shoot creates a ripple effect — foot traffic backs up, bystanders crowd your frame, and the cosplayer you’re photographing loses patience fast. Crowd density on convention floors shifts constantly, so you need to read the flow before planting yourself anywhere.
Identify natural breaks in foot traffic — alcoves, recessed doorways, stairwell landings — where you can pull the cosplayer without creating a bottleneck.
Hallway hazards like rolling luggage, prop weapons, and large group movements make center-corridor shooting genuinely risky. Position yourself perpendicular to traffic rather than parallel, keeping your shooting footprint tight.
A controlled spot with predictable movement around it produces cleaner frames, faster sessions, and fewer interruptions than any busy corridor center ever will.
How to Handle Refusals, Harassment, and On-Floor Conflicts
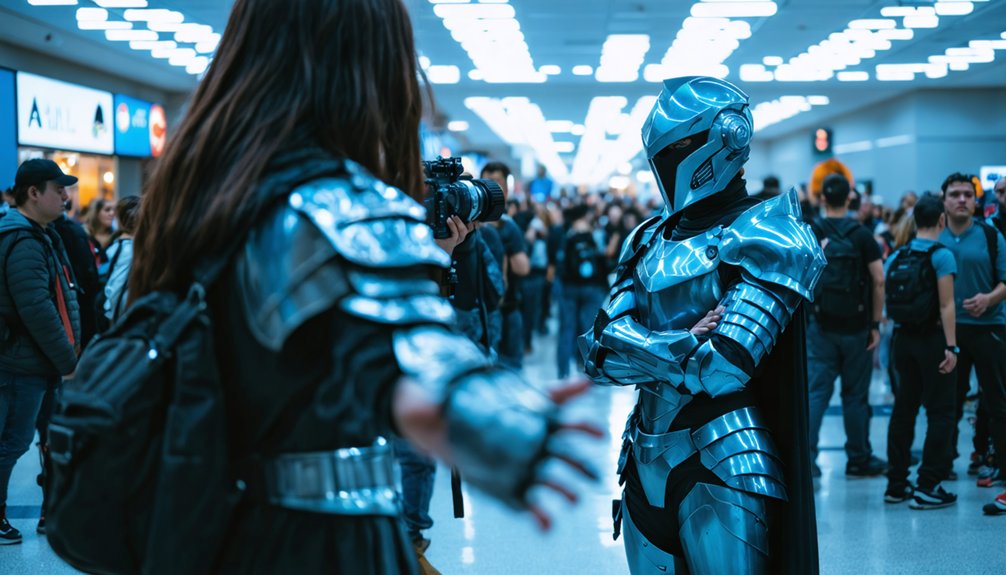
Refusals happen, and how you respond defines your reputation on the convention floor. Handling objections gracefully and applying smart conflict resolution keeps the community functional and your credibility intact.
Refusals are inevitable. How you handle them shapes your standing in every room you walk into.
- Accept refusals immediately. Don’t negotiate, explain, or linger. A simple “No problem, thank you” ends it cleanly.
- Document harassment. If someone targets a cosplayer with unwanted contact or repeated requests, alert convention security with specific details—time, location, description.
- De-escalate disputes quietly. If tension arises between photographers competing for space, step back first. Aggression never resolves floor conflicts efficiently.
- Remove yourself from hostile situations. If a confrontation escalates beyond your control, disengage and report it rather than reacting emotionally.
Your behavior under pressure signals whether you’re a trustworthy presence or a liability on the floor.
How to Deliver Cosplay Photos After the Convention
Once you’ve handled the floor professionally, following through on photo delivery is where your reputation either holds or falls apart. Post convention editing should begin within 48 hours while context is fresh. Cull aggressively, keeping only technically sound and compositionally strong frames.
Apply consistent color grading, correct white balance issues from mixed venue lighting, and export web-optimized files before online sharing.
Use Google Drive, WeTransfer, or a private gallery platform like Pixieset to deliver images cleanly. Include a direct download link when you contact cosplayers through Instagram or the contact method they provided. Tag them properly during online sharing so they can repost and credit your work.
Prompt, organized delivery builds credibility, generates referrals, and signals that you operate with the same professionalism you brought to the convention floor.
Cropping Costumes, Skipping Consent, and Other Cosplay Photo Mistakes
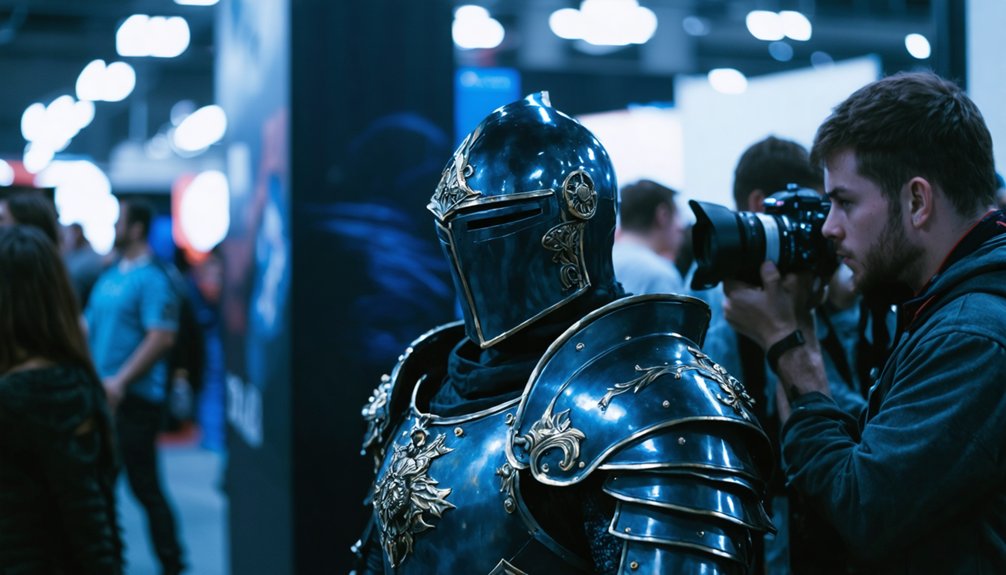
Even experienced convention photographers repeat the same avoidable errors that damage both the image and the working relationship with cosplayers. Recognizing these mistakes sharpens your technical approach and protects your reputation on the floor.
Even seasoned convention photographers make avoidable mistakes that hurt their images and damage relationships with cosplayers.
- Cropping costume detail — Tight framing cuts off props, armor edges, and footwear that define the character. Step back and reframe.
- Skipping consent — Candid shots taken without permission violate community trust and can get you removed from the event entirely.
- Ignoring background clutter — Distracting crowds undermine otherwise strong compositions. Reposition before shooting.
- Failing to deliver photos — Promising images and disappearing damages your credibility permanently.
Each mistake is correctable before you press the shutter. Build better habits now, and your cosplay portfolio will reflect the difference immediately.
Frequently Asked Questions
Can I Photograph Cosplayers at Outdoor Events Outside Official Convention Grounds?
You can photograph cosplayers at outdoor events, but you’ll still need public permission before shooting. Leverage outdoor lighting by positioning subjects in open shade, and always ask consent first—etiquette rules don’t change outside official grounds.
Are There Specific Conventions Known for Stricter Photography Rules Than Others?
Yes, some conventions enforce stricter photography rules driven by privacy concerns and professional permissions. You’ll find anime and gaming cons often require press badges, so always check each event’s official media policy before you shoot.
Should I Watermark Cosplay Photos Before Sharing Them on Social Media?
You should watermark photos before social media sharing to protect your work. Place subtle, unobtrusive watermarks that don’t obscure costume details, ensuring watermarking photos remains professional while crediting you without diminishing the cosplayer’s visibility.
Is It Acceptable to Photograph Minors in Cosplay With Parental Consent?
Like COPPA’s framework protecting digital minors, you can photograph minors in cosplay when you’ve secured parental consent directly. Always guard minors’ privacy rigorously—get written permission, avoid solo sessions, and share images only after parental approval.
Can I Sell Cosplay Photos I Take at Conventions for Profit?
You’ll need signed model releases and commercial licensing agreements before selling cosplay photos for profit. Without these legal documents, you’re exposing yourself to copyright and likeness claims that can invalidate your commercial rights entirely.
References
- https://fstoppers.com/lifestyle/quick-tips-improve-your-cosplay-convention-photos-192081
- https://www.rulison.com/2015/04/13/cosplay-photography-dos-and-donts/
- https://www.facebook.com/groups/beginnersphotographygroup/posts/10028315407216301/
- https://www.reddit.com/r/AskPhotography/comments/1dbmzho/any_tips_on_cosplay_convention_photography/
- https://nerdalertnews.net/an-introverts-guide-to-cosplay-photography/
- https://www.youtube.com/watch?v=oMavB7uW6iA
- https://www.reddit.com/r/photography/comments/6gzoga/advice_for_shooting_cosplayersmodels/
- https://geekmamas.com/2022/08/28/10-tips-for-taking-photos-at-comic-cons/
- https://www.youtube.com/watch?v=KlOwbDSKR0s
- https://www.reddit.com/r/AskPhotography/comments/w7s8u8/cosplay_photography_at_conventions/