You don’t need a big budget to build convincing historical cosplay accessories. Raid thrift stores for old sheets, curtains, and leather scraps, then shape crowns from EVA foam, sew simple cloaks from half-circle fabric cuts, and stamp heraldic motifs onto pouches. Dry-brush metallic paints over sealed surfaces to nail that aged-metal look. Stick to natural fibers and period dyes for authentic detail. Keep exploring, and you’ll discover every technique needed to complete your full historical kit.
Key Takeaways
- Source affordable materials from thrift stores, using old sheets, curtains, and natural fibers like wool and linen for period-authentic costumes.
- Build crowns and regalia from EVA foam, sealed and painted with metallic dry-brushing to create realistic aged metal effects.
- Construct cloaks using half-circle fabric cuts, natural dyes, and fabric glue to finish edges without complex sewing skills.
- Craft period pouches by sewing two fabric panels, adding leather-stamped heraldic motifs and gemstone embellishments near drawstring closures.
- Seal all finished accessories with clear coat and gloss medium to protect paintwork and enhance gemstone realism.
Affordable Materials for Historical Cosplay Accessories
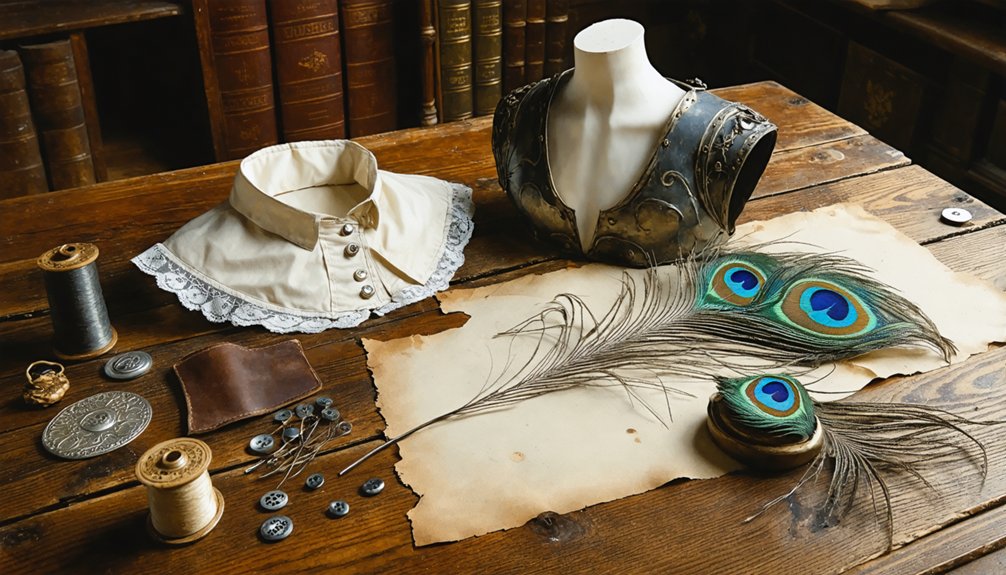
When building historical cosplay accessories on a budget, you’ll find that thrift stores, household textiles, and fabric retailers offer surprisingly versatile raw materials. Historical fabric sourcing doesn’t require expensive specialty shops — old sheets, curtains, and blankets translate effectively into cloaks, surcoats, and layered garments.
Thrift stores and household textiles are your best allies — no specialty shops required for historically accurate cosplay.
For budget accessory ideas, prioritize natural fibers like wool, linen, and duck cloth, which deliver authentic texture and period-accurate drape.
No-sew construction methods using fabric glue and safety pins accelerate your build without sacrificing visual accuracy.
Repurposed leather scraps accept stamping tools well, letting you add heraldic motifs to belts and pouches.
EVA foam, widely available and inexpensive, forms structured crowns and regalia bases.
DIY Crowns and Headwear for Historical Cosplay
To start your crown, measure your head circumference just above the ears and add 0.5–1 inch for fit. Then resize your template accordingly and transfer it to 2 mm EVA foam for a structured base.
Once you’ve cut and joined the foam sections with contact cement, sand the edges at a 90-degree angle for a clean finish before priming and painting.
You can then seal the surface with a clear coat and embellish it with faux gemstones, metallic beads, or woven cord to achieve a historically inspired look.
Measuring and Sizing Crowns
Getting the fit right is the foundation of any well-made crown, so start by measuring your head circumference just above the ears, then add 0.5–1 inch to that measurement for a comfortable fit adjustment. These crown measurement techniques guarantee your finished piece sits properly without slipping or pinching.
Once you’ve got your adjusted length, resize your chosen crown template to match it exactly. If the pattern’s too large for your paper layout, split it into two halves and trace each section separately.
Transfer the final outline onto 2mm EVA foam using a marker, then cut cleanly with a craft knife. Unlike historical fabric selection, which prioritizes weave and drape, foam-based headwear demands precision cuts and consistent edge angles to maintain structural integrity throughout the build.
Finishing and Decorating Headwear
Once your foam sections are joined with contact cement and the seams have been heat-set, you’re ready to refine the surface and bring the piece to life. Sand all edges at a 90-degree angle to eliminate roughness, then apply a foam-compatible primer before painting.
Layer your base color first, let it cure, then build depth with dry-brushed metallic tones.
Seal the painted surface with a clear coat to protect your work during wear.
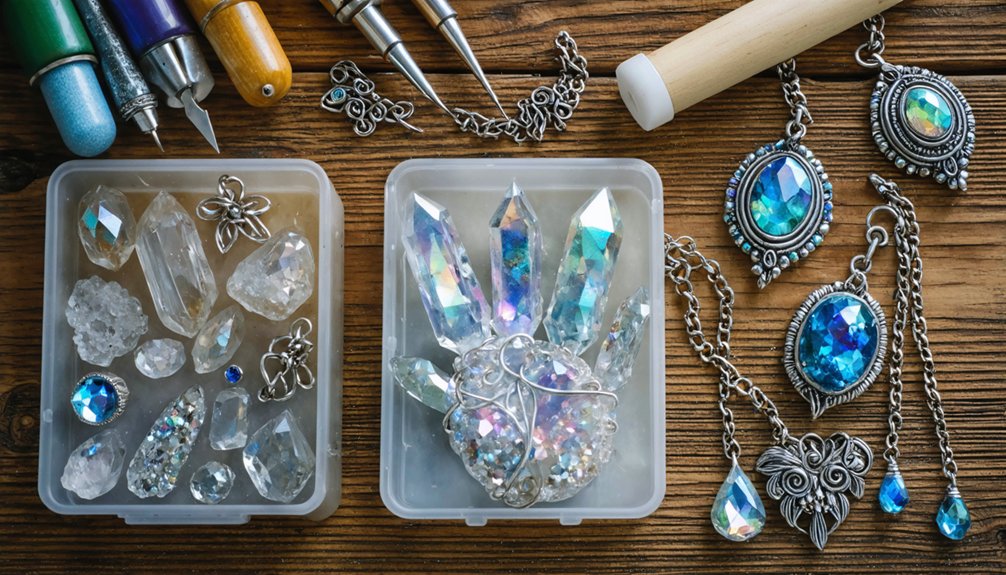
From there, you’ll personalize the piece using period-accurate embellishments. Press faux gemstones and metallic beads into adhesive while it’s tacky for a secure bond.
Incorporate vintage lace along the base band for a Renaissance or Victorian reference point, and anchor feather embellishments near the crown’s peak for aristocratic silhouette drama.
How to Make a Cloak or Cape From Spare Fabric
Whether you’re dressing for a Renaissance fair or a medieval-inspired event, a cloak or cape can pull your whole look together — and you don’t need to spend much to make one.
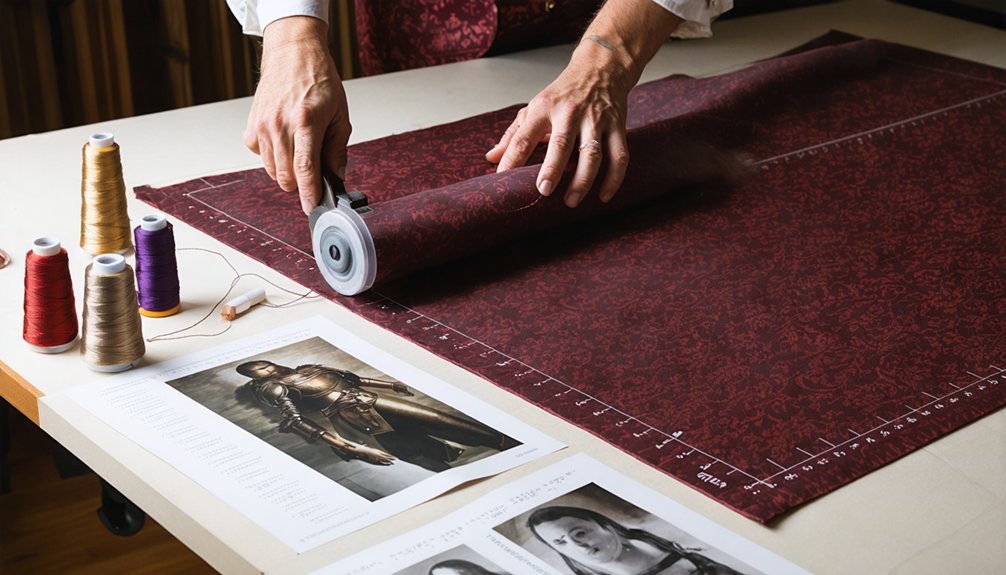
Start with pattern drafting by measuring from your neck outward, then mark a half-circle arc across old sheets or spare fabric. Cut a careful neck opening — remove too little rather than too much.
Measure from your neck outward, mark your arc, and always cut less than you think you need.
Pin the hood pieces, traced from a hoodie for accuracy, and test the drape on your body before sewing.
If your fabric looks too modern, fabric dyeing with natural tones like ochre or walnut brown adds period authenticity instantly.
Finish raw edges with fabric glue to prevent fraying, and you’ll have a historically grounded cloak that’s both functional and visually convincing.
How to Build a Medieval Pouch or Belt Bag
A medieval pouch or belt bag is one of the most practical accessories you can add to a historical costume, and it’s straightforward to build from scraps of wool, linen, or duck cloth. Draw your pattern directly onto fabric, cut two matching panels, and sew around three edges. Leave the top open and finish it with a drawstring or cinch closure for period-accurate functionality.
Elevate your build by incorporating leather stamping to press heraldic motifs or filigree designs into a leather flap or front panel. Add gemstone embellishments near the closure point to signal rank or regional style.
Mount the finished pouch on a belt loop or cord, test the hang and weight, then adjust positioning before wearing it with your full kit.
Belt and Strap Accessories for Period-Accurate Cosplay
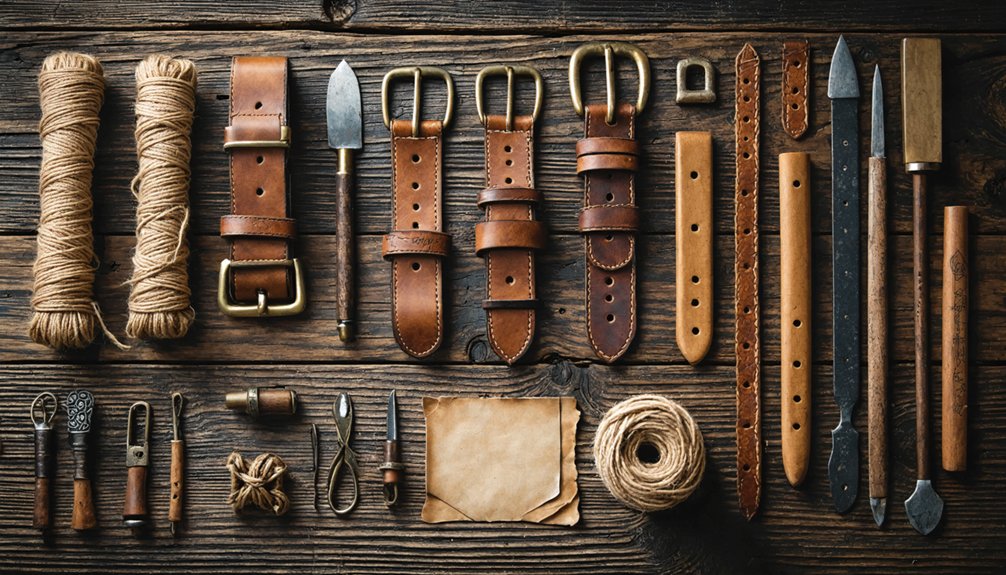
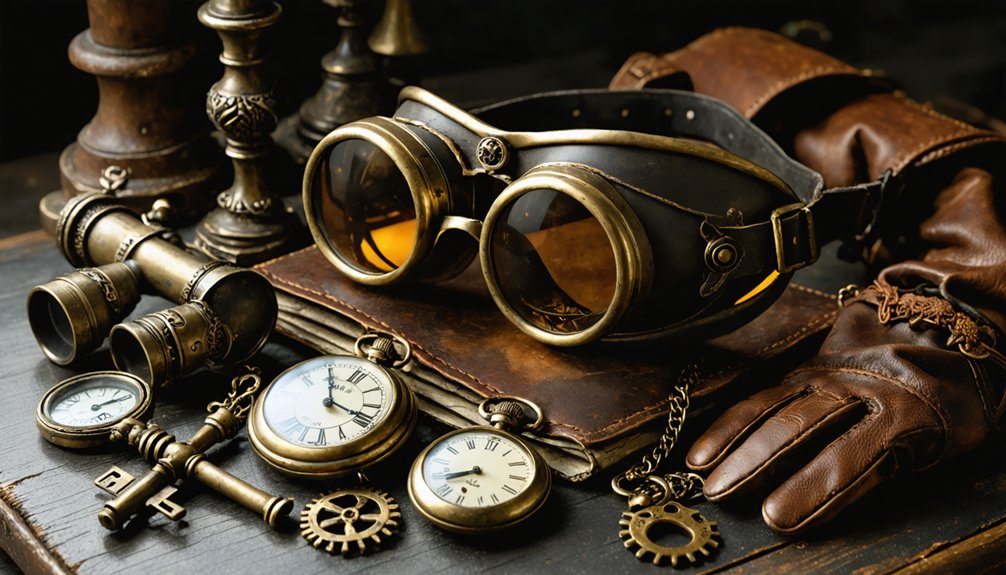
Belt and strap accessories like Victorian watch fobs bring refined period detail to your costume without demanding complex construction — you’ll need ribbon findings, ribbon, jump rings, clasps, scissors, and pliers to get started.
For Regency wear, cut your fob to about 3–4 inches, but extend it to 8–10 inches if you’re looping it over a sash or reaching a side pocket.
Before cutting any strap or belt accessory, drape a tape measure directly on your outfit to confirm the right length against your actual silhouette.
Victorian Watch Fob Basics
Creating a Victorian watch fob starts with gathering the right supplies: ribbon findings, ribbon, jump rings, clasps, scissors, and pliers.
You’ll want ribbon that complements your ensemble — consider textile dyeing to achieve historically accurate muted tones or rich jewel hues unavailable in standard stock.
Vintage jewelry components, like salvaged brooches or antique clasps, elevate authenticity considerably.
For Regency-style wear, cut your ribbon to roughly 3–4 inches; if you’re looping it over a sash or reaching a side pocket, extend it to 8–10 inches.
Fold wider ribbon at the back to fit narrower findings cleanly.
Crimp your clasp findings firmly with needle-nose pliers to secure the ends.
Before cutting, drape a tape measure over your actual outfit to confirm the ideal finished length.
Measuring Belt Accessories Accurately
The same measurement discipline that sharpens a well-fitted fob applies directly to belts and strap accessories — and getting it right before you cut saves both fabric and frustration. Drape a tape measure directly over your outfit before committing to any length. This mirrors crown fitting techniques, where you measure around the head before trimming foam.
Belt accessories interact with historical fabric textures differently depending on material weight — wool drapes and shifts, while linen holds position firmly. Account for that movement before finalizing strap length.
For adjustable builds, add two extra inches to allow overlap at the clasp. Crimp your findings securely with needle-nose pliers, and always test the full accessory assembly while wearing the costume layer it’s designed to sit against.
Painting, Sealing, and Decorating Your Finished Pieces
Once your foam pieces are assembled and sanded, you’ll want to prime them before applying any paint—skipping this step often leads to uneven coverage and peeling. Apply a thin, even primer coat, then build up your base color in layers, allowing each to dry fully before adding the next.
Prime before you paint—skipping this step leads to uneven coverage and peeling that no finish can fix.
Color blending works especially well for aged metal effects—dry-brush a lighter tone over a darker base to suggest worn gilding or tarnished bronze.
For gemstone imitation, apply a gloss medium over painted cabochons or resin drops to replicate light-catching depth.
Once you’re satisfied with the decoration, seal everything with a clear coat to protect your finish from handling wear.
Attach faux stones and beadwork last, using strong adhesive for a secure, period-convincing result.
Frequently Asked Questions
Can Historical Cosplay Accessories Be Safely Worn by Young Children?
You can make age-appropriate accessories safe for young children by avoiding sharp edges, small gemstones, and contact cement fumes. Prioritize children’s costume safety by choosing soft materials, secure closures, and supervising wear during historical cosplay activities.
How Do I Store Foam and Fabric Accessories Without Damaging Them?
Ironically, your finest craftsmanship crumbles in a messy closet. For foam storage, keep pieces flat and away from heat. For fabric preservation, fold loosely, avoid compression, and store in breathable bags to maintain shape and finish.
Are These DIY Accessories Suitable for Outdoor Renaissance Fairs?
Yes, your modern costume holds up outdoors if you’ve sealed foam pieces and used durable fabrics. Reinforce fantasy elements with clear coat, sturdy stitching, and weather-resistant materials to keep everything period-accurate and intact throughout the fair.
How Do I Repair a Broken or Cracked Foam Accessory After Use?
For foam repair and crack fixing, you’ll apply contact cement into the split, press the edges firmly together, let it semi-dry with heat, then sand smooth, reprime, repaint, and reseal for a fully restored, period-accurate finish.
Can I Wash Fabric Pouches and Cloaks in a Washing Machine?
You can machine wash fabric pouches and cloaks, but you’ll want to use a gentle cycle. Strong fabric care practices protect your sewing techniques—turn pieces inside out, use cold water, and air-dry to preserve period-accurate stitching and embellishments.
References
- https://www.youtube.com/watch?v=nE33wd_OV6k
- https://www.youtube.com/watch?v=g_h6LrYRDBI
- https://www.youtube.com/watch?v=UkL3PC6gZv0
- https://starstruckpanda.com/crafting-authentic-medieval-cosplay-accessories-at-home/
- https://www.youtube.com/watch?v=IwXuTgNcbC4
- https://www.youtube.com/watch?v=L6GUxyQo0lQ
- https://www.youtube.com/watch?v=ETQ6fF_Iu6s
- https://thepragmaticcostumer.wordpress.com/2020/03/10/victorian-watch-or-miniature-fob-easy-diy-historical-accessory-tutorial/
- https://www.cosplaytutorial.com/list/accessories.php
- https://starstruckpanda.com/diy-medieval-cosplay-accessory-crafting/