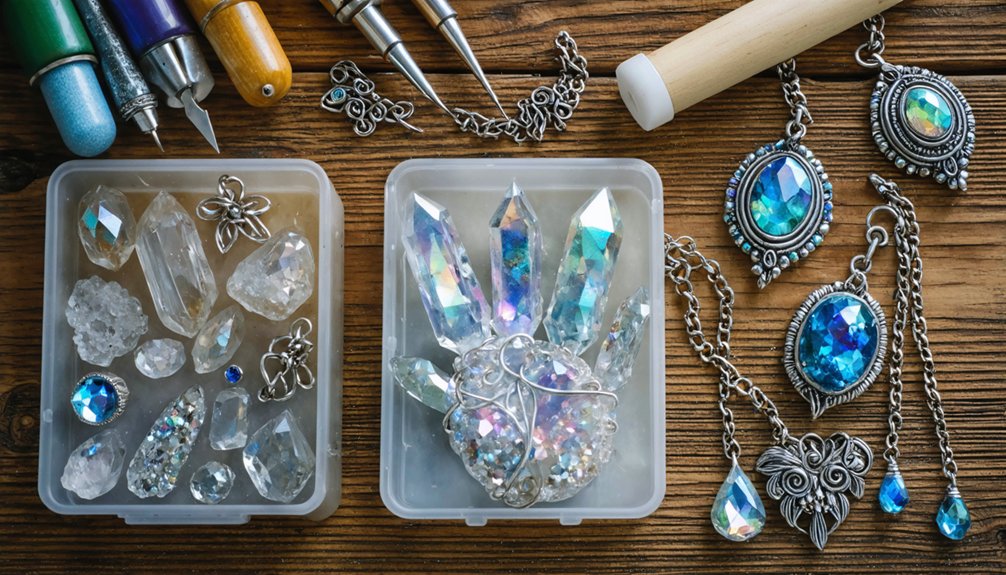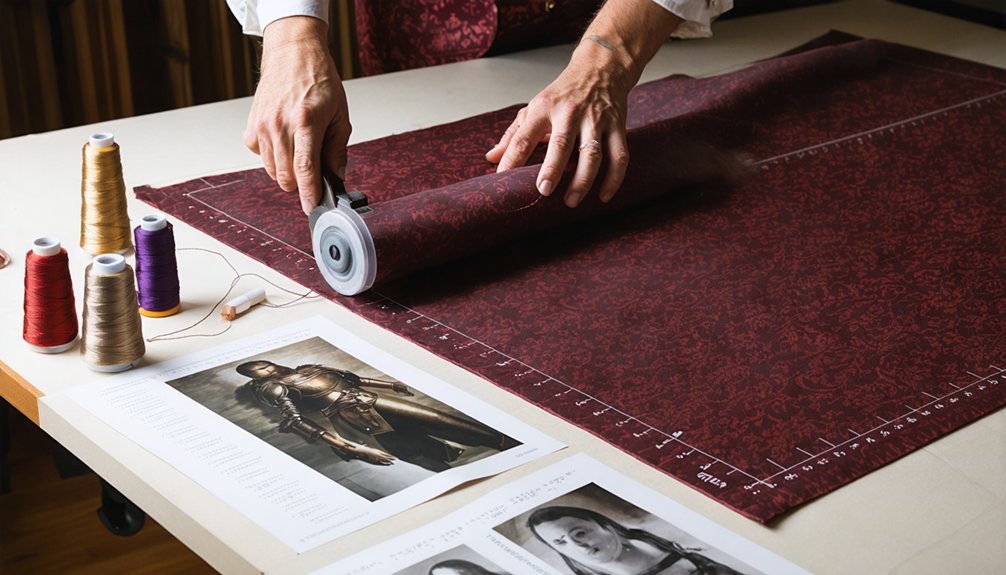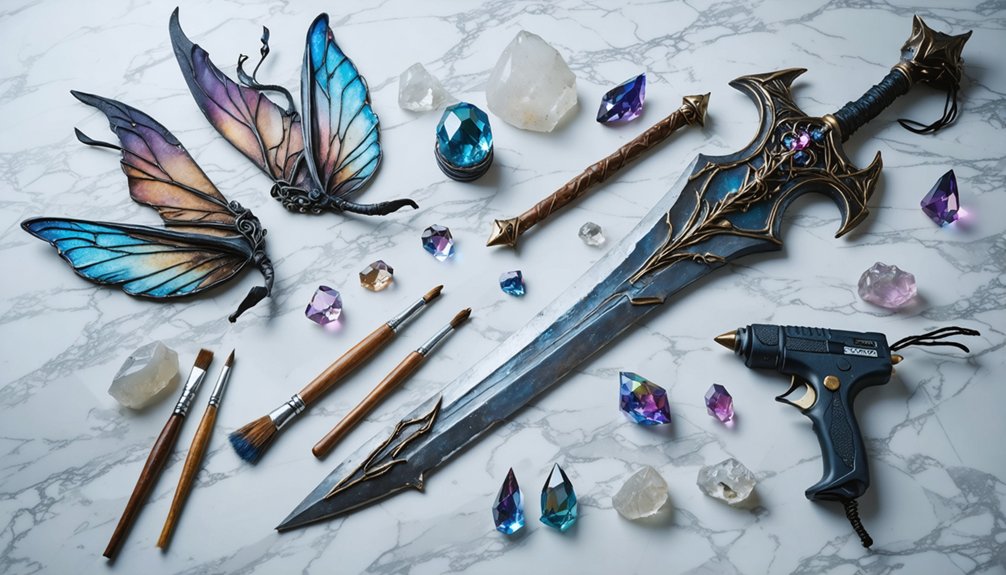
You can transform your cosplay by building accessories from EVA foam, Worbla, or simple cardboard with PVC pipe cores. Heat-form foam for curved armor, seal surfaces with Mod Podge, then layer acrylic metallics and dry-brushing for convincing depth. Most builds cost between $25–$60 using upcycled household materials. Embed LEDs into collars or cuffs for photogenic impact. There’s a complete toolkit of techniques, material breakdowns, and budget strategies ahead that’ll take your build further.
Key Takeaways
- EVA foam, Worbla, and cardboard are affordable materials that create high-impact weapons, shields, helmets, and layered accessories for cosplay.
- Beginners can quickly build wands, animal ears, simple masks, and utility pouches using hot glue, craft foam, and fabric scraps.
- Metallic finishes, weathering effects, and character-accurate paint schemes dramatically boost the visual realism of handmade accessories.
- Embedded LED lighting in collars and cuffs adds dynamic, photogenic effects that make cosplay accessories stand out at conventions.
- Most handmade accessories cost between $25–$60 by upcycling household items like plastic bottles, newspapers, and old clothing.
Best Materials for Handmade Cosplay Accessories
Choosing the right materials makes the difference between a prop that holds up through a full convention day and one that falls apart by noon. EVA foam and craft foam deliver lightweight flexibility, while Worbla offers heat-moldable rigidity for complex armor pieces.
The right materials mean the difference between a prop that lasts and one that doesn’t.
Cardboard remains a practical base for large-scale builds when budget matters. PVC pipe and wooden dowels create solid internal cores for staffs and swords.
For finishing, Mod Podge seals porous surfaces, and acrylic paint layered with metallic effects adds convincing depth.
You can push builds further by integrating fabric embellishments like lace, beads, and metallic tape for decorative character detail.
Adding lighting effects through LED strips transforms ordinary collars and cuffs into futuristic statement pieces that photograph exceptionally well at conventions.
Which Accessories Give You the Most Visual Impact?
When you’re building a cosplay on limited time or budget, certain accessories consistently deliver the highest visual return for the effort you put in. Weapons, staffs, and shields command immediate attention because their accessory size variations create strong silhouettes readable from across a convention floor. Helmets and structured masks follow closely, reshaping your entire profile with cardboard and foam alone.
Accessory color schemes dramatically influence impact — metallic finishes, high-contrast weathering, and bold character-accurate palettes transform basic foam into convincing props. Layered headpieces and statement belts add complexity without requiring advanced skills. LED trim embedded into collars or cuffs introduces dynamic lighting that photographs exceptionally well.
Prioritize accessories that combine scale, distinctive shape language, and deliberate color contrast to maximize your character’s visual presence efficiently.
Beginner Accessories You Can Build This Weekend
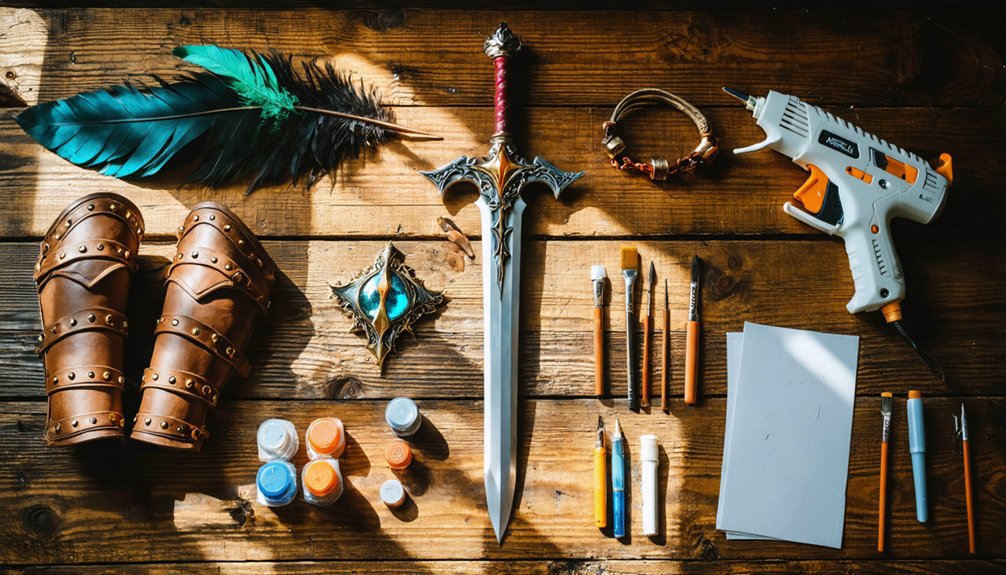
Building your first cosplay accessories doesn’t require a workshop full of specialized tools or weeks of free time. Pull your character inspiration and start with these proven beginner builds:
- Wands and staffs – PVC pipe cores wrapped in craft foam and painted with acrylics
- Foam shields – EVA foam layered over cardboard, sealed with Mod Podge
- Cat or elf ears – Wire headbands shaped and wrapped with fabric scraps
- Utility pouches – Hot-glued felt or repurposed old clothing pieces
- Simple masks – Cardboard cut to accessory sizing, reinforced with masking tape
Sand edges, apply primer, then finish with metallic or matte acrylic paint. Most builds cost under $30 and complete within a single weekend session.
Tools That Make Cosplay Accessory Building Easier
The right tools don’t just speed up your builds—they directly determine how clean, durable, and convention-ready your finished accessories look. For precise shaping, use a sharp craft knife paired with sandpaper to refine foam and cardboard edges. Hot glue guns deliver fast, flexible bonding critical for accessory customization across layered materials.
Paintbrushes in multiple sizes give you control over primer, acrylics, and varnish application, producing smoother, more polished finishes. A cutting mat protects your workspace while improving cutting accuracy.
Tool maintenance is equally essential—replace dull blades immediately, clean glue gun nozzles regularly, and store brushes properly to preserve bristle shape. Well-maintained tools perform consistently, reducing material waste and build errors.
Investing in quality tools early pays off across every future cosplay project.
How Do You Make Cosplay Accessories on a Budget?
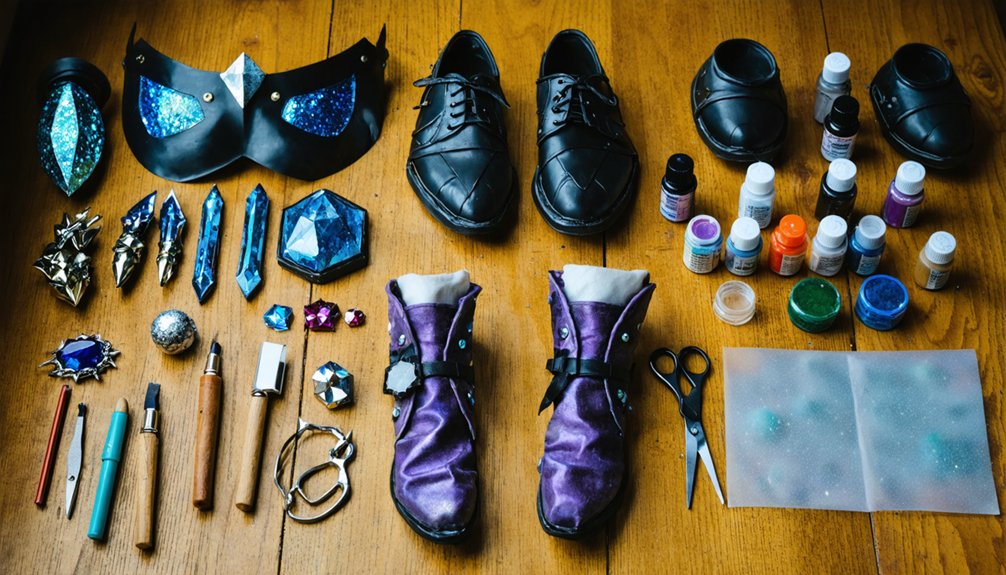
You don’t need an expensive supply haul to build accessories that read well on the convention floor — foam board, cardboard, and paper clay keep material costs between $25 and $60 even for larger builds.
Raid your closet for old scarves, shirts, or caps that can be cut, reshaped, and painted into character-accurate pieces without spending a dollar on new fabric.
Layering acrylic paint, metallic finishes, and texture effects over these low-cost bases creates the kind of visual depth that makes budget builds look intentional rather than improvised.
Budget-Friendly Material Choices
Making cosplay accessories on a budget starts with choosing the right raw materials before you ever pick up a tool. Lightweight materials keep builds comfortable while slashing costs considerably. Creative upcycling transforms overlooked household items into character-accurate pieces without expensive sourcing.
Stock these core budget materials:
- EVA foam and craft foam – flexible, cuttable, and ideal for armor, bracers, and props
- Cardboard and foam board – excellent structural bases for large-scale builds
- PVC pipe and wood dowels – rigid internal cores for staffs and swords
- Old clothing, scarves, and fabric scraps – repurposed into pouches, belts, and trim
- Newspapers and plastic bottles – papier-mâché bases for helmets and organic shapes
Most basic builds run between $25–$60 depending on scale and complexity.
Low-Cost Build Strategies
Stretching your budget without sacrificing visual impact comes down to layering simple techniques over inexpensive materials. Foam shaping methods like heat-forming and beveled cuts transform flat sheets into dimensional armor, weapon edges, and curved surfaces without requiring expensive tools. A heat gun and craft knife get you most of the way there.
Custom paint techniques close the gap between budget builds and high-end props. Dry-brushing metallic acrylics over a dark base coat creates convincing depth, while sponge texturing mimics weathered metal or stone. Seal everything with matte or gloss varnish to lock in durability.
Reuse closet items as costume foundations, then redirect savings toward finishing materials. Strategic spending on paint and sealant consistently delivers the strongest visual return per dollar spent.
Paint and Texture Tricks That Fool the Eye
Even the most basic foam or cardboard prop transforms dramatically once you apply the right paint and texture techniques. Layering paint strategically creates depth, dimension, and convincing material illusions your audience won’t question.
Start with these essential tricks:
- Prime first — seal foam or cardboard with Mod Podge or gesso before painting to prevent uneven absorption
- Dry-brush metallic paint over base coats to simulate worn steel or aged bronze faux finishes
- Apply aging techniques using diluted brown or black paint wiped into recessed areas for grime and shadow effects
- Use sponges to dab texture, mimicking stone, leather, or rusted surfaces
- Seal everything with matte or gloss varnish to lock in layers and improve durability
These methods turn cheap materials into convincing, photo-ready props.
How to Make Cosplay Accessories That Survive Conventions
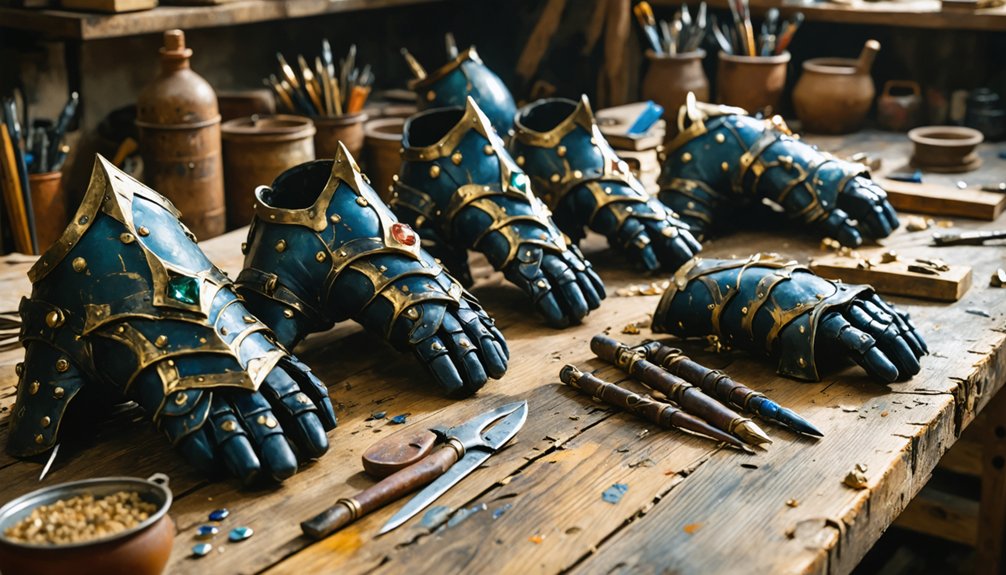
A convention puts your accessories through a full-day stress test — crowds, doorways, photo poses, and transport all chip away at anything poorly assembled. Build durability into every layer by reinforcing foam edges with Bondo or Mod Podge, securing joints with both hot glue and contact cement, and sanding progressions smooth before sealing.
Elastic, riveted straps, and hidden velcro attachments distribute stress across wearable pieces rather than concentrating it at single points.
Accessory maintenance starts before the event — inspect seams, touch up paint chips, and re-seal any exposed foam. Pack a small repair kit with hot glue sticks, matching paint, and extra elastic.
For storage solutions, use padded bins or PVC pipe tubes to prevent crushing and warping between conventions, preserving your build’s shape and finish long-term.
Frequently Asked Questions
Can Handmade Cosplay Accessories Be Repaired Quickly During a Convention?
Yes, you can fix handmade accessories fast with emergency fix kits stocked with hot glue sticks, foam tape, and safety pins. These quick repair tips’ll keep your props convention-ready without missing a beat.
How Do You Safely Transport Fragile Handmade Props to Events?
Fragile packaging protects what rough handling destroys. Wrap your props in bubble wrap, secure them in rigid boxes, and cushion gaps with foam inserts to guarantee transport safety and keep your handmade accessories convention-ready.
Are Handmade Accessories Allowed in Cosplay Competitions and Contest Judging?
Yes, handmade accessories are typically welcomed—you’ll want to check each event’s cosplay costume regulations and contest entry guidelines, as judges often reward craftsmanship, creativity, and originality, giving your handmade builds a genuine competitive advantage.
How Long Does a Typical Handmade Cosplay Accessory Take to Complete?
Your timeline depends on material selection and design complexity—simple foam wands take hours, while detailed helmets need days. You’ll move faster once you’ve mastered your tools and streamlined each construction phase creatively.
Can Handmade Accessories Be Resized or Adjusted for Different Wearers?
Surprisingly, one size fits none! You can resize handmade accessories through custom fitting techniques—trim foam, extend straps, or reshape cardboard. Material flexibility means you’ll easily adjust pieces for any wearer without rebuilding from scratch.
References
- https://cosplayadvice.com/materials-for-cosplay-costumes-and-props/
- https://eyecandys.com/blogs/news/diy-cosplay-props
- https://www.costumary.com/templates/prop-build
- https://monstaasworkshop.com/en
- https://www.etsy.com/market/cosplay_accessories_handmade
- https://toxigon.com/how-to-make-cheap-and-easy-cosplay-props
- https://www.etsy.com/market/custom_made_cosplay_accessories
- https://www.geeksundergrace.com/anime-cosplay/tutorial-creating-cosplay-props-with-craftfoam-cardboard-and-mod-podge/
- https://starstruckpanda.com/budget-friendly-cosplay-accessory-ideas-for-beginners/
- https://cosplayadvice.com/23-easy-cosplay-prop-ideas/