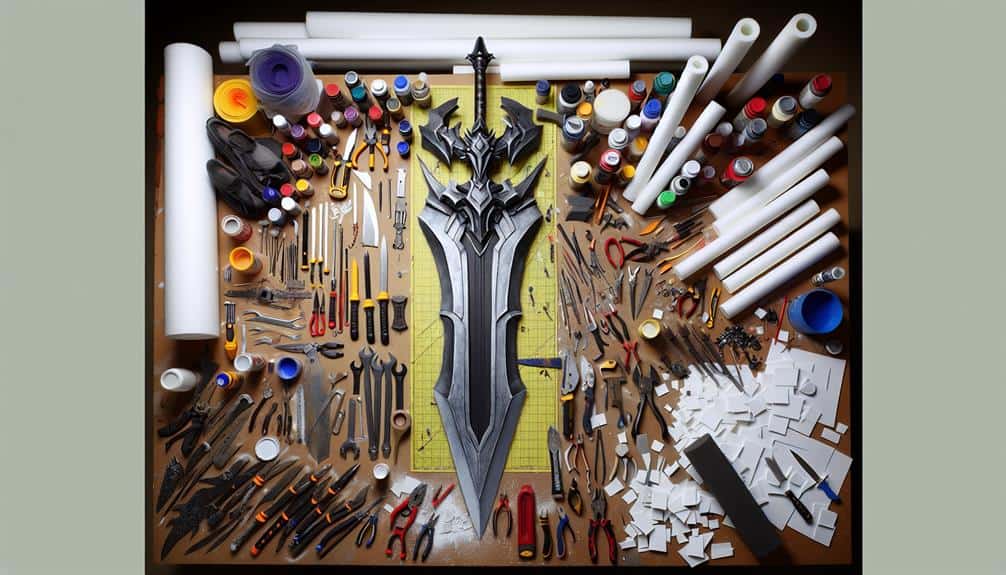
So, you've decided to set out on the adventure of crafting your own prop accessories for cosplay… but where to begin?
Imagine the satisfaction of holding a finished, intricately detailed prop that you made from scratch. Each step of the crafting process contributes to the authenticity and success of your cosplay ensemble.
From selecting the right materials to adding those final intricate details, mastering the art of DIY prop making can truly elevate your cosplay game. But how do you guarantee your creations stand out and impress fellow cosplayers?
Key Takeaways
- Select sturdy materials like EVA foam for durable props.
- Detailed sketches aid in precise construction and design visualization.
- Use stable base structures for long-lasting cosplay accessories.
- Enhance props with intricate detailing, weathering, and quality painting techniques.
Choosing the Right Materials
When creating DIY prop accessories for cosplay success, selecting the right materials is vital for achieving a professional look and ensuring durability. Material selection is essential, considering both the appearance you desire and the budget you have. Opt for materials like EVA foam, Worbla, or thermoplastics for sturdy props that can withstand the wear and tear of conventions.
Additionally, be mindful of safety precautions when working with tools such as heat guns, utility knives, and adhesives. Always wear appropriate safety gear like gloves and goggles to protect yourself from potential injuries. Understanding how to use these tools properly won't only enhance the quality of your props but also guarantee your safety throughout the crafting process.
Sketching Your Design Ideas
Exploit your creativity onto paper as you bring your cosplay prop ideas to life through sketching and planning. Sketching is a critical step in the prop-making process, allowing you to visualize your design and make necessary adjustments before diving into the construction phase.
Here are some tips to help you sketch your design ideas effectively:
- Create Detailed Drawings: Make sure your sketches are detailed and include measurements to guide you during the construction phase.
- Experiment with Different Perspectives: Explore various angles and perspectives to truly understand how your prop will look from all sides.
- Creating Mockups: Consider making small-scale mockups of your prop using materials like cardboard or clay to better understand its dimensions and structure.
- Exploring Alternatives: Don't be afraid to explore different design alternatives through your sketches to find the most suitable and visually appealing option.
Building the Base Structure
Let's now craft the sturdy foundation of your prop masterpiece by constructing the base structure with precision and attention to detail. When building the base structure for your cosplay prop, measuring accuracy is essential. Take the time to confirm each piece is cut to the correct dimensions, aligning perfectly to create a strong foundation.
To achieve structural stability, consider the materials you're using. Opt for sturdy materials like PVC pipes, wooden dowels, or EVA foam, depending on your prop design. These materials provide the support needed to withstand the wear and tear of conventions and photoshoots. As you assemble the base structure, reinforce connections with glue, screws, or other fasteners to guarantee durability.
Adding Details and Finishing Touches
Enhance the visual impact of your cosplay prop by meticulously adding intricate details and applying flawless finishing touches. To truly bring your prop to life, consider the following:
- Weathering Techniques: Experiment with techniques like dry brushing, sponge painting, or using sandpaper to create realistic wear and tear on your prop.
- Embellishment Ideas: Add depth and character to your prop by incorporating gems, beads, fabric, or other materials that match the theme of your cosplay.
- Distressing Methods: Utilize distressing methods such as scuffing, scratching, or staining to give your prop an aged or battle-worn appearance.
- Decorative Elements: Enhance the overall look of your prop by including decorative elements like faux jewels, metallic accents, or intricate designs to make it stand out.
Painting and Sealing Your Prop
Prepare to breathe life into your prop by masterfully painting and sealing it with care and precision. Blending colors is an art form that can elevate your prop to a whole new level.
Start by choosing high-quality acrylic paints that suit your design. Use a variety of brushes to create different textures and effects, adding depth and dimension. Remember, layers are your friend; build up colors gradually to achieve the desired richness and vibrancy.
Once you have perfected your paint job, it's time to seal the deal with a protective finish. A clear sealant not only protects your hard work from wear and tear but also enhances the colors, making them pop. Apply the sealant evenly in thin coats, allowing each layer to dry completely before adding the next.
With meticulous attention to detail and a passion for perfection, your prop will truly stand out in the cosplay crowd.
Frequently Asked Questions
How Can I Incorporate Electronics or Moving Parts Into My Prop Accessory?
To incorporate electronics or moving parts into your prop accessory, consider smart technology integration for seamless control. Immerse yourself in circuitry design for precise functionality. Explore animation mechanics and motorized components for dynamic cosplays that truly stand out.
Are There Any Tips for Securely Attaching My Prop Accessory to My Costume?
When securing your prop to your costume, consider the weight and mobility needed. Sewing offers durability for heavy items, while glue provides quick fixes. Velcro suits detachable props, but clips guarantee firm attachment for props that need support.
What Are Some Creative Ways to Add Functionality to My Prop Accessory, Such as Storage Compartments or Hidden Features?
Looking to level up your prop accessory game? Why not customize materials like EVA foam or worbla for a personalized touch? Embrace functional design with hidden compartments or moving parts for that extra wow factor!
How Can I Make My Prop Accessory More Durable and Long-Lasting for Multiple Uses?
To make your prop accessory more durable, consider reinforcing it with materials like fiberglass or carbon fiber. Use weatherproofing techniques to protect it from the elements. Customize paint finishes for a professional look. Explore wearable technology for added functionality.
Are There Any Resources or Online Communities Where I Can Find Inspiration and Guidance for More Advanced Prop Making Techniques?
Looking to elevate your prop-making game? Thus into the world of online tutorials and forums! Unleash your creativity with custom designs and find endless inspiration. Connect with like-minded enthusiasts to master advanced techniques.


