Designing your own cosplay weapons and shields starts with choosing the right materials — EVA foam is your best bet for lightweight, flexible builds that won’t break the bank. You’ll sketch your design first, build a sturdy internal frame, then cut and shape your foam with precision tools. After that, you prime, paint, and weather the surface for a battle-worn finish. Stick around, and you’ll master every technique needed to bring your vision to life.
Key Takeaways
- EVA foam is the ideal material for cosplay weapons and shields, offering durability, flexibility, and cost-effectiveness compared to alternatives like Worbla.
- Sketch designs and create cardboard prototypes before cutting materials to save time, reduce waste, and confirm accurate proportions.
- Use contact cement, hot glue, or epoxy depending on the joint type, ensuring strong bonds between foam layers and frameworks.
- Achieve professional finishes by sanding progressively, heat-sealing edges, and applying multiple thin gesso coats between sandings.
- Add weathering effects using watered-down acrylics and paint-and-wipe techniques, then seal with clear matte varnish for durability.
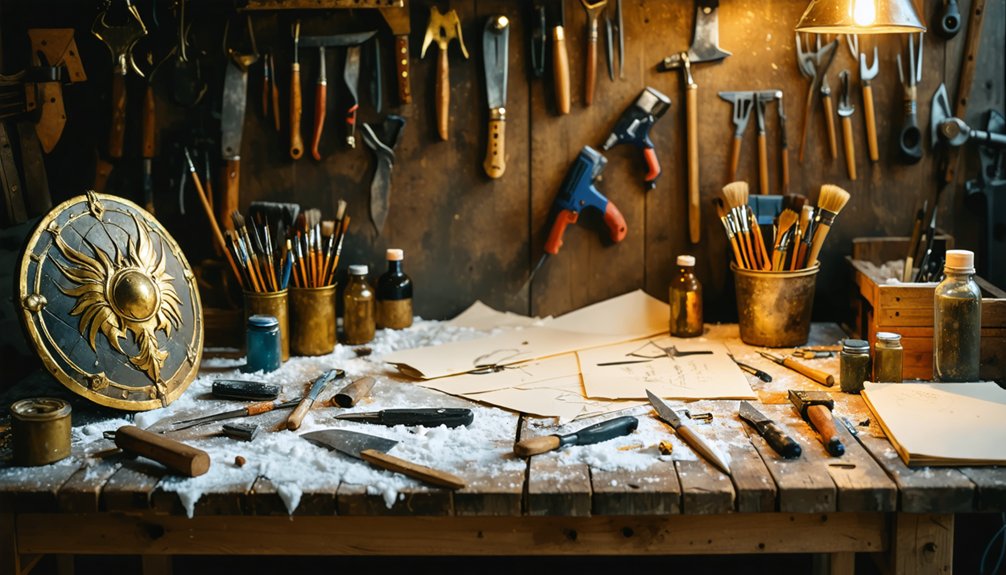
Picking the Right Materials for Cosplay Weapons and Shields
Picking the right materials can make or break your cosplay weapon or shield, so it’s worth understanding what each option brings to the table.
EVA foam delivers exceptional material durability while offering impressive flexibility options, making it ideal for lightweight builds. Its weight balance properties prevent fatigue during long convention hours.
EVA foam’s exceptional durability and flexibility make it the ultimate lightweight material for fatigue-free cosplay builds.
For cost effectiveness, EVA foam‘s affordability outperforms Worbla and thermoplastics, though both excel at capturing intricate aesthetic appeal in detailed props.
Use layering techniques by combining 6mm to 10mm foam sheets with HDPE plastic or wooden dowels for structural reinforcement.
Apply finishing touches using heat sealing, gesso primers, and acrylic varnishes for polished results.
For maintenance tips, store finished props away from extreme heat to prevent warping and preserve your craftsmanship long-term.
Sketch and Plan Your Design Before You Build
Before you cut a single piece of foam, sketching and planning your design saves time, materials, and frustration down the line. Develop your design concepts on paper first, outlining precise dimensions, structural details, and visual elements.
Strong sketch techniques include folding pattern paper in half to achieve perfect symmetry, then tracing one side to mirror the other.
Print your templates at full scale to verify proportions before committing to materials. For complex builds, cut cardboard prototypes to confirm actual sizing.
If you’re pushing creative boundaries, explore Blender or Fusion 360 to digitally visualize three-dimensional forms before physical construction begins.
Annotate your sketches with material callouts, thickness measurements, and attachment point locations. This documentation transforms abstract ideas into actionable blueprints, streamlining your entire build process.
Build a Frame That Actually Holds Up
Once you’ve locked in your design, it’s time to pick your core support materials—wooden dowels, threaded rods, and plywood boards each serve distinct structural roles depending on whether you’re building a sword, axe, or shield.
Cut your plywood into a triangular frame configuration, since triangular geometry distributes stress more effectively than rectangular or square alternatives, giving your prop the rigidity it needs to survive convention floors and action poses.
With your framework assembled, bond your EVA foam layers directly onto the structure using contact cement, pressing sections firmly and pinning them with BBQ skewers while the adhesive cures.
Choosing Core Support Materials
Every cosplay weapon or shield lives and dies by its internal framework, so choosing the right core support material is the most critical decision you’ll make during construction.
Understanding support material types helps you match structural needs to your specific build.
Top core material benefits by application:
- Wooden dowels and threaded rods — Insert centrally into weapon handles for rigid, lightweight reinforcement that resists bending under dynamic movement.
- Plywood sheets — Cut to custom shapes, providing solid bases for layering EVA foam attachments onto shields and large props.
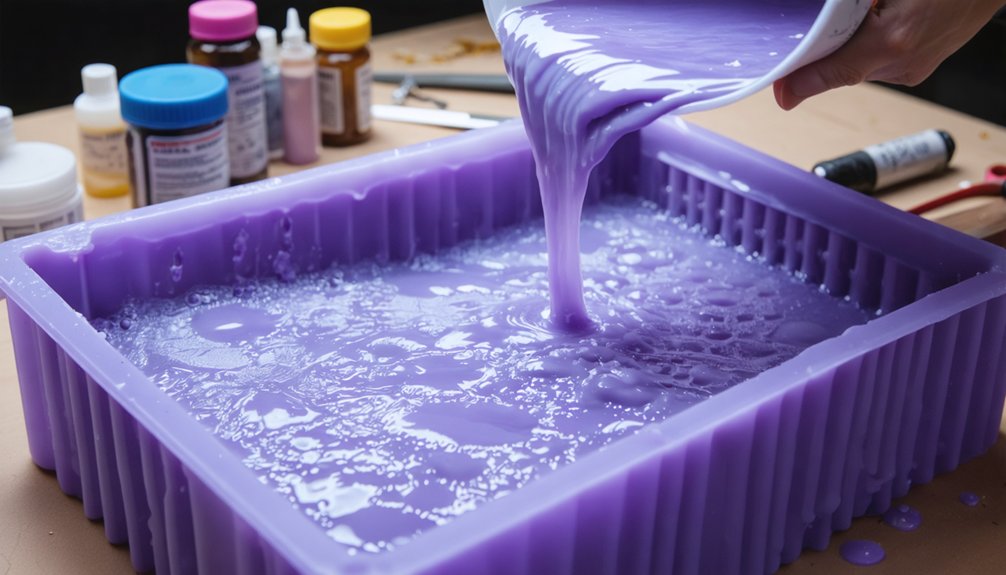
- Glass fabric with epoxy resin — Creates hardened external shells for complex curved structures requiring maximum rigidity.
Each material solves a distinct structural problem.
You’ll select based on weight tolerance, flexibility requirements, and the prop’s intended stress points during wear.
Building Triangular Wood Frames
When you need a shield or large prop to hold its shape under real-world stress, a triangular wooden frame delivers the structural geometry that flat or linear supports simply can’t match.
Triangular stability comes from each joint sharing load distribution across three connected points, eliminating flex that rectangular frames allow.
For frame assembly, cut plywood into three measured strips matching your prop’s interior dimensions. Miter each end at 60-degree angles before joining, ensuring tight contact at every corner.
Reinforce joints using wood glue combined with corner brackets or screws for maximum rigidity. Once assembled, test the frame by applying lateral pressure before attaching foam layers.
Mount your foam directly onto this skeleton using contact cement, creating a prop that survives repeated convention handling without warping.
Bonding Foam To Framework
Bonding foam to your wooden framework transforms a rigid skeleton into a complete prop that’ll withstand convention crowds, transportation, and repeated handling.
Mastering foam adhesion techniques means choosing the right glue types for each application:
- Contact cement brushed onto both surfaces creates an aggressive, flexible bond—press pieces together after 60 seconds of open drying time.
- Hot glue delivers instant tack for positioning foam sections quickly, though it’s better suited for smaller, lower-stress attachment points.
- Epoxy handles heavy-duty connections where structural integrity matters most, particularly where foam meets load-bearing framework joints.
After bonding, press BBQ skewers through foam layers into the wood, securing everything while adhesives cure completely.
You’ll get cleaner seams and stronger overall construction.
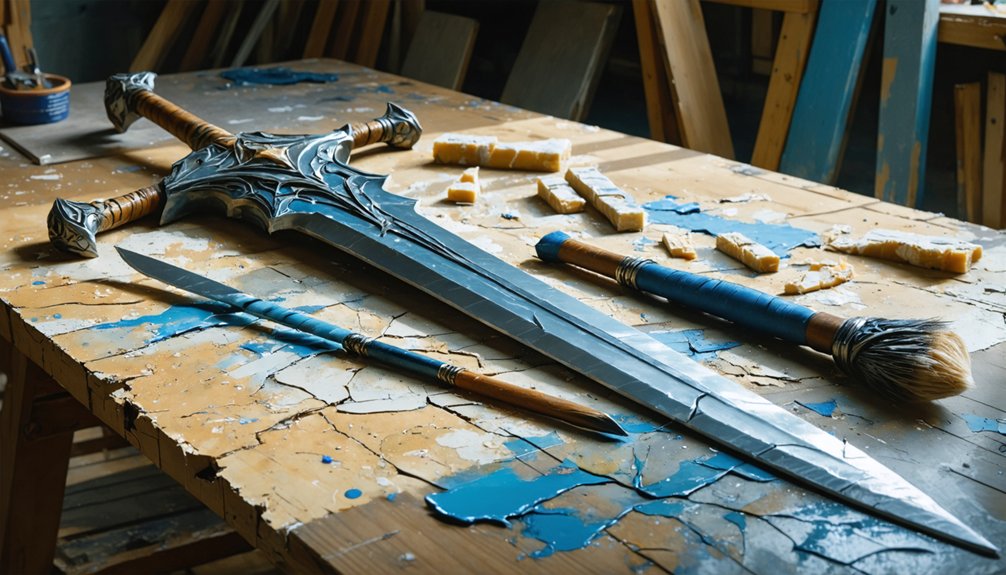
How to Cut and Shape EVA Foam Like a Pro
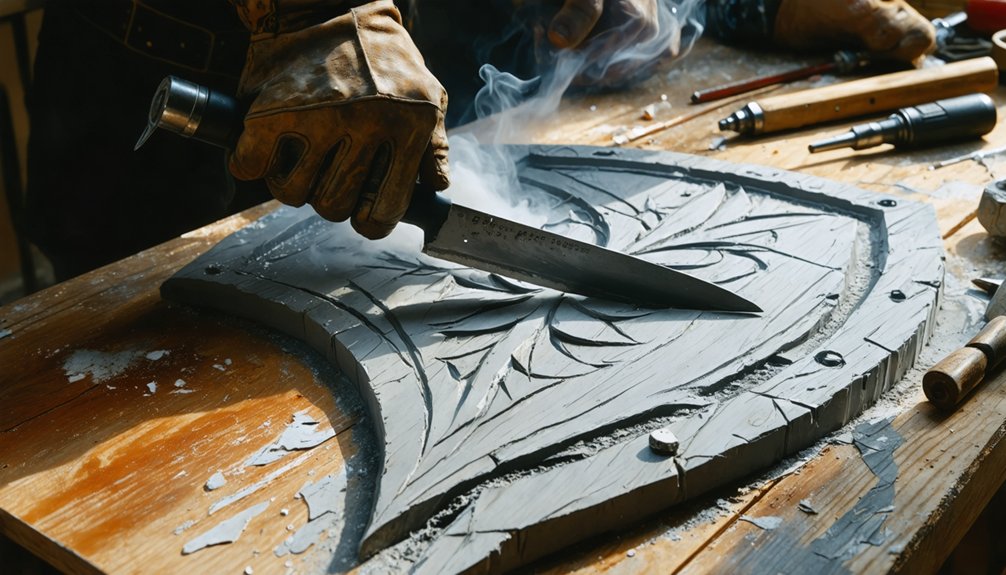
Once you’ve got your frame locked down, cutting and shaping EVA foam with precision becomes your next critical skill, requiring a sharp utility knife, a rotary cutter for detail work, and a Dremel or saw for rougher passes.
You’ll use a heat gun to transform flat foam sheets into curved, organic forms by applying controlled heat and bending the material before it cools.
After shaping, sanding refines your edges and eliminates imperfections, giving you clean surfaces that’ll accept primer and paint without issue.
Essential Foam Cutting Tools
Four essential cutting tools will define the quality of your EVA foam work: a sharp craft knife, a rotary cutter, a Dremel, and a hot wire cutter. Mastering these essential cutting tools transforms raw foam into precision-crafted components.
Here’s how each tool elevates your foam cutting techniques:
- Craft knife — delivers clean, controlled straight cuts and precise 45-degree beveled edges for seamless joins.
- Rotary cutter — carves intricate surface details, scrollwork, and embellishments with remarkable accuracy.
- Dremel — smooths rough cuts and refines complex contours that knives can’t reach.
A hot wire cutter handles large-scale shaping efficiently, slicing through thick foam without compression distortion.
Combining all four tools strategically guarantees professional-grade results across every stage of your weapon construction.
Shaping Foam With Heat
Heat transforms EVA foam from a rigid slab into a sculptable medium, and two tools drive this process: a heat gun and a household iron.
With heat gun techniques, you’ll hold the gun six inches from the foam’s surface, moving it continuously to prevent scorching. Once the material softens—usually within ten seconds—immediately bend or curve it into your desired shape, holding the position until it cools and locks permanently.
For foam bending across broader surfaces, a household iron set to medium heat distributes warmth more evenly, preventing localized distortion. Press firmly against a silicone mat barrier to protect the foam’s texture.
Work swiftly; cooled foam loses malleability instantly.
Practice on scrap pieces first, mastering temperature control before committing these techniques to your actual weapon or shield component.
Refining Edges And Surfaces
Shaping foam gets you the form you want, but raw edges and uneven surfaces will betray sloppy construction the moment you apply paint. Master these edge refinement techniques and surface smoothing methods to elevate your build:
- Sand progressively — Work through 80-grit to 220-grit sandpaper, removing cut imperfections and creating uniformly smooth planes across every surface.
- Heat-seal strategically — Pass your heat gun quickly over edges and surfaces, collapsing open foam cells into a tighter, paint-receptive skin without warping your shape.
- Apply gesso methodically — Layer multiple thin coats, sanding lightly between applications, building a professional foundation that accepts acrylic paint evenly.
These three steps transform amateur-looking foam into convincing, production-quality props that withstand scrutiny at any convention floor.
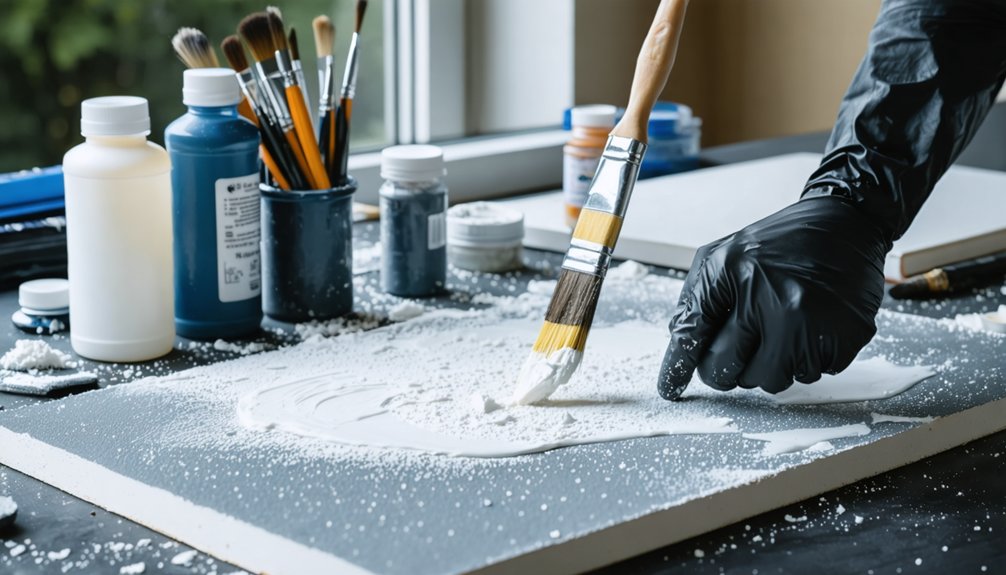
How to Prime, Paint, and Weather Foam Props
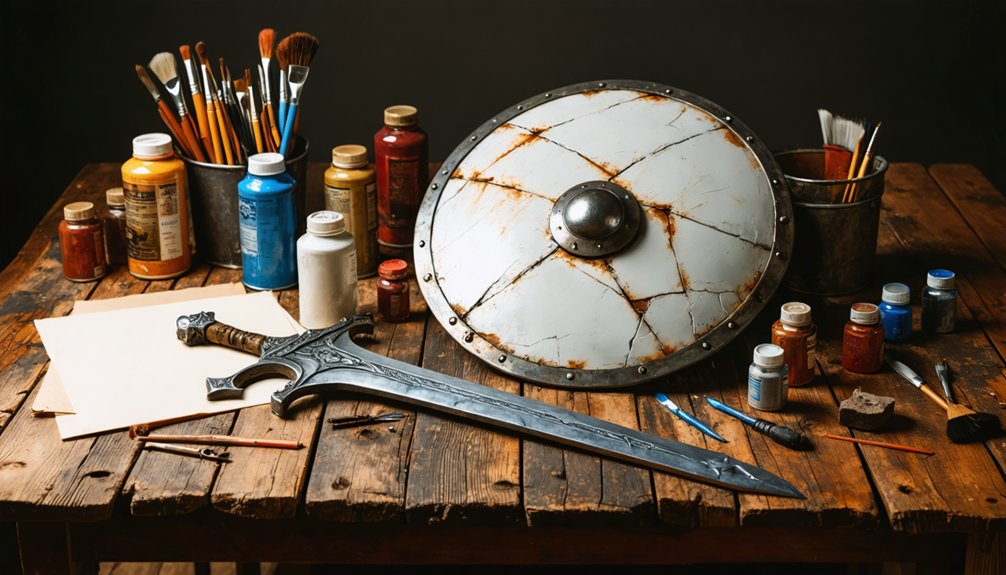
Priming, painting, and weathering foam props involves three critical stages that transform raw construction into a convincing, battle-worn artifact.
Start with priming techniques by applying multiple thin gesso coats, sanding lightly between layers for uniform coverage. This foundation optimizes paint applications, ensuring acrylics adhere without peeling.
Next, execute color blending by layering base coats strategically, then build depth through texture layering with dry-brushing contrasting tones.
Layer base coats strategically, then dry-brush contrasting tones to build remarkable depth and texture throughout your foam prop.
Detail highlighting follows — use fine brushes to accentuate raised edges and dimensional elements, making surfaces visually dynamic.
For weathering effects, deploy aging methods using watered-down brown, black, and copper acrylics through paint-and-wipe techniques, simulating authentic combat damage.
Complete your prop by applying sealing finishes — clear matte varnish locks everything in place while delivering professional-grade durability.
How to Attach Straps and Handles for All-Day Wear
With your prop now sealed and battle-worn in appearance, it’s time to make it wearable for hours without fatigue. Strategic strap placement and handle comfort are critical for convention survival.
Follow these three essential steps:
- Cut channels into your foam layers and thread elastic straps through, securing them with contact cement for clean, hidden attachment points.
- Hot-glue a hardware store fence handle to your shield’s interior, positioning it where your grip naturally falls for maximum handle comfort.
- Install buckles over fixed elastic straps, allowing quick size adjustments and redistributing weight evenly across your forearm.
Test your strap placement by wearing the prop for 15 minutes before finalizing positions. Uneven weight causes fatigue fast—balance is everything.
Frequently Asked Questions
Can I Bring My Cosplay Weapon to a Convention Safely?
You can absolutely bring your cosplay weapon, but conventions have ironclad safety regulations you must follow. Check event-specific policies on weapon materials—EVA foam’s flexibility and softness typically passes inspection far easier than rigid alternatives.
How Do I Store and Transport Large Cosplay Props Without Damage?
Store your large props using foam-lined cases and custom PVC pipe frames as innovative storage solutions. You’ll maximize prop protection methods by wrapping pieces in bubble wrap, disassembling modular sections, and securing everything with adjustable straps during transport.
What Is the Average Cost of Building a Cosplay Weapon?
Your creative investment typically runs $20–$150, depending on budget materials like EVA foam or premium thermoplastics. Weapon types greatly influence costs—simple swords stay affordable, while elaborate shields with LED integration stretch your financial horizon considerably.
How Long Does It Typically Take to Complete a Cosplay Prop?
You’ll typically spend 5–20 hours completing a cosplay prop, depending on your prop materials and crafting techniques. Simple foam builds take a weekend, while complex, multi-layered designs with weathering and LED integration demand considerably more time.
Can Beginners With No Crafting Experience Build Cosplay Weapons Successfully?
Like a chef’s first omelet, you’ll nail it with practice! Yes, beginners can build cosplay weapons successfully. Start with beginner tips: use EVA foam crafting materials—they’re forgiving, lightweight, and transform novice mistakes into masterpiece props effortlessly.
References
- https://starstruckpanda.com/customized-cosplay-weapons-and-shields/
- https://excelblades.com/blogs/diy/guide-to-diy-cosplay
- https://www.youtube.com/watch?v=YnFwielXmVQ
- https://polyestershoppen.com/info/een-cosplay-schild-maken-diy
- https://gallery.hotwirefoamfactory.com/gallery/parties-events/cosplay_shield/
- https://bustedjetpack.wordpress.com/2016/06/16/tutorial-lightweight-foamplastic-shields/
- https://www.youtube.com/playlist?list=PLmikw45YEhFwNWL9MkS0VpnNUziVhPeBm
- https://www.youtube.com/watch?v=4aa3wXDD1c8
- https://www.reddit.com/r/cosplayprops/comments/1eyc3nc/im_making_prop_armor_weapons_etc_for_a_school/
- https://www.punishedprops.com/weapons/