Building a fantasy costume starts with matching your skill level to a character’s complexity, then mapping out every material you’ll need before buying anything. You’ll cut and heat-shape EVA foam for armor, sew and mockup garments in muslin first, and seal painted details with Plasti Dip for durability. Style your wig, apply character-accurate makeup, and stress-test everything before your event. There’s a complete construction process worth exploring further ahead.
Key Takeaways
- Match your skill level to costume complexity before committing to a character to avoid costly material pivots mid-build.
- Use EVA foam for large armor panels and Worbla for intricate detail work to balance cost and quality.
- Seal foam armor with Plasti Dip, then paint with acrylics to achieve durable metallic or battle-worn finishes.
- Reinforce fabric stress points with double-stitching and test all seams, armor bonds, and wig attachments before the event.
- Shoot during golden hour using natural light to best highlight costume texture, depth, and construction craftsmanship.
How to Pick the Right Fantasy Character for Your Cosplay Build
Dozens of fantasy characters exist across books, games, and films, but picking the right one starts with honestly evaluating your skill level against the costume’s construction complexity. Match your current fabrication abilities to the armor density, accessory count, and garment structure the character demands.
Study the character backstory thoroughly, since a warrior’s battle-worn aesthetic differs sharply from a mage’s flowing, ornate robes — each requiring distinct construction approaches.
Next, analyze the costume color palette using reference screenshots from multiple angles. Identify dominant, secondary, and accent colors early to streamline fabric and paint sourcing later.
Build a mood board combining character artwork with material swatches to maintain visual consistency. Prioritizing characters whose design elements align with your available tools prevents costly mid-project pivots and keeps your build precise and achievable.
Source Your Cosplay Materials Without Blowing Your Budget
Many cosplay builds collapse financially before the first stitch gets sewn, so establish your full material list before purchasing anything. Break costs into categories: fabric, foam, Worbla, adhesives, paints, and tools.
Before buying a single material, map out your complete cost breakdown — or risk watching your build collapse financially.
Budget-friendly shopping starts with thrift stores for base garments and fabric stores for accent materials during sale cycles.
Conduct thorough material comparison between EVA foam and Worbla before committing. EVA costs less and suits large armor panels, while Worbla offers superior heat-shaping precision for intricate detail work.
Use craft store coupons aggressively and monitor online marketplaces for discounted bulk foam sheets.
Track every purchase inside a spreadsheet, flagging categories approaching their limit. Reallocating funds early prevents last-minute compromises on visible, high-impact costume components.
Build Cosplay Armor Pieces That Look Pro Using Foam
Once your materials are purchased and tracked, it’s time to turn that foam into armor that holds up under convention lighting and close-up photos.
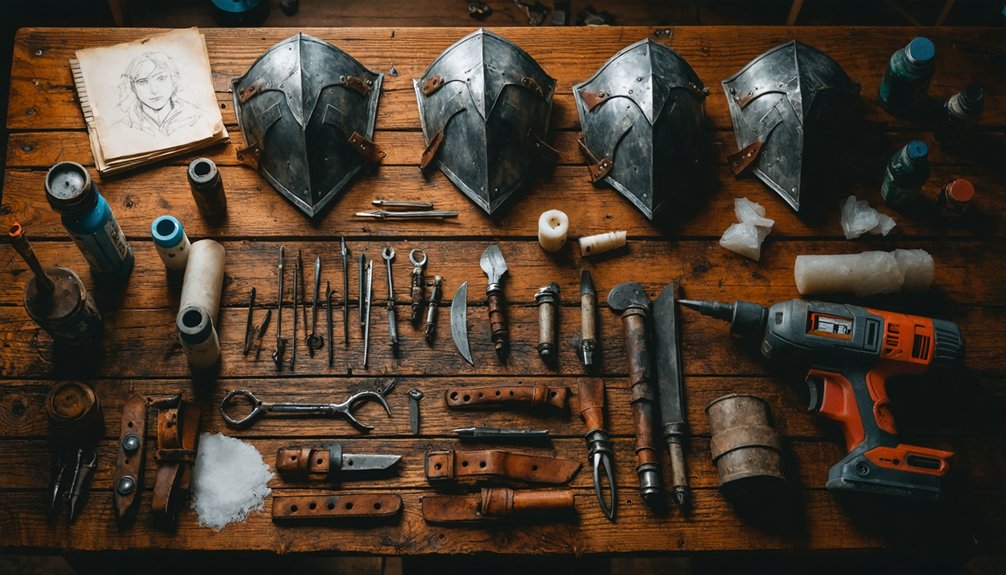
Start by sketching your chest plate, shoulder guards, and bracers directly onto EVA foam sheets, then cut cleanly using an X-Acto knife.
Use your heat gun for foam shaping, applying controlled warmth until the material softens enough to curve around your body’s contours. Hold each piece firmly until it cools and retains its form.
For armor detailing, score surface lines, press in texture patterns, or layer smaller foam cutouts to create dimensional depth.
Seal every piece with Plasti Dip, let it cure fully, then build up acrylic paint layers for a convincing metallic or battle-worn finish.
Sew and Fit Your Cosplay Costume Garments Correctly
With your armor pieces sealed and painted, it’s time to shift focus to the fabric garments that’ll sit beneath or alongside them. Start by modifying commercial patterns to match your character’s silhouette, adjusting necklines, hems, and sleeve volumes accordingly.
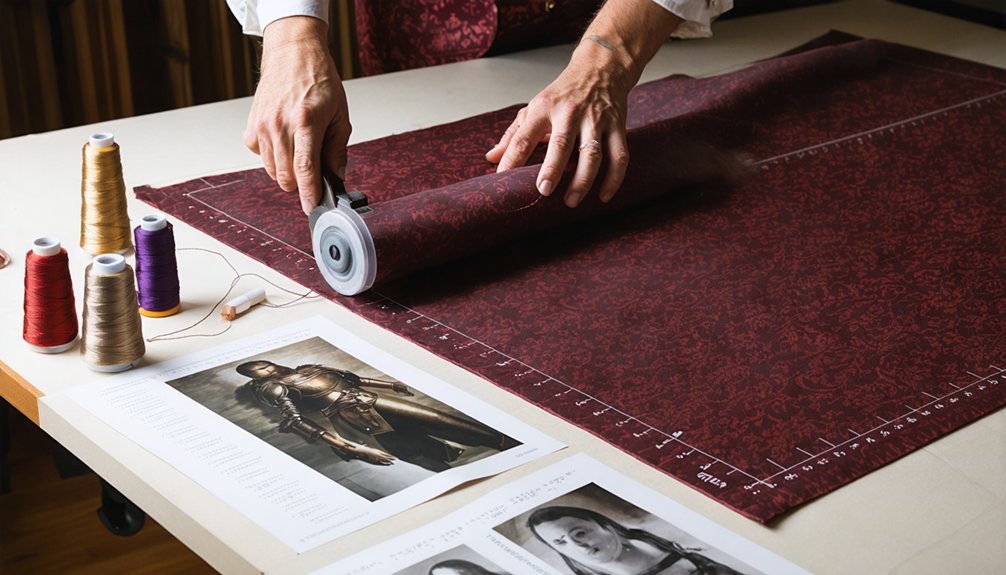
Iron every fabric piece before cutting to eliminate distortion. Pin components together carefully, then sew muslin mockups first for fitted or structurally complex sections. This prevents costly errors in your final material.
Prioritize seam reinforcement at stress points, particularly armholes, waistbands, and collar joins, using double-stitching or seam tape. These areas endure constant movement during wear.
Experiment with fabric draping techniques to achieve flowing capes or layered skirts that photograph dynamically. Test tension settings on scrap fabric before committing stitches to your primary costume pieces.
Style Your Wig and Apply Your Character’s Makeup
Once your garment fits correctly, you’ll shift focus to wig selection and makeup application, two elements that transform a well-sewn costume into a convincing character portrayal.
Choose a heat-resistant synthetic wig that matches your character’s exact color, length, and texture. Then use a flat iron, hairspray, or hair glue to lock the style into its intended silhouette.
For makeup, layer foundation and concealer for smooth coverage. Then build bold eyeshadow, lipstick, and body paint that mirror your character’s defining facial features.
Wig Selection And Styling
Selecting the right wig sets the foundation for a convincing character portrayal, so you’ll want to prioritize heat-resistant synthetic fibers that match your character’s exact color, length, and texture. Browse reputable cosplay suppliers for fiber grades that tolerate flat iron temperatures without melting or frizzing.
Once you’ve secured your wig, establish a consistent wig care routine by detangling gently with a wide-tooth comb from ends upward, preventing unnecessary shedding. Use hairspray or hair glue to sculpt spikes, dramatic curls, or structured updos that hold under convention lighting.
Integrate hair accessories like decorative pins, braided extensions, or fantasy-themed clips to reinforce your character’s aesthetic details.
Trim cautiously with sharp hair-cutting scissors, removing only small increments to preserve the intended silhouette accurately.
Character Makeup Application
Applying your character’s makeup begins with a clean, moisturized base, since primer helps your foundation adhere evenly and extend wear throughout long convention days.
You’ll want to map out your makeup color schemes before touching any brush to skin, referencing your character’s artwork for accurate tone matching.
Layer concealer strategically beneath bold eyeshadow, building depth through blending rather than single heavy applications.
When incorporating facial prosthetics, use medical-grade adhesive and blend edges seamlessly using latex or flexible putty.
Set prosthetic boundaries with translucent powder to prevent lifting during wear.
Apply lip color last, sealing it with a setting spray to lock everything in place.
Photograph your finished look under convention lighting to identify any areas needing touch-up refinement.
With all components assembled, it’s time to wear-test your full cosplay by moving through poses, sitting, walking, and stretching to identify pressure points, slipping armor, or stressed seams.
Document every fit issue with notes or photos, then reinforce weak attachments using additional hot glue, safety pins, or hook-and-eye closures before your final shoot.
Once you’ve confirmed structural integrity, photograph your finished cosplay under natural or studio lighting, then share the documented build process alongside your character reference images on cosplay forums or social media platforms.
Wear-Test Your Cosplay
Once your costume is fully assembled, wear it for at least two hours before any event to identify pressure points, restricted movement, or attachment failures. This comfort assessment reveals critical flaws invisible during static fitting sessions.
During your wear-test, systematically evaluate these performance metrics:
- Mobility range – crouch, reach overhead, and walk briskly to stress-test seam integrity
- Accessory placement – confirm weapons, pouches, and props stay positioned without constant readjustment
- Thermal regulation – monitor heat buildup inside layered armor or foam components
- Attachment durability – tug gently on glued, pinned, or sewn elements to detect weak bonds
Document every failure point immediately using your phone’s notes app. Reinforce compromised areas with contact cement, additional stitching, or repositioned fasteners before your event date arrives.
Photograph and Share
Three essential steps transform your finished cosplay into shareable content: selecting the right location, controlling your light source, and framing your character accurately. Scout environments that mirror your character’s world—urban ruins, forests, or studio backdrops—all reinforce narrative authenticity.
Before shooting, verify costume durability by stress-testing seams, armor bonds, and wig attachments under movement. Check accessory placement for visual balance; asymmetrical details photograph differently than they appear in person.
Shoot during golden hour for soft, directional light that highlights texture and depth. Use a tripod to eliminate camera shake during detail close-ups. Capture multiple angles—front, side, and three-quarter views—to document construction quality thoroughly.
Export high-resolution files before uploading to Instagram, Reddit’s r/cosplay, or DeviantArt, tagging relevant fandoms to maximize community engagement.
Frequently Asked Questions
How Do I Safely Store My Finished Cosplay Between Convention Events?
Like a dragon guarding treasure, safeguard your cosplay storage by hanging garments on padded hangers, boxing armor in acid-free tissue, and keeping wigs on stands. You’ll ensure costume maintenance stays flawless between events.
Can I Repair Damaged Foam Armor Pieces Quickly at a Convention?
You can tackle foam repair with quick fixes using a travel-sized hot glue gun. Reattach broken pieces, seal cracks with flexible glue, and touch up paint using a small acrylic brush you’ve packed in your repair kit.
What Permits or Rules Do Conventions Have About Cosplay Weapons?
“Better safe than sorry”—you’ll need to review each convention’s cosplay prop regulations before attending. Check costume weapon restrictions covering blade length, material hardness, and peace-bonding requirements, as rules vary widely between events.
How Do I Handle Overheating While Wearing a Full Cosplay Outfit?
Wear cooling vests beneath your costume to regulate core temperature effectively. You’ll want breathable fabrics integrated into hidden panels, allowing airflow circulation. Schedule regular breaks, hydrate consistently, and strategically place portable mini-fans inside structural armor cavities for innovative thermal management.
Are There Cosplay Communities Where Beginners Can Find Mentorship Support?
Yes, you’ll find cosplay mentoring everywhere! You can join Reddit’s r/cosplay, Discord servers, and local conventions where experienced crafters actively offer beginner support, sharing technical construction tips, material sourcing advice, and innovative design feedback directly with you.
References
- https://www.diy.org/challenges/cosplay-a-literary-character
- https://starstruckpanda.com/fantasy-character-cosplay-costume-construction/
- https://www.youtube.com/playlist?list=PLBuoo_SZQ7H1Fuj1MqUup_CiKWD4vqWmc
- https://www.instructables.com/How-to-Make-a-Cosplay-Costume/
- https://creedleather.com/blogs/costume-guide/how-to-build-a-cosplay-costume-from-scratch-a-beginner-s-guide
- https://www.youtube.com/watch?v=chR_gRh15Xc
- https://www.costumary.com/templates/costume-cosplay-garment
- https://www.youtube.com/watch?v=NxoLC7HfZQM
- https://www.instructables.com/Ultimate-Instructable-Costume-Resource/
- https://www.costumary.com/templates/series