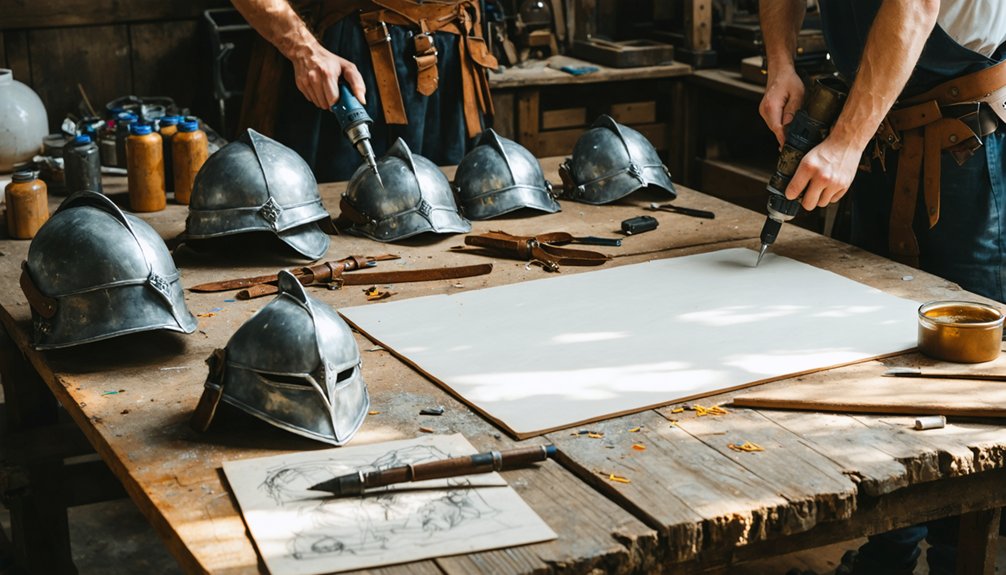
To build DIY medieval fantasy cosplay armor, you’ll need a solid plan before sourcing materials. Start by listing every armor component—cuirass, bracers, greaves, pauldrons, and tassets—then match your material choice to your budget and skill level. EVA foam suits beginners, leather offers durability, and steel demands advanced tooling. Draft patterns with mobility clearance, test fit before permanent cuts, and finish with layered paint and weathering. There’s a precise system behind every step worth knowing.
Key Takeaways
- Start with a detailed build plan listing all armor components, matching materials to your skill level, budget, and available tools.
- Draft patterns on cardstock using body measurements with 1–2 inches of mobility clearance, testing symmetry before cutting final materials.
- Choose materials wisely: EVA foam suits beginners, leather offers durability at moderate skill, and steel demands advanced techniques and tooling.
- Fasten pieces using rivets for high-stress points, stitching for flexible seams, and contact cement for foam bonding.
- Before final assembly, test full range of motion—raising arms, bending, twisting, and crouching—to identify and correct pressure points.
Choose Your Cosplay Armor Pieces Before You Build Anything
Before cutting a single piece of material, you’ll need a clear build plan that lists every armor component you intend to make. Define each piece—cuirass, bracers, greaves, pauldrons, and tassets—before sourcing materials or drafting patterns. This prevents costly mid-build revisions and ensures structural coherence across the full set.
Consider historical accuracy when selecting your silhouette. Gothic, Roman, and Japanese armor systems each carry distinct proportions and joinery logic that directly affect pattern geometry and material choice. Cultural influences shape not just aesthetics but functional design decisions, including articulation points and layering sequences.
Map your complete build list against your skill level, budget, and timeline. Prioritize foundational pieces like the breastplate first, then add complexity. A defined component list is your most critical pre-build tool.
Pick the Right Material for Your Budget and Skill Level
Each material in armor-making carries a distinct skill threshold, cost range, and tooling requirement, so matching your choice to your current capabilities prevents wasted materials and abandoned builds.
Every armor material demands a different skill level, cost, and toolset — choose wisely or risk wasted builds.
- EVA foam — lowest cost, easiest cutting, excellent color customization through paint, but limited material durability under heavy use.
- Cardboard — near-zero budget, ideal for pattern testing, poor longevity, best for single-event builds.
- Leather — moderate cost, requires specialized tools, superior material durability, rich natural tones with deep color customization through dye layering.
- Sheet steel — highest difficulty, demands cutting and shaping tools, maximum material durability, limited color customization without coating treatments.
Assess your available tools first, then select the material your current skill level can realistically finish without outsourcing critical steps.
Which Tools You Need for Leather, Foam, or Steel Cosplay Armor
Your material choice directly determines which tools you’ll need, so building the right kit before you start saves both time and ruined cuts.
For leather, you’ll rely on a utility knife or rotary cutter, cutting mat, hole punch, rivet setter, mallet, edge beveler, and burnishing tool.
Foam builds require far fewer specialized tools — scissors or a sharp knife, sandpaper, contact cement, and a hot glue gun cover most of what you’ll cut and shape.
Core Tools By Material
Choosing the right tools depends entirely on your material, and each one demands a distinct toolkit.
Historical accuracy and cultural influences shape which techniques you’ll replicate, so matching tools to material is non-negotiable.
- Leather: Utility knife, rotary cutter, cutting mat, hole punch, rivet setter, mallet, burnishing tool, edge beveler, needles, and waxed thread.
- EVA Foam: Scissors or craft knife, heat gun, contact cement, hot glue, sandpaper, and hook-and-loop fasteners.
- Steel: Sheet steel, marker, cutting tools, shaping hammer, hand riveter, and washers for plate attachment.
- Budget Builds: Cardboard, floor mat foam, basic knife, and adhesive replace costly materials without sacrificing structural intent.
Each toolkit directly determines your armor’s durability, finish quality, and wearability across all build types.
Cutting And Shaping Tools
Cutting and shaping tools form the operational core of any armor build, and getting them wrong wastes both material and time. For leather, you’ll need a rotary cutter or sharp utility knife paired with a cutting mat.
Wet forming — soaking leather for 5–10 minutes, then molding it over a rounded form — reflects historical armor techniques adapted for modern builds.
Foam demands traced patterns cut cleanly with a knife, then refined through sanding before assembly.
Steel work requires marked templates, cutting tools with extra margin, and a hammer for edge contouring — advanced shaping methods drawn from plate armor construction.
Each material demands its own toolset. Matching the right cutting instrument to your chosen material directly determines structural integrity and finished precision.
How to Draft Cosplay Armor Patterns That Actually Fit
Before you cut a single piece of foam or leather, you need accurate patterns—and that starts with measuring your body and drafting on paper first.
Historical accuracy and cultural influences shape silhouette decisions, so research your reference before drafting.
Follow this pattern drafting sequence:
- Measure key zones—chest, shoulders, waist, and limb circumference—then add 1–2 inches for mobility clearance.
- Draft each piece on cardstock, marking centerlines, overlap zones, and strap attachment points with a ruler and compass.
- Test symmetry by folding the pattern in half; both sides must align precisely before transferring.
- Print scaled templates at 100%, taping multi-sheet patterns along alignment marks before tracing onto your final material.
Recheck fit by wearing the mock-up before committing to permanent cuts.
Cut, Shape, and Form Your Armor Pieces Without Wasting Material
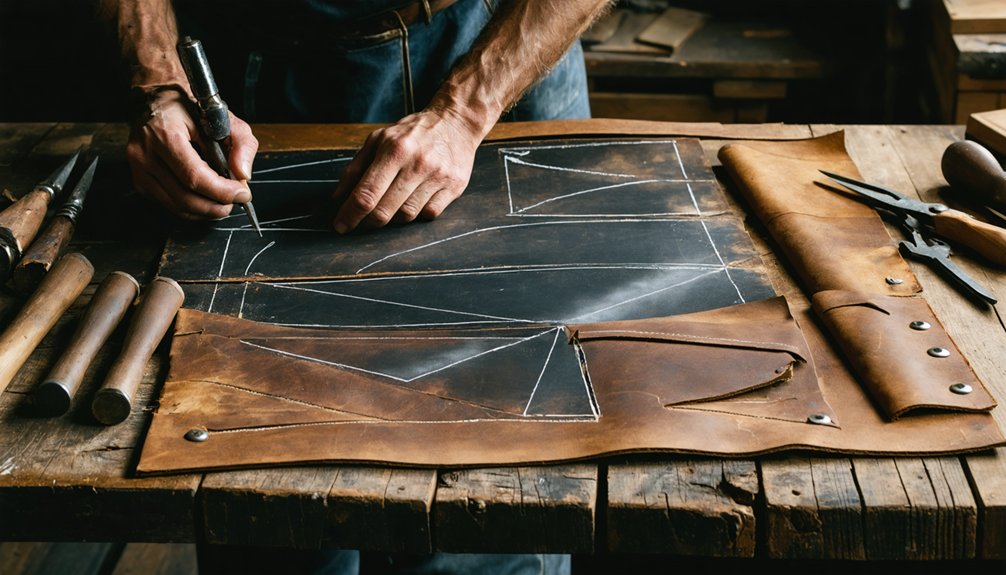
With your patterns drafted and tested, it’s time to transfer them onto your material and cut accurately to avoid costly waste. Trace each template using a silver pen on leather or a marker on EVA foam, keeping grain direction consistent.
Cut leather with a sharp rotary cutter on a protective mat; foam benefits from a single clean knife stroke per line.
For shaping leather, soak it in warm water for 5–10 minutes, then mold it over a curved form and allow 24–48 hours to dry. Leather tooling adds structural detailing before the piece fully hardens.
For foam, sand edges smooth before foam painting to ensure primer adhesion and a clean finish.
Always nest pattern pieces tightly together on your material to minimize offcuts.
Wet Form Leather or Heat-Shape Foam to Match Your Body
Once your pieces are cut and edges refined, shaping them to your body’s curves is what separates flat stock from functional armor.
Historical accuracy demands contoured surfaces, not flat panels, and cultural influences from medieval plate construction confirm this standard.
Wet forming leather:
- Submerge leather in warm water for 5–10 minutes until fully saturated.
- Mold it firmly over a rounded form matching your chest, forearm, or shoulder.
- Secure edges with clips and allow 24–48 hours of undisturbed drying.
- Test fit immediately after removal before the material fully hardens.
For EVA foam, apply a heat gun in sweeping passes until pliable, then press it against your body or a custom mold.
Work quickly—foam re-hardens within seconds, locking your contoured shape permanently.
Rivet, Stitch, or Glue: Which Fastening Method Works Best?
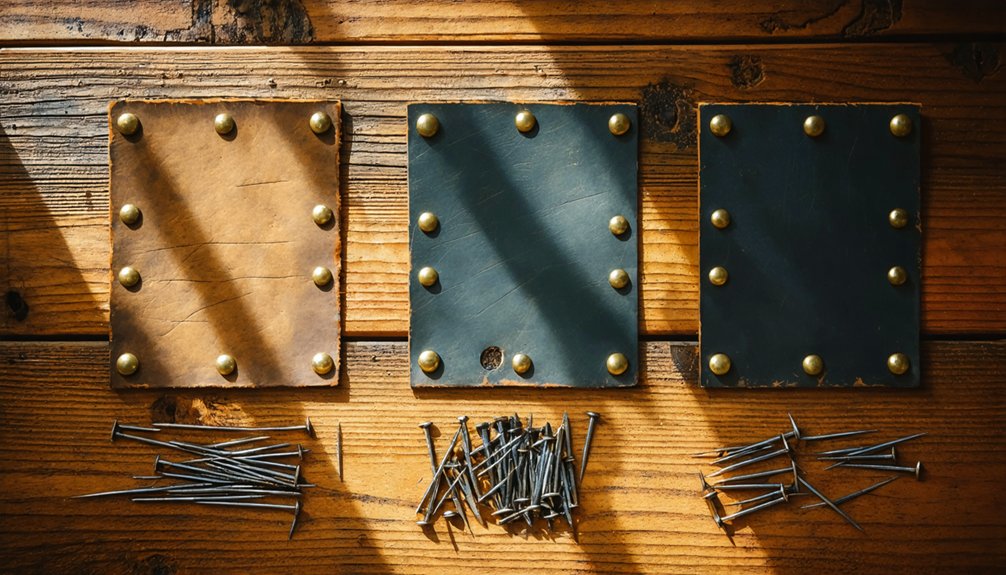
Fastening your armor correctly determines how long it holds up under movement, stress, and repeated wear. Each method suits specific materials and stress zones.
Use metal riveting at high-load points like shoulder joints and belt attachments — pop rivets with washers distribute force and prevent tearing through thin material.
Apply leather stitching along flexible seams where rivets would restrict natural movement; saddle stitch with waxed thread outperforms machine stitching under tension.
For foam builds, contact cement creates stronger, more durable bonds than hot glue, which fails under heat and repeated flexing.
You’ll often combine all three methods in a single build — riveting structural connections, stitching articulated sections, and gluing surface details.
Matching your fastening method to each stress point dramatically extends your armor’s functional lifespan.
Test Fit Your Cosplay Armor Before Making Anything Permanent
Before you commit to any permanent fastening, put the armor on and run through a full range of motion—raise your arms, crouch, and twist to confirm no plate binds or digs into your body.
Use semi-permanent tape or temporary adhesive to hold pieces in position first. Then have a helper mark overlap points, strap locations, and plate edges while you’re wearing the assembly.
Only once you’ve verified both comfort and mobility should you drill, rivet, or glue anything into its final configuration.
Checking Movement And Comfort
Testing your armor’s fit and mobility before making anything permanent saves you from costly mistakes that are difficult to undo.
While wearing your test-fitted pieces, systematically evaluate these four critical movements:
- Raise both arms overhead to confirm shoulder pauldrons don’t bind or restrict ergonomic posture during dynamic action poses.
- Bend forward at the waist to verify your breastplate doesn’t compress your torso or disrupt natural breathing techniques.
- Twist left and right to check that side plates and tassets allow full rotational range without pinching.
- Sit and crouch low to ensure greaves and leg plates flex comfortably without digging into joints.
Mark any pressure points immediately with chalk. Adjust overlapping zones before drilling, riveting, or applying permanent adhesive.
Temporary Positioning Before Permanent Attachment
Once you’ve marked your pressure points and confirmed your range of motion, it’s time to lock in plate positions before committing to permanent fasteners. Use painter’s tape or repositionable adhesive to hold each piece in place temporarily, accounting for armor weight distribution across your vest or fabric base.
Walk, sit, and rotate through full movement sequences while the pieces are taped. This reveals stress points where material flexibility gets compromised under load. Pay close attention to shoulder overlaps and tasset connections—these zones shift unpredictably during motion.
Once positioning satisfies both fit and function, mark each plate’s exact boundary with a silver pen or chalk liner. Only then should you drill, punch, or rivet. Skipping this step risks misaligned permanent attachments that can’t be corrected without damaging the base layer.
How to Dye, Prime, and Paint Armor for a Clean Final Look
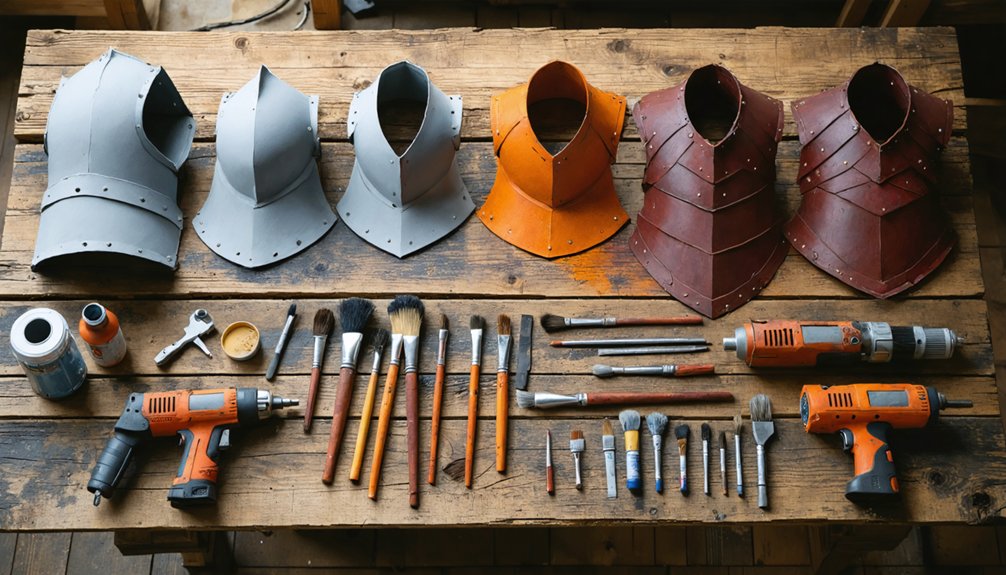
Finishing your armor with dye, primer, and paint transforms raw materials into a polished, professional-looking piece that holds up through wear and display. Match your finishing approach to your material for best results.
- Leather dyeing: Apply dye using a wool dauber in circular strokes. Let it dry fully, then add a second coat for deeper color blending and saturation.
- Foam priming: Sand foam smooth. Apply a flexible primer, and let it cure before painting to prevent cracking.
- Base coating: Use acrylic paint for even coverage. Build thin layers rather than one thick application.
- Weathering effects: Dry-brush darker tones into recesses and lighter tones on raised edges to create battle-worn, dimensional depth.
Always test colors on scrap material before committing to the final piece.
Decorative Details and Fantasy Trim That Complete the Build
Once your base coat is dry, you can add layered decorative accents—swirls, diamonds, raised trim strips, and geometric cutouts—to push your build from functional to fantasy.
For foam armor, you’ll cut detail pieces from thinner EVA sheets and bond them with contact cement. Building depth through stacked layers rather than flat surface decoration is recommended.
On leather pieces, you can tool or stamp patterns directly into the surface. Then, enhance them with contrasting dye or metallic paint to make the detail work read clearly at distance.
Fantasy Trim Techniques
Decorative trim separates a functional armor build from one that reads as genuinely fantastical, and you’ll want to plan these details before final assembly rather than treating them as an afterthought. Leather tooling and metal embossing elevate surface texture dramatically, transforming flat panels into layered, dimensional pieces.
Apply trim systematically using these techniques:
- Swirl and knotwork stamps pressed into dampened leather create raised relief patterns along breastplate edges.
- Diamond-cut foam layering adds depth to pauldrons without significant weight increase.
- Embossed metal accent strips riveted along borders reinforce edges while contributing visual complexity.
- Decorative flaps and scalloped trim cut from contrasting material frame the silhouette with fantasy-specific character.
Execute each detail with precise placement marks before committing adhesive or rivets permanently.
Layered Decorative Accents
Layered accents transform a competent armor build into one with genuine visual depth, and you’ll achieve the strongest results by treating each stratum as a structural decision rather than pure ornament.
Plan your stacking sequence before bonding anything permanently. Base layers should be flush and fully adhered; raised elements like metal embossing strips or shaped foam appliqués need edge-sealed perimeters to prevent peeling under movement stress.
Incorporate fabric embellishments—braided trim, velvet borders, or woven bands—at seam transitions where two plates meet, since these zones benefit from both visual definition and added edge protection.
Apply embossed metallic accents after priming and before final paint sealing so topcoats unify the surface.
Keep layer thickness proportional to the piece’s scale; oversized accents on small bracers distort the silhouette and reduce visual cohesion.
Frequently Asked Questions
How Do I Store Finished Cosplay Armor Without Damaging It?
Store your finished armor in padded, breathable containers for effective damage prevention. You’ll want to avoid compression, humidity, and direct sunlight. Proper armor storage uses acid-free tissue, climate-controlled spaces, and individual wrapping to maintain structural integrity long-term.
Can Children Safely Wear DIY Foam or Leather Cosplay Armor?
Children can wear a thousand times safer experience when you prioritize child safety by avoiding sharp rivets and material hazards like contact cement fumes. You’ll want smooth foam edges, secure straps, and adult supervision always.
How Long Does a Completed Cosplay Armor Build Typically Last?
Your build’s cosplay durability varies by material: foam armor longevity typically reaches 2–5 years with proper storage and touch-up painting, while well-finished leather pieces can last over a decade if you condition them regularly.
Are There Legal Restrictions on Wearing Armor at Public Events?
You’ll encounter varying cosplay armor legality standards depending on venue and jurisdiction. Always check public event restrictions beforehand, as organizers often prohibit real metal, sharp edges, or full-face helmets for safety compliance.
How Do I Repair Cosplay Armor That Breaks During an Event?
Funny how breaks happen mid-quest! Boost cosplay armor durability with repair kit essentials: carry hot glue, contact cement, spare rivets, and Velcro. You’ll quickly rebond foam, resecure leather, or reattach plates on-site.
References
- https://creedleather.com/blogs/costume-guide/how-to-make-medieval-leather-armor
- https://www.youtube.com/watch?v=2B90J56J9fo
- https://www.youtube.com/watch?v=NNvKoAvQkU4
- https://www.youtube.com/watch?v=_ySmspST6lo
- https://www.instructables.com/Fantasy-Armor/
- https://www.instructables.com/DIY-Medieval-Halloween-Costumes/
- https://www.instructables.com/Fantasy-Armour/
- https://www.instructables.com/DIY-Knight-Armor-Costume-From-a-Floormat-and-Hot-G/
- https://www.youtube.com/watch?v=OuBNCKAYbpo
- https://www.youtube.com/watch?v=3ajOJivJisg