To cosplay as a WWI or WWII soldier, you’ll need to lock down your era, nation, and regiment before buying a single piece of gear. Start with the tunic and trousers, then add correct boots, properly wrapped puttees, and field equipment in the right sequence. Match your insignia and medals to period-accurate positional conventions. Get these fundamentals right, and you’ll avoid the mistakes that informed observers spot immediately — everything else gets easier from here.
Key Takeaways
- Start by choosing a specific war era, nation, and regiment to ensure every uniform element remains historically consistent and accurate.
- Build your uniform around core pieces like the tunic and trousers, verifying insignia placement using reliable period references.
- Select correct footwear for your chosen role—low boots for infantry, high boots for officers—and wrap puttees ankle to calf.
- Assemble field gear in proper sequence: belt first, then entrenching tools, then gas mask with canister correctly mounted.
- Source gear from trusted archives or vetted collector groups, prioritizing provenance and accuracy over unverified original items.
Pick Your WWI Era, Nation, and Regiment First
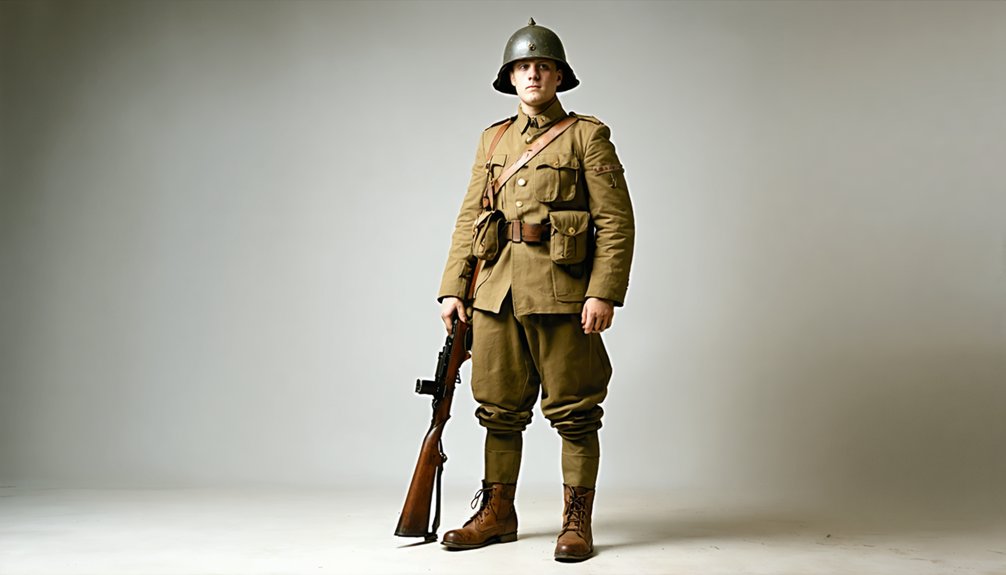
Before buying a single piece of kit, you’ll need to lock down three decisions: the specific war era, the nation, and the regiment you’re representing.
Historical accuracy collapses without this foundation. A US infantryman requires the M1916 shirt, M1917 pants, and M1917 tunic — not generic army-surplus approximations.
A German reenactor needs the M16 Stahlhelm as the standard helmet, while British 1914 impressions follow the M1902 pattern.
Regional variations matter just as much as the timeline. Each nation’s uniform evolved rapidly between 1914 and 1918, meaning early-war and late-war kits differ considerably.
Define your regiment early, since shoulder boards featuring regimental numbers must be sewn directly onto the tunic. Skipping this step produces a generic, inauthentic impression that informed observers will immediately recognize as incomplete.
Build Your WWI Uniform From Tunic to Trousers
Once your era, nation, and regiment are locked in, the uniform itself becomes your next priority — and it builds from the inside out. Start with the tunic and trousers before adding anything else — these two pieces anchor every decision that follows.
Once your uniform era and regiment are locked in, build from the inside out — tunic and trousers first.
For US WWI accuracy, you’ll need:
- M1916 shirt as your base layer
- M1917 trousers paired with the M1917 tunic
- Shoulder boards with regimental numbers sewn directly onto the tunic
- Insignia authenticity verified through period references before finalizing medal placement
Don’t skip the details on insignia authenticity — incorrect devices immediately signal a rushed build. Medal placement follows strict positional conventions per branch and nation. Cross-reference quartermaster archives to confirm you’re constructing a historically defensible, visually precise impression.
Fit Your Boots and Wrap Your Puttees Correctly
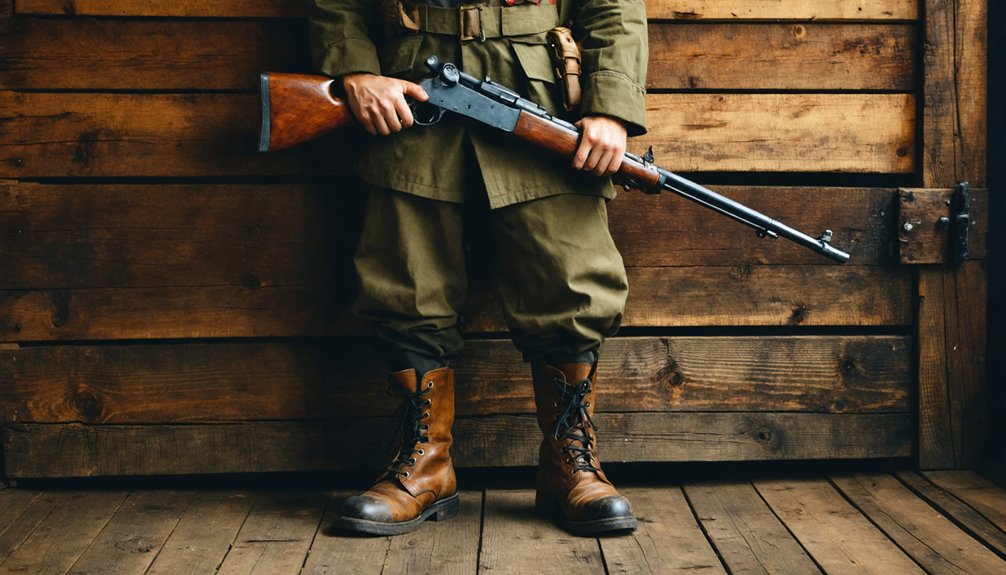
With your tunic and trousers locked in, footwear becomes your next structural decision. Boot fitting starts with selecting the correct low boot style, standard across most infantry impressions, while high boots remain exclusive to officers and commissars. Before beginning puttee wrapping, tuck your laces inside the boot or pant leg to prevent interference during the roll.
Puttee wrapping demands precision. Start at the ankle and roll upward, maintaining consistent tension until the wrap reaches above the calf and terminates just below the knee where the leg curves inward.
If authentic puttees aren’t available, substitute with bandages in sufficient quantity to replicate the layered coverage. Properly wrapped puttees aren’t decorative—they’re structural, visually defining your silhouette and signaling period accuracy to anyone examining your impression.
Layer On Field Gear and Gas Mask in the Right Order
Field gear layers in a strict sequence, and skipping steps creates functional and visual inconsistencies that undermine your impression. Nail your belt arrangement first, then build outward systematically:
Field gear demands a strict sequence — skip steps and your impression falls apart before it begins.
- Assemble your belt with buckle, ammo pouches, bread bag, and connecting straps before touching anything else.
- Add entrenching tools after completing the belt set, but before introducing the gas mask.
- Route the gas mask cord through designated loops, keeping the canister mounted for quick access and natural resting placement.
- Finalize helmet placement only after all underlying gear sits correctly positioned.
Remove field gear temporarily when threading the gas mask cord to prevent tangling.
Your gas mask canister model matters too — an M15 uses a number one canister, while an M17 requires a number two. Sequence drives authenticity.
Where to Buy Reproductions and Originals Without Overpaying
Sourcing your gear correctly matters just as much as wearing it correctly. Start with trusted institutions like the National WWI Museum or U.S. Army Quartermaster archives to calibrate your eye for insignia authenticity before spending a dollar.
Join the WWI Militaria Collectors Group online to access vetted sellers and community pricing benchmarks.
When examining originals, check for period-consistent tags, stamps, and stitching patterns that confirm legitimacy. Scrutinize medal placement on tunics — positioning errors often betray reproductions marketed as originals.
Avoid sellers claiming “battlefield pickups” without documentation; that’s a proven fraud signal.
Reproductions serve cosplay perfectly and cost far less, but never pay original prices for unprovenanced pieces. Verify before you buy, and your kit will reflect both accuracy and smart investment.
Frequently Asked Questions
Can Bandages Substitute for Authentic Puttees in a Pinch?
Yes, you can repurpose medical supplies as creative soldier accessories! When authentic puttees aren’t available, you’ll find that bandages work brilliantly as leg wrappings—simply apply them generously to achieve that convincing, battle-ready look.
How Do I Stencil Battle-Worn Markings Like “Dkok” Onto My Costume?
Apply vintage military insignia stencils using acrylic paint, then use weathering techniques like dry-brushing and sandpaper to distress “DKOK” markings. You’ll achieve battle-worn authenticity that distinguishes your costume and innovates your overall cosplay presentation effectively.
What Boot Styles Are Appropriate for Death Korps of Krieg Cosplay?
Like a general commanding respect, your boots define your rank: you’ll wear low boots for standard troops, prioritizing historical accuracy, while Marshals and Commissars demand high boots for authentic uniform customization that elevates your Death Korps impression.
How Can I Create a Convincing WWI Tornister Backpack Affordably?
Tie a blanket over your existing bag to emulate a German WWI tornister affordably. You’ll achieve historical accuracy without expensive material sourcing, creating an innovative, convincing replica that’s both budget-friendly and visually authentic for your cosplay.
Should Lasguns Include Bolt-Action Mechanisms for Sci-Fi WWI Cosplay?
Imagine a Death Korps cosplayer whose lasgun’s bolt-action breaks immersion instantly. Don’t include bolt-action mechanisms — they conflict with futuristic weapon design. Keep sci fi armor details sleek, maintaining the lasgun’s distinctly non-mechanical aesthetic for authentic innovation.
References
- https://www.youtube.com/watch?v=HsoQN-zsINs
- https://doughboy.org/wwi-american-uniform-a-complete-beginners-guide-to-gear-history-collecting/
- https://www.reddit.com/r/HistoricalCostuming/comments/l4w2b8/hello_does_anybody_have_any_tips_or_can_send_me/
- https://www.youtube.com/watch?v=C6R_U3vTmCo
- https://www.reddit.com/r/Deathkorpsofkrieg/comments/18ftsqb/first_attempt_to_make_a_corps_cosplay_using_only/
- https://www.youtube.com/watch?v=tiO-8xttFbw
- https://www.youtube.com/watch?v=sKOcvSt3be0