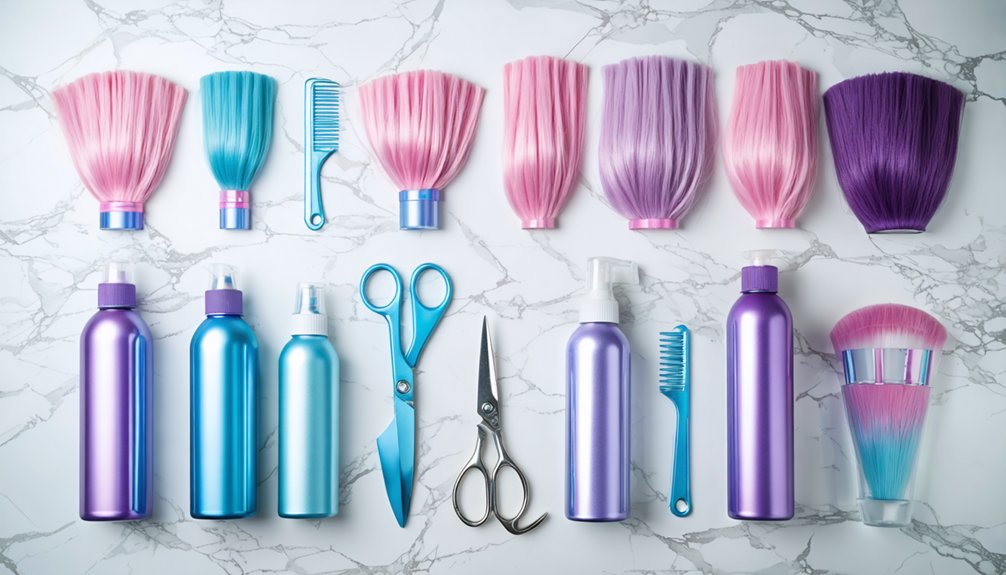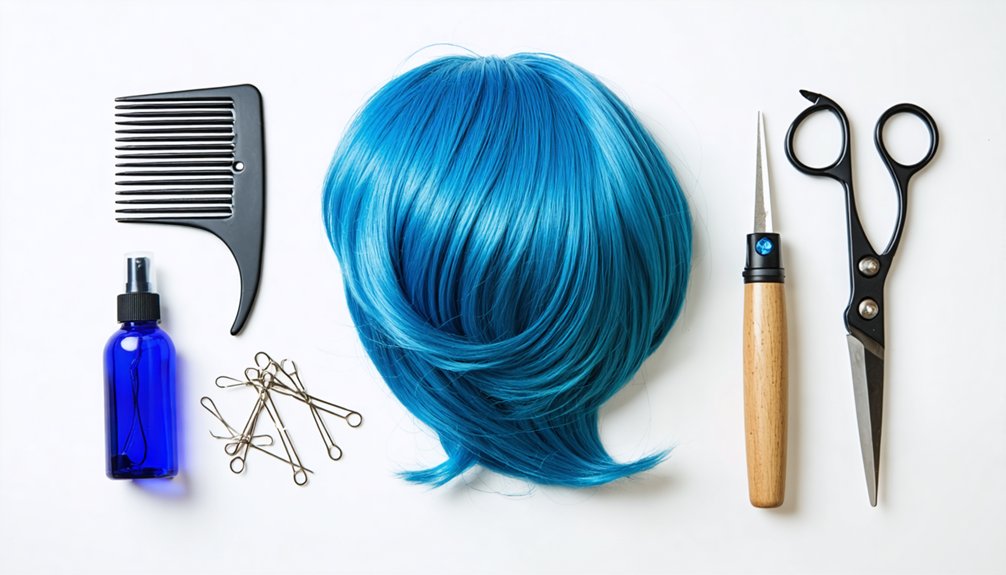
Styling a cosplay wig doesn’t have to feel overwhelming when you’ve got the right foundation. You’ll need a wig head, wide-tooth comb, heat styling tools, thinning shears, and hairspray before you start. Wash your wig gently with cool water, detangle from the bottom up, and always let it dry completely before applying heat. Work in small sections, set each piece, and secure everything with bobby pins for a flawless look that lasts — and there’s so much more technique waiting ahead.
Key Takeaways
- Gather essential tools like a wig head, wide-tooth comb, thinning shears, bobby pins, and hairspray before beginning any cosplay wig styling.
- Wash wigs with mild shampoo and cool water, then air dry completely before attempting any heat styling or shaping.
- Use heat tools on low-to-medium settings in small sections, allowing fibers to cool fully to lock in the desired shape.
- Trim length with scissors and use thinning shears to add natural texture, pointing scissors upward when cutting fringe for clean edges.
- Secure your wig firmly using bobby pins at temples, behind ears, and sides to prevent shifting throughout the event.
What to Buy Before You Start Styling a Cosplay Wig
Before you immerse yourself in styling your first cosplay wig, you’ll need a few essential tools to set yourself up for success. Start by grabbing a wig head from a craft store or Amazon — it’s your best practice surface without risking your actual wig.
A wig head is your secret weapon — practice freely without putting your actual wig at risk.
You’ll also want a wide-tooth comb, thinning shears, bobby pins, hairspray, and a heat styling tool.
Color matching is critical before purchasing your wig, so reference character images carefully to nail the right shade. Once you’ve locked in the base wig, consider your accessory selection — clips, pins, and decorative pieces that’ll elevate your overall look.
Having everything ready before you begin transforms the styling process from overwhelming to genuinely exciting and efficient.
How to Wash and Detangle Your Wig Without Damage
Washing and detangling your cosplay wig correctly can mean the difference between silky, manageable fibers and a frizzy, ruined mess. Understanding wig fiber types matters here — synthetic vs. human hair requires different care approaches, so always check your wig’s label first.
Start by rinsing your wig with cool water, then swish it gently in a container with mild shampoo for a few minutes. Drain the water, then rinse thoroughly under a faucet until every trace of product disappears. Never wring it out — press gently with a towel instead, then air dry on a rack away from heat.
Once dry, detangle from the bottom upward using your fingers first to loosen knots, then follow with a wide-tooth comb, working slowly toward the roots.
Heat Style Your Wig Into the Right Shape
Before you grab any heat tools, rinse your wig and let it air dry completely so the fibers are ready to hold their new shape without damage.
Once it’s dry, run a straightener or hair dryer over the sections you want to style, then let the wig cool in that exact position to lock in the look.
You’ll want to finish by spraying hairspray to set the final shape, making sure the wig is fully cooled before you do so for the best hold.
Preparing The Wig First
Once your wig is detangled and smooth, it’s time to heat style it into the right shape — and getting this step right makes everything else so much easier. Before touching any heat tools, rinse the wig thoroughly and let it air dry completely. Skipping this step risks damaging the fibers permanently.
Make sure your wig cap fits snugly and sits flat against the head form, creating a stable base for precise styling. If you’re color matching the wig to a character reference, do this now under good lighting before heat alters the fiber’s sheen.
Once dry, you’re ready to use a straightener or hair dryer to manipulate the fibers, then allow everything to cool fully so the shape actually sets correctly.
Applying Heat Tools Correctly
With your wig dry and sitting flat on the head form, it’s time to bring out the heat tools and start shaping. Grab your straightener or hair dryer, but don’t skip temperature control — synthetic fibers burn fast, so keep heat settings low to medium.
Heat damage is irreversible on most cosplay wigs, so work in small sections and move tools steadily rather than holding them in place.
Apply heat directly to each section, shape it immediately, then let it cool completely before releasing. That cooling phase is what locks the style in.
For spikes, spray the interior with hairspray while damp, smooth surrounding hair into it, then blow-dry with controlled heat. Repeat section by section until your character’s signature shape comes to life precisely.
Setting The Final Shape
After each section has been shaped and cooled, you’re ready to lock everything in permanently. Spritz hairspray evenly across the entire wig, holding the can slightly further away to avoid product buildup that dulls the finish.
Let the wig cool completely before touching it — this final cooling phase is what actually sets the shape long-term.
Now’s also the perfect moment to evaluate color matching between the wig and any costume elements, ensuring everything reads cohesively under event lighting.
Once you’re satisfied with the structure, move into accessory placement — pins, clips, or decorative pieces should be secured using hairpins at the temples and sides to prevent shifting.
These final touches transform a styled wig into a polished, character-accurate statement that holds up confidently throughout your entire event.
Cut and Texturize Your Wig to Match Your Character
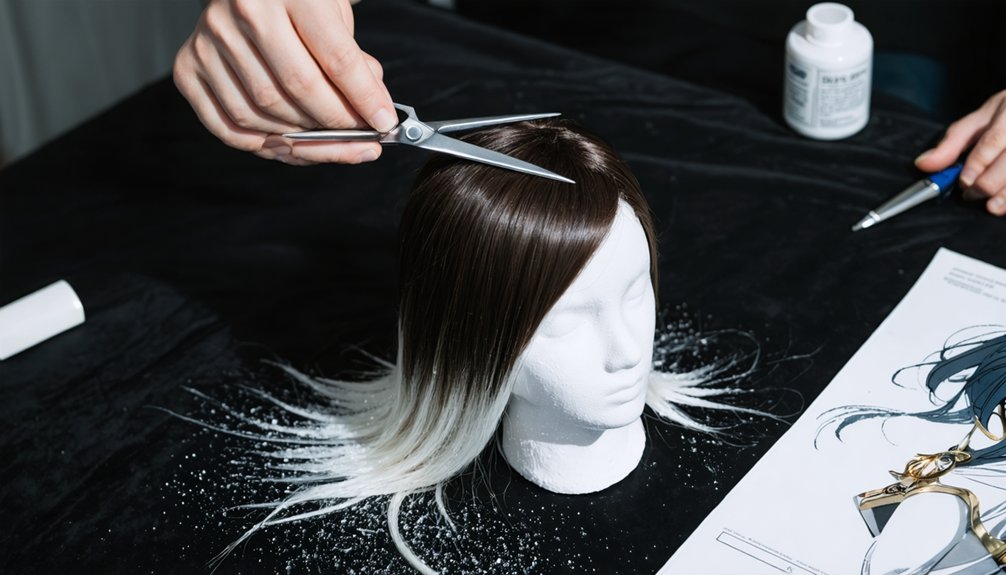
Cutting and texturizing your wig is where it really starts to come alive and look like your character! Begin by trimming the overall length, then use thinning shears to reduce bulk and add natural-looking texture.
When tackling fringe trimming, point your scissors upward rather than cutting straight across — this prevents that choppy, unnatural finish. Cut gradually using just the scissor tips for precision and color blending between sections appears seamless when you work methodically through each layer.
Hold hair slightly above your cutting point to maintain control and protect your fingers. For volume or character-specific shapes, tease small sections with a fine-tooth comb.
Each cut brings you closer to accuracy, so take your time, work in small increments, and trust the process!
How to Put On and Secure a Wig That Actually Stays
Now that your wig is styled and looking sharp, putting it on correctly makes all the difference between a wig that stays put all day and one that shifts mid-event! Start with a secure wig cap to flatten your natural hair and create a grippy base.
- Hold the wig from the front and slide it on from the back to align hairlines perfectly.
- Explore adhesive options like wig glue or tape along your forehead for lace front wigs.
- Trim lace a few millimeters from the hairline, then press it carefully onto the adhesive.
- Push bobby pins underneath the wig cap with the straight edge facing upward.
- Place hairpins at your temples, behind your ears, and along the sides for maximum grip.
Make Your Cosplay Wig Hold Its Style All Day
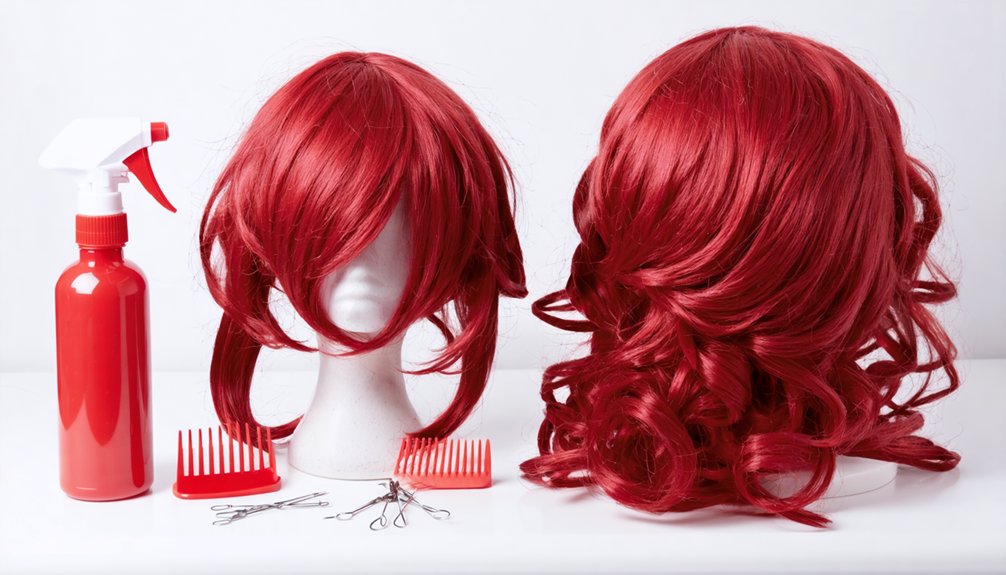
Your wig is secured and sitting perfectly — but keeping that style locked in through hours of a convention is a whole different challenge! Smart wig maintenance starts before you even leave home. Once your wig cools completely in its desired shape, spritz hairspray to fix everything in place.
For spikes or dramatic shapes, a steamer adds extra hold and flair. During styling, keep hairspray slightly further away during the final blow-dry to prevent product buildup.
Throughout the day, explore your accessory options — strategically placed hairpins at the temples, behind the ears, and along the sides prevent gradual slippage. Carry a small comb and travel-sized hairspray for quick touch-ups.
These simple, proactive steps ensure your character’s look stays sharp and convention-ready from the first panel to the last photo op!
Frequently Asked Questions
Can I Reuse a Cosplay Wig for Multiple Different Characters?
Yes, you can absolutely reuse a cosplay wig! With proper wig maintenance—washing, detangling, and restyling—you’ll transform it for costume compatibility across multiple characters. Get creative, experiment boldly, and open up endless innovative styling possibilities!
How Do I Store My Cosplay Wig Between Events Safely?
Like Sleeping Beauty awaiting her moment, store your wig on a foam head after wig cleaning! Regular wig maintenance keeps fibers fresh — you’ll want to cover it with a hairnet and avoid direct sunlight between events!
What Is the Difference Between Synthetic and Human Hair Wigs?
You’ll love this wig fiber comparison! Synthetic wigs are affordable and hold styles well but resist heat, while human hair wigs offer incredible styling flexibility, letting you heat-style freely for truly innovative, professional-looking cosplay transformations!
How Long Does a Styled Cosplay Wig Typically Last?
“You reap what you sow!” With proper wig maintenance and smart styling tips, your cosplay wig can last one to five years. Store it carefully, detangle gently, and avoid excess heat to maximize its lifespan!
Can I Swim or Sweat Heavily While Wearing a Cosplay Wig?
You shouldn’t swim or sweat heavily in your cosplay wig! For sweat protection, secure it firmly with hairpins and wig glue. Water resistance isn’t guaranteed, so avoid submersion to keep your stunning style intact longer!
References
- https://www.reddit.com/r/CosplayHelp/comments/1de0nw4/general_wig_styling_tips/
- https://www.epiccosplay.com/pages/wigs
- https://www.reddit.com/r/CosplayHelp/comments/1q4mwdr/what_is_the_full_stepbystep_process_of_styling_a/
- https://www.thepopverse.com/cosplay-wig-wigs-cheap-tips-tricks
- https://www.youtube.com/watch?v=AOGOyBWlsMI
- https://www.youtube.com/watch?v=KfKHOOMYiZc
- https://www.youtube.com/watch?v=1tFAxdso6iI
- https://www.youtube.com/watch?v=mQlJn0VkK9Q