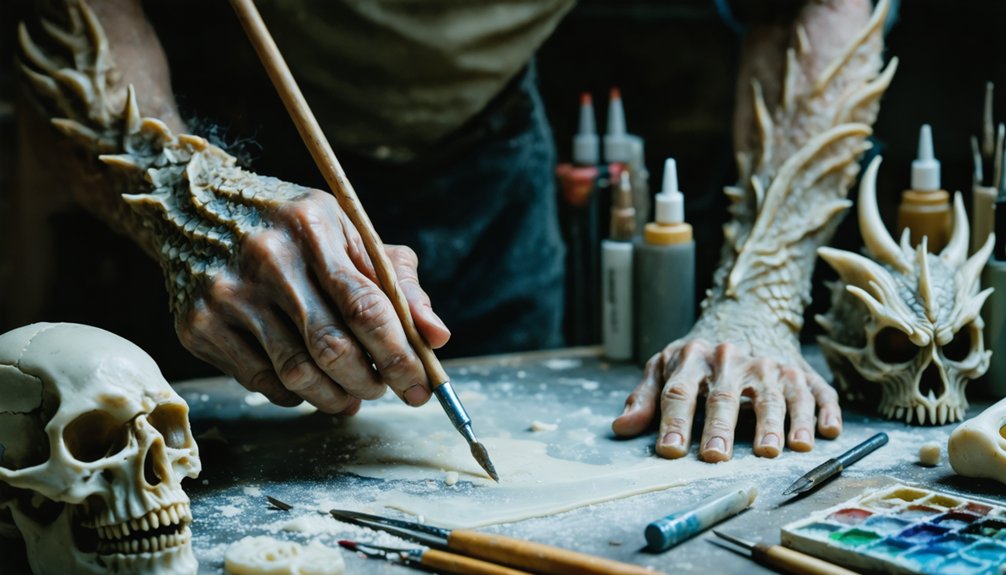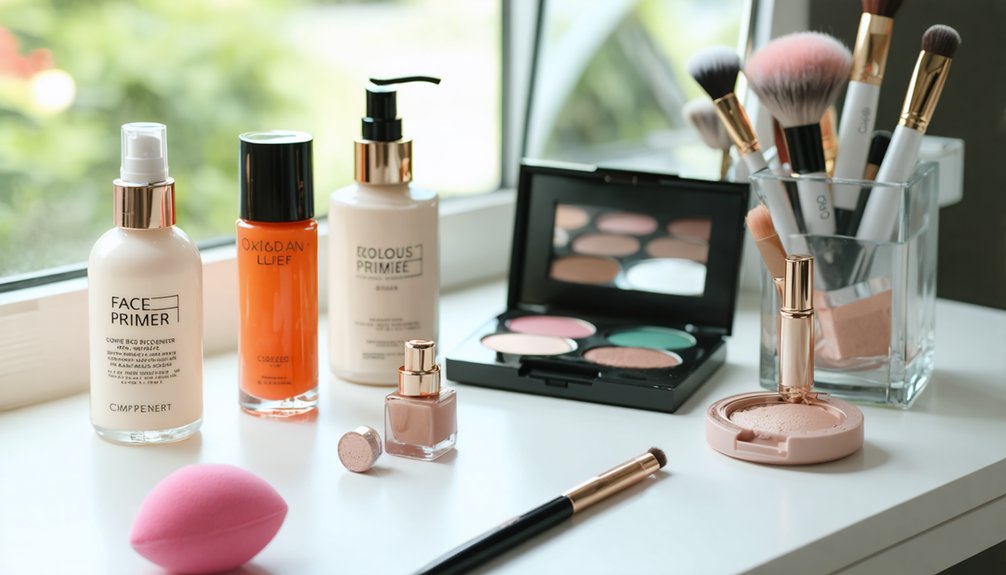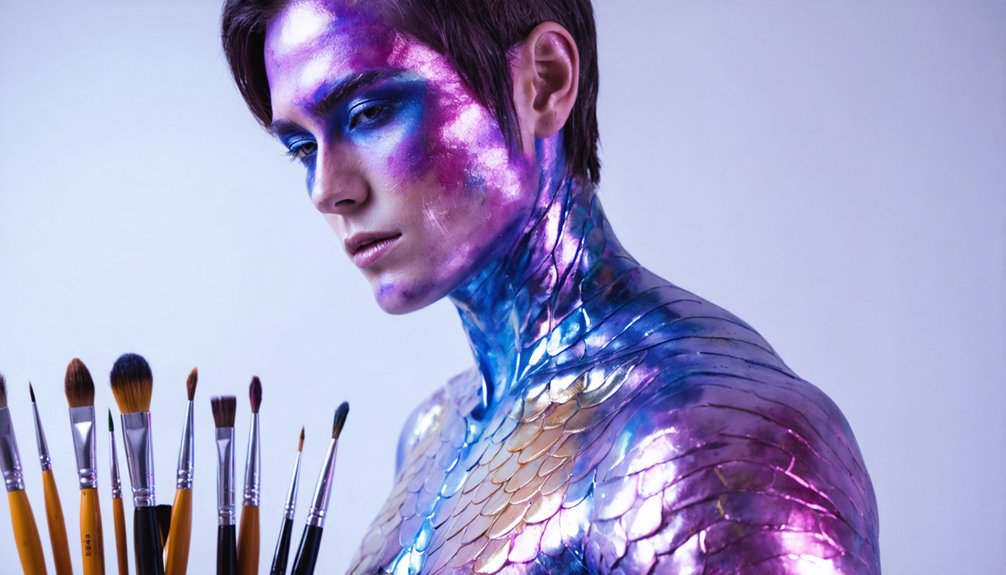
To transform your face into a mythical creature, you’ll need to layer techniques precisely. Start by cleansing and moisturizing skin, then apply a base suited to your creature’s mythology. Build texture using liquid latex and tissue paper, stretching it for scales or organic irregularities. Use color theory to create depth with iridescent washes, bold hues, and translucent pigments. Seal every layer with powder and setting spray. There’s much more to mastering each stage ahead.
Key Takeaways
- Cleanse and moisturize skin thoroughly, then apply a white or neutral base layer, setting immediately with translucent powder for smooth adhesion.
- Layer liquid latex with tissue paper between coats to build organic, reptilian, or creature-specific textures, stretching latex while drying for scales.
- Use iridescent pigments, bold hues, and translucent washes to achieve non-human color effects like mermaid scales or dragon skin.
- Deliberately distort eyes and lips using reshaping techniques, contrasting liners, and shading to remove recognizably human facial features.
- Lock all layers with setting spray, carry a touch-up kit, and minimize face touching to maintain long-wear structural integrity.
Prep Your Skin for Mythical Creature Makeup That Lasts
Before applying any mythical creature makeup, you’ll need to cleanse and moisturize your skin thoroughly — this directly affects both product adhesion and how long your look holds up.
Proper skin prep is the true foundation of any mythical creature look — cleanse and moisturize before anything else.
Once your skin’s prepped, apply a light foundation or white face paint as your base layer, essential for achieving the otherworldly tones central to mythical creature mythology.
Next, set that base with translucent powder to lock pigments in place and prevent smudging during extended wear. This step is non-negotiable when pairing makeup with fantasy costume accessories, since movement and heat accelerate breakdown.
After completing your full design, seal everything with a setting spray for maximum integrity.
Keep a touch-up kit on hand — concealer and powder allow fast, precise corrections without disrupting the structural layers beneath your creature transformation.
Choose the Right Base for Your Creature Look
Once your skin’s clean and moisturized, you’re ready to select a base that anchors your entire creature look.
For otherworldly effects, apply a light foundation or white face paint as your initial layer, ensuring full, even coverage across all target areas.
Set that base immediately with translucent powder to lock pigment in place and prevent smudging throughout extended wear.
Skin Prep Essentials
Proper skin prep sets the foundation for any mythical creature look, so you’ll want to start by thoroughly cleansing and moisturizing your skin to create a smooth, receptive surface for makeup adhesion.
This step directly impacts how well pigments, prosthetics, and costume accessories bond and perform throughout extended wear.
Once moisturized, apply a light foundation or white face paint as your base layer, depending on the mythical creature mythology you’re referencing.
A pale base amplifies iridescent pigments for ethereal beings, while neutral tones support monster-grade color mixing.
Finish with translucent powder to lock the base and prevent smudging.
Seal everything with a setting spray to maintain structural integrity before layering textures, prosthetics, or specialized pigments on top.
Base Layer Selection
How you select your base layer determines whether the colors, textures, and prosthetics you build on top will perform at full visual impact or fall flat. For creature storytelling rooted in mythical landscapes, you’ll need either a light foundation or white face paint as your starting canvas.
White bases intensify pigment saturation, making iridescent blues, greens, and bold contour shades read with maximum clarity. Standard flesh-toned foundations work better when your creature retains semi-human features.
Press latex directly onto clean, moisturized skin before any prosthetic attachment to guarantee adhesion integrity. Set whichever base you choose with translucent powder immediately—this locks the layer and prevents bleed-through when you apply subsequent textures.
Your base isn’t decorative; it’s structural. Choose it based on your creature’s specific chromatic and textural requirements.
Use Color Theory to Build Scales and Supernatural Skin
Color theory is the backbone of convincing scale and supernatural skin effects, so you’ll want to start by understanding how layered pigments interact before touching your brushes to skin.
Strategic color blending and pigment mixing reveal textures that feel genuinely non-human.
Apply these techniques deliberately:
- Mermaid scales: Layer iridescent blues and greens, building depth through translucent washes
- Dragon skin: Combine bold hues with sharp contouring to generate intimidating dimensional structure
- Dead flesh tones: Mix white, flesh, green, burnt sienna, and yellow ochre for custom monster hues
- Color accents: Introduce red flocking or pigment droplets to activate neutral base mixes
Each layer compounds the previous one, so work incrementally and assess pigment density under both natural and artificial lighting before committing to your final application.
Add Fur, Scales, and Monster Texture With Latex and Latex
Once you’ve locked in your color layers, building physical texture with latex transforms flat makeup into genuinely dimensional monster skin. Press liquid latex directly onto skin, then layer tissue paper over it before it fully cures — this technique creates the gruesome, irregular texture rooted in mythical creature lore depicting rotting, scaled, or fur-covered beings.
For fur simulation, apply cotton balls with adhesive, sculpting directional growth patterns. For scales, stretch latex while drying to generate reptilian segmentation that echoes mythical creature history across countless cultural traditions.
Paint mesh backing white before embedding it into latex layers to prevent dark underlayers from bleeding through lighter skin tones. Once textured sections cure completely, seal everything with translucent powder to lock edges, prevent lifting, and maintain structural integrity throughout extended wear.
Attach Prosthetics and Structural Creature Features Securely
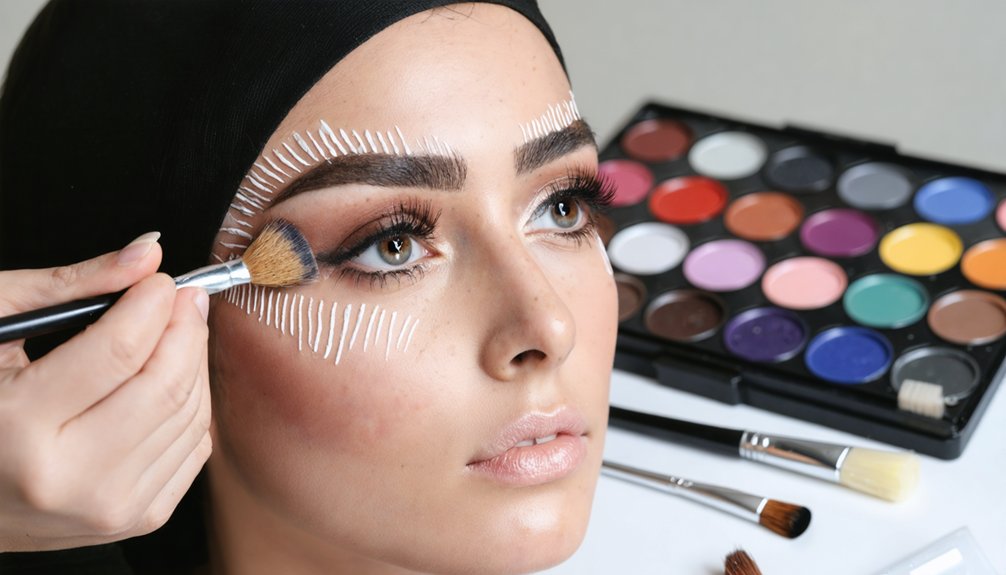
To attach prosthetics securely, press latex directly onto clean, dry skin before positioning elements like gills or custom teeth, ensuring firm adhesion without shifting.
Align structural accessories such as ears, horns, and wings by marking placement points with a light pencil beforehand. This guarantees symmetry and comfort during extended wear.
Build additional texture by layering latex in thin, overlapping coats. Allow each layer to dry fully before adding the next to achieve a durable, seamless finish.
Prosthetic Adhesive Application Tips
Securing prosthetics correctly makes the difference between a flawless creature transformation and a piece that shifts or peels mid-performance. Press latex directly onto clean, dry skin before positioning any prosthetic element, eliminating moisture that weakens bond integrity.
Follow these precision-driven application principles:
- Degrease the skin with alcohol wipe before adhesive contact to maximize adhesion surface.
- Apply thin, even adhesive layers to both the prosthetic and skin, letting each tack before pressing.
- Hold firm pressure for 30–60 seconds, working from center outward to prevent air pockets.
- Plan prosthetic removal carefully using oil-based remover to dissolve bonds without tearing skin.
Maintain proper adhesive storage in cool, sealed containers to preserve viscosity and extend usability. Degraded adhesive compromises structural integrity and risks mid-performance detachment of critical creature features.
Structural Accessory Alignment Methods
Proper alignment before attachment prevents costly repositioning errors that compromise symmetrical creature features. When building dragon horns or mythical creature symbolism-driven ear prosthetics, mark placement points using a light pencil first. This precision step guarantees bilateral symmetry across your facial structure.
Attach ears carefully to the back of natural ears, maintaining comfort without restricting movement. For horns and wings integrated into headpieces, secure each element at calculated anchor points that distribute weight evenly.
Recognize the cultural significance embedded in creature designs—misaligned features disrupt narrative authenticity. Use stencils or custom prosthetics to establish consistent, non-human patterns that honor your creature’s conceptual integrity.
Press latex firmly against skin before finalizing prosthetic adhesion, eliminating air pockets that cause premature lifting. Always verify alignment from multiple angles before committing to final bonding.
Layering Latex For Texture
Layering latex correctly transforms flat skin into dimensional, textured creature surfaces that hold prosthetics securely throughout extended wear. Mythical mythology draws heavily from creature symbolism, demanding textures that communicate power and otherworldliness authentically.
Follow this precise sequence:
- Press liquid latex directly onto clean skin, allowing each layer to dry completely before adding the next.
- Layer tissue paper between latex coats to build irregular, organic surface texture.
- Attach prosthetic elements like gills or scales while the final latex layer remains slightly tacky.
- Seal attached prosthetics with an additional latex coat to unify edges seamlessly.
You’ll achieve the strongest adhesion by working in thin, deliberate coats rather than single thick applications.
This method prevents lifting during movement, ensuring your creature design maintains structural integrity throughout performance or extended event wear.
Design Eyes and Lips That Read as Truly Non-Human

To make eyes and lips read as truly non-human, you’ll need to push beyond conventional makeup application and deliberately distort familiar facial features. Draw bubble shapes around eyes using white liner, then apply a jumbo pencil on the waterline to intensify the cartoon-shine effect. These techniques reference mythical creature symbolism across multiple cultural influences, transforming eyes into focal points that signal otherworldly origin.
For lips, use two contrasting green eye pencils to reshape and shade, eliminating recognizably human mouth structure. Highlight the Cupid’s bow selectively to manipulate perceived volume without restoring natural appearance.
Apply black eyeliner to hollow out surrounding areas, creating depth that reads as anatomically foreign. Every deliberate stroke should contradict human facial mapping, forcing viewers to register something genuinely alien rather than simply decorated.
Apply Glitter, Contouring, and Shines to Finish Your Creature Makeup
Once your base creature features are locked in, finishing details like glitter, contouring, and cartoon shines are what separate a flat costume look from a fully realized mythical entity. Drawing from wildlife inspiration and mythical creature symbolism, these final layers inject depth, dimension, and narrative into your design.
Apply these techniques with precision:
- Contour hollow areas like cheekbones and eye sockets using dark eyeshadow to simulate predatory bone structure
- Use light grey eyeshadow to layer an otherworldly, spectral glow across high planes
- Press glitter strategically over iridescent base tones to amplify supernatural shimmer
- Add cartoon shines using white liner or highlight pigment to stylize your creature into animated territory
Each element should feel intentional, referencing real animal anatomy or elemental symbolism rather than decorative afterthought.
Keep Your Mythical Creature Makeup Intact Through Long Wear

After investing hours into sculpting a mythical creature look, the last thing you want is for it to deteriorate mid-event. Whether you’re embodying mythical creature symbolism from cultural creature mythology, longevity requires deliberate sealing techniques.
Set every layer with translucent powder immediately after application to lock pigment and prevent smudging. Once your complete look is finished, apply a setting spray systematically across the entire face, holding it 8–10 inches away for even distribution.
This step preserves prosthetic edges, glitter placement, and detailed contouring.
Carry a compact touch-up kit containing concealer, powder, and a small brush for targeted corrections. Reapply setting spray after any necessary fixes.
Avoid touching your face throughout the event, as skin oils accelerate breakdown, particularly around prosthetic adhesion points and high-pigment zones.
Frequently Asked Questions
Can Mythical Creature Makeup Techniques Work for Editorial Photography Shoots?
Like a painter’s brushstroke on canvas, mythical creature makeup techniques absolutely fuel editorial photography’s fantasy character narratives. You’ll achieve stunning creative transformations using iridescent pigments, prosthetics, bold contouring, and setting sprays that maintain photogenic integrity under professional lighting conditions.
Are These Makeup Techniques Safe for Children’s Sensitive Skin?
You’ll want to prioritize kid-friendly ingredients and hypoallergenic options when adapting these techniques for children’s sensitive skin. Always patch-test products first, replace latex with gentler alternatives, and select dermatologist-approved, non-toxic formulations to guarantee safe application.
How Do Professional Makeup Artists Charge for Mythical Creature Transformations?
Ballparking costs isn’t one-size-fits-all—professional artists use pricing strategies based on complexity, materials, and time. For cost estimation, you’ll typically encounter hourly rates, flat project fees, or tiered packages reflecting creature transformation difficulty.
Which Mythical Creature Makeup Styles Are Trending for Competition Events?
You’re seeing dragons, mermaids, and undead creatures dominating competition events. Incorporate iridescent pigments, bold contouring, and prosthetic textures into your fantasy character design, and pair them with detailed costume accessories to maximize your competitive impact.
Can These Creature Makeup Looks Be Recreated Using Only Drugstore Products?
Yes, you can craft mesmerizing creature looks using affordable alternatives from drugstore brands. DIY tutorials guide you through layering liquid latex, mixing custom pigments, and applying iridescent shadows to replicate professional-grade mythical transformations effectively.
References
- https://www.youtube.com/watch?v=q_DGxcaL1Jg
- https://www.youtube.com/watch?v=eAKZCYqTIxg
- https://www.youtube.com/watch?v=-AyxxPUZDPc
- https://medium.com/@nialloriordanfx/unleash-your-creativity-fantasy-creature-makeup-ideas-3ee7969f1034
- https://www.hamstech.com/unleash-your-inner-artist-a-guide-to-costume-makeup
- https://taramaginnis.com/fantasy-mythical-creature-makeup-project/