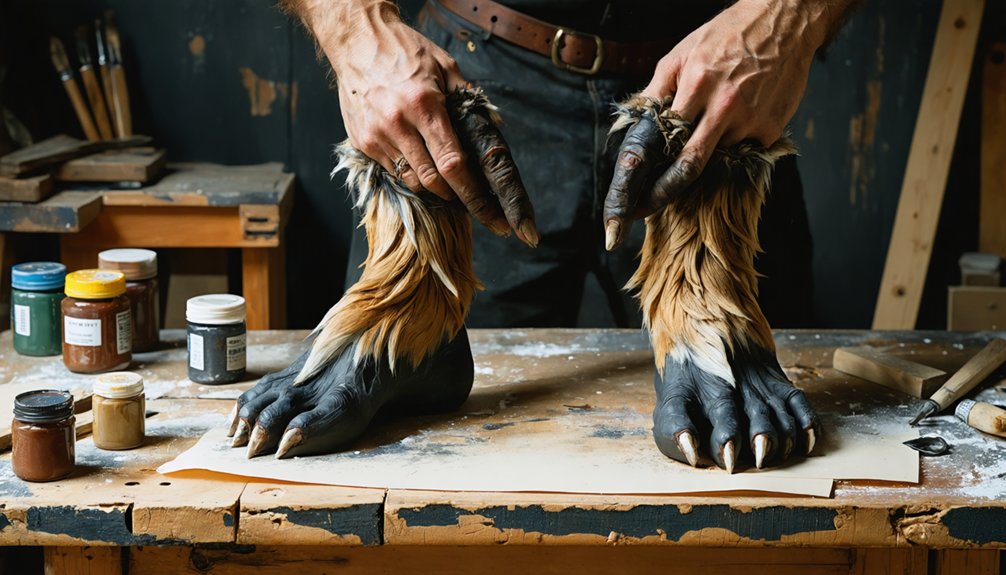
To cosplay a gargoyle with stone effect makeup, you’ll start by prepping your skin with primer and a white base, then layer medium grey, dark grey, and black tones to build depth and shadow. Use sponge tapping and stippling to create irregular stone textures, and contour hollows to mimic carved features. Add cracks, weathering details, and blend any prosthetics seamlessly. Seal each layer for durability, and there’s plenty more technique ahead to perfect every detail.
Key Takeaways
- Start with a white base applied in thin, even layers using a damp sponge, allowing each coat to dry completely before adding more.
- Build depth by contouring hollows like cheekbones, eye sockets, and jawline using medium grey and black paints for a carved stone effect.
- Create realistic stone texture by stippling and sponge-tapping layers of dark and light grey, concentrating darker tones in recessed areas.
- Add authenticity with fine black crack lines in recessed zones, plus subtle brown or green tones to suggest lichen and weathering.
- Seal each paint layer with translucent setting powder and finish with a matte setting spray for long-lasting, durable coverage.
What Does Gargoyle Makeup Need to Look Like Stone?
Gargoyle makeup earns its stone credibility through a specific combination of color, texture, and contrast working together. You’ll build your foundation using medium grey, white, and black — the core palette that references traditional iconography and mythical symbolism embedded in Gothic architectural design.
White establishes the base tone, grey creates dimensional shadow across the sides of the face and neck, and black deepens recesses for a carved-stone appearance.
White lays the foundation, grey sculpts depth, and black carves shadow into stone.
Texture separates convincing stone from flat face paint. You’ll achieve this through stippling, sponge tapping, and layered applications that produce irregular surface detail.
Matte finish is non-negotiable; shine immediately reads as skin rather than stone.
High contrast between highlight and shadow planes sharpens facial angles, reinforcing the sculpted, architectural quality that makes gargoyle makeup visually distinct and technically successful.
Gather These Supplies Before You Start
Before you begin, pull together your core paint colors: medium grey, white, and black. You’ll also want a standard cosmetic sponge, a small stippling brush, and matte setting powder to lock in your work.
These tools handle both the base color application and the texture-building that makes skin read as carved stone.
Core Makeup Colors Needed
To nail the stone effect, you’ll need three core paint colors: medium grey, white, and black. These aren’t interchangeable with costume-grade options—use professional face paints rated for skin contact to guarantee both safety and precision during color blending.
White serves as your base layer, applied lightly across central facial planes. Medium grey handles midtone progressions, covering the sides of your face and neck to build dimensional depth. Black deepens recesses, sharpening texture contrast between raised and shadowed surfaces.
Always choose matte-finish formulas. Glossy paints undermine the stone illusion instantly, making skin read as painted rather than carved. Purchase each color separately rather than relying on palette blends—individual pots give you better control over layering consistency and tonal accuracy throughout the full application process.
Tools For Stone Texture
Achieving realistic stone texture depends less on painting skill and more on having the right tools assembled before you open a single paint pot. You’ll need a dense stippling sponge, a fine-detail brush, and a dry-brushing brush to execute layered stone effects accurately.
Historical inspiration drawn from medieval cathedral stonework informs tool selection — irregular surfaces require irregular application methods. A latex stippling sponge mimics weathered granite better than any flat brush.
For mythological influences rooted in ancient carved figures, incorporate fine black-liner brushes to etch deliberate crack lines into recessed facial areas. Keep paper towels nearby for controlled paint loading.
Matte setting spray locks each texture layer without collapsing the dimensional surface you’ve built.
Prep Your Skin and Brows for a Smooth Base
Clean skin and flat brows are the foundation of any convincing stone-effect makeup. Before applying any product, cleanse your face thoroughly to remove oils that compromise adhesion. This step borrows discipline from historical inspiration — sculptors always prepared their stone surface before carving.
Glue your brows down using a brow glue stick or spirit gum, then press them flat and powder over them immediately. This creates a smooth, uninterrupted surface that mirrors the mythological symbolism of gargoyles as seamless, carved architectural forms.
Patch test any adhesive 24 hours beforehand if you have sensitive skin.
Once your brows are set and powdered, apply a thin primer layer across your entire face. This seals the skin, extends paint wear, and gives your grey tones something to grip evenly.
Build Your Gargoyle Makeup Base Layer
Once your skin is primed and your brows are sealed, apply a white base paint across your entire face in thin, even layers using a damp sponge. Let each layer dry completely before adding the next. This build-up technique prevents cracking and creates the matte, opaque surface essential for stone realism.
Next, introduce medium grey across your temples, jaw, and neck. These shadow zones reference the historical symbolism of gargoyles as dimensional, carved architectural figures rather than flat decorations.
Apply black sparingly into deep recesses to sharpen contrast.
Your mythological influences should guide your placement decisions — gargoyles carry weight, age, and architectural gravity. Every tonal shift should reinforce that sense of mass.
Blend edges with a clean sponge to avoid harsh paint lines before texturing begins.
Add Texture With Sponging and Stippling
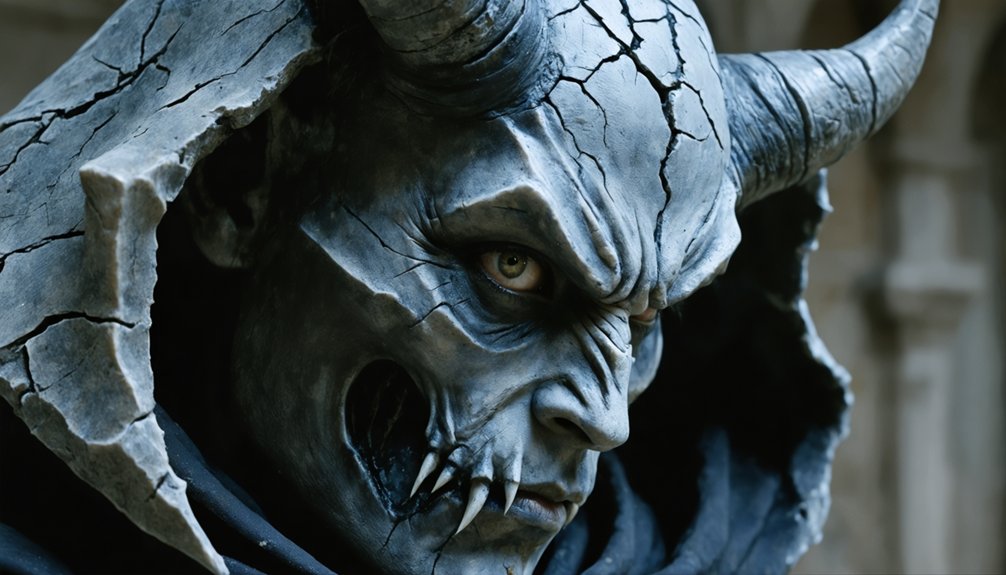
Once your base layer is dry, tap a damp sponge loaded with mid-grey paint across your face using quick, uneven pressure to build irregular surface texture.
Switch to a small stippling brush to press fine dark and light spots into recessed areas, mimicking the porous grain of weathered stone.
Layer these two techniques alternately, applying light tones to raised planes and dark tones into hollows, until the surface reads as dimensional rather than flat.
Sponge Tapping For Texture
Sponge tapping is one of the fastest ways to break up a flat, painted look and push your gargoyle makeup toward a convincing stone texture. Drawing from historical inspiration, medieval gargoyles displayed rough, uneven surfaces — your sponge work should replicate that irregularity precisely.
Apply mid-grey first, then tap darker and lighter tones in overlapping passes:
- Load a damp sponge lightly with paint to prevent oversaturation and muddy layering.
- Tap unevenly across cheekbones, forehead, and jaw to build organic surface variation.
- Concentrate darker tones in recessed areas to reinforce mythological symbolism — the brooding, ancient carved-stone aesthetic.
Avoid uniform coverage. Controlled randomness is the technical goal. Repeated layered passes increase depth and eliminate any remaining flatness from your base application.
Stippling With Small Brushes
Stippling with a small brush gives you finer control over texture placement than sponge tapping alone. Load a stiff-bristled brush with a small amount of grey or black paint, then dab it vertically across targeted areas like the forehead, cheekbones, and jaw. This technique lets you build irregular surface detail precisely where angular stone planes need reinforcement.
For effective color blending, alternate between light and mid-tone greys in short, overlapping passes to avoid hard boundaries between shades. Keep your strokes inconsistent—uniform marks flatten the illusion. Wipe excess paint from the bristles frequently to prevent muddy buildup.
Brush maintenance matters here. Rinse and reshape your stippling brush between color shifts to maintain sharp, distinct marks. A degraded brush tip produces smeared results rather than crisp, convincing stone texture.
Layering Light And Dark
Layering light and dark tones is what separates flat painted makeup from convincing stone texture. Color blending through repeated passes builds depth that a single coat can’t achieve.
Start with a mid-grey base, then build shadow enhancement into recessed zones using darker tones.
Follow this sequence for structured layering:
- Apply mid-grey across the entire face as your foundational tone.
- Layer black into hollows — under cheekbones, eye sockets, and along the jawline — using controlled stippling passes.
- Dry-brush white onto raised planes: brow ridges, cheekbones, and the nose bridge.
Each pass should be thin and deliberate. Overlapping tones create natural gradations that mimic how light interacts with carved stone surfaces, producing angular, dimensional facial planes rather than a painted appearance.
Contour Your Gargoyle Makeup to Look Carved
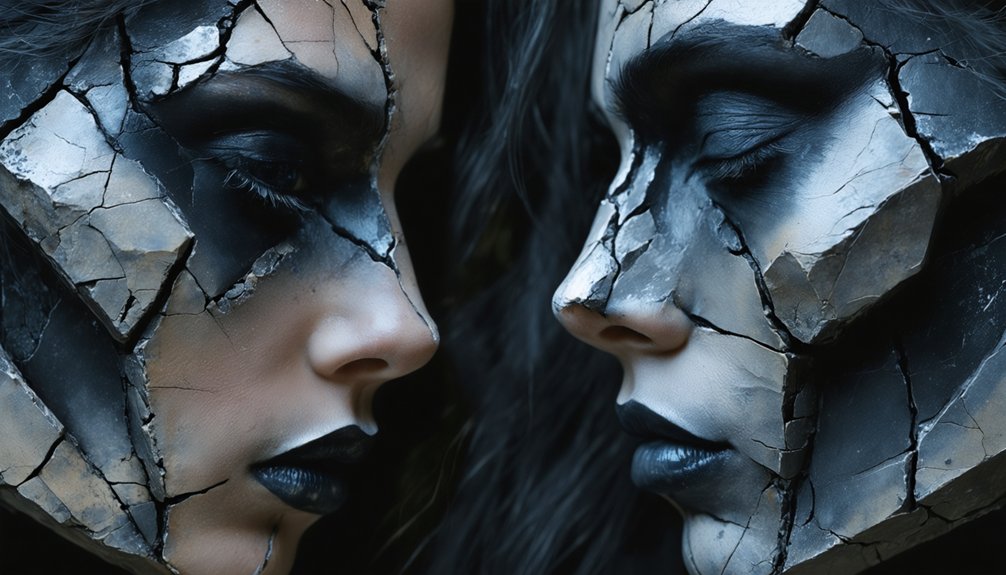
Once your base coat is set, use a medium grey or black shade to contour the hollows beneath your cheekbones, the sides of your nose, and along your jawline to simulate the recessed cuts of carved stone. Draw from historical inspiration by studying actual cathedral gargoyles — their angular, deeply shadowed faces inform where contrast should hit hardest.
Apply dark tones directly into the orbital sockets, brow ridge, and nasolabial folds to amplify structural depth. Blend edges selectively; keep some gradual to maintain that chiseled, architectural look.
Mythological symbolism often positions gargoyles as protective sentinels, so exaggerate the brow and jaw to project strength and dominance. Highlight the forehead’s center plane and cheekbone peaks with white or light grey to push facial angles into sharp, sculpted relief.
Paint Cracks and Weathering Into the Stone
With your contouring complete, load a fine-tipped brush with undiluted black paint and drag short, irregular lines into the recessed zones of your face — along the jawline, around the orbital sockets, and across the forehead where stone would realistically stress and fracture.
Stone carving techniques inform placement: cracks follow structural logic, not decorative whim.
Prioritize these weathered surface effects for maximum realism:
- Vary crack lengths — short, abrupt breaks read more authentically than continuous uniform lines.
- Angle cracks asymmetrically across planes where facial movement or structural stress would occur.
- Add hairline offshoots branching from primary cracks to simulate genuine fracture propagation.
Finish by dry-brushing faint brown or green tones near crack edges, suggesting lichen accumulation and centuries of environmental exposure.
Attach Prosthetics and Blend the Edges Into Your Skin
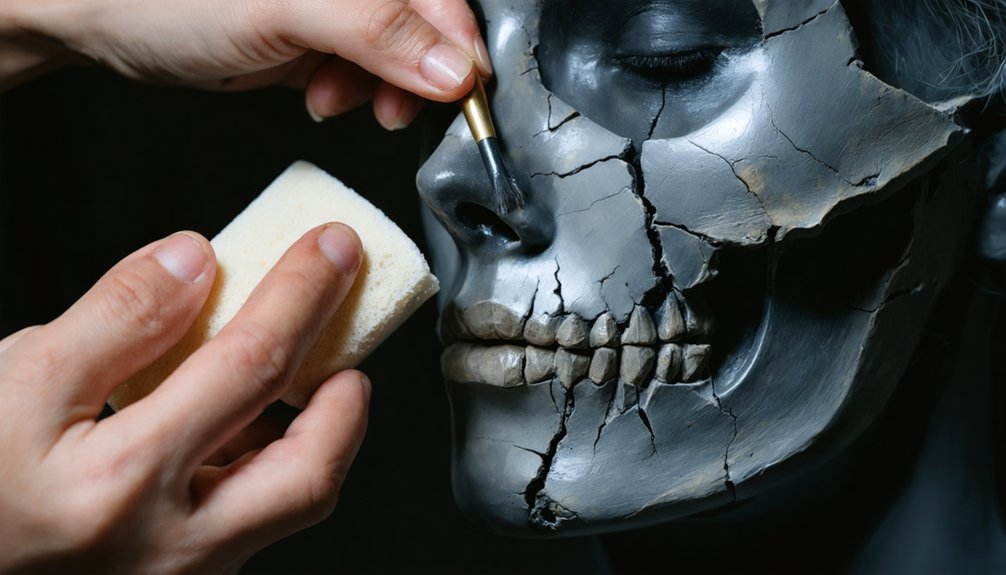
Prosthetic pieces — horns, sculpted noses, extended brow ridges, or textured chin caps — transform a painted gargoyle into a fully dimensional one, so clean both your skin and each prosthetic’s bonding surface thoroughly before reaching for adhesive.
For prosthetic application, use Spirit gum or Pros-Aide, pressing each piece firmly and holding it until the bond sets completely.
Once secured, edge blending becomes your critical next step — apply liquid latex around each prosthetic border, feathering it outward with a damp sponge until the *link* disappears into your skin.
Let each latex layer dry fully before adding another.
After blending, stipple grey and black tones directly over the edges, matching surrounding texture so the prosthetic reads as continuous stone rather than an attached separate element.
Set Your Gargoyle Makeup So It Lasts All Night
Setting your makeup correctly determines whether your gargoyle survives a full night of heat, movement, and contact, so finish every layer with a firm press of translucent setting powder using a velour puff — don’t dust it on lightly.
Pressed powder locks color blending in place and prevents grey tones from migrating across facial planes. Once powdered, apply a matte setting spray in short bursts to fuse all layers together.
Under dynamic lighting effects, unsealed makeup shifts and catches light incorrectly. Seal strategically:
- Set each paint layer before adding the next to prevent mudding.
- Concentrate powder in high-contact zones — forehead, nose, and jawline.
- Finish with a final setting spray held 10–12 inches away for even distribution.
Frequently Asked Questions
Can Gargoyle Makeup Work on Darker Skin Tones Without Losing Contrast?
Yes, it works! You’ll achieve strong contrast enhancement by deepening blacks and layering cool whites strategically. Skin tone adaptation requires increasing highlight intensity and shadow saturation, ensuring your stone-effect reads boldly against richer underlying pigmentation.
How Long Does a Full Gargoyle Makeup Look Typically Take to Complete?
You’ll invest two to four hours perfecting every sculpted crack and shadowed contour. Layered prosthetics boost costume durability, while thorough makeup removal demands another thirty minutes—protecting both your skin and reusable pieces afterward.
Is Gargoyle Makeup Suitable for Children or Only Recommended for Adults?
You can adapt gargoyle makeup for children by prioritizing child safety—select hypoallergenic, skin-safe paints, skip strong adhesives like spirit gum, patch-test everything, and guarantee easy removal using gentle, prosthetic-safe cleansers designed for sensitive skin.
Can Gargoyle Makeup Be Reused or Touched up on a Second Day?
You can touch up gargoyle makeup on day two using reapplication techniques that target worn areas. Makeup durability improves when you reapply grey tones, restipple texture, and repowder for a consistent matte, stone-effect finish.
What Hairstyles or Wigs Pair Best With a Gargoyle Costume?
You’ll achieve the best results pairing your gargoyle look with slicked-back, grey-sprayed wigs or textured updos. These costume accessories complement mythical creatures’ angular stone aesthetics, reinforcing sculptural silhouettes while maintaining cohesion with your precisely contoured, matte stone-effect makeup design.
References
- https://www.youtube.com/watch?v=u4_7RdLwBd0
- https://www.youtube.com/watch?v=Fjcn6Tbhqro
- https://www.lemon8-app.com/@makeupbyizzy_/7449139963469316654?region=us
- https://www.youtube.com/watch?v=j2KMqTS9sLY
- https://www.instructables.com/Medieval-Gargoyles-Perched-on-Stone-Pedestal-Costu/