To create realistic gem and crystal props, you’ll want to use materials like hot glue sticks, cast acrylic scatter gems, and layered foam board for geode-style builds. Carve facets using a pencil-sharpening motion, smooth surfaces with spackle and fine-grit sandpaper, then paint with wet-blended tones to simulate depth. Finish with gloss varnish to restore optical clarity. From lighting rigs to digital enhancements, there’s a complete process that’ll take your props to a professional level.
Key Takeaways
- Use clear materials like hot glue sticks or cast acrylic gems for optical clarity and affordability when building crystal props.
- Carve realistic facets using a warmed craft knife, working methodically from tip to base with uniform, flat planes.
- Fill surface imperfections with spackle, sand smooth, then seal voids with hot glue to maintain a refined, transparent finish.
- Paint with wet-blended tones, applying lighter edges and deeper core values, then seal with gloss varnish for realistic depth.
- Install LEDs inside a reflective foil tower to bounce light outward, creating convincing refraction patterns across crystal surfaces.
Choose the Right Materials for Crystal Props
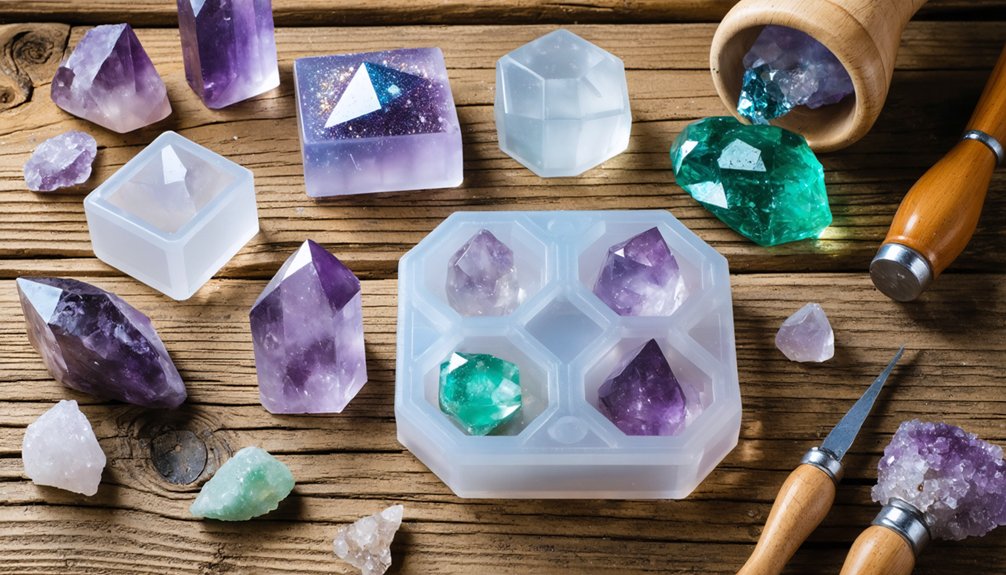
What you build your crystal props from will determine how convincing the final piece looks, so material selection deserves careful thought. For clear, facetable crystals, 11mm hot glue sticks deliver excellent optical clarity and material durability at minimal cost.
Material selection determines realism—11mm hot glue sticks offer unbeatable optical clarity for convincing, facetable crystal props.
Dollar store foam board, cut into six layered sections, creates a solid sandwich structure for geode-style builds.
If budget considerations push you toward larger clusters, cast acrylic table scatter gems offer a practical, affordable alternative. Before assembly, wash these gems with warm soapy water to strip mold release residue that interferes with adhesion.
Heavy paperboard carved into round bases provides reliable structural support for smaller miniature clusters.
Matching your material choices to your scale, budget, and desired finish will streamline every subsequent construction step.
Cut and Carve Realistic Facets Into Your Crystal Props
To make cutting easier, warm your craft knife blade against the hot glue nozzle before working.
Carve facets down the cylinder’s sides slowly, mimicking the motion of sharpening a pencil, to define each crystal face cleanly.
Once you’ve shaped the facets, smooth any sharp or uneven edges to refine the final form.
Warming Your Craft Knife
Before you start carving, warm your craft knife blade by holding it briefly against the hot glue gun’s nozzle. This technique draws from historical techniques of heat-assisted material shaping, letting you cut cleanly without cracking or dragging through the glue stick’s surface.
Warming your blade:
- Reduces resistance when slicing into 11mm hot glue sticks
- Produces cleaner facet edges that reflect light accurately
- Honors cultural symbolism of crystal geometry by preserving sharp, intentional angles
- Extends blade life by minimizing unnecessary force during cutting
Keep heat application brief—overheating warps the blade or melts surrounding material unintentionally. Re-warm as needed between cuts, since the blade cools quickly.
Consistent blade temperature gives you precise control, directly impacting how convincingly your finished crystal mimics natural faceted gemstones.
Carving Crystal Facets
Once your blade is warmed, hold the glue stick at a slight angle and carve facets down its cylindrical sides using the same motion you’d use to sharpen a pencil—short, controlled strokes that remove thin slivers rather than chunks.
Rotate the stick consistently, creating flat planes that intersect at clean ridges. These angled surfaces are what generate optical illusions of depth, making a simple glue stick read as a multifaceted crystal.
Work methodically from tip to base, keeping facet widths uniform. Inconsistent planes break the geometry and weaken the effect.
Once faceted, color blending during the painting stage will interact with each flat surface differently, amplifying dimensional contrast. Precision here directly determines how convincingly light refracts across the finished prop’s surface.
Smoothing Sharp Edges
After carving your facets, you’ll notice sharp, jagged ridges where the planes intersect—these need controlled smoothing rather than elimination.
Polishing rough edges requires precision; removing too much material destroys the angular definition that makes crystals convincing.
Use these targeted techniques for preventing sharp cuts from undermining your prop’s realism:
- Warm your craft knife blade against the hot glue nozzle to gently melt micro-ridges without reshaping entire facet planes
- Apply acrylic gloss varnish immediately after smoothing to restore optical clarity lost during carving
- Sand lightly using fine-grit sandpaper in single directional strokes along each facet edge
- Fill remaining voids with molten glue to maintain high optical transparency across intersecting planes
Once edges are refined, your crystal’s light-refracting geometry will read as structurally credible rather than hand-carved.
Sand, Seal, and Texture Your Crystal Surfaces
Once you’ve carved your facets, shave down any large bumps with a craft knife, then smooth the surface further with sandpaper to eliminate wobbles and inconsistencies.
Apply a thin coat of spackle over the entire sculpture to fill remaining imperfections, and sand the bottom flat after it dries to guarantee a stable, level base.
To add natural ground detail, press small stones into paper board bases before the spackle sets, creating the bumpy, organic texture that makes crystal clusters look authentically embedded in rock.
Smoothing Surface Imperfections
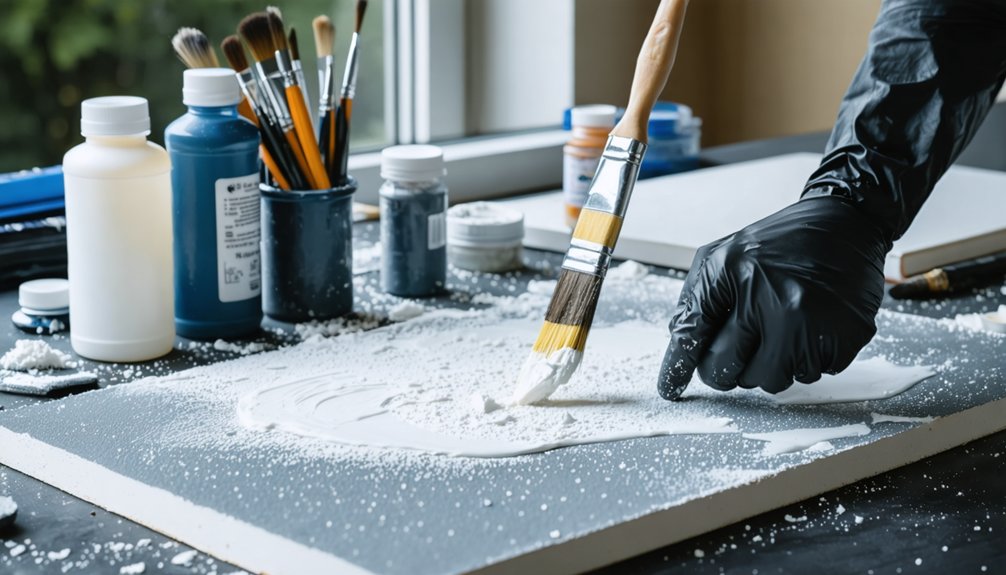
Before moving on to paint and finish your crystal prop, you’ll want to address any surface imperfections that could undermine the final look. Apply a thin spackle coat across the entire sculpture, targeting uneven ridges and pits. Once dry, sand the base flat to eliminate wobbles. These polishing techniques ensure cleaner adhesion for subsequent layers.
Key surface embossing and smoothing steps:
- Shave large foam board bumps with a craft knife before sanding
- Apply spackle thinly to avoid obscuring intentional faceted geometry
- Sand the bottom dry after spackle cures for stability
- Use sandpaper in progressive grits to refine texture gradually
Each step tightens surface control, letting your painting and finishing stages deliver sharper, more convincing optical results.
Applying Spackle Coats
Spackle does more than fill gaps—it unifies your crystal surface into a single paintable substrate. Apply a thin, even coat across the entire sculpture using a palette knife or stiff brush, working it into recessed facets without over-building.
This layer eliminates inconsistencies that would otherwise distort your crystal color schemes during painting, preventing uneven pigment absorption across mixed materials.
Once dry, sand the base flat to remove wobbles and refine facet edges. A smooth, consistent surface maximizes surface refraction effects when you later apply gloss varnish—irregular texture scatters light unpredictably, undermining optical realism.
After sanding, apply a second spackle pass only where depressions remain. Don’t over-coat; excessive buildup softens sharp facet lines you’ve carefully carved.
Seal everything before painting begins.
Adding Natural Texture Details
With your spackle coats sealed and cured, you’re ready to introduce organic texture that separates a convincing crystal prop from a painted craft project. Mineral variations in real specimens include pitting, ridging, and surface erosion patterns you’ll need to replicate deliberately.
Use these techniques to build authentic surface detail:
- Carve shallow grooves along crystal faces with a warmed craft knife to simulate natural fracture lines
- Press small stones into base edges before the spackle fully cures for realistic ground texture
- Sand high-contact areas selectively to mimic surface erosion without over-smoothing structural ridges
- Fill irregular voids with targeted hot glue applications, reinforcing mineral variations between clustered elements
Once texture is established, sand the bottom flat to eliminate wobbling before moving into paint application.
Paint Crystal Props to Look Deep, Clear, and Realistic
Achieving a convincing crystal effect starts with a medium gray base coat, which you’ll wet-blend with white and blue to build natural color variation across the surface. Work quickly while the paint stays wet, pulling lighter tones toward edges and keeping deeper values at the core to simulate internal depth.
Color blending at this stage defines the crystal’s perceived clarity, so avoid overworking any single zone.
Once dry, faceted surfaces lose their sheen, so apply acrylic gloss varnish to restore optical brilliance.
Add lighter value edges along ridges to emphasize wear and structural definition.
A final coat of gloss varnish unifies the finish across all crystal faces, ensuring consistent light interaction.
These layered steps transform painted surfaces into convincing, light-refracting forms.
Assemble and Mount Your Crystal Props Securely
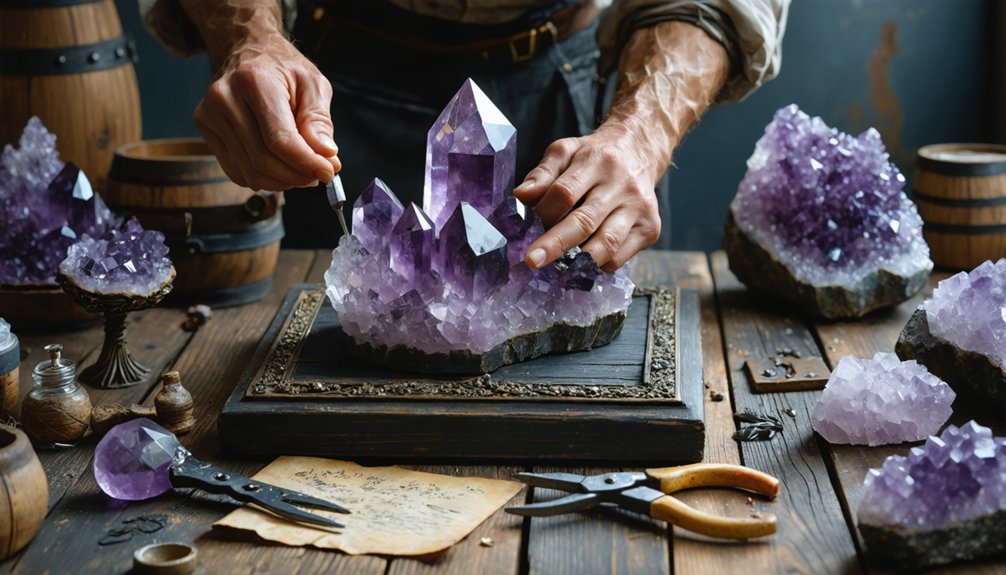
Once your crystals are painted and varnished, securing them to bases with hot glue and packing tape gives you a strong, lasting bond. Smart mounting techniques and storage solutions keep your props stage-ready and damage-free.
Follow these assembly steps for clean, professional results:
- Fill gaps between crystals and base edges with molten hot glue, then press cellophane over attachment points to conceal them seamlessly.
- Seal foam board geode bases with a thick gloss Mod Podge coat for structural durability.
- Apply one final acrylic gloss varnish coat across all assembled pieces for finish consistency.
- Store finished props in foam-lined containers as protective storage solutions, preventing chipping during transport.
These mounting techniques ensure your crystal clusters hold firmly while maintaining the optical realism you’ve built throughout the entire construction process.
Light Your Crystal Props for Maximum Visual Impact
Lighting transforms your finished crystal props from static decorations into luminous, eye-catching pieces that convincingly mimic natural gem refraction. Start with strategic LED placement by constructing a reflective foil tower wrapped with LEDs inside your prop’s core. The foil’s reflective surfaces bounce light outward, pushing illumination through every gem layer with minimal dead zones.
Assemble your gems with limited gaps during construction so light diffuses evenly rather than escaping through concentrated points. For digital renders, apply a normal map to push areas inward, creating an emissive glow from material depths. Set overlay blending mode layers to amplify vibrancy where light naturally concentrates along facet edges.
Test your LED placement against each crystal face before permanently securing components, adjusting angles until refraction patterns appear convincingly organic.
Frequently Asked Questions
How Do You Store Finished Crystal Props Without Damaging Their Painted Surfaces?
Store your faux gemstone storage pieces individually in soft-lined compartments. You’ll want to apply a protective surface coating of acrylic gloss varnish beforehand, ensuring painted surfaces resist scratching, moisture, and abrasion during handling or transport.
Can Crystal Props Be Safely Used Outdoors for Photography or Events?
Like fragile starlight, your props need protection outdoors. You can use them, but seal them with UV-resistant varnish first. Boost weather durability by avoiding prolonged moisture exposure, ensuring your crystalline creations shine brilliantly through any shoot.
How Long Does It Typically Take to Complete a Full Crystal Cluster Prop?
You’ll typically spend 8–12 hours completing a full crystal cluster prop. Applying gemstone techniques like faceting and crystal coloring methods such as wet-blending, varnishing, and spackle finishing demands patience, but it’s worth your innovative effort.
What Safety Precautions Should Be Taken When Working With Hot Glue Extensively?
Like a welder protecting their hands, you’ll need proper safety gear when handling hot glue. Heed every hot glue warning: wear heat-resistant gloves, guarantee ventilation, and keep burn relief nearby while working extensively.
How Do You Repair a Crystal Prop That Has Cracked or Broken After Assembly?
For crack repair, you’ll want to reapply hot glue into the damaged area, ensuring adhesive selection matches the original material. Smooth excess with a warmed craft knife, then recoat with acrylic gloss varnish to restore optical clarity.
References
- https://www.youtube.com/watch?v=G31OTd69rYw
- https://www.youtube.com/watch?v=bAWhR_6uIqs
- https://www.youtube.com/watch?v=CMnU1r69lLU
- http://propnomicon.blogspot.com/2014/04/crafting-crystals.html
- https://kohalucosplay.com/2012/12/06/crystal-creation-a-fabulous-gem-tutorial/
- https://www.youtube.com/watch?v=WWZamREXpcQ
- https://www.youtube.com/watch?v=bzrQofVio38
- https://creator.nightcafe.studio/tools/crystal-generator