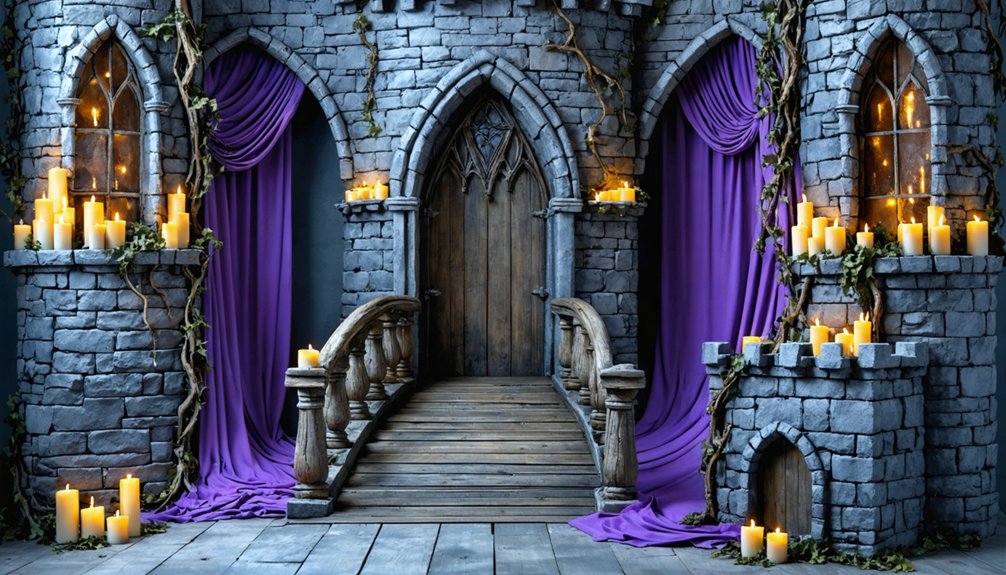
You can create a breathtaking fantasy castle backdrop using three half-inch, 4×8-foot insulation foam boards. Cut them into wide and narrow architectural sections, then shape angled turrets for a dramatic silhouette. Carve realistic stone texture with a Dremel tool, and layer black, gray, and white paint for depth. Frame everything with gold crown molding and add fairy lights, moss, and props to complete your enchanted scene. There’s so much more to uncover ahead.
Key Takeaways
- Use half-inch foam insulation boards as your base; they’re lightweight, durable, and ideal for sculpting realistic stone textures.
- Carve stone details with a Dremel, then layer black, gray, and white paint for authentic aged masonry.
- Build proportional foam support stands, roughly one-third panel height, to keep large backdrop sections stable and level.
- Enhance the scene with fairy lights, moss, toadstools, and paper butterflies for an immersive fantasy atmosphere.
- Match costume colors to backdrop tones—gold accents, gray stone, and green moss—for visually cohesive cosplay photos.
What Makes Foam Board the Best Base for a Castle Backdrop?
When building a fantasy castle backdrop, foam board is your best starting material because it’s lightweight, easy to cut, and holds texture beautifully. You’ll want three half-inch 4×8-foot insulation foam boards from a home improvement retailer like Home Depot.
Their generous surface area supports wide castle architecture sections alongside narrower flanking pieces.
Foam durability makes it surprisingly resilient for cosplay photography sets, handling repeated handling, painting, and decorative attachments without warping.
Foam board holds up beautifully to repeated use, making it a reliable choice for any cosplay photography set.
Before attaching anything, remove the plastic backing to ensure hot glue bonds properly to the surface.
You can score realistic stone textures directly into the foam using a Dremel tool, giving your castle instant visual depth.
The material absorbs paint layers efficiently, making it ideal for achieving that authentic, aged masonry look you’re after.
Choose and Cut Foam Boards for Each Castle Section
To get started, you’ll need three half-inch, 4-by-8-foot insulation foam boards from a home improvement store like Home Depot, which give you enough surface area for both wide and narrow castle sections.
Cut your first board to the desired width while keeping the full 4-foot length intact.
Then locate the center point along the top edge to mark your angled slope for the turret shape.
Apply that same angled cut to the two skinnier pieces you’ve created by halving the second board, keeping the architectural lines consistent across all three sections.
Selecting Your Foam Boards
Start by picking up three half-inch, 4-by-8-foot insulation foam boards from a home improvement store like Home Depot — these will form the backbone of your entire castle structure. This castle material strikes the perfect balance between lightweight handling and foam durability, making it ideal for large-scale cosplay builds.
The generous 4-by-8-foot dimensions give you enough surface area to cut wide central sections and narrower flanking pieces without wasting material. Before you begin cutting or attaching anything, peel off the plastic backing from each board’s surface. This step is critical — hot glue won’t bond properly to that slick plastic layer.
Once removed, you’ll have a clean, adhesion-ready surface that holds structural components firmly throughout the entire assembly process.
Cutting Castle Section Shapes
With your boards prepped and plastic-free, it’s time to shape each section into recognizable castle architecture. Start with your widest board, keeping the full 4-foot length intact. Locate the board’s center width to mark your peak point, then measure a 30-inch angle outward from that mark to define your castle turret design. Cut along the inside edge of a ruler to remove each corner cleanly and precisely.
Next, slice your second board in half lengthwise, creating two narrower flanking sections. Apply the identical angled cuts to both pieces, ensuring symmetrical silhouettes across the entire backdrop.
Prioritize foam cutting safety throughout — use a sharp blade, cut away from your body, and work on a stable flat surface to maintain clean, controlled lines every time.
Shape Your Castle Turrets With Angled Cuts
To find your peak point, measure across the width of your foam board and mark the exact center — this becomes the highest tip of your turret.
From that center mark, measure down at a 30-inch angle toward each bottom corner and draw a clear guideline on both sides.
Place your ruler along each line and cut on the inside edge, removing the corners cleanly to reveal the sharp, symmetrical slope of your castle’s silhouette.
Find Your Peak Point
Once you’ve determined the desired width of your widest castle section, flip the board flat and locate its center point along the top edge — this becomes your peak.
Measure carefully from both outer edges toward the middle, then mark this peak point clearly with a pencil so it stays visible during cutting.
This centered mark defines where both angled cuts will converge, shaping the classic turret silhouette.
From this peak point, draw two diagonal lines extending outward and downward toward each upper corner of the board. These lines establish your cutting guides.
Keep the board flat against a stable work surface to maximize foam stability throughout this marking process.
Any shifting or warping during measurement throws off your symmetry, so weigh down the edges before committing your lines.
Mark The Turret Angle
How precisely you mark the turret angle determines whether your castle silhouette looks intentional or lopsided, so grab your ruler and set it at a 30-inch measurement — or your custom length — along one of the diagonal lines you’ve already drawn from the peak.
Press the ruler firmly against the foam surface, then draw a clean, confident line defining your castle turret angles. This line tells your blade exactly where to cut, eliminating guesswork.
Keep your markings visible but thin — a light pencil stroke works best. Foam board durability depends partly on clean, precise cuts rather than repeated scoring that weakens the material’s internal structure.
Once both diagonal angle lines are clearly marked on each section, you’re fully prepared to cut sharp, symmetrical turrets that immediately communicate architectural intention.
Cut Along Ruler Edges
With your angle lines clearly marked, place the ruler directly along one of the diagonal lines and press it firmly against the foam surface so it won’t shift mid-cut.
Using a sharp utility knife, cut along the ruler’s inside edge in one smooth, confident stroke. Hesitation creates jagged edges that compromise your castle design’s clean silhouette.
Apply steady downward pressure while pulling the blade toward you, letting the knife’s weight do the work rather than forcing it.
Foam board durability holds up well against clean cuts, but sawing motions will tear the material and ruin the edge definition you need.
Once the first diagonal cut is complete, repeat the process on the opposite side to complete the symmetrical turret peak before moving to the flanking sections.
Carve Realistic Stone Texture Into Your Foam Backdrop
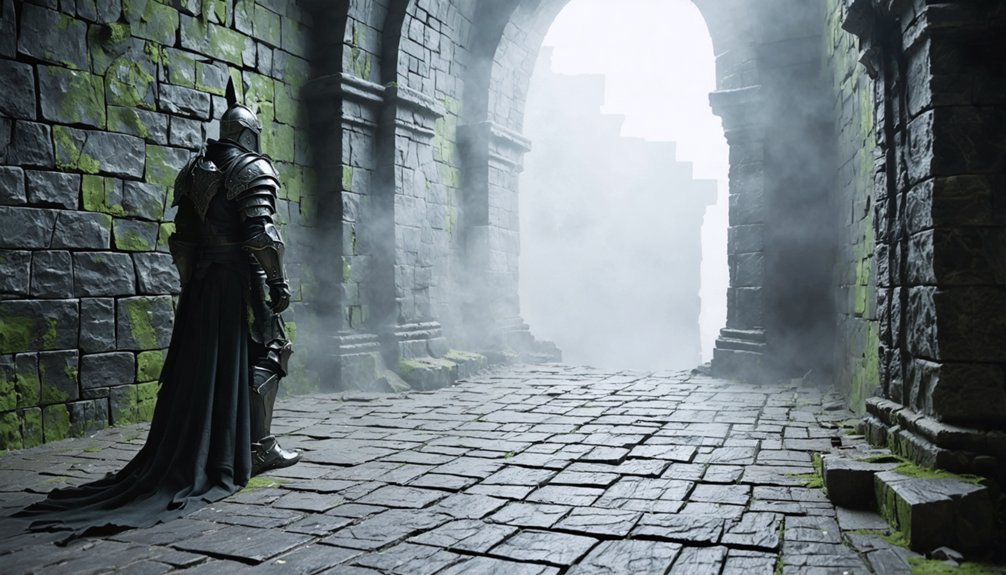
Carving realistic stone texture into your foam backdrop is where the backdrop truly starts to come alive. Grab your Dremel with a stone bit and round out each stone’s corners to replicate aged masonry. You’ll want to rough up individual stone faces unevenly — variation is what sells authenticity. Press harder in some areas and lighter in others to create natural-looking depth.
Once you’ve carved the texture, think ahead toward your moss application zones and lighting effects placement. Recessed areas catch shadows beautifully under directional lighting, and mossy patches will nestle naturally into carved crevices.
Start with a black base coat, layer gray heavily over it, then dry-brush white across raised surfaces. This three-tone approach makes your texture visually dynamic and photo-ready under any lighting setup.
Layer Paint for an Authentic Castle Backdrop Stone Finish
Once your carved texture is set, painting in deliberate layers transforms flat foam into convincing stone. Start with a full black base coat, letting it settle deep into every crevice. This mirrors how historical architecture naturally accumulates shadow in recessed joints.
Layered paint breathes life into carved foam, beginning with black that anchors shadow deep within every sculpted crevice.
Next, apply heavy gray over the raised surfaces, leaving black visible in the grooves.
Color theory guides your next move — introduce golden brown spray paint on select stones to simulate mineral variation and weathering. This contrast keeps the facade visually dynamic rather than monotone.
Darken grout lines further using a black wash or airbrush, then dab metallic acrylic with a sponge to correct any overly bright spots.
Finish by dry brushing white across high points, making your texture genuinely pop under photography lighting.
Build Foam Stands That Hold Your Castle Backdrop Upright
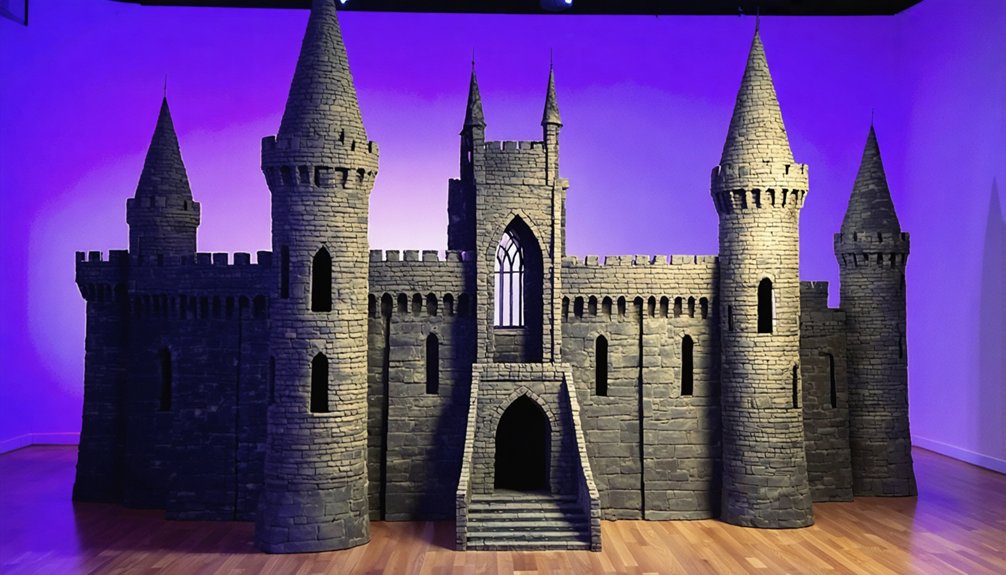
Now that your painted castle sections are dry, it’s time to cut support stands from your third foam board so your backdrop can stand upright on its own.
Size each stand wide enough to provide a stable base, then hot glue them directly onto the back of the foam panels, holding each piece firmly in place until the adhesive fully sets.
Before the glue cures, verify that every panel sits straight and level on its stand, since repositioning after the glue hardens becomes nearly impossible.
Stand Cutting And Sizing
To keep your castle backdrop standing tall, you’ll need to cut support stands from your remaining third foam board. Measure and cut two rectangular sections, sizing each stand proportionally to the height and weight of your castle architecture.
Taller, wider panels demand broader, sturdier bases, so factor in foam board durability when determining your dimensions.
Aim for stands roughly one-third the height of each panel, ensuring a low center of gravity that prevents tipping.
Cut clean, straight edges using a sharp blade guided by a ruler for precision.
Test each stand against its corresponding panel before committing to permanent attachment. Slight adjustments now save structural headaches later.
Accurate sizing at this stage guarantees your finished backdrop stays upright confidently throughout any cosplay shoot.
Hot Glue Attachment Tips
With your stands cut and sized, it’s time to secure them using hot glue for a bond strong enough to keep your castle upright through an entire shoot.
Press each stand firmly against the back of the foam board, holding it steady for at least 30 seconds while the adhesive sets.
For hot glue safety, work in a ventilated space and keep your fingertips clear of the nozzle tip.
If you notice weak spots or lifting edges during adhesive troubleshooting, apply a second bead directly over the gap and re-press immediately.
Don’t rush this step—uneven pressure creates air pockets that compromise the bond.
Once every stand locks securely into position, flip your backdrop upright and test its stability before moving forward.
Add Gold Crown Molding to Frame Your Castle Backdrop
Once your stands are fully secured and all paint layers have dried completely, grab your corner-to-corner gold crown moldings and a hot glue gun to begin framing the castle edges.
With stands secured and paint fully dried, reach for your gold crown moldings and hot glue gun.
Drawing from historical inspiration, these architectural accents mirror the ornate decorative techniques found in medieval stonework, instantly elevating your backdrop’s authenticity.
Run a consistent bead of hot glue along each molding’s back edge before pressing it firmly against the foam board corners. Work section by section, holding each piece in place for several seconds until the bond sets.
Align the moldings carefully at each junction to maintain clean, precise angles. The gold finish catches light beautifully, contrasting the textured stone surface and reinforcing that enchanted fantasy aesthetic your cosplay demands.
Let every attachment cool fully before repositioning the backdrop.
Light Your Castle Backdrop to Maximize Photographic Impact
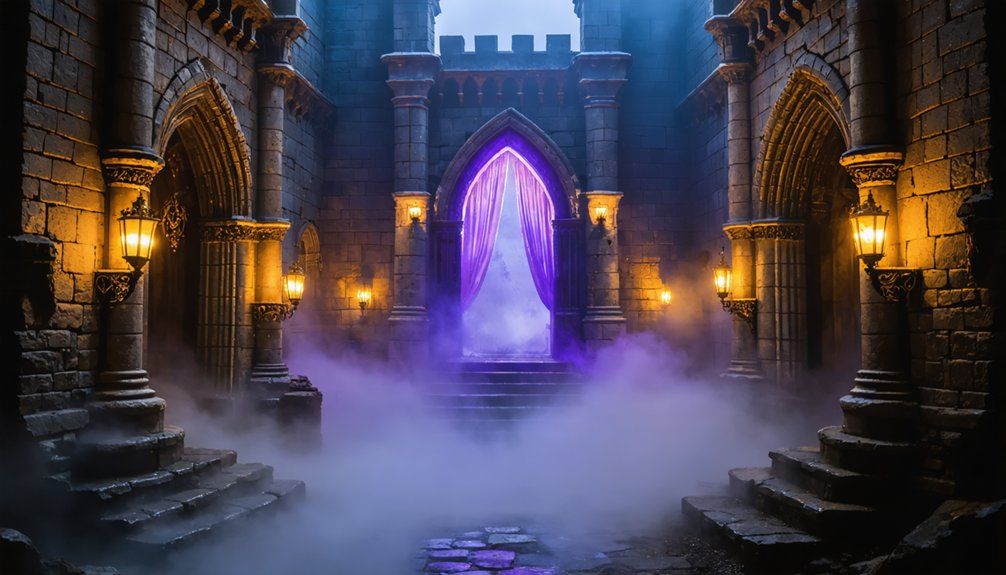
Your gold crown moldings are locked in place and the glue has cooled, so now it’s time to make that castle come alive with light. Strategic castle lighting transforms your foam board backdrop from a flat prop into an immersive fantasy environment.
Weave twinkling fairy lights through faux moss clusters along the base, letting warm golden tones echo your crown molding accents. Position a directional light source at a low angle to rake across the stone texture, deepening shadows inside every grout line and amplifying the dimensional detail you carved earlier.
Foam board durability holds up well against low-heat LED strands, so avoid incandescent bulbs entirely.
Add paper butterflies and miniature toadstools near the base, then shoot dynamic angles using slight motion blur to capture authentic fantasy energy.
Stage Props and Greenery Around Your Enchanted Castle Scene
Fairy lights are already glimmering through your moss clusters, so now pull the scene forward by layering tactile props at the base of your castle.
Strategic placement creates depth, reinforces castle lighting, and locks in costume harmony across your entire shot.
- Cluster miniature toadstools in odd-numbered groupings at each tower base for organic asymmetry.
- Drape trailing ivy or faux vines downward from the crown molding edges to soften hard foam lines.
- Position a whimsical tree swing slightly off-center to draw the viewer’s eye naturally toward your costumed subject.
- Scatter loose moss patches between props to unify the ground plane with the castle’s textured surface.
- Arrange paper butterflies at varying heights to add vertical movement without competing with your costume’s focal points.
Coordinate Costume Colors With Your Castle Backdrop for Cohesion
With your props anchored and greenery softening the castle’s edges, the final layer of cohesion comes from aligning your costume’s color palette directly with the backdrop’s tones. Color harmony between your outfit and the stone facade transforms separate elements into a unified visual story.
Pull warm golds from the crown molding into your costume’s accessories or trim. Echo the gray stone tones through layered fabrics, metallic armor pieces, or textured cloaks. Deep greens from the moss translate beautifully into velvet accents or embroidered details.
Costume coordination works best when you treat the backdrop as a mood board before finalizing your look. Hold fabric swatches against the painted foam under your shoot’s actual lighting to confirm tonal alignment. Intentional color matching elevates every photograph dramatically.
Frequently Asked Questions
How Long Does the Entire Castle Backdrop Take to Complete?
You’ll typically complete your castle design in one to two days. Working with foam materials, you’re cutting, texturing, painting, and assembling each section, so allow extra drying time between layers for professional results.
Can This Backdrop Be Safely Used Outdoors for Photography?
You can use it outdoors, but take safety precautions against wind and moisture. Secure your backdrop with weighted stands, avoid direct rain, and monitor outdoor durability since foam materials aren’t weatherproof, ensuring stunning, safe photography sessions.
How Do You Store the Finished Backdrop Without Causing Damage?
Like a knight sheathing a sword, store your backdrop flat or upright against a wall. For damage prevention and smart storage tips, you’ll wrap each section in breathable fabric, keeping foam pristine.
What Is the Approximate Total Cost of Building This Backdrop?
You’ll spend roughly $50–$80 total. Cost estimation includes three foam boards (~$30), paint, a Dremel, and gold moldings. Safety considerations mean you’re budgeting for proper ventilation supplies when spray-painting your innovative castle backdrop.
Can Children Safely Interact With the Finished Foam Backdrop?
Better safe than sorry—you’ll want to supervise children around it. Foam durability holds up well, but sharp painted edges and hot glue points affect child safety, so inspect the backdrop carefully before kids interact with it.
References
- https://www.youtube.com/watch?v=hH8Q7z7pl8Y
- https://www.youtube.com/watch?v=0OmqZPE_ikc
- https://starstruckpanda.com/diy-cosplay-photography-backdrop-ideas/