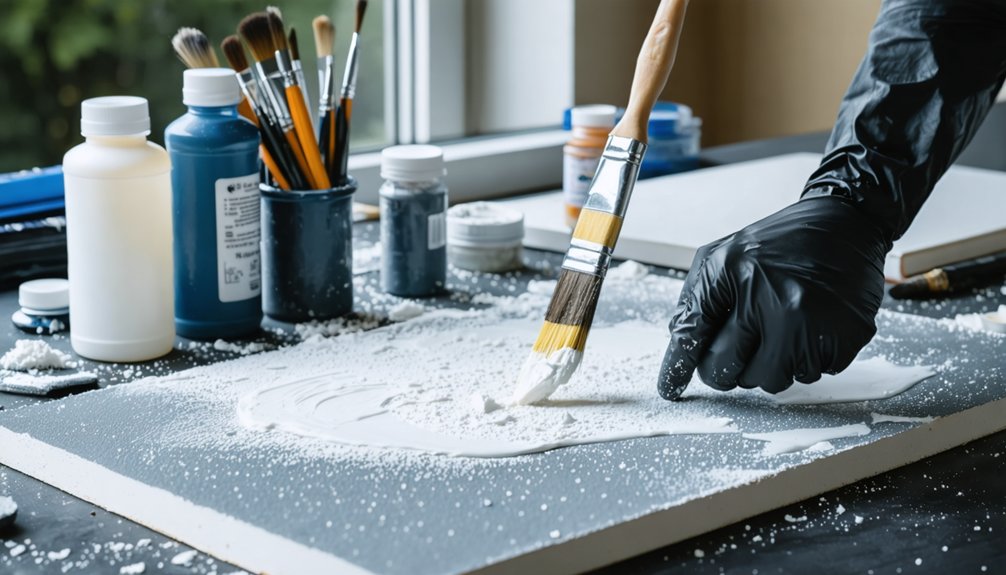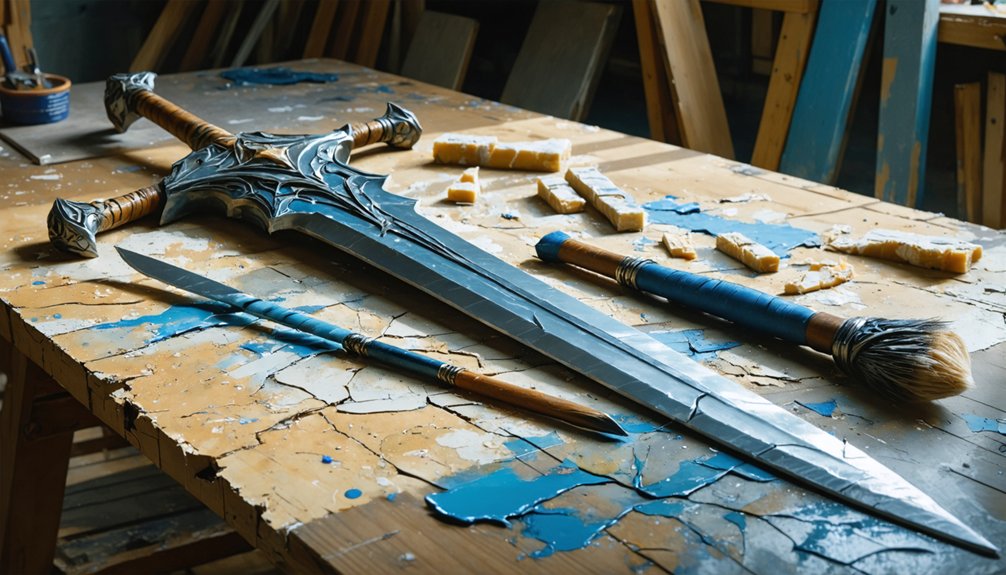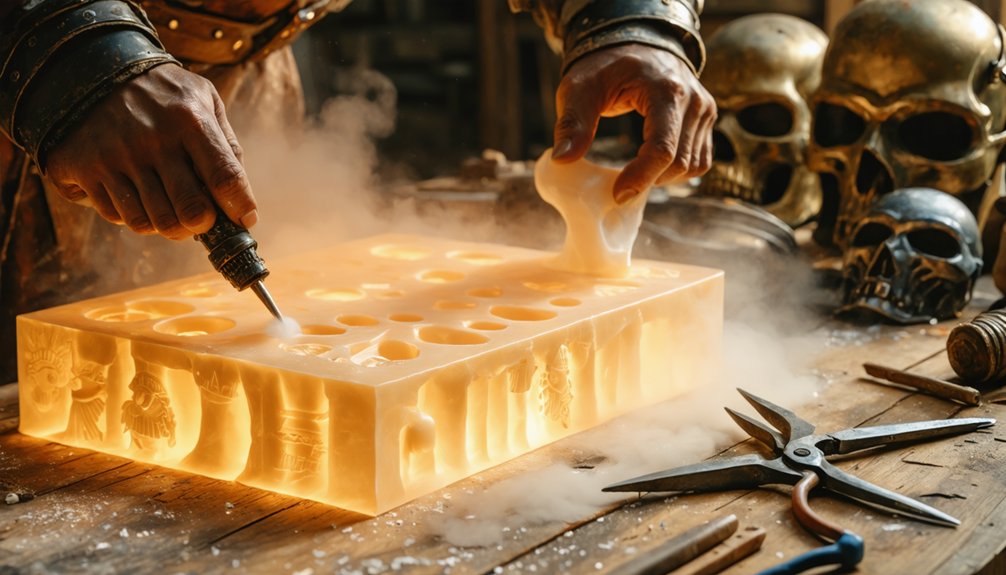
For beginner thermoplastic prop-making, you’ll want to start by choosing the right material—Wonderflex and Thibra are forgiving and easy to shape. Prepare foam cores with sharp knives and rotary tools, then wrap them in electrical tape to prevent adhesion. Heat thermoplastic evenly using a heat gun or hot water, press seams with smooth tools, and sand progressively before priming and painting. Each technique builds on the last, and there’s plenty more to master ahead.
Key Takeaways
- Start with beginner-friendly thermoplastics like Wonderflex, which activates at 150°F–200°F and offers a 30–60 second workable window for easy shaping.
- Use hot water at 150°F for gentle, controlled heating, reducing the risk of warping compared to heat guns.
- Wrap foam cores in electrical tape to prevent thermoplastic adhesion while building complex prop shapes with layered sections.
- Press seams with silicone-tipped burnishers or spoon tools to distribute force evenly, preventing air gaps and delamination.
- Sand progressively from coarse to fine grit, then apply sandable filler primer to achieve a smooth, paint-ready surface.
Pick the Right Thermoplastic for Your First Prop
Choosing the right thermoplastic upfront saves you hours of frustration later. For beginners, Wonderflex is your best starting point. It activates between 150°F–200°F, giving you a manageable work window of 30–60 seconds to shape your prop before it hardens. Its thermoplastic durability holds up well under convention handling without cracking or warping.
Wonderflex activates between 150°F–200°F, giving beginners a 30–60 second window to shape props before hardening.
If you need more refinement control, choose Thibra instead. It allows post-sculpt sanding, letting you eliminate imperfections after the material sets.
Material flexibility varies between options, so match your choice to your project’s complexity. Simple armor pieces suit Wonderflex, while detailed sculptural work benefits from Thibra’s sandable surface.
Avoid jumping straight to ABS or PLA — both require oven heating above 320°F, adding unnecessary complexity to your first build.
What Tools Do Beginners Actually Need?
You’ll need just a few core tools to get started: a sharp craft knife or scalpel for clean cuts in foam and thermoplastic templates, and a reliable heat gun for softening your material before shaping.
Your heat gun should reach 200–300°F, and you’ll want to keep it moving in even strokes to avoid overheating any single spot.
These two tools handle the bulk of your work, covering everything from cutting precise pattern pieces to activating your thermoplastic within its 30–60 second working window.
Essential Cutting Tools
When starting out in thermoplastic prop-making, you don’t need a full workshop arsenal — just a few reliable cutting tools that handle the majority of shaping and trimming tasks.
A sharp craft knife or scalpel delivers the cutting accuracy you need for clean foam templates and precise thermoplastic trimming. Swap blades frequently — dull edges tear material rather than slice it cleanly.
Add a rotary tool like a Dremel for tool versatility across detailed carving, edge refining, and seam cleanup on harder thermoplastics like Thibra. Pair it with small stone grinding bits for tight contours.
Finally, keep heavy-duty scissors on hand for cutting softer thermoplastics like Wonderflex before heating. These three tools cover nearly every cutting task you’ll encounter at the beginner stage.
Heat Application Equipment
Heat application is where most beginners either succeed or stall, so getting the right equipment from the start matters. You’ll primarily rely on two tools: a heat gun and a pot of hot water.
A heat gun delivers 200–300°F and works fastest, but you’ve got to keep it moving to avoid localized melting.
Hot water at 150°F gives you a gentler, more controlled option — ideal when you’re experimenting with thermoplastic color options or testing new materials.
Both methods give you a 30–60 second working window before the material hardens. Plan your shaping moves before applying heat.
One underrated advantage: thermoplastics support recycling thermoplastic scraps by reheating and reforming them, so off-cuts aren’t wasted.
Keep a thermometer nearby — precision directly impacts your results.
Heat Your Thermoplastic Without Ruining It
Heating thermoplastic correctly starts with knowing your material’s safe temperature range. Wonderflex softens between 150°F and 200°F, while ABS requires 380°F and PLA needs 320°F for oven molding.
You’ve got three reliable heating methods to choose from: hot water at 150°F for beginner-friendly control, a heat gun at 200°–300°F for speed, or an oven for batch molding multiple pieces at once.
Once you remove the material from heat, you’re working with a 30–60 second window before it hardens, so have your form ready before you start.
Safe Temperature Ranges
Getting the temperature right is everything when working with thermoplastics—too cool and the material won’t shape properly, too hot and you’ll burn through your workable window or warp the piece entirely.
For Wonderflex, stay between 150°F–200°F. You’ll get a 30–60 second work window once it’s pliable, so move efficiently.
For hot water heating, keep it at exactly 150°F (65°C) for 2–3 minutes.
Heat guns should run at 200–300°F using even strokes—never hold them stationary.
Oven molding works best for ABS at 380°F and PLA at 320°F.
Precise temperature control also supports thermoplastic recycling, since overheated material degrades faster and increases environmental impact through waste.
Use a thermometer when possible to stay consistent and protect both your material and your build quality.
Heating Methods Compared
When it comes to heating thermoplastics, your method matters as much as your temperature. Each approach suits different advanced molding scenarios.
Hot water at 150°F works best for beginners—submerge your material for 2–3 minutes and you’ll get a consistent, even softening.
Heat guns deliver faster results between 200–300°F, but you’ll need steady, even strokes to avoid localized overheating.
Oven heating supports thermoplastic recycling and batch molding efficiently, running ABS at 380°F and PLA at 320°F for 3–5 minutes.
Regardless of method, your working window stays tight—just 30–60 seconds before the material hardens.
Don’t waste that time. Have your mold or form ready before you apply heat.
Choosing the right method upfront eliminates warping, weak seams, and wasted material.
Shape Foam Cores Before Applying Thermoplastic
Before applying thermoplastic, you’ll want to sculpt your foam core into the closest possible approximation of your final prop shape. Accurate foam core shaping techniques reduce thermoplastic waste and minimize corrections later.
Use these methods to prepare your core effectively:
- Cut upholstery or pink insulation foam using sharp craft knives for clean, precise edges.
- Carve contours with a rotary tool to match your prop’s curved surfaces.
- Build complex shapes by layering foam sections bonded with hot glue.
- Wrap the finished foam core completely in electrical tape to prevent thermoplastic adhesion.
- Test your core against reference images before committing to thermoplastic application.
Once your foam core matches the intended shape, thermoplastic drapes and conforms naturally, giving you cleaner seams and a more professional finished prop.
Shape and Mold Thermoplastic Over Your Prepared Base
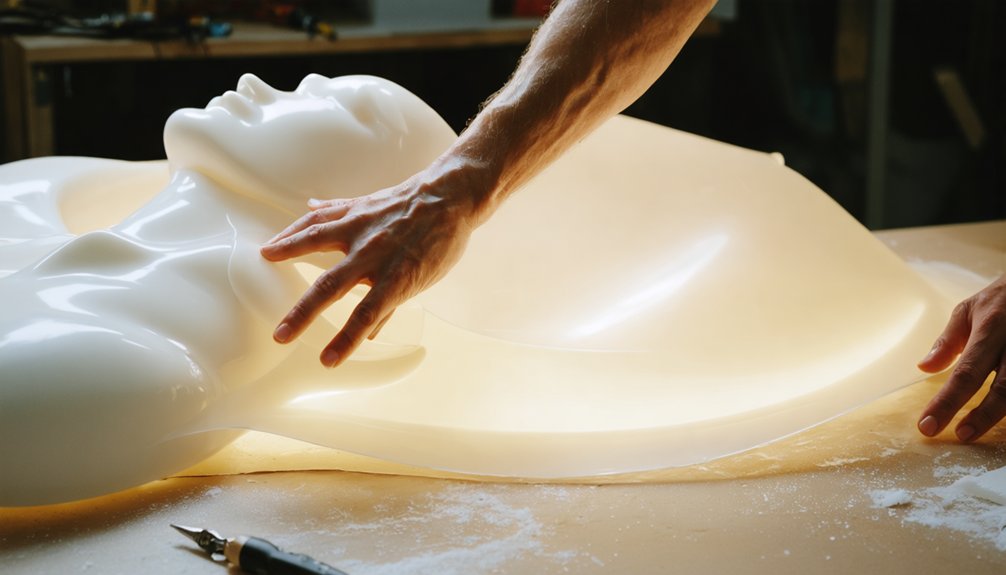
With your foam core shaped and taped, you’re ready to apply and mold your thermoplastic. Heat your sheet using the hot water method at 150°F for 2–3 minutes or a heat gun at 200–300°F using even strokes. You’ll have a 30–60 second work window before it hardens.
Heat your thermoplastic using hot water at 150°F or a heat gun, then shape it within your 30–60 second window.
Press the heated thermoplastic firmly over your base, using creative foam techniques like wrapping edges and sandwiching seams to eliminate air gaps. Fold excess material around corners to fully conceal the foam beneath.
Use tools rather than bare fingers to press seams, preventing burns while ensuring even pressure.
Thermoplastic color options vary by material, so choose one that suits your finish goals. Reheat sections as needed to correct shaping errors before the material permanently sets.
Join and Seal Seams So They Actually Hold
To join seams, reheat the thermoplastic edges until they reach a barely-tolerable finger temperature, which activates the material’s self-bonding properties.
Once heated, press the joints together firmly on a flat surface to create a flush, secure bond.
Avoid using your bare fingers to apply pressure—use a smooth tool instead to distribute force evenly and prevent burns.
Heating Seams For Adhesion
Getting seams to hold comes down to one critical factor: heat control. Heat your Wonderflex until it reaches barely-tolerable finger temperature — not scalding, just tacky enough to fuse.
Follow these steps for reliable adhesion:
- Prioritize seam alignment before applying heat; misaligned edges won’t bond cleanly under pressure.
- Use a heat gun in short, controlled bursts directly along the seam line.
- Press joints firmly onto a flat surface to maximize contact area.
- Avoid finger contact during pressing — use a flat tool to distribute pressure evenly.
- Perform adhesion testing by flexing the cooled seam gently; it shouldn’t separate or crack.
Reheat stubborn seams immediately if gaps appear. Your work window is tight — roughly 30–60 seconds — so move deliberately and confidently.
Tools For Pressing Joints
Pressing a seam correctly matters just as much as heating it right. Once you’ve heated Wonderflex to a barely-tolerable finger temperature, avoid pressing joints directly with your fingertips. Instead, use flat tools like a silicone-tipped burnisher or the back of a spoon to apply even, controlled pressure across the seam line.
For pressing joint techniques on curved surfaces, a wooden dowel or bone folder lets you reach tight contours without distorting the surrounding material. These seam reinforcement methods reduce air gaps and prevent delamination under stress.
A brayer roller works exceptionally well on flat seams, distributing pressure uniformly across the entire joint. Keep your tools clean and slightly warm so they glide without dragging. Consistent tool pressure produces tighter bonds and cleaner finished props every time.
Sand and Refine Thermoplastic Surfaces Like a Pro
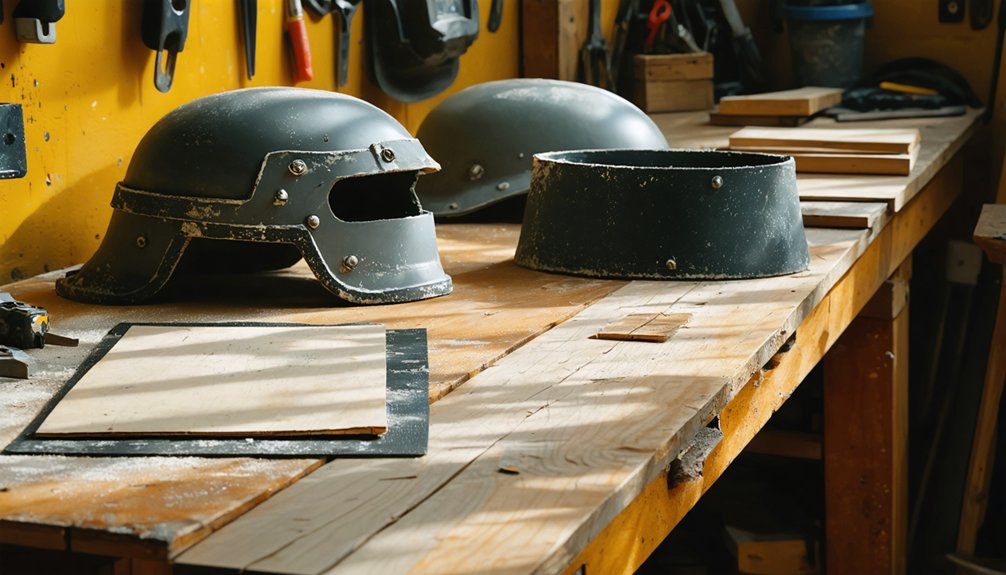
Once your thermoplastic piece has cooled and hardened, you’ll want to refine the surface before priming or painting. Seam blending and surface polishing are essential steps that separate amateur builds from professional-quality props.
Follow this streamlined refinement process:
- Sand progressively — start with coarse grit, finish with fine grit for smooth gradations
- Use a Dremel with small stone grinding tips to detail tight contours and complex geometry
- Blend seams by applying secondary heat to soften edges, then pressing flat
- Apply sandable filler primer to fill micro-scratches and reveal remaining imperfections
- Re-sand after priming to achieve a paint-ready surface with clean, uniform texture
Thibra thermoplastic responds especially well to sanding, making it ideal when surface polishing precision is your priority.
Prime and Paint Your Finished Thermoplastic Prop
With your surface fully refined, you’re ready to lock in that work with primer and paint. Start with a sandable filler primer, applying two light coats to seal the thermoplastic and reveal any remaining imperfections. Sand between coats using fine-grit paper for a glass-smooth base.
Seal your surface with two light coats of sandable filler primer, sanding between each for a flawless base.
For color mixing, blend acrylics or enamel paints to match your reference precisely—don’t rely on straight-from-bottle shades. Layer colors in thin passes, building depth gradually.
Incorporate texturing techniques like dry-brushing, stippling, or sponge application to simulate metal, leather, or worn surfaces. These methods add visual complexity without extra materials.
Seal everything with a matte, satin, or gloss topcoat depending on your desired finish. This final layer protects your paint job from handling wear during conventions.
Fix Warping and Deformations Before You Paint
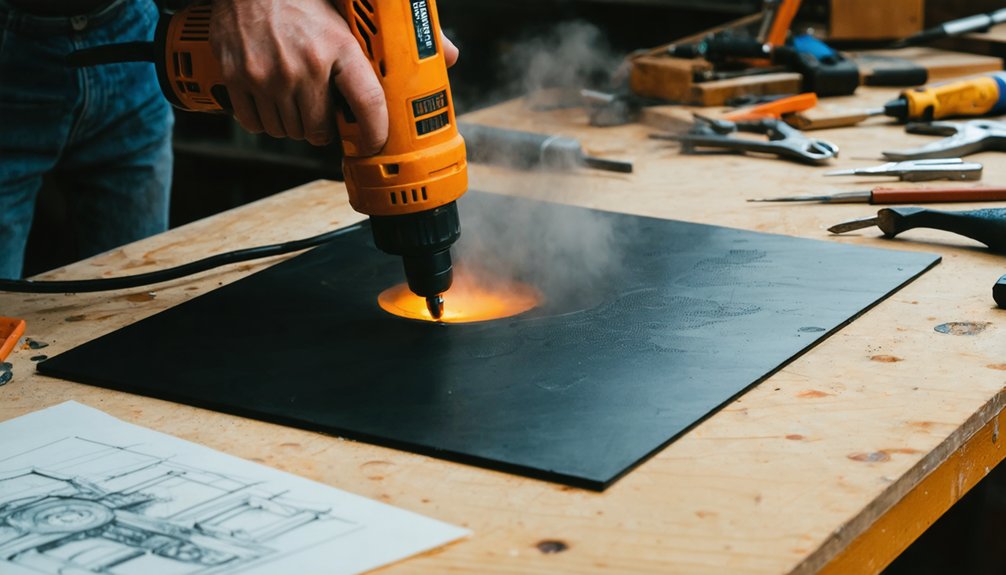
Before you apply a single coat of primer, check your prop carefully for warped sections or deformations that crept in during cooling. Warping correction is straightforward with targeted reheating using a heat gun.
Use these techniques for effective deformation prevention:
- Apply heat gun strokes evenly at 200–300°F over warped areas until the material softens.
- Gently press the section flat against a hard surface and hold until cooled.
- Use clamps or weighted objects to maintain correct form during cooling.
- Reheat stubborn seams to barely-tolerable finger temperature, then mash joints flat.
- Sand any remaining surface irregularities with progressive grits before priming.
Work quickly within your 30–60 second window. Once you’ve confirmed everything sits correctly, you’re ready to prime without trapping imperfections beneath your finish coat.
Keep Your Thermoplastic Props Safe for Conventions
Convention safety rules vary by event, but your props consistently need to meet three core standards: they must be lightweight, structurally secure, and free of sharp edges.
Thermoplastics like Wonderflex and Thibra naturally support these requirements since they’re moldable, light, and sandable.
Sand all edges smooth after trimming, eliminating any flash or sharp protrusions. Reinforce joints using epoxy or high-quality double-sided foam tape to prevent structural failure during wear.
Shake and stress-test your prop before the event to catch weak points early.
Consider thermoplastic recycling when scrapping failed pieces — reheating scraps reduces environmental impact and cuts material costs.
Responsible prop-making means thinking beyond construction. Keep your finished prop free of exposed foam, loose attachments, or unstable components that could create hazards on a crowded convention floor.
Frequently Asked Questions
Can Thermoplastic Props Withstand Outdoor Heat at Summer Conventions?
You’ll need to monitor outdoor temperature carefully, as thermoplastics like Wonderflex soften around 150°F. Their heat resistance is limited, so store props in shade and avoid prolonged direct sunlight to prevent warping at summer conventions.
How Long Do Completed Thermoplastic Props Typically Last Before Degrading?
With proper care, your thermoplastic props can last years before degradation factors like UV exposure, heat, and physical stress cause material durability issues. You’ll extend lifespan by storing them properly and applying protective coatings regularly.
Can Leftover Thermoplastic Scraps Be Reused for Future Prop Projects?
Recycling scraps reduces material waste by up to 30%! You can reheat leftover thermoplastic pieces, merge them into new shapes, and minimize environmental impact by repurposing offcuts for smaller details, patches, or experimental prop components.
Are Thermoplastic Props Safe for Children to Wear or Carry?
Yes, thermoplastic props can be safe for children when you address child safety and material concerns properly. Make sure you’ve sanded all sharp edges, verified lightweight construction, and secured all joints so nothing loosens during wear or handling.
How Should Finished Thermoplastic Props Be Stored Between Convention Uses?
Store your finished props in a cool, dry location away from direct heat to maximize shelf life. Proper prop storage prevents warping—stack pieces flat, use padding between layers, and you’ll keep them convention-ready.
References
- https://www.instructables.com/Prop-making-with-Wonderflex/
- https://www.youtube.com/watch?v=ilkg1SPr64Q
- https://www.youtube.com/watch?v=B4EM4qj0kh0
- https://weilinplastic.com/thermoplastic-molding-at-home-complete-guide/
- https://www.youtube.com/watch?v=X8rDU4qbEFY
- https://www.youtube.com/watch?v=BF-JzuhS36I