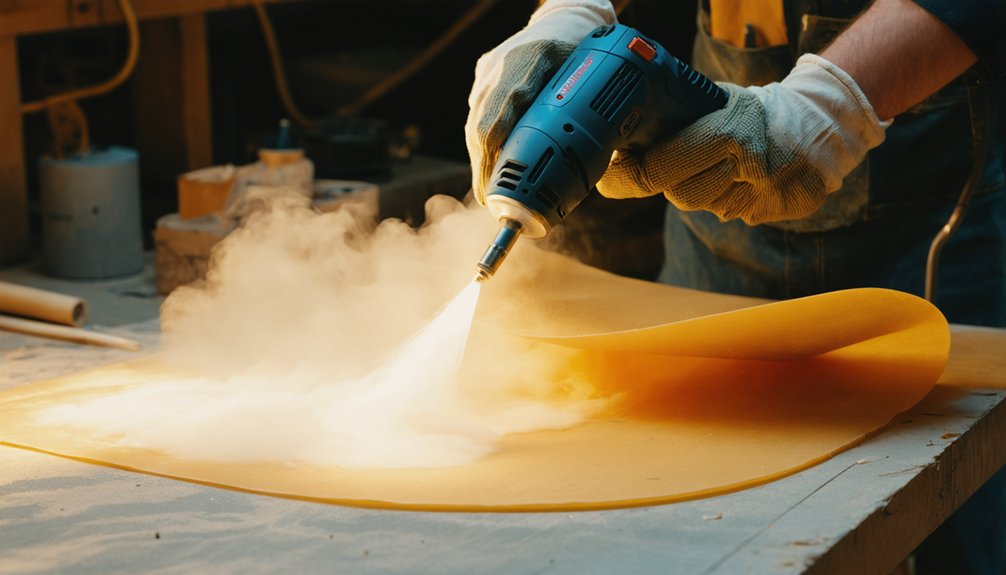
You’ll get the best results shaping EVA foam and thermoplastics when you set your heat gun between 200–300°C, keep it moving 5–10 cm from the surface, and shape the material within 10–20 seconds before it cools. Use broad, circular passes for even heating, and watch for subtle color shifts and increased flexibility as your cues for readiness. Master these fundamentals, and the techniques ahead will take your builds to the next level.
Key Takeaways
- Set your heat gun between 200–300°C and maintain a 5–10 cm distance to evenly soften foam without burning it.
- Keep the gun moving in circular or sweeping passes to prevent localized overheating, warping, or cracking.
- Watch for visual cues like surface sheen and increased flexibility to know when foam is ready to shape.
- Shape foam within 10–20 seconds after heating, pressing it against forms or molds to achieve consistent contours.
- Use short, controlled passes for edge refinement, smoothing textures, and blending tonal variations across the surface.
Best Heat Gun Temperature for EVA Foam and Thermoplastics
When working with EVA foam, you’ll want your heat gun set between 200–300 °C, though the foam itself only needs to reach 60–80 °C to become workable. Heat gun calibration matters here because you’re compensating for air-to-surface heat transfer loss across a 5–10 cm working distance. Holding too close concentrates heat unevenly, risking bubbles, shrinkage, or combustion.
Material compatibility also shapes your approach. Thermoplastics and moldable plastics tolerate similar temperature ranges but often require slower, more gradual passes to prevent stress cracks or internal bubbling. Thicker materials demand higher-output models and patient heating cycles.
Watch for subtle color shifts and increased flexibility as your cues to stop heating. Once the material bends without cracking, it’s ready to shape immediately before cooling locks it rigid.
How to Heat Foam Without Burning or Warping It
To avoid burning or warping your foam, keep your heat gun between 200–300 °C and maintain a working distance of 5–10 cm from the surface.
You’ll want to keep the gun moving in circular or sweeping passes rather than holding it over one spot, since concentrated heat causes bubbling, shrinking, and uncontrolled deformation.
Watch the foam closely for a slight color shift and a gentle flexibility when bent—these signs confirm safe softening without crossing into damage.
Optimal Temperature Range Control
Getting the temperature right is the single most important factor in shaping EVA foam cleanly, since too little heat leaves the material stiff and prone to cracking while too much causes bubbling, uncontrolled shrinkage, or combustion.
EVA softens between 60–80°C, so you’ll want your heat gun operating around 200–300°C held 5–10 cm from the surface. Watch for subtle color variation as your primary indicator — a slight shift signals ideal malleability without material degradation.
Never fixate the gun on a single spot; keep it moving in controlled, overlapping passes.
For tool maintenance, periodically check that your heat gun’s airflow vents stay clear, since blocked vents cause inconsistent output temperatures that compromise precision shaping.
Consistent airflow directly translates to consistent, repeatable results across your entire build.
Keep The Heat Gun Moving
Once you’ve dialed in your temperature range, the next variable that makes or breaks a clean result is how you move the gun across the surface. Static application destroys temperature consistency and damages surface texture almost immediately.
Keep the gun in constant motion using deliberate, overlapping passes at roughly 5–10 cm from the foam.
Use these movement patterns based on your build:
- Circular passes for broad armor panels requiring even heat distribution across the entire surface
- Horizontal sweeps for long edge smoothing or flattening seams between joined sections
- Targeted spirals for small details where localized softening is needed without affecting surrounding structure
Each pass should last only seconds per zone. Once the foam flexes without resistance, redirect immediately to maintain uniform surface texture and avoid localized warping.
Recognize Safe Softening Signs
Knowing when to stop heating is just as important as knowing how to start—push past the foam’s softening point and you’ll trigger bubbling, shrinking, or surface cracking that can’t be reversed.
EVA foam’s thermal conductivity means internal temperature rises even after you pull the heat gun away, so stop heating slightly before the material looks fully ready.
Watch for a subtle color shift and test material elasticity by gently flexing the section—it should bend smoothly without resistance or cracking sounds.
The surface may develop a slight sheen as pores close, which is your clearest visual cue.
If bubbles appear, you’ve overshot the threshold.
Work in short passes, checking flexibility between each one to maintain precise control throughout the forming process.
How Long You Have to Shape EVA Foam Before It Cools
Once you remove the heat gun, you’ve got roughly 10–20 seconds to bend, curve, or press the EVA foam into your intended shape before it begins to stiffen.
Work quickly and deliberately, positioning the foam against your form or reference object without hesitation.
Hold the shaped piece firmly in place until it’s fully cool, because releasing it too early will cause it to spring back or drift from the desired contour.
Working Window After Heating
Have your reference form, clamps, or ties ready before you apply heat. Once the foam becomes pliable and shows slight color blending across the surface—a subtle shift indicating even heat distribution—move immediately.
Prioritize these steps during your working window:
- Curve and press the foam against your reference form without hesitation
- Check edges for texture enhancement, smoothing rough cuts while the material is still responsive
- Hold the shape firmly until the foam fully cools and locks
If the form shifts during cooling, reheat and adjust.
Precision comes from rehearsing the motion before the heat gun ever turns on.
Holding Shape Until Cool
Press the foam firmly against your reference form—a bowl, mannequin, or metal mold—and hold consistent pressure throughout cooling.
For curved armor pieces, use string or clamps to maintain contour without hand fatigue.
Cooling techniques like ambient airflow can accelerate the set without compromising shape integrity, but avoid forced cold air too early, as uneven cooling introduces warping.
Once the foam returns to room temperature and holds its form independently, pressure can safely be released.
Shaping EVA Foam Around Forms and Body Contours
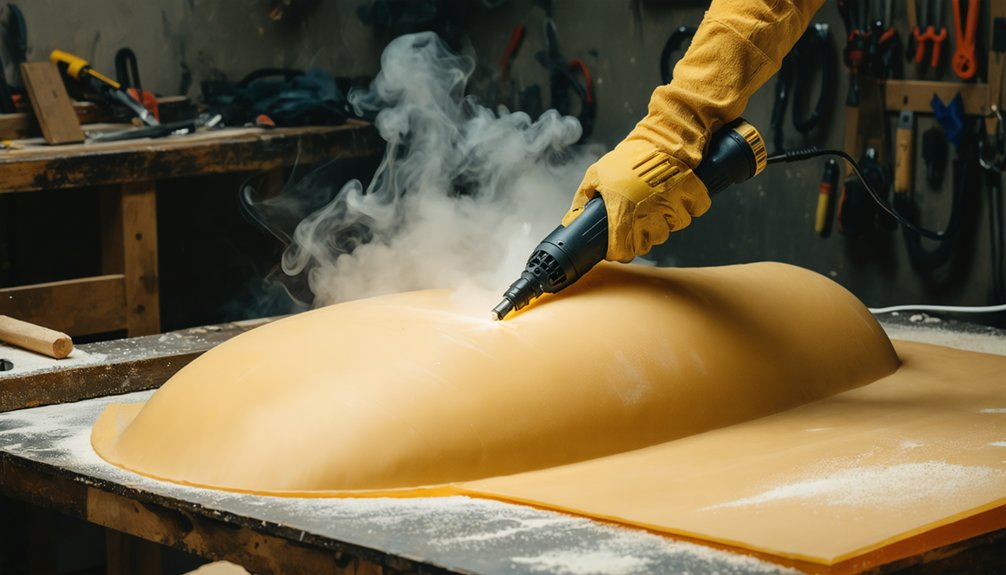
Shaping EVA foam around a form requires you to heat the material until it’s pliable, then press and hold it against a reference object until it cools and locks into shape. Watch for a subtle color change and slight foam texture shift—these signals indicate the ideal forming temperature.
Metal forms work best since they won’t deform under heat gun output.
Key techniques for successful contour shaping:
- Use bowls, mannequin heads, or metal molds as reference objects for consistent, repeatable curves
- Apply heat in broad, circular passes at 5–10 cm distance to warm the foam evenly before pressing
- Secure the foam with ties or clamps during cooling to maintain contour without distortion
Reheat and readjust any sections that don’t conform precisely to your intended form.
Heat Gun Techniques for Armor, Masks, and Rounded Props
When building armor pieces, masks, and rounded props, you’ll rely on the same core heating principles but apply them with more intentional control over form and coverage.
Different foam material types respond differently—L200 compresses more readily, while thicker EVA holds curves with greater rigidity. Use heat gun accessories like concentrator nozzles to direct airflow precisely onto panel edges or mask contours without disturbing adjacent sections.
For broad chest plates, sweep in wide passes at 5–10 cm to distribute heat evenly across the surface.
Masks require targeted heating around cheek curves and brow ridges, pressing the warm foam firmly against a reference form. Hold each section until fully cooled.
Reheating stubborn areas is expected—adjust gradually rather than aggressively to maintain structural integrity throughout the prop.
Smoothing Foam Edges With a Heat Gun
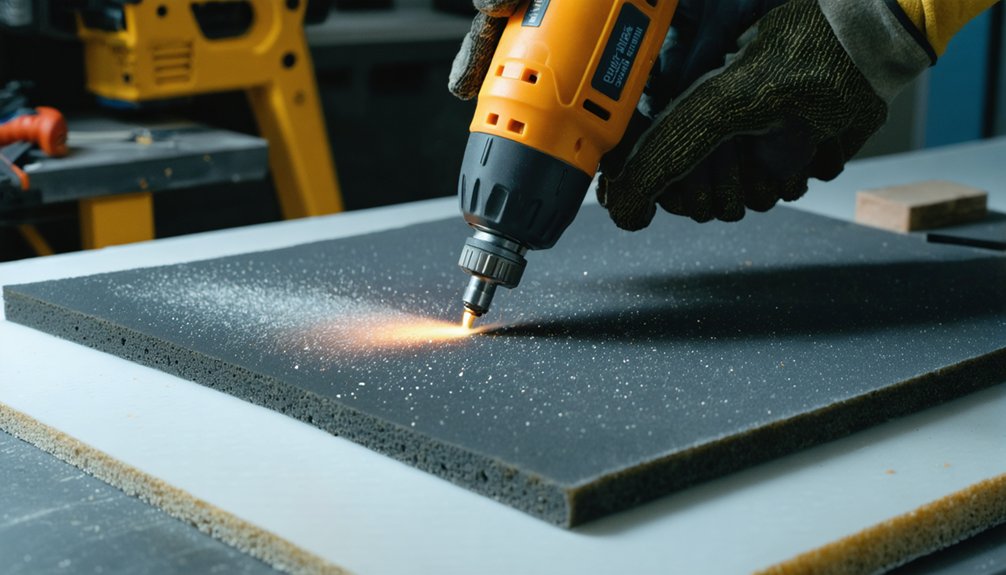
Once your armor panels and mask contours are shaped, you’ll often find raw cut edges that look rough, jagged, or visibly porous—and a heat gun fixes that quickly. Hold the gun 5–10 cm away and sweep across each edge in short passes until the foam relaxes, rounds out, and seals its surface texture.
Key techniques for clean edge results:
- Texture smoothing: Light, even passes close pores and compress the outer layer, producing a tighter, paint-ready surface.
- Color blending: Gentle heating unifies slight tonal variations across cut edges, creating visual consistency before priming.
- Controlled movement: Circular or lateral sweeping prevents localized overheating that causes bubbling or shrinkage.
Stop heating the moment edges shift slightly in color and bend without resistance—that’s your window to lock in a refined finish.
Why Heat Gun Distance and Movement Control Your Results
The gap between your heat gun and the foam—and how you move it—directly determines whether you get a clean, controlled shape or a bubbled, uneven mess. Maintain a working distance of 5–10 cm for best heat distribution without concentrating too much energy on a single point. Closer positioning intensifies heat rapidly, risking bubbling or shrinkage. Pulling back too far wastes energy and produces inconsistent softening.
Movement is equally critical. Use continuous circular or sweeping passes across the entire surface to achieve surface consistency rather than isolated hot zones. Stationary application almost always creates uneven softening, which translates directly into warped or cracked foam after shaping.
For large panels, work in broad overlapping passes. For targeted details, reduce your sweep radius while maintaining constant motion to preserve surrounding structure.
Heat Gun Safety Every Cosplay Maker Needs to Know
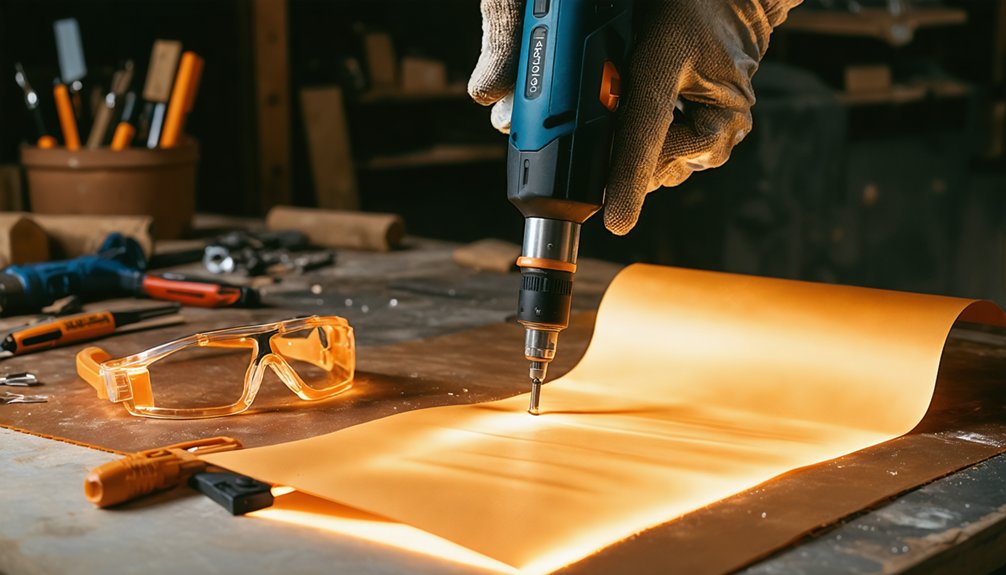
Heat guns are powerful tools, and ignoring their hazards can turn a productive build session into a serious injury or fire risk. Prioritize workspace ventilation whenever you’re heating EVA foam, since warming material releases fumes that irritate airways. Keep children and pets away from your work area, and never set a running heat gun down on a plastic mat or flammable surface.
Heat guns demand respect—one lapse in judgment can transform your creative workspace into a dangerous hazard zone.
Follow these core safety practices:
- Cool-down handling: The metal tip stays dangerously hot after shutdown, so always use heat-resistant gloves when repositioning material.
- Workspace ventilation: Open windows or run a fan to move fumes away from your breathing zone.
- Heat gun maintenance: Inspect cords and vents regularly to prevent overheating and electrical failure.
Frequently Asked Questions
Can You Use a Heat Gun on Craft Foam and L200 Foam?
Yes, you can use a heat gun on craft foam and L200 foam. Apply foam shaping techniques carefully, keeping movement consistent. Follow heat gun safety by maintaining distance to avoid overheating, bubbling, or unwanted deformation.
Does Heating EVA Foam Release Toxic Fumes You Should Worry About?
Heating EVA foam won’t poison the entire room, but it’s releasing toxic fumes you shouldn’t ignore. Take safety precautions by wearing a respirator mask and ensuring you’ve got proper ventilation while working.
What Surface Should You Avoid Placing Heated Foam on While Working?
Avoid placing heated EVA foam on cutting mats or plastic tables—they’ll bubble and deform. Instead, you should use heat resistant mats or non stick surfaces to protect your workspace and maintain precision during shaping.
Can Reheating Already Shaped Foam Ruin the Form You Created?
Reheating can cause foam deformation if you’re not careful, but it won’t ruin shape retention when done selectively. Target only the adjustment area, keep the heat gun moving, and you’ll reshape without compromising your existing form.
Does Heating EVA Foam Improve Its Surface Texture and Appearance?
Heating closes up to 80% of surface pores, dramatically improving surface finish. You’ll achieve notable texture enhancement as EVA foam’s cells compress, creating a smoother, denser appearance that’s ideal for painting and finishing innovative cosplay builds.
References
- https://www.facebook.com/groups/kamuicosplaycommunity/posts/2375679749601769/
- https://www.youtube.com/watch?v=1CK4VbsMUPs
- https://feroca.com/en/blog/cosplay/eva-foam-cosplay
- https://cos-bond.com/2020/07/31/heat-gun-tips-and-tricks-cosplay-survival-guide/
- https://www.youtube.com/watch?v=_fqBC40uO8I
- https://www.instagram.com/reel/DLrzkZaInFq/
- https://www.youtube.com/watch?v=6-RC0J2ZEss
- https://www.youtube.com/watch?v=9fwdhnm-5Ok