A great cosplay pose starts with your body mechanics — fix your posture, angles, and silhouette before worrying about expression or props. Roll your shoulders back, shift your weight onto one hip, and rotate your body about 45 degrees from the camera. Bend your elbows out, stagger your feet, and match your facial expression to your character’s personality. Get these fundamentals right, and every other element falls naturally into place — there’s plenty more to unpack.
Key Takeaways
- Correct posture by rolling shoulders back, straightening the spine, and shifting weight onto one hip to create a dynamic silhouette.
- Rotate the body 45 degrees from the camera and twist the torso toward it to add depth and visual tension.
- Bend elbows outward, use deliberate hand gestures, and stagger feet to avoid flat, compressed, or static-looking poses.
- Match facial expressions and eye direction to the character’s personality to strengthen emotional impact and authenticity.
- Study source material to replicate canonical poses, weight distributions, and hand placements for immediate character recognition.
Fix Your Posture Before You Think About Anything Else
Before you adjust your angles, hands, or expression, fix your posture — everything else builds on it. Posture correction isn’t cosmetic; it’s structural. A slouched spine compresses your silhouette and undermines every other choice you make in front of the camera.
Start with shoulder alignment: roll them back and down, not up toward your ears. This opens your chest, lengthens your neck, and immediately creates a cleaner visual line.
Roll your shoulders back and down — it opens your chest, lengthens your neck, and cleans your entire visual line.
Next, straighten your spine without locking up — slight muscle tension through your torso prevents that flat, limp look photos expose immediately.
Lift your chin slightly to reduce neck compression and improve facial framing. Don’t distribute your weight evenly; shift onto one hip to break the rigid, static stance.
Posture sets the foundation — get it right first.
Use Angles to Add Depth to Every Cosplay Pose
Once posture is locked in, there are 2 angles that will do the most work in any cosplay pose: your body angle relative to the camera and your head angle relative to your body.
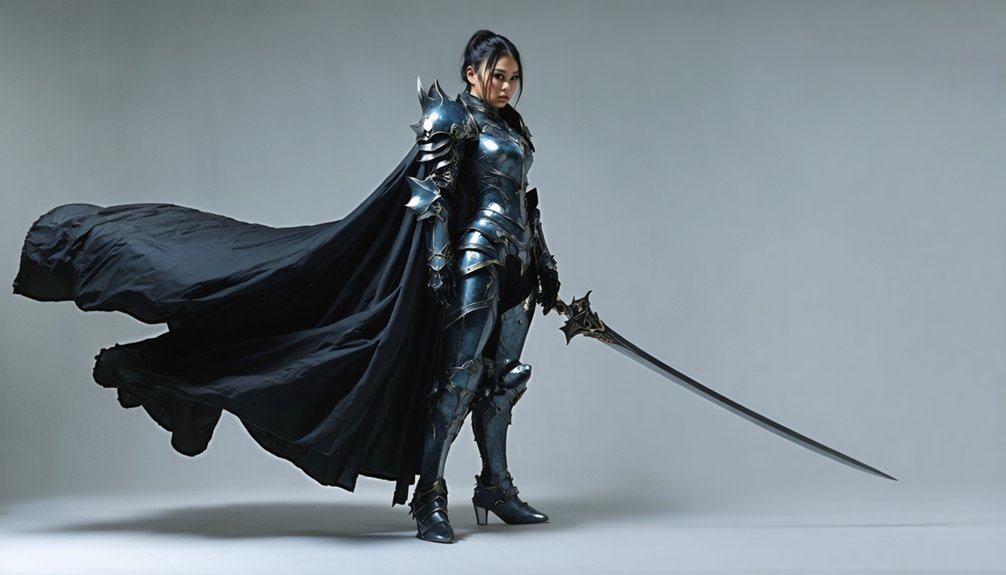
Turn your body roughly 45 degrees away from the lens, then twist your upper torso back toward it. This creates separation, depth, and a silhouette that dynamic lighting can actually sculpt. A straight-on stance collapses that depth instantly.
For your head, tilt or rotate it away from neutral. Point your nose slightly off-axis from your shoulders. This disconnect between head and body generates visual tension that reads clearly even against a busy background framing.
Together, these two adjustments transform a flat snapshot into a structured, intentional image with genuine dimensional presence.
Position Your Hands to Add Energy to the Shot
Angles shape the body, but your hands can either reinforce that energy or drain it completely. Dead hands flatten your shot instantly. Intentional hand gestures and deliberate arm positioning transform a static frame into something dynamic.
Dead hands kill a shot. Intentional placement transforms it.
Keep these three rules active during every shoot:
- Separate your arms from your torso — pressing them flat against your sides compresses your silhouette and eliminates shape definition.
- Bend your elbows outward — angling them away from the lens prevents a flat, compressed read on camera.
- Activate your hand gestures — place hands on your hips, interact with a prop, or frame your face to signal clear intent.
Relaxed, slightly open fingers read sharper than rigid, locked hands. Every placement should communicate purpose.
Shape Your Silhouette With Leg and Foot Placement
Your leg placement directly controls how blocky or streamlined your silhouette reads in the final shot.
Positioning your legs to the side rather than square-on to the camera breaks up that flat, rectangular body line.
Placing one foot slightly in front of the other lengthens your stance and adds visible height without any post-processing tricks.
Avoid Blocky Leg Placement
Leg placement shapes your silhouette more than most cosplayers realize, and positioning both feet parallel and square to the camera produces a wide, blocky base that flattens the body’s natural line.
Even a casual stance benefits from deliberate foot angles. Pair relaxed shoulders with intentional lower-body positioning to unify the pose.
Apply these three corrections immediately:
- Angle one foot outward at roughly 45 degrees to break the parallel line and introduce shape.
- Shift your weight onto one leg to create a natural hip tilt that lengthens your silhouette.
- Stagger your feet front-to-back so depth replaces the flat, side-by-side arrangement.
Each adjustment pulls the eye along a diagonal rather than across a wide, static base.
Create Height With Feet
Foot placement directly controls how tall and elongated your silhouette appears in photos. Position one foot slightly in front of the other rather than planting both feet in parallel. This staggered stance lengthens your leg line and adds visual height without requiring elevated footwear.
When your shoe styles include heels or platform soles, the effect compounds markedly, so angle the leading foot toward the camera to maximize that length. Avoid flat, side-by-side placement, which compresses your proportions and reads as static.
Point your feet in slightly different directions to introduce subtle variety into your stance. Even in flat-soled shoe styles, a staggered, angled foot position restructures your entire lower silhouette, making your figure appear taller, leaner, and more intentionally composed within the frame.
Match Your Facial Expression to Your Character
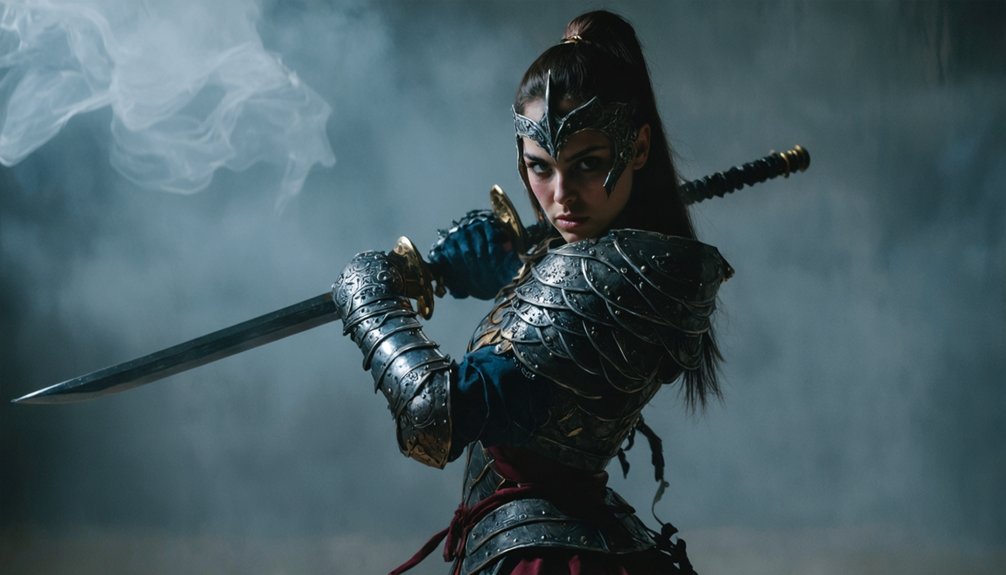
Your face carries as much weight as your body in a cosplay photo, so match your expression to your character’s personality rather than defaulting to a blank stare.
A villain demands intensity, a hero projects confidence, and a comedic character calls for something playful—neutral reads as disconnected.
Direct your eyes with equal intention; looking past the camera or fixing your gaze on an off-frame point adds narrative depth that a straight-into-lens stare often can’t deliver.
Matching Expression To Character
Even the most detailed costume falls flat if your face doesn’t match the character wearing it. Costume accuracy extends beyond fabric and props — your expression completes the illusion.
- Identify your character’s dominant emotion — fierce, playful, stoic — and commit to it fully before the shutter clicks.
- Align your makeup style with expression mechanics; dramatic liner emphasizes intensity, while softer palettes support approachable or whimsical characters.
- Avoid defaulting to a neutral face — it disconnects your body language from your costume and weakens character recognition instantly.
Practice your expression in a mirror before shooting. Small adjustments — a sharper gaze, a slight jaw set, a raised brow — dramatically shift how viewers read your character.
Intentionality separates a great cosplay photo from a simple costume snapshot.
Eyes Convey Emotion
Where your eyes look determines how much emotion your pose actually delivers. Direct eye contact with the lens projects confidence and emotional intensity, pulling viewers immediately into the character’s presence.
However, breaking eye contact—looking past the camera or toward a fixed distant point—adds narrative weight and suggests your character exists within a larger story.
Match the eye direction to the character’s emotional state. A villain holds a cold, direct stare. A distracted scholar gazes slightly off-axis. A warrior mid-battle looks past the frame entirely.
Avoid a blank, unfocused expression regardless of where your eyes land. Intensity lives in the muscles around the eye, not just the iris direction. Squint slightly, raise your brow, or sharpen your focus to dial in the correct emotional register.
Interact With Your Props Instead of Just Holding Them
Props can make or break a cosplay photo, but only if you’re actually using them. Static holding kills visual energy. Instead, apply these prop interaction techniques to elevate your shot:
- Aim with intent — Point weapons or tools at an off-camera target, never straight into the lens, which flattens depth.
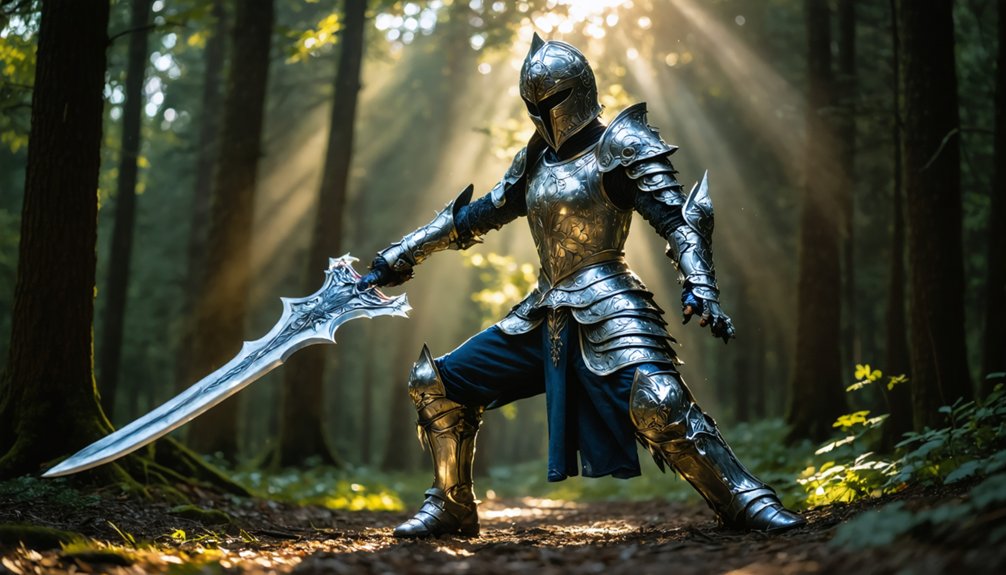
- Create tension — Use dynamic hand gestures like gripping, pulling, or bracing to suggest active force rather than passive display.
- Tell a micro-story — Position the prop mid-action, inspecting a scroll, charging a staff, or drawing a blade, so the image implies a moment rather than a lineup.
Keep the prop from blocking your face or hiding key costume details. Interaction transforms props from accessories into narrative anchors.
Study Your Character’s Signature Poses Before You Shoot
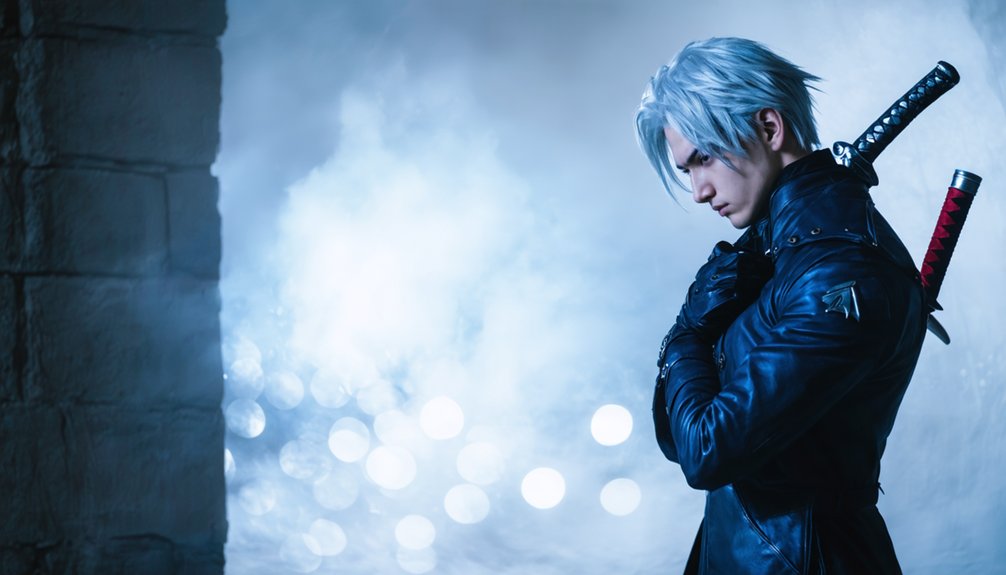
Before stepping in front of a camera, study your character’s canonical poses from the source material. Screenshots, official artwork, and in-game models reveal specific weight distributions, hand placements, and head angles that define how a character carries themselves. Replicating these details signals authenticity to viewers immediately.
Cross-reference how costume accessories function within those poses. A weapon held at a precise angle or a cape caught mid-motion reinforces character identity far better than a generic stance. Integrate those accessory positions deliberately rather than improvising on set.
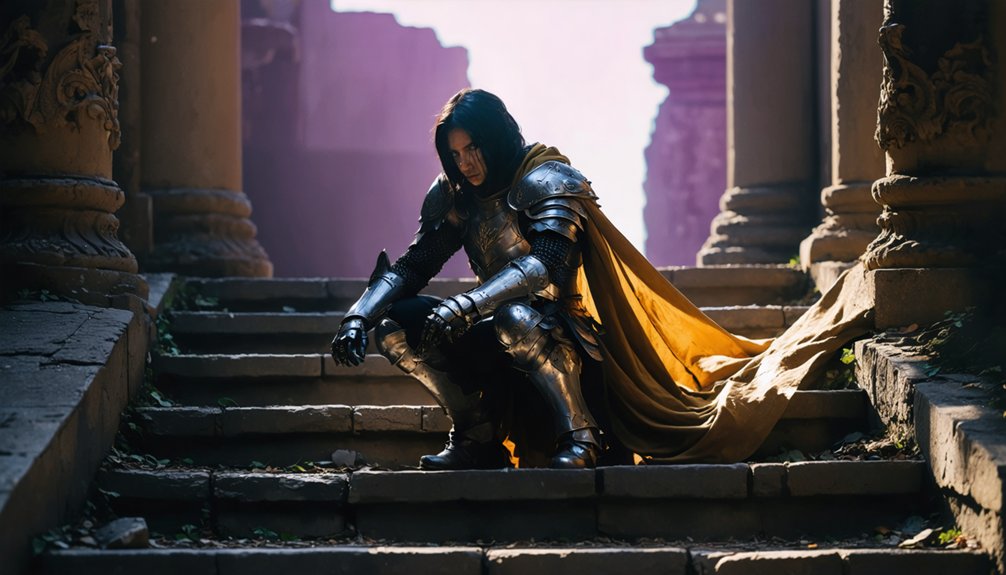
Apply the same logic to background choices. A pose drawn from a character’s iconic scene pairs naturally with a matching environment, strengthening the overall composition.
Alignment between pose, accessories, and background transforms a cosplay photo from costume documentation into genuine character storytelling.
Cosplay Posing Mistakes That Kill an Otherwise Great Photo
Even a flawless costume can read as flat or awkward when basic posing errors go unaddressed.
Strong color coordination and background selection lose their impact when your body mechanics undermine the shot.
Watch for these three critical mistakes:
- Squared shoulders facing the camera directly — this flattens your silhouette and eliminates depth. Rotate 3/4 toward the lens instead.
- Arms pinned against your torso — this compresses your shape and makes your figure look heavier. Pull your elbows outward to create visible separation.
- Identical weight distribution on both feet — this produces a rigid, static stance. Shift your weight onto one leg to generate a natural body line.
Correct these mechanics first. Then your color coordination and background selection will actually deliver their intended visual payoff.
Frequently Asked Questions
How Do I Pose Confidently if I Feel Shy in Front of Cameras?
Shift your weight, straighten your back, and lift your chin to tackle camera anxiety instantly. Repeat small poses daily for confidence building—you’ll train your body to project strength naturally, even when nerves strike.
Does the Shooting Location Affect Which Poses Work Best?
Yes, location absolutely shapes your pose choices. Match background choices to your character’s world, and let lighting angles guide your body direction—you’ll want to angle toward natural light sources to maximize depth and costume detail.
How Many Poses Should I Aim to Capture in One Shoot?
Purposefully plan five to eight shots per shoot. Prioritize pose variety—mixing standing, seated, and action stances—while shifting your cosplay expression each time. You’ll capture enough range without losing energy or creative momentum.
Should I Practice Poses Alone at Home Before the Event?
Yes, practice at home before your event. Mirror sessions let you refine angles, test how cosplay makeup reads on camera, and catch needed costume adjustments early, so you’ll execute each pose confidently and precisely when shooting.
Does Body Type Change Which Posing Techniques Work Best for Me?
Yes, your body type directly shapes which techniques maximize your costume fit. Experiment with pose variety—shifting weight, angling limbs, and adjusting torso twists—to identify what creates the cleanest silhouette and most dynamic visual lines for your specific proportions.
References
- https://rossicatberry.medium.com/posing-for-photos-101-cosplay-edition-9b28fcfcf9a4
- https://aliceincosplayland.com/2013/05/posing-basics-for-cosplay.html
- https://www.youtube.com/watch?v=Cdwx-0jHc5Y
- https://cosplayadvice.com/100-pose-ideas-for-cosplay-photography/
- https://www.tumblr.com/wjscosplayphotography-blog/139159185605/posing-tips-for-cosplay-photos-part-2
- https://www.instructables.com/Posing-in-Cosplay/
- https://socksycosplay.home.blog/2019/04/15/go-to-poses-for-cosplay-modeling/
- https://www.youtube.com/watch?v=Ykczjok7mJs
- https://www.youtube.com/watch?v=xQVFIlJ2heo
- https://rogersenpai.com/cosplay-poses-and-tips/