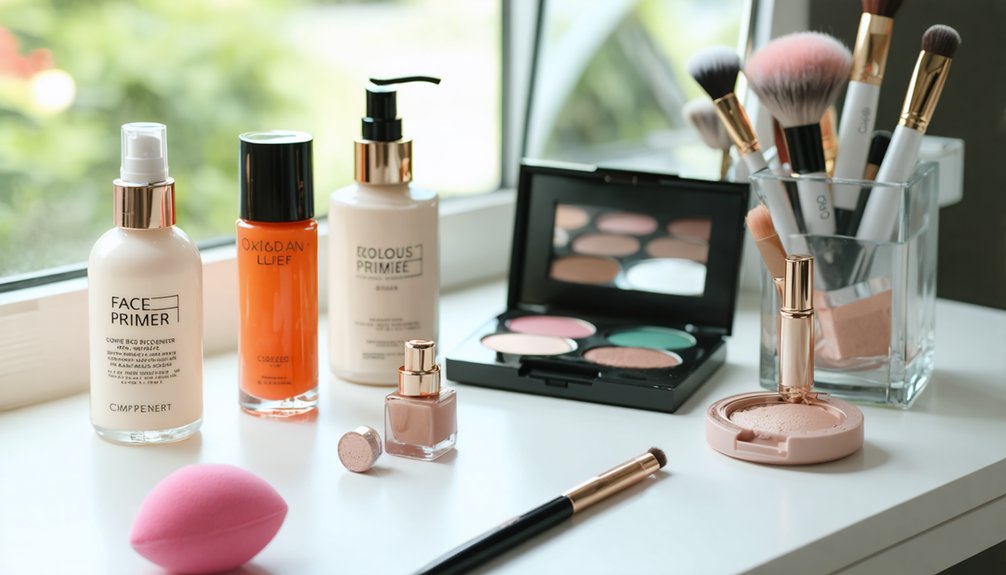
To create cybernetic and robot makeup effects, you’ll need gray and black eyeshadows, UV-reactive liners, liquid latex, silver paint, and wax for wound building. Start with a primed, oil-free base, then map circuit patterns using white eyeliner before painting geometric shapes with metallic shading. Secure wires with liquid latex, build burned tissue with wax and fake blood, and seal everything with setting spray. There’s much more technique involved in pulling off a truly convincing cyborg transformation.
Key Takeaways
- Start with clean, primed skin; apply full-coverage foundation, set with translucent powder, and conceal bald cap seams using liquid latex.
- Sketch geometric circuit patterns along facial contours using white or black eyeliner pencil before applying any paint.
- Layer black eyeshadow for depth, add silver and white metallic highlights, then seal with translucent powder to prevent smudging.
- Apply UV-reactive liners over circuit lines and fill nodes with UV dots to create a glowing blacklight effect.
- Build mechanical wound effects using wax, wires, liquid latex, red cream, and black paint for realistic damaged cyborg appearance.
Gather Your Cybernetic Makeup Supplies First
Before diving into application, stock up on the core supplies that make cybernetic makeup work. You’ll need gray and black eyeshadow to build shading and define mechanical tones that echo historical influences of industrial machinery aesthetics.
Stock up on gray and black eyeshadow first — these shading essentials define every mechanical tone your cybernetic look demands.
Grab UV-reactive liquid liners in green, yellow, pink, or orange — they’ll glow powerfully under blacklight. Silver paint covers wound areas, simulating fake metal prosthetic parts convincingly.
You’ll also need liquid latex to secure wires and blend bald caps seamlessly at forehead seams. Red cream color and black water paint outline wounds, mimicking burned skin with cultural symbolism borrowed from classic cyborg narratives.
Finally, stock wax, fake blood, and black cream paint to complete your advanced wound effects. Having every material ready before starting guarantees a smooth, uninterrupted application process.
Prep Your Skin for Robot Makeup That Actually Lasts
With your supplies assembled, skin prep becomes your next priority — it’s the foundation that determines whether your cybernetic designs hold sharp edges or smear after an hour. Start with a clean, neutral base, removing oils that compromise adhesion. Apply moisturizer first, then primer to create a smooth surface for layering metallics and glitter.
Full-coverage foundation evens skin tone, providing a clean backdrop for geometric circuits. Translucent powder sets the base before heavy setting spray locks everything down. This layered approach mirrors historical influences from theatrical costuming, where base preparation determined performance longevity.
Tissue paper soaked in liquid latex conceals bald cap seams convincingly — a technique carrying cultural symbolism from avant-garde performance art traditions. Precise prep transforms your skin into a functional canvas for complex robotic designs.
Build Cyborg Circuit Patterns Step by Step
Start by mapping your circuit line placement with a black pencil, sketching sharp angles and geometric grids across your cheeks and forehead to establish a precise technical framework.
Layer geometric shape details next, filling defined sections with black eyeshadow and thin silver lines that radiate outward from the eye corners to simulate a digital interface.
Finish by packing small dots of UV-reactive liner in green, yellow, or orange into the notches and intersections of your circuit pattern, activating a vivid glow effect under blacklight.
Mapping Circuit Line Placement
Mapping circuit lines effectively means planning their placement before a single stroke of paint touches your skin. Study historical influences from early cyberpunk art and cultural symbolism embedded in tech-driven aesthetics — both inform where lines should logically originate and terminate.
Use a white eyeliner pencil to sketch your layout directly onto your primed skin. Route lines along natural facial contours: temple ridges, cheekbones, and jawlines mirror how actual circuitry follows structural pathways.
Think in nodes and branches — lines should connect, intersect, and radiate outward from central anchor points. Avoid random placement; every stroke should suggest functional purpose.
Geometric intersections near the eye corners and forehead create convincing digital interface illusions. Photograph your sketch under different lighting conditions before committing to final paint application.
Layering Geometric Shape Details
Once your circuit lines are sketched and confirmed, you’ll begin layering geometric shapes directly over your mapped framework. Use black pencil to outline sharp angles, squares, and hexagons along your established lines.
Fill interior sections with black eyeshadow, then introduce color blending by integrating silver and matte metallic tones within each shape.
Texture layering builds dimensional depth. Apply pearlescent white eyeshadow to highlight shape centers, then use a skin-tone shadow slightly darker than your base to shade edges. This contrast makes flat shapes appear raised and mechanical.
Add thin white or silver lines radiating outward from shape corners to reinforce the digital interface aesthetic.
Seal completed sections with translucent powder before moving into adjacent zones, preventing smudging as you build complexity across the face.
Adding UV Glow Accents
With your geometric layers sealed and set, it’s time to introduce UV glow accents that’ll activate your circuit patterns under blacklight. Load a fine brush with UV-reactive liquid liner in green, yellow, pink, or orange, then trace precisely over existing geometric lines.
These neon tones carry historical influences from early cyberpunk aesthetics and bioluminescent cultural symbolism found across futuristic art movements. Apply UV white paint directly over traced lines for maximum blacklight intensity.
Fill small notches and detail points with concentrated UV color dots to simulate active circuit nodes.
Layer strategically — don’t saturate every line. Selective application creates contrast between dormant and active circuit zones.
Finish by applying UV-reactive paint beneath blacklight to verify glow consistency before sealing the entire design with heavy setting spray.
Create Realistic Metal Textures for Robot Makeup
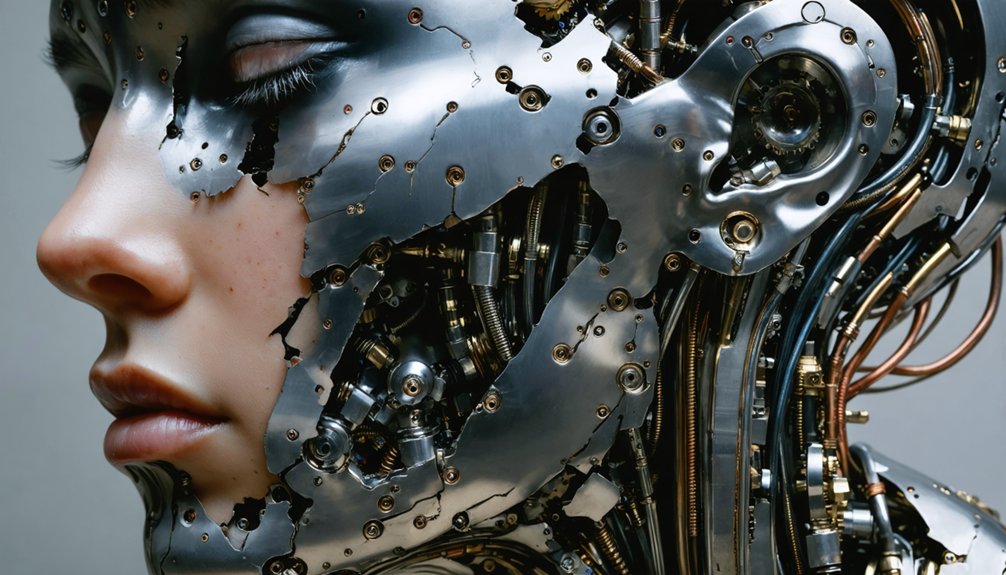
Achieving realistic metal textures starts with two key eyeshadow types: matte and metallic. Combining both prevents flat, distracting finishes while maintaining dimensional depth.
Apply the matte shade first, building shadow along recessed areas to simulate grooves in mechanical accessories. Layer the metallic shade directly over raised surfaces, mimicking how light interacts with actual metal panels.
Start with matte shadows in recessed areas, then layer metallics on raised surfaces to mirror real light behavior.
Use pearlescent white eyeshadow to highlight the center of square or geometric shapes, reinforcing that hard-edged, industrial quality central to cybernetic fashion.
Blend a skin-tone shadow slightly darker than your natural complexion along structural lines for subtle but precise contouring.
Finish with silver shading paired with black eyeshadow on prosthetic areas. Work both colors simultaneously, using short strokes to exaggerate depth and make each metal section appear convincingly three-dimensional.
Build Exposed Wire Wounds and Mechanical Skin Damage
Roll wax into thin sausage shapes and press them onto your skin to build raised wound edges, blending the edges smoothly to create a seamless base.
Cut and bend wire to your desired shape, then secure it onto the wax with liquid latex so it appears to emerge from beneath the skin.
Finish by layering black cream paint over red base color to simulate burned, damaged tissue around the exposed mechanical elements.
Wax Wound Base Creation
To build a convincing exposed wire wound, you’ll start by rolling wax into thin sausage-shaped sticks and pressing them directly onto clean, dry skin.
Shape each wax piece into the wound’s outer edges, creating a raised border that defines the mechanical damage zone.
Use a sculpting tool or bobby pin to carve a hollow channel through the center — this cavity is where your wires will sit.
Press the wax edges firmly to guarantee seamless adhesion against your skin.
For cybernetic fashion-forward looks, layering multiple wax ridges creates a more dramatic, multi-depth wound structure.
Once your borders are set, apply liquid latex over the entire wax surface to lock the shape and begin blending the robotic costume effect into surrounding skin seamlessly.
Wire Placement Techniques
Once your wax base is set, cut your wire into small segments — roughly one to two inches — and bend each piece into subtle curves or kinks that mimic damaged, exposed circuitry.
Press each segment directly into the wax, ensuring partial burial so the wire appears to emerge organically from beneath the skin. Wire anchoring requires liquid latex applied over the embedded ends, sealing each piece firmly against movement. Let each latex layer dry completely before adding the next.
Flexible placement lets you adjust wire angles until they read naturally under varied lighting. Layer additional latex over surrounding skin edges to blend the wire seamlessly into your wax wound.
Once secured, paint over the entire area with silver, then shade with black to establish realistic depth.
Realistic Burn Texture Effects
With your wires anchored and silver-painted, you’re ready to build the burn texture that makes mechanical skin damage look convincing. Like historical influences from industrial-era body modification art, these techniques carry cultural symbolism around human-machine transformation.
Apply materials in this sequence:
- Roll wax into thin strips and press firmly around wire edges to build raised, torn skin borders.
- Blend red cream color along wound edges, then layer black water paint toward the center to simulate charred, burned depth.
- Stipple liquid latex over tissue paper fragments within the wound to create organic, uneven texture.
Once dry, dust translucent powder over the entire wound area to set everything.
Finish with a final pass of black cream paint deepening shadows, making the mechanical skin damage appear genuinely traumatic and three-dimensional.
Make Your Cyborg Glow With UV Paint and Reactive Color
UV paint transforms your cyborg look from striking to electrifying, and applying it correctly makes the difference between a subtle shimmer and a full neon glow. Draw from historical influences of bioluminescent art and neon futurism when selecting your palette.
Color theory guides your choices here — green and yellow UV liners contrast sharply against darker skin tones, while pink and orange activate brilliantly against neutral bases.
Apply UV white paint directly over your existing circuit lines to amplify their glow under blacklight. Fill small notches and geometric details with concentrated UV dots for layered depth.
Pack electric blue or hot pink eyeshadow onto lids, then seal with a shimmer topcoat. Finish with holographic highlighter on cheekbones to simulate a digitally rendered, light-refracting surface.
Set Sclera Lenses and Seal Everything in Place
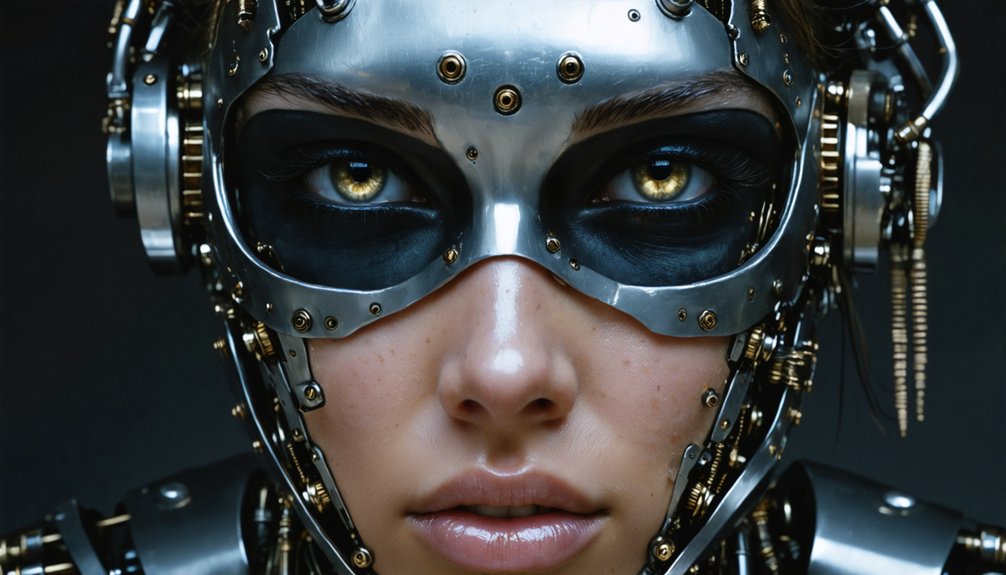
Black sclera lenses complete the cyborg eye transformation, but you’ll need clean hands and a steady technique before inserting them. These cyborg costume accessories demand careful handling to avoid irritation or damage.
Black sclera lenses demand clean hands and steady technique — handle these cyborg accessories carefully to avoid irritation or damage.
Follow this precise sequence to lock everything in place:
- Insert sclera lenses before applying setting spray, protecting them from chemical exposure.
- Apply heavy-hold setting spray in short bursts across all painted and prosthetic areas.
- Seal wire edges and latex boundaries with a final translucent powder press.
These robotic costume ideas only hold up when the finishing steps are executed correctly. Setting spray locks geometric lines, UV reactive colors, and metallic shading simultaneously.
Once sealed, your cyborg makeup withstands hours of wear without cracking, smearing, or losing dimensional detail under shifting light conditions.
Frequently Asked Questions
Can Cybernetic Makeup Be Safely Worn by People With Sensitive Skin?
You can wear cybernetic makeup with sensitive skin if you prioritize allergy testing beforehand. Test each product 48 hours early, avoid skin irritation triggers, and select hypoallergenic latex-free alternatives to guarantee safe, innovative application.
How Long Does a Full Cyborg Makeup Look Typically Take to Apply?
You’ll spend what feels like an eternity—typically 3–5 hours—perfecting your cyborg look. You’ll master prosthetic application first, then tackle intricate color blending, layering metallics, UV elements, and final details with technical precision.
Is Cybernetic Makeup Suitable for Children or Younger Teenage Performers?
Yes, cybernetic makeup suits Children’s costumes and Teen cosplay when you swap liquid latex and UV paints for skin-safe, hypoallergenic alternatives. You’ll achieve striking robotic effects without compromising younger performers’ sensitive skin integrity.
Can These Makeup Techniques Work Effectively on Deeper or Darker Skin Tones?
Contrary to assumptions, deeper skin tones enhance cybernetic effects beautifully. You’ll achieve striking results through precise color matching with richer metallics and careful texture blending, ensuring silver prosthetics, UV liners, and geometric designs contrast dramatically against your natural complexion.
How Do You Safely Remove Liquid Latex and Wax Prosthetics Afterward?
Peel latex removal edges gently using oil-based remover to dissolve bonds without causing skin irritation. You’ll soften wax prosthetics with warm water, then lift carefully. Always moisturize afterward to restore your skin’s barrier effectively.
References
- https://www.youtube.com/watch?v=ceZhh_svjkQ
- https://www.youtube.com/watch?v=ID1V_MNnkNg
- https://www.youtube.com/watch?v=425zZjuciE8
- https://www.youtube.com/watch?v=ZOE8phgToTk
- https://dystopiastyle.com/cyberpunk-makeup-tips/
- https://halloween-ideas.wonderhowto.com/how-to/be-as-angry-bald-blue-as-nebula-from-guardians-galaxy-for-halloween-0180629/