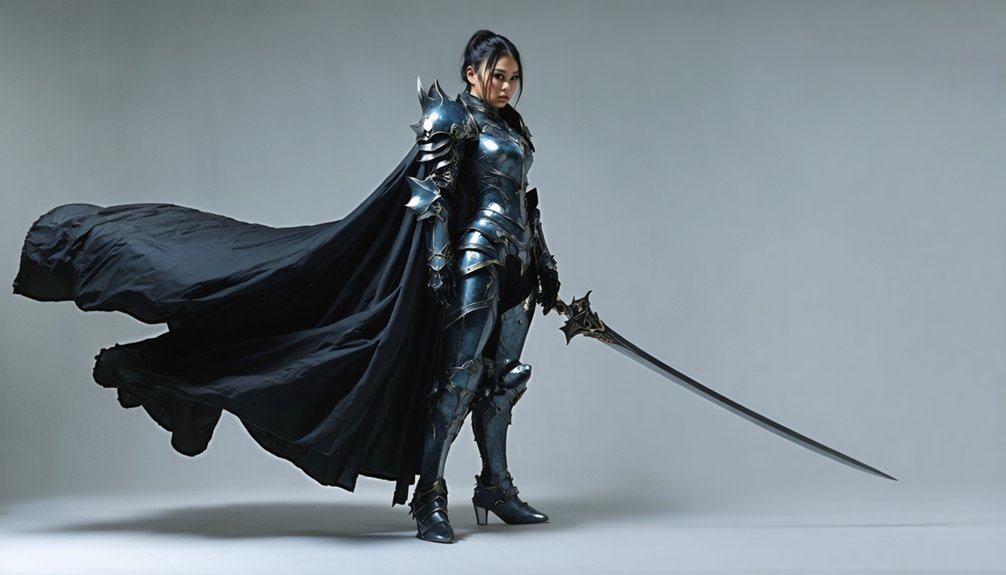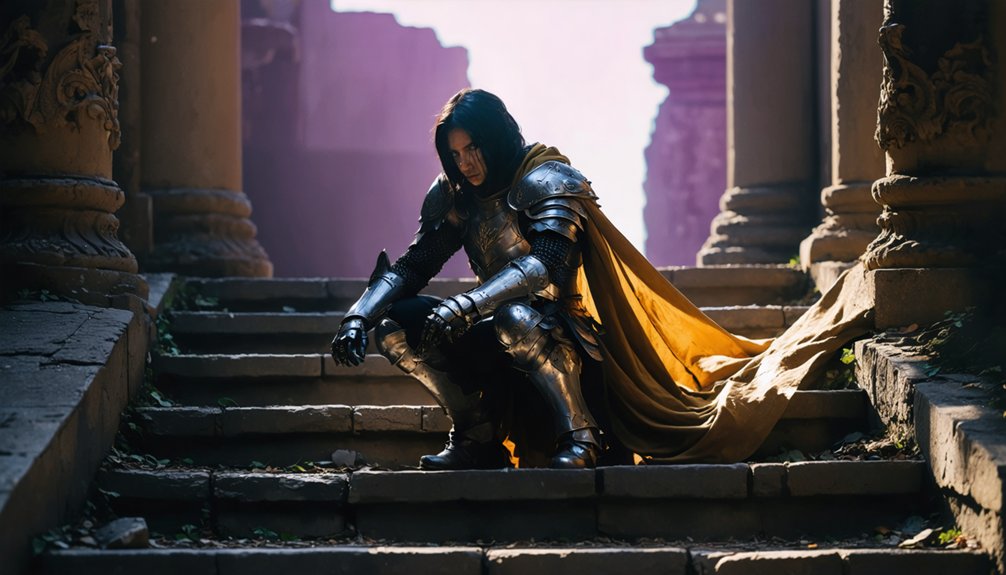
To edit cosplay photos in Photoshop and Lightroom, you’ll start by importing RAW files into structured Lightroom catalogs, locking in exposure and color balance using Levels and Tone Curve adjustments. From there, you’ll move into Photoshop to cut out your cosplayer with the Pen Tool, retouch skin and costume imperfections, integrate game-accurate backgrounds, and apply glowing VFX with blend modes. Master each step, and you’ll produce cinematic, print-ready results worthy of any character.
Key Takeaways
- Start in Lightroom by fixing exposure, color balance, and tone curves before exporting files to Photoshop for advanced editing.
- Use Photoshop’s Pen Tool to cut out cosplayers with precision, applying Layer Masks for non-destructive background removal.
- Remove skin and costume imperfections using the Clone Stamp, Patch Tool, and Neural Filter Skin Smoothing on separate layers.
- Build game-accurate backgrounds by integrating high-resolution screenshots, applying Gaussian Blur for depth, and unifying color temperature.
- Sharpen final details using High Pass Filter and Smart Sharpen, then export at 300 DPI in Adobe RGB for print.
Import and Organize RAW Cosplay Files in Lightroom
Before you open Photoshop, you’ll want to handle your RAW files in Lightroom first, since it gives you a non-destructive environment to perform initial color correction, exposure adjustments, and organization.
Start by importing your shoots into a structured catalog using consistent file naming conventions and embedded image metadata for seamless RAW file management.
Structured catalogs, consistent file naming, and embedded metadata lay the foundation for seamless RAW file management.
Lightroom organization becomes effortless when you apply batch processing to sync development settings across similar shots within a cosplay series.
Use color grading techniques at this stage to establish your base tone before deeper Photoshop work begins.
Build a streamlined editing workflow by saving export presets tailored to print or web outputs.
Cataloging images with custom collections and star ratings lets you prioritize selects efficiently, keeping your pipeline fast, scalable, and production-ready.
Fix Exposure and Color Balance Before Touching Photoshop
Once your RAW files are organized in Lightroom, you’ll want to lock in your exposure and color balance before sending anything to Photoshop.
Start by applying Levels adjustments to set accurate black points and white points across your tonal range. Use the Tone Curve to refine midtone contrast without clipping highlights or crushing shadows.
For color grading techniques, target specific tone ranges using the HSL panel to shift hues in reds, yellows, and skin tones precisely.
Apply lighting adjustments through the Whites and Blacks sliders to recover costume detail lost in harsh shooting conditions.
Sync these corrections across your entire cosplay series using Lightroom’s Sync Settings function. This foundation prevents compounding errors once you move into Photoshop’s more destructive editing environment.
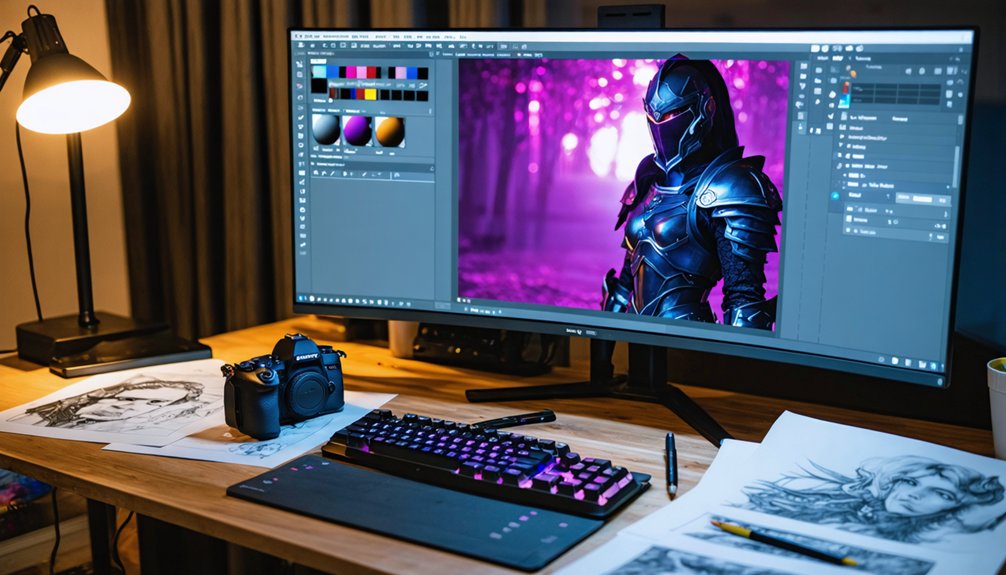
Cut Out Your Cosplayer With the Pen Tool
Switching to Photoshop, select the Pen Tool from the toolbar and begin tracing the edges of your cosplayer with precise anchor points, setting a 0.5-pixel feather radius to keep changes natural without softening hard costume edges.
These Pen Tool Tips guarantee your vector path techniques produce clean, closed paths around complex costume silhouettes.
Once your path is complete, convert it into a selection and apply a Layer Mask for non-destructive editing. This masking strategy enables cosplay isolation without permanently deleting background pixels, preserving flexibility for creative compositions later.
Feather radius adjustments refine alteration zones between subject and background removal areas.
For advanced selections around intricate details like hair or accessories, refine your mask using Select and Mask, improving selection precision across challenging edges.
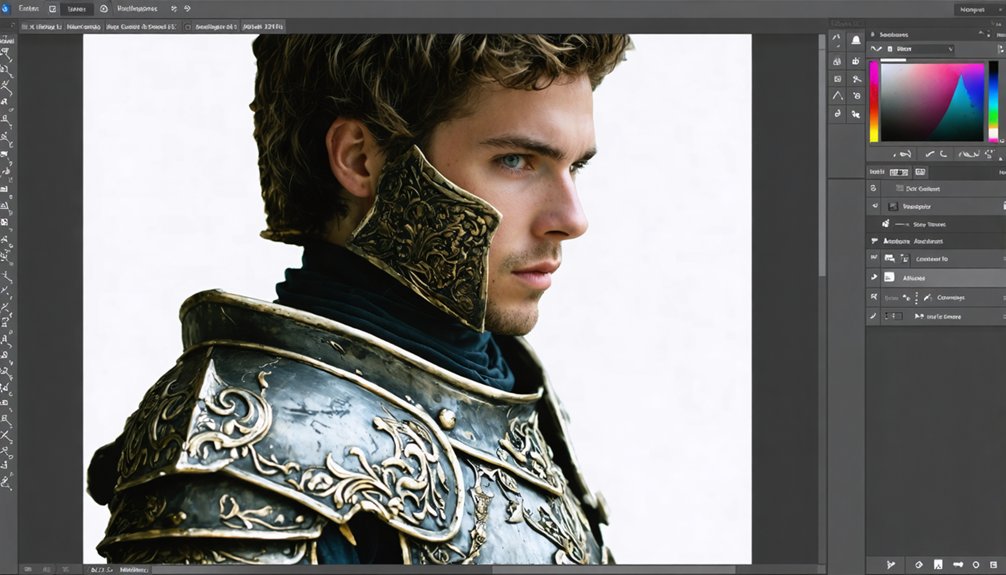
Clean Up Skin and Costume Imperfections Fast
With your cosplayer isolated on a clean layer, grab the Clone Stamp Tool at 40% opacity and sample nearby skin tones to stamp out blemishes, stray fabric threads, or costume scratches without disrupting surrounding texture.
For deeper shadows or uneven skin patches, switch to the Patch Tool and drag a lighter skin region over the problem area to blend it seamlessly.
Finally, run Photoshop’s Neural Filter Skin Smoothing on a stamped composite layer and dial in the intensity slider to achieve a natural, polished result without over-processing.
Clone Stamp Skin Fixes
The Clone Stamp Tool is one of Photoshop’s most reliable instruments for eliminating skin blemishes, costume wrinkles, and stray threads without disrupting the surrounding texture. Set opacity to 40% and sample the closest surrounding area to maintain accurate skin texture enhancement while applying detail preservation methods that keep results natural.
Work on a separate layer to incorporate non-destructive layer masking strategies, protecting your original file throughout the retouching process. Zoom to 100% before sampling to guarantee precise color correction techniques carry over cleanly.
Use retouching shortcuts like Alt-click to define source points quickly. Avoid over-stamping by varying your sample locations, which supports consistent color grading strategies across the skin.
This approach integrates naturally with adjustment layers usage, blending modes exploration, and broader photo composition tips for polished, competition-ready cosplay imagery.
Patch Tool Shadow Removal
Patching out shadows demands a different approach than cloning—where the Clone Stamp rebuilds texture point by point, the Patch Tool replaces entire tonal regions in a single drag.
For precise shadow blending across skin or costume surfaces, execute these patch tool techniques:
- Draw a loose selection around the shadow region using the Patch Tool in “Normal” mode.
- Drag the selection toward an adjacent lighter skin area to sample its tonal value.
- Release to let Photoshop blend the replacement automatically, preserving surrounding texture.
- Repeat with smaller selections for gradual shadow shifts rather than single large patches.
Work at 100% zoom to monitor edge accuracy.
Avoid patching across texture boundaries—costume seams or fabric folds require individual selections to maintain structural integrity.
Neural Filter Skin Smoothing
Neural filters in Photoshop give you AI-driven skin smoothing that processes entire facial and costume surfaces faster than manual cloning or patching.
Navigate to Filter > Neural Filters, then enable Skin Smoothing to access its dedicated slider controls. The neural filter benefits here include automated texture analysis that preserves natural pore definition while eliminating blemishes uniformly across skin tones.
Adjust the Blur and Smoothness sliders independently to control how aggressively the algorithm softens imperfections. These skin smoothing techniques let you dial back results to 60-70% intensity, preventing the over-processed appearance common in heavy retouching workflows.
Among portrait enhancement methods, Neural Filters outperform frequency separation for speed without sacrificing edge clarity.
Output the result to a new layer for these Photoshop retouching tips, keeping your original untouched and maintaining full non-destructive control throughout the composite.
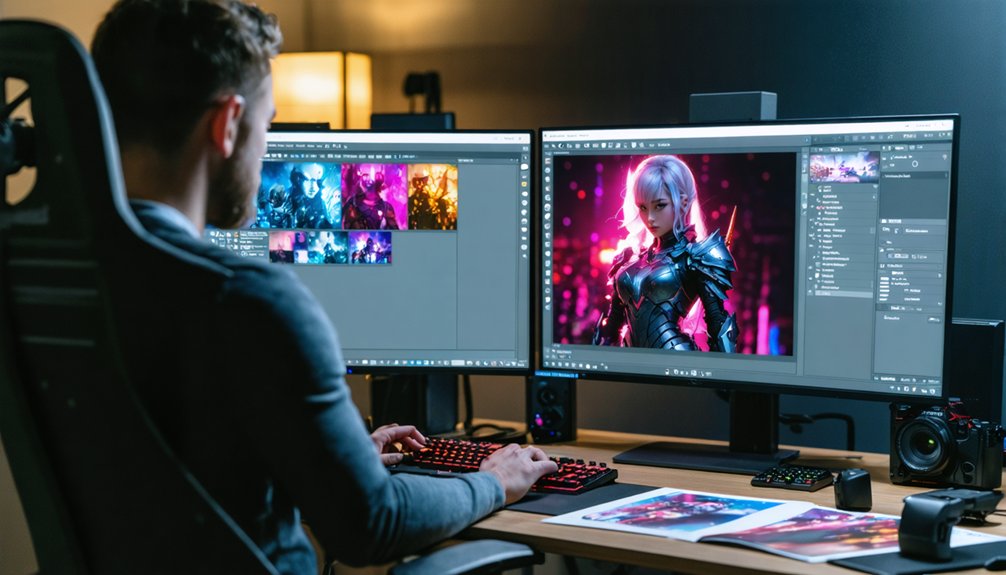
Color Grade Cosplay Photos With Cinematic Tones and Mood
Color grading transforms cosplay photos from flat, unprocessed captures into cinematic, mood-driven compositions that match the tone of the character’s source material.
Cinematic color grading and mood enhancement work together to elevate your edit beyond basic corrections.
Apply these four essential techniques:
- Color Balance Adjustment Layers — Add cyan and blue tones to highlights or shadows for cool, dramatic atmospheres.
- Selective Color Layers — Precisely modify reds, yellows, and greens to match a character’s specific palette.
- Overlay Blend Mode Layers — Fill with 50% gray to control midtone contrast and vibrance non-destructively.
- Levels Adjustment Layers — Customize brightness and darkness across the full tonal range for cinematic depth.
Sync these adjustments across your series using Lightroom presets for consistent visual storytelling.
Build a Game-Accurate Background in Photoshop
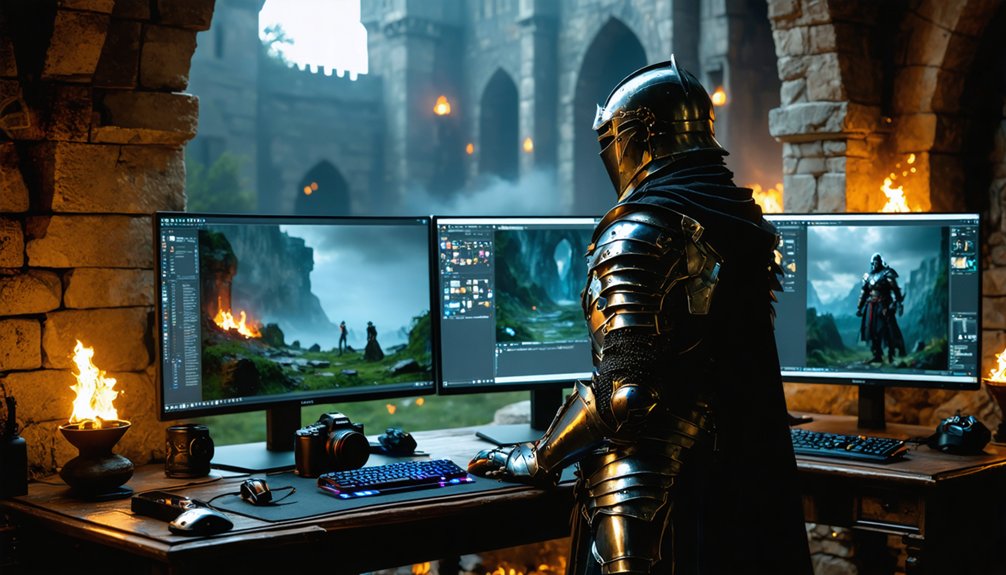
Building a game-accurate background transforms your cosplay photo into a scene that feels pulled directly from the source material.
Start by sourcing high-resolution screenshots from the game environment you’re recreating. Place each screenshot on a new layer behind your masked cosplayer, then resize and reposition the background elements to match your subject’s perspective and lighting angle.
Apply Gaussian Blur to distant background layers to simulate natural depth of field, visually anchoring your cosplayer to the scene.
Use Screen or Linear Dodge blend modes on VFX brush strokes to integrate glowing effects that match in-game energy sources.
Finally, add a Color Balance Adjustment Layer clipped above all background elements to unify the color temperature, ensuring seamless visual cohesion between your cosplayer and the reconstructed environment.
Add Glowing VFX and Magical Effects With Blend Modes
Once your cosplayer is masked and your background is in place, you’re ready to paint glowing VFX that feel native to the scene.
Blend modes grant precise control over magical energy, dynamic lighting, and ethereal designs without flattening your layer stack.
- Set Screen or Linear Dodge blend modes on brush stroke layers to produce luminous glow effects instantly.
- Install custom .ABR brush presets and select Attack brushes for explosive magical energy bursts.
- Add color overlays using Blue Layers at 10–20% Overlay opacity to shift highlights toward cool, cinematic tones.
- Apply Layer Masks hiding all content, then paint white selectively to reveal blending techniques only where needed.
These methods elevate visual storytelling and produce creative compositions that authentically mirror in-game aesthetics.
Sharpen Cosplay Details Without Making the Image Look Harsh
To sharpen cosplay details without introducing harsh artifacts, apply the High Pass Filter by duplicating your layer, proceeding to Filter > Other > High Pass, and setting a low radius between 2–5 pixels before switching the layer’s blend mode to Overlay or Soft Light.
For areas affected by noise, use Smart Sharpen via Filter > Sharpen > Smart Sharpen, where you can independently control the Amount, Radius, and Reduce Noise slider to recover clarity in low-light shots without amplifying grain.
Combining both techniques gives you precise control over edge definition and texture across costume fabrics, props, and fine facial details.
High Pass Filter Technique
The High Pass Filter technique gives you precise sharpening control by isolating edge detail without the harsh artifacts that come from standard sharpening filters.
It’s one of the most effective sharpening techniques for portrait editing and texture improvement in cosplay photography.
- Duplicate your layer and navigate to Filter > Other > High Pass.
- Set filter settings between 1.5–4 pixels for targeted detail enhancement without destroying skin texture.
- Change the blended layer’s mode to Overlay or Soft Light for natural image clarity.
- Apply a Layer Mask to restrict sharpening to costume edges, avoiding over-processing facial skin texture.
This method delivers exceptional control over where sharpening appears, keeping your subject’s complexion smooth while making costume details crisp and visually striking.
Smart Sharpen Noise Reduction
Smart Sharpen gives you three critical controls — Amount, Radius, and Noise Reduction — that work together to enhance detail without introducing the gritty, over-processed look that plagues cosplay photos shot in low light.
Navigate to Filter > Sharpen > Smart Sharpen and set Amount between 100–150%, keeping Radius under 1.5 pixels to target fine costume textures without bloating edges.
Smart sharpen techniques become most effective when you increase the Noise Reduction slider to 20–30%, suppressing grain amplification before it visually compounds. These noise reduction methods prevent the filter from treating sensor noise as recoverable detail.
Apply Smart Sharpen on a stamped layer, then use a Layer Mask to restrict sharpening exclusively to costume surfaces, armor edges, and prop details — protecting skin tones from unwanted texture enhancement.
Sync Your Edits Across a Full Cosplay Shoot in Lightroom
When photographing a full cosplay shoot, you’ll often end up with dozens of RAW files that need consistent color grading, exposure corrections, and tonal adjustments across every frame.
Syncing edits in Lightroom guarantees your visual aesthetics, character accuracy, and photo storytelling remain cohesive throughout the series.
Syncing edits keeps your visual aesthetics, character accuracy, and storytelling powerfully cohesive across every frame.
Follow these steps to sync efficiently:
- Select your hero image with ideal lighting effects and color theory applied.
- Adjust exposure, white balance, and selective color to match cosplay trends and creative inspiration.
- Right-click and choose “Develop Settings > Sync Settings” to apply editing techniques across selected images.
- Review each frame individually, making micro-corrections to preserve character accuracy where lighting varies.
This workflow eliminates inconsistency, saving significant post-processing time while maintaining a professional, unified visual narrative.
Export Cosplay Photos for Print and Web the Right Way
Exporting cosplay photos correctly determines whether your final images look sharp and vibrant in print or get compressed into muddy, washed-out disappointments online.
For print, export high-resolution TIFF or JPEG files using 300 DPI Settings with Adobe RGB Color Profiles to preserve the widest gamut. Match your Print Specifications to your printer’s requirements before submitting.
For Web Optimization, reduce Resolution Choices to 72 PPI and convert Color Profiles to sRGB, ensuring consistent display across browsers and devices. Control File Compression carefully — JPEG quality settings between 80-90% balance Image Quality against manageable file sizes.
PNG works better for images requiring transparency. Always choose your Export Formats intentionally based on the destination platform. Never assume one setting fits both print and digital simultaneously.
Frequently Asked Questions
Can You Edit Cosplay Photos Effectively on a Budget Laptop or Tablet?
Yes, you can tackle cosplay photo editing on budget tools effectively. Optimize your workflow using keyboard shortcuts, lightweight adjustment layers, and Lightroom’s mobile app to deliver professional, innovative results without straining your device’s limited processing power.
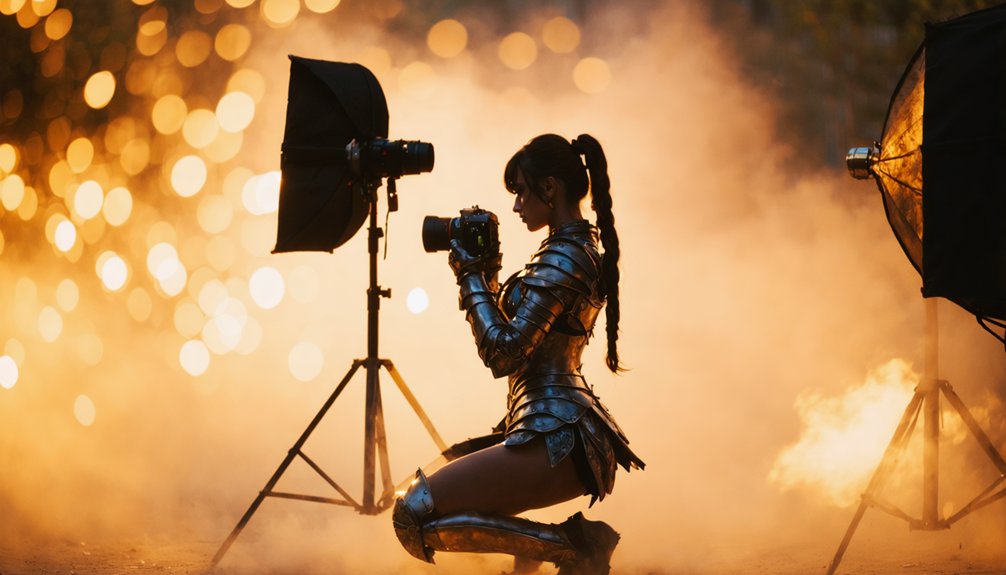
What Camera Settings Work Best for Shooting Cosplay Photos Before Editing?
Bright halls, dark costumes—you’ll want f/2.8 aperture, ISO 400-800, and 1/200s shutter speed. Prioritize lighting techniques by shooting in shade, and choose lens choices like 50mm or 85mm primes for crisp, detail-rich captures.
How Do You Get a Cosplayer’s Permission Before Sharing Edited Photos Publicly?
Before photo sharing, you’ll need explicit cosplayer consent. Send a written release form detailing usage rights, platforms, and edits applied. Always get signed approval before publishing any publicly visible content featuring the cosplayer’s likeness or costume portrayal.
Are There Free Alternatives to Photoshop for Editing Cosplay Photography Professionally?
Like a Swiss Army knife for creatives, you’ve got powerful options: GIMP features robust retouching, Krita tools excel in digital painting, Photopea options mirror Photoshop’s interface browser-based, and Affinity alternatives deliver professional-grade, cost-effective cosplay editing workflows.
How Long Does It Typically Take to Fully Edit One Cosplay Photo?
You’ll typically spend 1–3 hours applying editing techniques and photo enhancements per cosplay image. Complex VFX, background integration, and retouching extend timelines, while mastering shortcuts and Lightroom presets greatly accelerates your overall workflow efficiency.
References
- https://www.youtube.com/watch?v=WPRZS4IQnZI
- https://bulleblueart.com/2017/09/01/5-tips-to-edit-your-cosplay-pictures-with-photoshop-when-you-are-a-beginner/
- https://www.youtube.com/watch?v=shBcTEMHj0s
- https://www.youtube.com/watch?v=xt8ML4gc8LY
- https://www.youtube.com/watch?v=7oCul1Bd7tY
- https://fixthephoto.com/blog/photo-tips/cosplay-photo-editing-tutorial.html
- https://www.youtube.com/watch?v=wOz109ZJvf4
- https://www.tumblr.com/wjscosplayphotography-blog/139584039230/simple-cosplay-vfx-in-photoshop
- https://photographybanzai.com/2014/04/06/my-photoshop-tips-when-editing-cosplay-photos/
- https://www.youtube.com/watch?v=sCpzLL0dRsc