To film and share your cosplay competition entry, start by reading the rules for video length, required poses, and file format specs. Set up a clean, diffused-lit space, lock your camera at eye level on a tripod, and dial in a shutter speed of at least 1/250 to freeze movement. Kill background noise, rehearse your shifts, and edit for impact. Every detail here can mean the difference between placing and winning.
Key Takeaways
- Read the competition rules thoroughly to understand video length, required poses, accepted file formats, and resolution standards before filming.
- Use a minimalistic background, diffused lighting at 45 degrees, and a tripod-mounted camera at eye level for professional footage.
- Eliminate background noise by closing windows, powering down HVAC systems, and hanging blankets to absorb sound reflections.
- Rehearse poses and movements, holding each stance for 2-3 seconds and performing dynamic moves slowly to prevent motion blur.
- Edit by trimming filler transitions, adjusting exposure, and reviewing the final video against the competition rating grid before submitting.
Read the Competition Rules Before You Film Your Cosplay Entry
Before you hit record, you’ve got to read the competition rules from start to finish. Every organization sets distinct requirements that directly shape how you’ll film your cosplay makeup and costume accessories on camera.
Check the exact video length window, typically one to three minutes, and lock that target in immediately.
Identify every compulsory move or pose you must execute during your performance.
Verify acceptable file formats and minimum resolution standards, whether HD or 4K.
Confirm whether background elements, ambient noise, or visible people will disqualify your entry.
Some competitions also require source references or progress documentation alongside your video.
Missing a single rule wastes your entire shoot.
Treat the guidelines like a technical blueprint, study them precisely, and build your entire filming strategy around what they demand.
Set Up a Clean, Well-Lit Space for Your Shot
Once you’ve locked in the rules, your next move is building a filming environment that puts every detail of your costume front and center. Background minimalism is your foundation — clear away pets, people, and visual clutter that compete with your craftsmanship. A neutral, unbusy backdrop keeps judges focused exactly where you want them.
Next, master your lighting techniques. Soft, diffused light eliminates harsh shadows that flatten dimensional details like sculpted armor or embroidered fabric. Position your light source at a 45-degree angle to your face for even, flattering coverage. Avoid overhead fluorescents — they kill texture and color accuracy.
Finally, place your camera at audience height and frame both poles fully within the shot, giving yourself generous room to move dynamically without clipping the edges.
Frame Your Poles and Give Yourself Room to Move
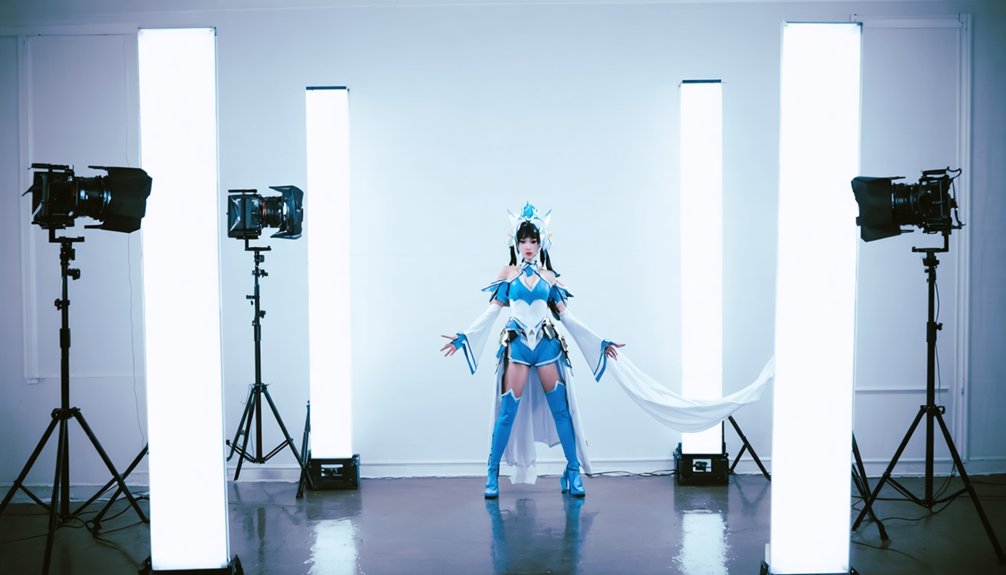
With your space cleared and lighting dialed in, it’s time to nail your camera framing. Position both poles fully within the shot — no cropping edges, no guessing. Precise pole placement ensures judges see your complete setup without mental reconstruction.
Pull the camera back far enough to create generous movement space on all sides. You’ll need room to extend arms, rotate, and transition between poses without drifting out of frame mid-performance. A tight crop kills dynamic energy instantly.
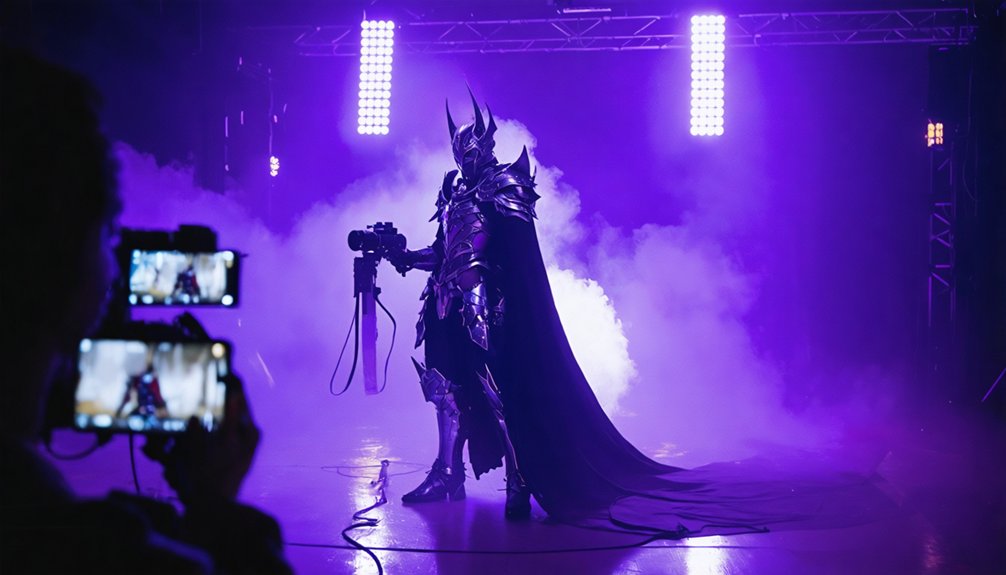
Set the camera at audience height, roughly eye level, simulating a live judging perspective. Lock that position before recording a single frame. Do a quick walk-through test, checking the monitor to confirm your widest movements stay comfortably inside the frame throughout the entire performance.
Set These Camera Settings to Capture Costume Movement Without Blur
Set your shutter speed to at least 1/250 to freeze cape flips, spinning props, and dramatic arm movements without motion blur muddying your costume details.
Indoors, bump your ISO to 800–1600 to compensate for lower light while keeping your image crisp and competition-ready.
Switch on continuous shooting mode to fire multiple frames per second, giving you the best chance of capturing that perfect mid-pose moment where every crafted detail reads clearly on camera.
Shutter Speed Freezes Motion
When you’re filming costume movement, a slow shutter speed turns flowing capes and intricate accessories into a blurry mess — so you’ll want to lock your shutter speed at 1/250 or faster. This setting freezes every sharp edge, beaded detail, and layered fabric mid-motion, eliminating motion blur entirely.
Bumping up to 1/500 gives you even crisper results during faster spins or dramatic sword sweeps. Your camera’s sensor captures each frame with surgical precision, preserving the craftsmanship judges actually score.
Indoor environments with lower light may require you to compensate by raising your ISO to 800–1600, keeping exposure balanced without sacrificing sharpness. Nail this setting first — it’s the single most impactful technical adjustment you’ll make before hitting record.
ISO Settings For Indoors
Indoor filming demands a higher ISO to compensate for the light your camera loses when you crank the shutter speed to 1/250 or faster.
For cosplay videos, target ISO calibration between 800 and 1600 to maintain sharp, detailed footage under typical indoor lighting conditions.
At ISO 800, you’ll preserve crisp texture detail on embroidery, painted surfaces, and metallic accents without introducing heavy grain. Push to ISO 1600 when your venue runs darker, like a basement shoot or a dimly lit convention hall.
Beyond 1600, digital noise degrades fine costume craftsmanship visually.
Always review a test clip before committing to a full performance take.
Zoom into the footage at 100% on your screen, confirm the fabric textures read cleanly, then start recording your official entry.
Continuous Shooting Mode Benefits
Continuous shooting mode lets you capture multiple frames per second, so you’ll never miss a crisp shot of a cape mid-swirl or a gauntlet catching the light at its peak angle.
Paired with strong camera stability and smart lighting techniques, it transforms dynamic poses into portfolio-worthy frames.
Here’s how to maximize it:
- Set burst rate to 10+ frames per second for fast movement sequences.
- Lock camera stability using a tripod to prevent shake during rapid firing.
- Optimize lighting techniques with diffused softboxes to reduce motion shadows.
- Review burst sequences immediately, selecting only the sharpest, most character-accurate frame.
You’ll generate dozens of options from a single movement, giving your submission a competitive visual edge.
Fix Your Audio Setup Before You Hit Record
Before you hit record, walk your filming space and actively identify noise culprits like fans, air conditioners, or open windows that’ll bleed into your audio track.
Run a 30-second test recording and play it back through headphones to catch clicking, humming, or ambient traffic you’d otherwise miss live.
Seal off the room, silence your phone, and position your microphone away from any mechanical interference to lock in a clean, competition-ready sound environment.
Eliminate Background Noise Sources
Three common audio killers — mechanical clicks, heavy breathing, and ambient traffic noise — can ruin an otherwise flawless cosplay entry video before you even hit record. Smart microphone placement and noise cancellation techniques eliminate these threats instantly.
Follow this quick-action checklist:
- Position your microphone away from fans, vents, or humming appliances that bleed into recordings.
- Enable noise cancellation settings on your smartphone or editing software to scrub ambient traffic sounds automatically.
- Record a 10-second silent test clip and listen through headphones to catch hidden audio problems.
- Close windows, silence phones, and relocate pets before your final take.
These four steps transform your audio environment into a clean, professional soundscape that lets your craftsmanship speak louder than any background distraction ever could.
Test Audio Before Recording
Clearing out background noise sources sets the stage, but you won’t know if your setup actually works until you run a real audio test. Record a 30-second clip, then play it back through headphones — not your phone’s speaker. Headphones reveal subtle background noise your speaker masks entirely.
Listen for HVAC hum, distant traffic, or electrical buzz that slips through walls. If you detect interference, reposition your recording device closer to your performance zone and test again.
Audio clarity isn’t optional for competition entries — judges notice distortion immediately. Check that your costume doesn’t generate friction noise against your mic during movement.
Once your playback sounds clean and crisp, you’ve locked in a professional-grade foundation that amplifies every detail of your cosplay presentation.
Reduce Ambient Sound Interference
Ambient sound interference can quietly sabotage an otherwise flawless cosplay entry, so you’ll want to neutralize it before you press record. Background interference ruins audio clarity fast, but you can eliminate it strategically.
Follow these four targeted fixes:
- Close windows and doors to block street-level ambient noise from bleeding into your recording space.
- Power down HVAC systems temporarily to eliminate mechanical hum that microphones amplify aggressively.
- Hang thick blankets or moving pads on walls to absorb sound reflection and deaden the room acoustically.
- Record a silent test clip first, then play it back through headphones to detect hidden background interference before committing to your full performance take.
These steps sharpen your audio dramatically, letting your craftsmanship and character portrayal take center stage.
Film the Required Poses and Moves With Precision
Once you’ve reviewed the competition’s rulebook, execute each compulsory move with sharp intentionality — judges score what they see on screen, not what you intended. Pose accuracy isn’t optional; it’s your scoring foundation. Lock every required stance before filming, rehearsing transitions until movement fluidity feels instinctive rather than mechanical.
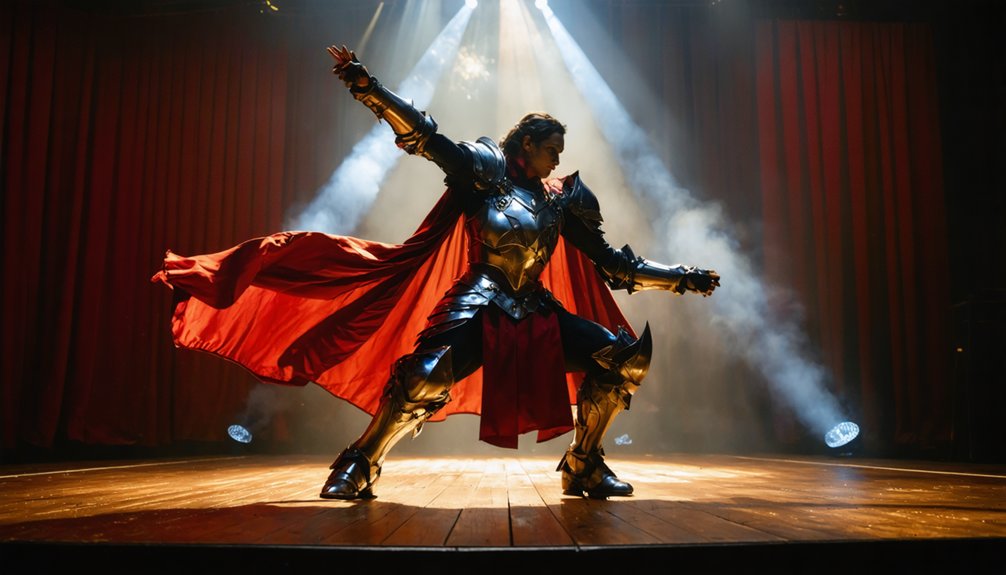
Position yourself centered within the frame and hold each pose for two to three full seconds — cameras need time to register detail. If a move requires dynamic action, perform it slower than stage speed to prevent motion blur from distorting your costume’s craftsmanship.
Run through the sequence at least three times on camera, then review playback critically. Identify missed marks, adjust, and reshoot immediately. Precision wins competitions — don’t submit your first acceptable take when a perfect one is achievable.
Show Off Your Craftsmanship Without Breaking Character
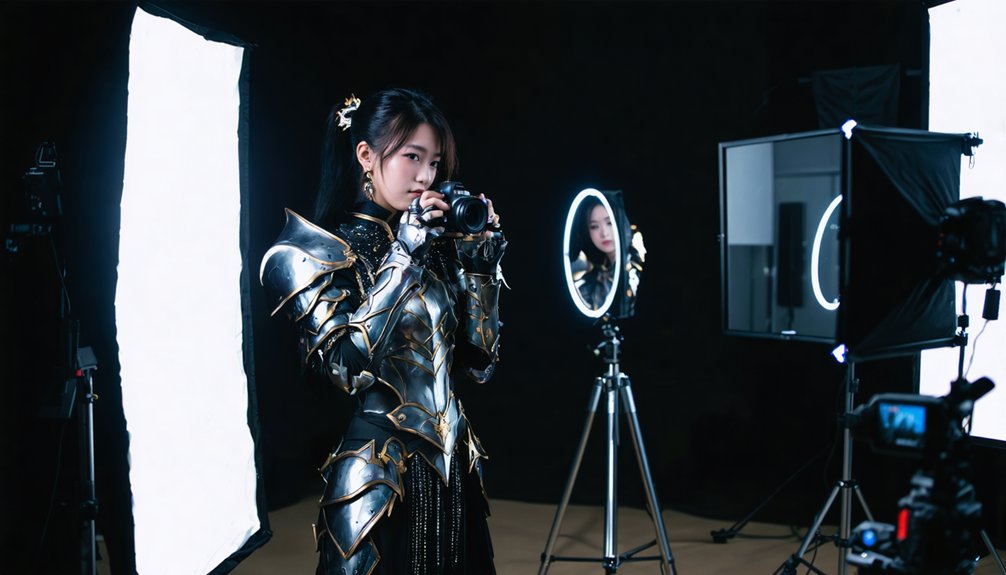
Use these four techniques to nail both simultaneously:
- Hold character poses that naturally expose embroidery, armor plating, or painted textures toward the lens.
- Tilt your chin slightly upward during close-ups — it reveals facial appliances without killing the scene’s mood.
- Rotate slowly in character to showcase full-body construction without breaking immersion.
- Use deliberate hand gestures that draw the viewer’s eye toward intricate prop or costume elements.
Every intentional movement pulls double duty — expressing your character while showcasing the technical excellence judges are actively scoring.
Edit Your Cosplay Entry to Highlight Details Without Losing Energy
Editing is where your entry either comes alive or falls flat — so trim ruthlessly, but protect the moments that carry energy. Cut filler transitions that stall momentum, but never sacrifice a clean spin or dramatic pause that showcases your costume detailing at its sharpest.
Use free editing apps to adjust exposure and contrast, applying targeted lighting techniques to pull embroidery, painted textures, or metalwork out of shadow. A quick brightness boost on a static pose frame can reveal craftsmanship judges would otherwise miss entirely.
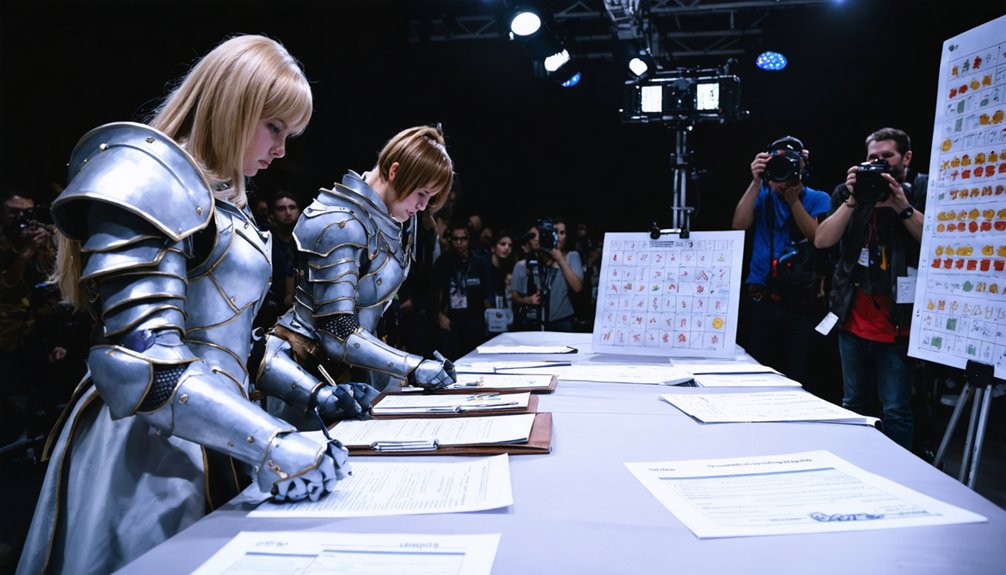
Add captions only where angles obscure critical details — don’t over-explain what’s already visible. Keep your pacing tight, your cuts purposeful, and your audio clean. Review the final file against the rating grid before uploading, confirming every requirement is visually satisfied.
What to Include in Your Competition Submission Folder
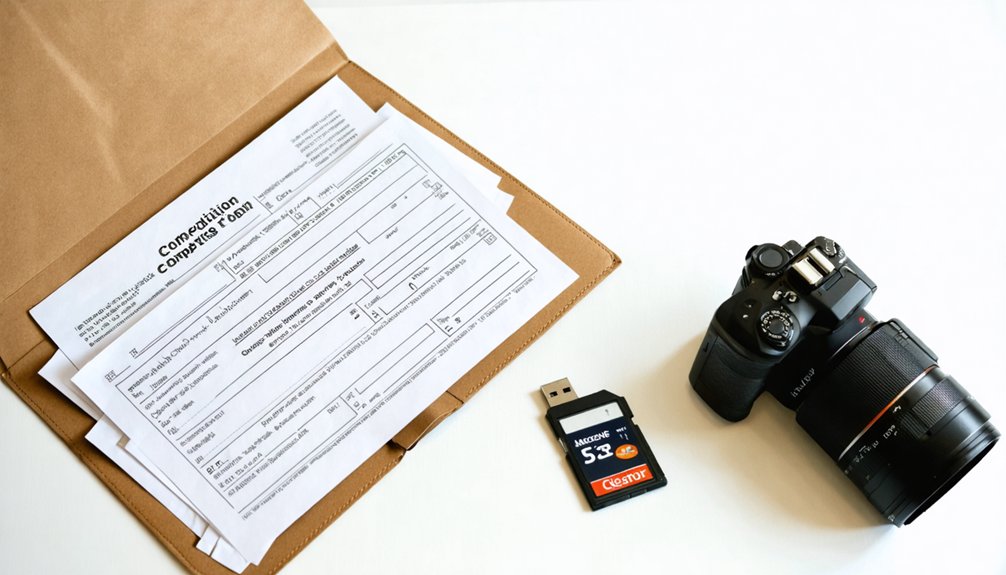
Beyond the video itself, your submission folder is where judges see the full scope of your craftsmanship — so pack it with purpose. Include sharp, intentional documentation that elevates your entry above the competition.
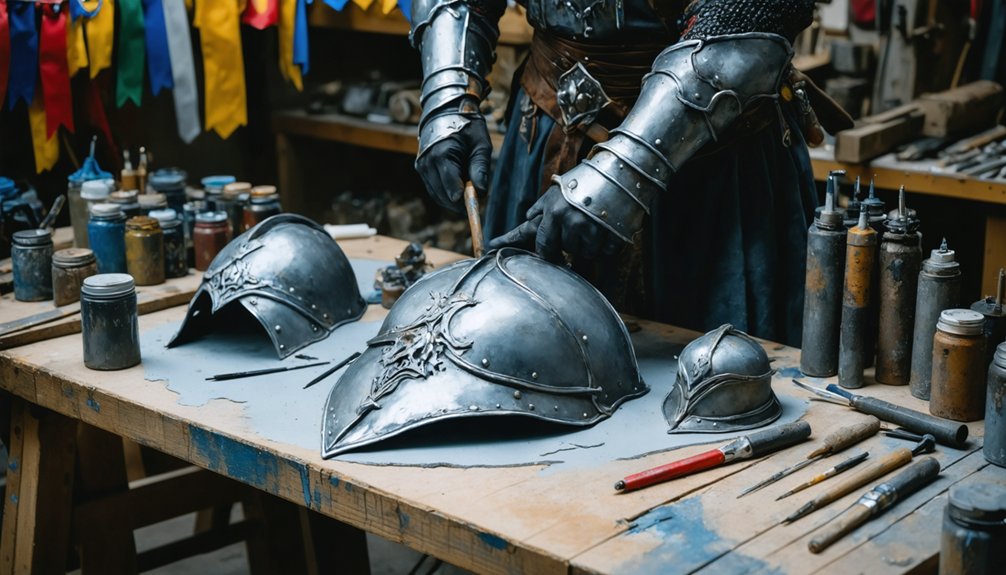
- Progress photos — Capture each construction stage, especially complex cosplay accessories like hand-wired LED rigs or resin-cast armor pieces.
- Source references — Attach original character artwork or screenshots showing exactly what you’re recreating.
- Character backstory document — Write a concise PDF explaining your character’s narrative and how it influenced your design choices.
- Material and technique notes — List specific materials, tools, and methods used so judges understand your technical decisions.
Every item you include tells a story your video can’t fully capture. Make each document count.
Where and How to Submit Your Cosplay Competition Video
Once your submission folder is packed and polished, it’s time to get your video in front of the judges — and how you submit matters just as much as what you submit. Head directly to the competition’s official website tab or designated online portal to upload your files. Don’t email entries unless explicitly instructed — portals track submission deadlines automatically and timestamp your upload instantly.
After submitting, watch for entry confirmation via email; screenshot it and save it alongside your backup files. If the competition encourages pre-judging visibility, share your entry across social media platforms before the judging date to build momentum.
Double-check that your supporting PDF or Word document uploads cleanly alongside your video — incomplete packages get disqualified fast, no matter how stunning your costume looks.
Frequently Asked Questions
Can I Resubmit My Cosplay Video if I Make a Mistake After Uploading?
Don’t jump the gun—check the submission guidelines first! You can often resubmit, but verify the portal’s rules. Apply your video editing tips, fix errors, then upload a polished, corrected version confidently!
Do Judges Watch Cosplay Competition Videos Multiple Times Before Scoring?
Judges often repeat the video review process multiple times during judge evaluation! You’ll want your footage crisp, your details sharp, and your performance compelling—because reviewers actively revisit key moments to accurately score craftsmanship and character portrayal.
Should I Watermark My Cosplay Video Before Sharing It Publicly Online?
Yes, you should absolutely watermark your cosplay video before sharing it publicly! Address copyright concerns by embedding subtle watermark placement in corners, protecting your innovative craftsmanship while boosting visibility across social platforms without distracting judges from your stunning performance details.
Can Two Cosplayers Submit a Single Collaborative Entry Together?
Yes, you can absolutely submit collaborative projects together! Embrace teamwork dynamics by checking your competition’s entry rules, as many organizations welcome duo entries—just guarantee both cosplayers appear prominently and craftsmanship details shine visually throughout your innovative submission!
How Long Does It Typically Take to Receive Competition Results After Submission?
Ironically, there’s no universal timeline! The judging process varies wildly by organization. You’ll typically wait anywhere from days to months for a result announcement. Stay proactive — check the competition’s official portal regularly for updates!
References
- https://polepedia.com/killer-competition-entry-video/
- https://www.youtube.com/watch?v=En-_syUbpek
- https://www.blackowlstudio.com/en/behind-the-scenes-of-cosplay-contests/
- https://www.youtube.com/watch?v=Z2r-E-aG90k
- https://www.comicconla.com/cosplay-national-championship-rules
- https://www.youtube.com/watch?v=Un12PxYr3TI
- https://in.aorus.com/event_html/1400/assets/files/rules_cosplay.pdf
- https://www.reddit.com/r/CosplayHelp/comments/1liq7cp/help_videoing_my_cosplay_contest/
- https://www.youtube.com/watch?v=4Ggm3oSOG5k
- https://www.youtube.com/watch?v=aFMLUW2uUAY