Packing cosplay for a convention requires strategy, not guesswork. Check convention rules first, then test-fit your full costume—wig, shoes, and props—at least a week before departure. Wrap fragile pieces in bubble wrap, use vacuum-seal bags for garments, and always pack prop weapons in checked luggage with a TSA safety letter. Build a repair kit for on-the-day emergencies. Get these basics right, and everything else about convention travel gets considerably easier.
Key Takeaways
- Wrap fragile props individually in bubble wrap, pack in checked luggage, and include a TSA safety letter explaining their non-functional purpose.
- Use vacuum-seal bags to compress garments without distorting their shape, preventing shifting during long-distance travel.
- Test your full costume, including shoes and props, at least one week before the convention.
- Build a repair kit with needles, thread, super glue, safety pins, and makeup touch-up supplies for convention day.
- Review convention rules on prop materials and sizes before packing to avoid entry issues upon arrival.
Check Convention Rules Before You Pack a Single Item
Before you pack a single item, check the convention’s rules on allowed and prohibited items. Every event has specific policies governing cosplay materials, prop sizes, and costume accessories, and violating them means staff can confiscate your gear at the door.
Once you’ve reviewed the rules, build a detailed list on your phone covering every cosplay piece, toiletry, makeup item, and electronic device you plan to bring. This inventory keeps you organized and prevents last-minute scrambling.
Also, test-fit all your cosplays at least one week before the event. Sizing issues discovered early are fixable; sizing issues discovered at the venue aren’t.
Pair this step with gathering your registration receipts, hotel confirmations, and transportation tickets into one dedicated documents folder for streamlined travel.
How to Test Fit Your Cosplay Before the Trip
Schedule your test fitting at least one week before the convention so you’ll have enough time to make adjustments.
Put on each cosplay in full, including shoes, wigs, and props, to check for sizing issues, restricted movement, or discomfort.
Fix any problems you find immediately, whether that means resewing a seam, adjusting straps, or sourcing a replacement piece before you pack.
Schedule Early Fitting Sessions
Testing your cosplay at least one week before the convention gives you enough time to fix any issues that come up. Early fitting sessions let you move confidently, knowing every piece works before you step onto the convention floor.
Follow these steps to make your fitting sessions count:
- Wear the full costume for at least two hours to identify pressure points, loose seams, or sizing problems that only appear during extended wear.
- Simulate convention schedule activities like walking, sitting, and posing so you can catch mobility restrictions before they ruin your cosplay photography opportunities.
- Document every fitting session with photos from multiple angles, giving you a reliable reference point for last-minute adjustments closer to your departure date.
Check Sizing And Comfort
Checking sizing and comfort goes beyond simply putting your costume on—you need to wear the full cosplay for an extended period to uncover problems that a quick mirror check will miss.
Walk around your home for at least two hours in the complete ensemble, including every costume accessory, from belts and gauntlets to headpieces and footwear. Pay attention to how cosplay fabric behaves under movement—does it pull, chafe, or restrict circulation?
Sit, crouch, and climb stairs to simulate real convention conditions. Identify pressure points where accessories dig into skin and adjust straps or padding accordingly.
Document every issue immediately and resolve it before travel day. This rigorous testing process guarantees you’ll perform confidently throughout the entire convention.
Identify And Fix Issues
Once you’ve worn your cosplay for an extended test session, you’ll start noticing specific issues that need immediate attention before the trip. Your cosplay costume deserves honest evaluation—not last-minute panic at the convention.
Address every problem systematically using these critical fixes:
- Structural repairs – Reinforce loose seams, reattach failing adhesives, and secure fragile accessories with super glue or safety pins before they fail publicly.
- Makeup application testing – Practice your full makeup look under bright lighting to identify color mismatches, smudging patterns, or techniques requiring refinement.
- Mobility restrictions – Walk, sit, and pose repeatedly in your costume, then alter any element restricting natural movement or causing discomfort.
Document every fix on your phone checklist so nothing gets overlooked during final packing preparations.
What to Pack in Your Convention Day Bag
Your convention day bag can make or break your experience on the floor, so pack it with intention. Keep your smartphone, wallet, and keys secure in a bag that doesn’t compromise your cosplay costume’s aesthetic. Carry a portable charger with its cable, since dead batteries mean missed connections and lost event schedule updates.
Toss in a reusable water bottle, granola bars, and ibuprofen to stay energized and pain-free. Extra cash, deodorant, and earplugs handle unexpected situations efficiently. Swap into comfortable shoes between panels to protect your feet.
Add a notebook for tracking booth numbers and a small zippered bag for purchases. These essentials keep you mobile, comfortable, and fully focused on the convention experience.
Build Your Cosplay Repair Kit Like a Pro
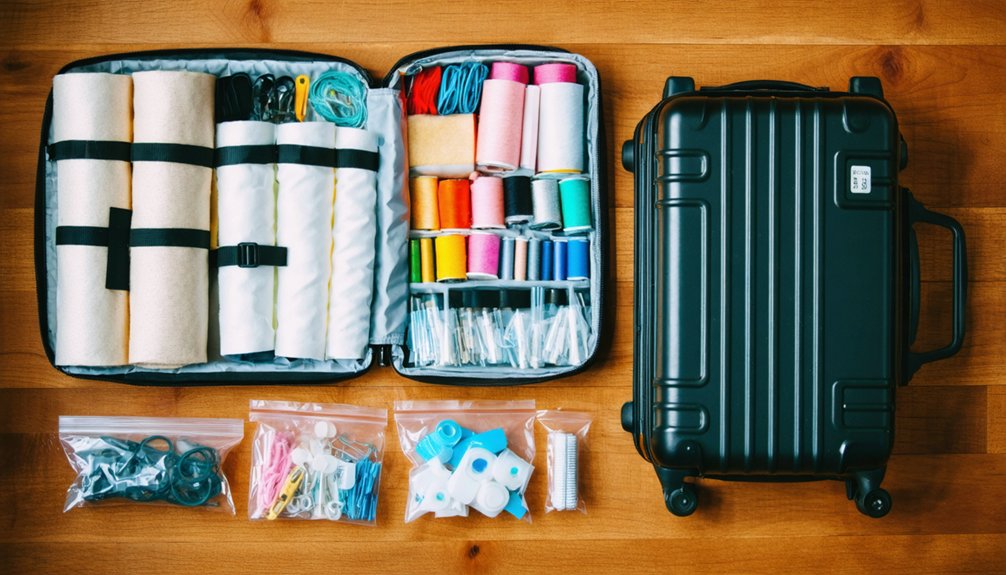
A solid repair kit starts with needles, thread, super glue, and safety pins to handle tears, broken pieces, and wardrobe malfunctions on the spot.
For wig and hair fixes, pack a hairbrush, hairspray, and bobby pins so you can reset styles between photos and panels.
Round out your kit with wig caps, eyeliner, loose powder, and a beauty blender to keep your makeup looking fresh throughout the day.
Essential Repair Tools
Whether you’re a seasoned cosplayer or attending your first convention, a well-stocked repair kit can save your costume—and your day. Your cosplay costume faces real wear, and prop maintenance demands immediate solutions. Pack these essentials:
- Needles, thread, and super glue — Fix tears, loose seams, or broken costume elements within minutes, keeping your look convention-ready.
- Safety pins and blister plasters — Address unexpected wardrobe failures and painful hotspots before they sideline you from the floor.
- Hairspray, bobby pins, and a hairbrush — Restore wig styling quickly, ensuring your character presentation stays sharp through long convention hours.
These three categories cover structural, physical, and aesthetic emergencies. Don’t leave them behind—you’ll regret it the moment something breaks mid-photoshoot.
Wig And Hair Fixes
Wigs take a beating at conventions—heat, humidity, and hours of wear turn even the most carefully styled pieces into a tangled mess. That’s why your repair kit needs dedicated wig maintenance tools before you ever leave home. Pack a hairbrush, bobby pins, and hairspray to handle on-the-spot hair styling corrections between panels and photoshoots.
Wig caps keep your natural hair flat and your wig secure throughout long convention days. A small travel mirror lets you assess damage quickly without hunting for a restroom.
If your wig uses heat-resistant fibers, tuck in a mini flat iron for reshaping. Store each wig on a foam head inside a protective bag to preserve its style during transport and prevent tangling before you even arrive.
Makeup Touch-Up Supplies
Makeup melts, smudges, and fades fast under convention hall lighting and body heat, so your repair kit needs a dedicated touch-up arsenal. Smart makeup storage keeps every essential accessible without digging through clutter mid-shoot.
- Wig caps and loose powder — Press powder locks your base in place, preventing the dreaded midday shine that kills photo opportunities.
- Eyeliner and a beauty blender — These let you reconstruct detailed character markings precisely after hours of wear distort them.
- Touch up brushes — Compact, travel-sized brushes give you surgical control over corrections without smearing surrounding areas.
Seal everything inside a dedicated zip pouch within your day bag. Quick, organized access means less downtime fixing your look and more time owning the convention floor.
How to Pack Cosplay Pieces So Nothing Wrinkles or Breaks
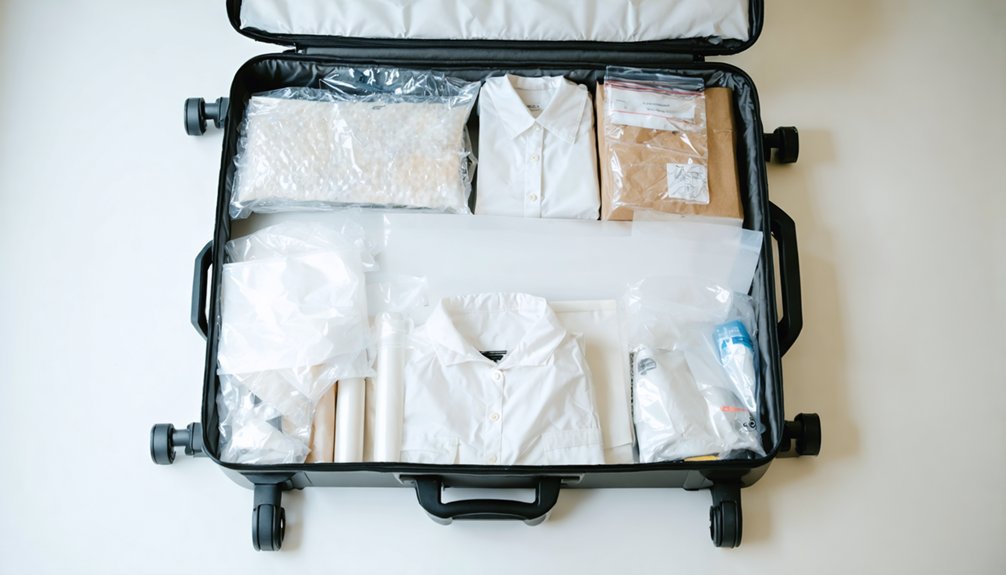
Packing your cosplay pieces carefully can mean the difference between arriving at the convention ready to impress and scrambling to fix crushed armor or wrinkled fabric. Smart cosplay fabric selection matters during packing — delicate materials need extra layers of protection, so wrap them in soft cloth or bubble wrap before placing them in your luggage.
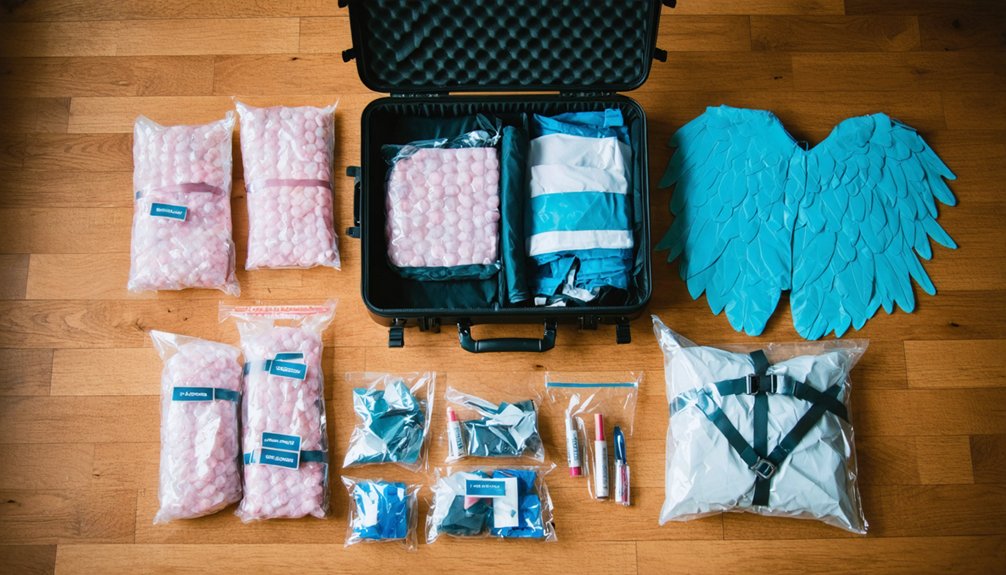
Use vacuum-seal bags as efficient costume storage solutions to compress fabric-based pieces without distorting their shape. Place shoes at the bottom of your suitcase, then layer clothing on top.
Store styled wigs on foam heads inside an oversized box with a protective shopping bag covering them. Cover rigid props with bubble wrap or a towel, and drop dryer sheets into armor boxes to keep everything fresh during transport.
How to Pack Fragile Cosplay Pieces for Long-Distance Travel
Long-distance travel raises the stakes for fragile cosplay pieces, where a single bump or pressure point can crack foam armor, shatter resin accessories, or crush a carefully styled wig. Protect what you’ve built with precision:
One careless bump mid-flight can undo weeks of craftsmanship — long-distance travel demands you protect every fragile piece with intention.
- Wrap props individually in bubble wrap or towels, securing them inside checked luggage where pressure and movement are controlled.
- Prioritize costume fabric preservation by laying garments flat inside vacuum-seal bags, eliminating air pockets that allow shifting and friction damage.
- Apply electronic device protection by padding wired accessories and light-up components with foam inserts, keeping batteries removed until arrival.
Store styled wigs on foam heads inside oversized boxes lined with dryer sheets. Never assume padding is optional — every centimeter of protection you add now prevents irreplaceable damage later.
How to Travel With Props Without Security Problems
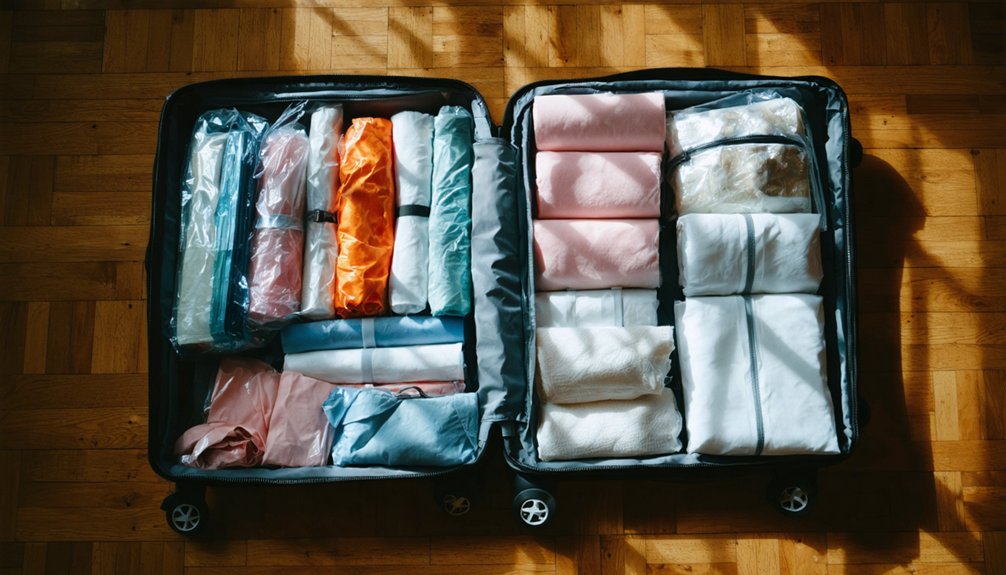
When traveling with cosplay props, you’ll want to prepare a TSA safety letter that clearly explains your items are 3D-printed or foam-made for costume purposes. Place one copy inside your checked luggage and keep another in your carry-on.
Pack all large or weapon-like props in checked baggage only, wrapping them securely in bubble wrap or towels to prevent damage during handling.
Double-checking these steps before you leave guarantees you’ll move through security without unnecessary delays or confiscations.
TSA Safety Letter Tips
Traveling with props and costume weapons doesn’t have to mean a stressful security checkpoint experience if you prepare a TSA safety letter in advance.
This letter explains that your cosplay costume components, including blasters and swords, are 3D-printed or foam-made travel accessories created solely for convention use.
Follow these three critical steps:
- Place the letter inside your checked luggage containing props so agents immediately understand what they’re inspecting.
- Keep a copy in your carry-on for quick reference if TSA officers question you at the checkpoint.
- Pack all weapon-like props in checked baggage only, never carry-ons, to avoid confiscation.
This proactive approach eliminates confusion, protects your props, and keeps your convention experience moving forward without unnecessary delays.
Packing Props Securely
Securing your props for travel starts with the right materials and a strategic packing approach. Wrap each prop individually in bubble wrap or a thick towel before placing it in your checked luggage—never your carry-on. This protects both fragile decorative accessories and rigid structural pieces from shifting during transit.
For costume storage, use vacuum-seal bags for soft components and rigid containers for larger props. Layer heavier items at the base, positioning props where they’re least likely to experience pressure.
Add dryer sheets to keep everything smelling fresh inside enclosed boxes.
Always pack weapon-like props in checked baggage alongside your TSA safety letter. Double-check convention rules on prop materials beforehand so you’re not caught off guard at the venue’s entrance.
Write a TSA Safety Letter That Actually Works
If you’re flying to a convention with props, blasters, or armor pieces, a TSA safety letter can prevent unnecessary delays and confiscations at security checkpoints. This letter clarifies that your cosplay costume components are non-functional artistic pieces, smoothing out transportation options across all flight routes.
- State clearly that every prop, blaster, and armor piece is 3D-printed or foam-made, containing zero mechanical or dangerous parts.
- Place one copy directly inside your checked luggage containing props, and keep a second copy in your carry-on for immediate reference.
- Include your contact information so TSA agents can verify your identity quickly, reducing stress and protecting your creative work from damage or confiscation.
Triple-check this letter before leaving home.
Pain Relief, Earplugs, and Comfort Items to Pack
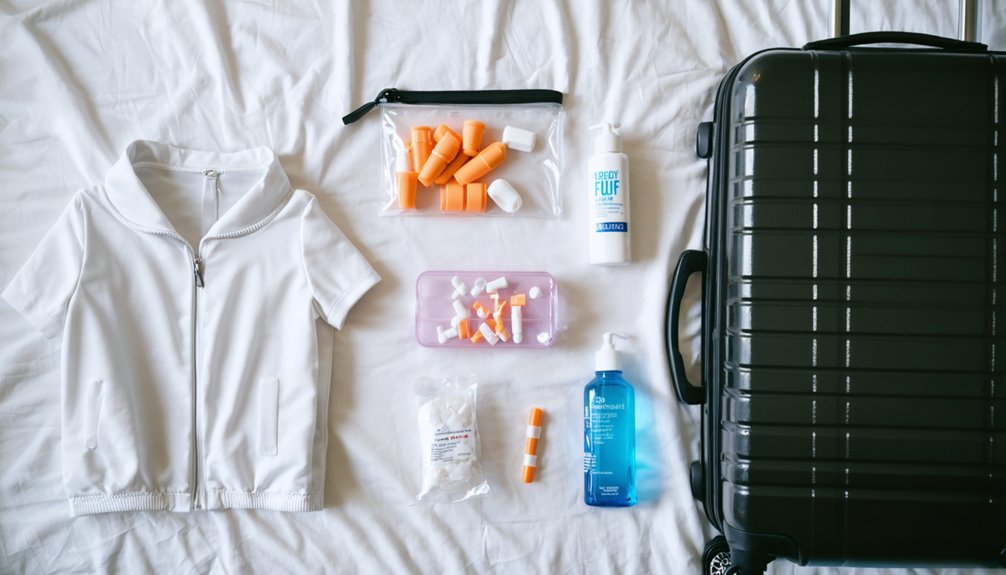
Conventions are physically demanding, so packing the right comfort items keeps you functional and focused throughout the event.
For pain relief, toss ibuprofen into your day bag to manage sore feet, headaches, or joint discomfort from hours of walking in costume. Earplugs are non-negotiable if you’re noise-sensitive—crowded convention halls get overwhelming fast.
Roll-on deodorant and a travel body spray support cosplay comfort during long, sweaty days under heavy armor or layered fabrics. Blister plasters protect your feet when comfortable shoes aren’t an option mid-event.
Pack a small, zippered pouch dedicated entirely to these essentials so you’re not digging through your bag during peak hours. These items aren’t luxuries—they’re strategic tools that extend your stamina and keep your convention experience running smoothly.
The Complete Cosplay Convention Packing Checklist
Having your comfort items sorted is one piece of the puzzle—now it’s time to pull everything together into a single, reliable checklist so nothing gets left behind.
A sorted pack is only the beginning—true convention confidence comes from one airtight checklist that leaves nothing behind.
Before finalizing your pack, triple-check every category:
- Cosplay essentials – Confirm cosplay material sourcing is complete, test-fit every piece, and pack components in vacuum-seal bags with props wrapped securely in bubble wrap.
- Documents and safety letters – Include your ID, registration receipts, hotel confirmations, and TSA prop letters in both your checked luggage and carry-on.
- Day bag and repair kit – Pack your charger, water bottle, snacks, safety pins, and makeup touch-up tools so you’re ready for anything convention etiquette demands of you.
A thorough checklist transforms convention stress into confidence.
Frequently Asked Questions
Can You Ship Cosplay Props to Your Hotel Before the Convention?
Yes, you can ship cosplay props to your hotel ahead of time! Update your packing checklist to track shipments, ensuring smooth cosplay transportation. Contact the hotel first to confirm they’ll accept and store packages before your arrival.
How Do You Store Cosplay Pieces Safely in a Shared Hotel Room?
Like a knight guarding treasure, you’ll protect your costume organization by keeping pieces in vacuum-seal bags inside locked luggage. Store wigs on foam heads, secure props with bubble wrap, and maintain luggage security throughout your shared room.
What Should You Do if Your Cosplay Gets Damaged Beyond Repair?
If your cosplay’s damaged beyond repair, you’ll want backup pieces ready. Use your cosplay repair tips kit and protective costume packaging to salvage usable parts, then adapt creatively—innovative cosplayers always find resourceful solutions during unexpected convention emergencies.
How Early Should You Arrive at the Convention to Change Into Cosplay?
Arrive at least 90 minutes early so you’ve got time to apply your cosplay makeup, secure costume accessories, and handle any last-minute fixes without rushing before the convention doors officially open.
Is Travel Insurance Recommended When Traveling With Expensive Cosplay Costumes?
You’d be wise to secure financial peace of mind when traveling with pricey pieces. Travel insurance complements your cosplay costume maintenance efforts and travel packing tips, protecting you against unexpected loss, damage, or delays during your convention journey.
References
- https://www.reddit.com/r/CosplayHelp/comments/15tlmtm/what_should_i_bring_to_con/
- https://www.youtube.com/watch?v=ciH2vjjR0is
- https://www.youtube.com/watch?v=eWZSziMx7Y8
- https://misadventuresinanime.home.blog/2019/03/20/ultimate-convention-cosplay-packing-checklist/
- https://www.youtube.com/watch?v=_H5TbbZiPLs
- https://www.youtube.com/watch?v=oJ-6e26UvHY
- https://www.youtube.com/watch?v=q5Z5B1Zb4aE
- https://www.youtube.com/watch?v=gxca_N4Fr_o