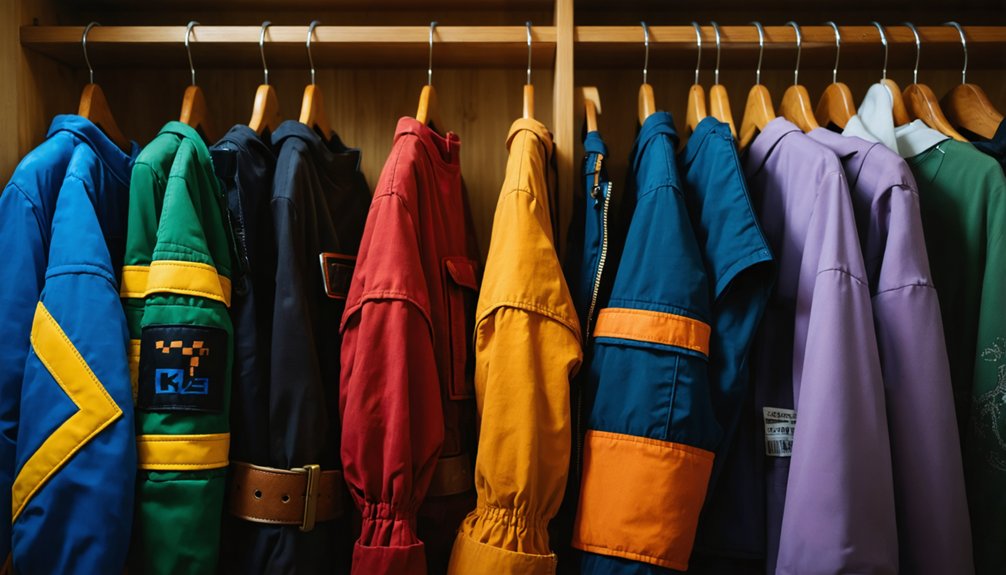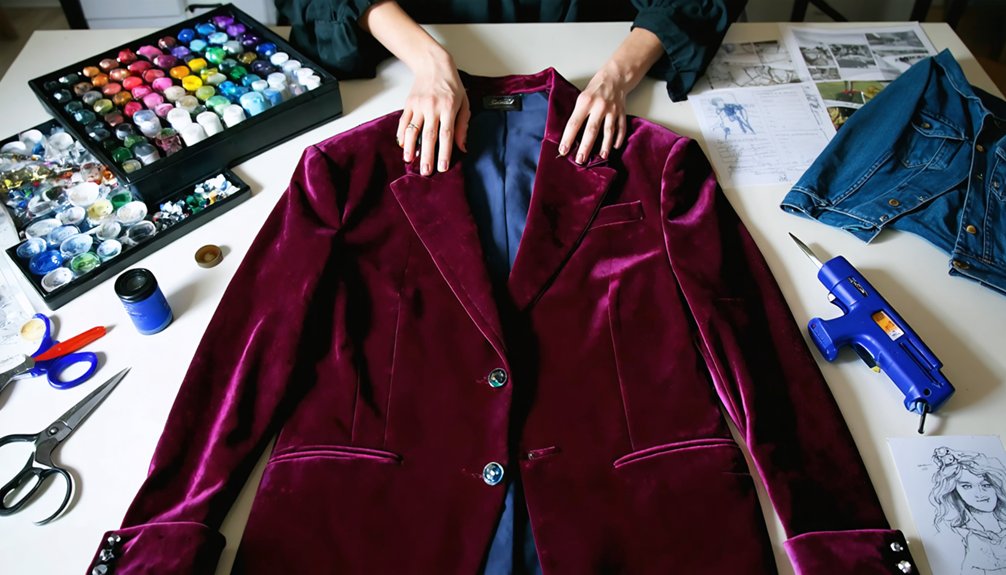
To transform thrift store clothes into cosplay, you’ll want to start by hunting for vintage uniforms, blazers, and plaid shirts that match your character’s silhouette. Always inspect seams, zippers, and fabric quality before buying. From there, you can cut, reshape, and layer garments using simple hand-stitching, fabric glue, or safety pins. Distress edges with sandpaper or diluted bleach for a weathered look. There’s a whole lot more technique waiting ahead to bring your costume to life.
Key Takeaways
- Inspect thrift store garments for fabric quality, odors, stains, and damage before purchasing to ensure suitability for cosplay transformation.
- Use seam rippers, fabric scissors, and markers to alter silhouettes by cropping, slicing, or attaching sleeves from different garments.
- Distress clothing using sandpaper, diluted bleach, and spray paint to achieve worn, weathered, character-accurate looks.
- Add character-specific emblems, symbols, and accessories to unify costume elements and enhance authenticity.
- Steam or iron finished pieces and store properly to maintain a polished, professional cosplay appearance.
How to Find the Best Thrift Store Pieces for Cosplay
Thrift stores are treasure troves for cosplayers, but you’ll need a sharp eye to walk out with the right pieces. Start by targeting vintage styles — uniforms, blazers, and plaid shirts often translate directly into recognizable character silhouettes. Don’t fixate on garment shapes alone; prioritize colors, patterns, and fabric quality instead.
Before buying, perform a sniff test to catch stubborn smoke or pet odors, then inspect seams, buttons, and fabric integrity. Items that run slightly large work better since they’re easier to alter.
Visit multiple stores regularly, as inventory shifts constantly. Think beyond clothing — belts, scarves, and jewelry fuel accessory layering opportunities that elevate a basic outfit into a fully realized costume. The right thrift find isn’t always obvious, but it’s always there.
What to Inspect Before Buying Any Thrift Store Garment
Before a single dollar leaves your wallet, run through a quick but ruthless inspection checklist.
First, do the sniff test — cat urine and heavy smoke cling to fibers permanently, no matter how many wash cycles you attempt.
Next, scan every seam, button, and zipper for structural damage that’ll complicate your alterations later.
Flip the garment inside out and examine the fabric textures closely — pilling, thinning, or brittleness signals the material won’t survive aggressive cutting or weathering techniques.
Hold vintage patterns up to the light to catch hidden staining or fading that photographs disguise on the rack.
Finally, check sizing. You’ll want something that fits true or runs slightly large, giving you a workable canvas without unnecessary piecing.
A sharp eye here saves serious frustration later.
Cut and Reshape Thrifted Clothes to Match Your Character
Once your garment clears inspection, the real transformation begins — and a seam ripper, sharp fabric scissors, and a fabric marker become your closest allies. Fabric manipulation lets you reimagine thrifted pieces entirely, especially when working with vintage patterns that carry texture you can’t replicate cheaply.
Try these reshaping techniques to release a garment’s full potential:
- Slice pants at the thigh, open the inseam, and lay the hip seam flat to sculpt entirely new silhouettes
- Cut sleeves from a second garment and hand-sew them onto a base shirt for hybrid character looks
- Roll or crop pant legs to knee length, instantly building hobbit-inspired or fantasy warrior profiles
Mark every cut line twice before committing — precise alterations separate convincing cosplay from a rushed Halloween scramble.
Sew, Glue, or Pin Your Cosplay Together Fast
Once you’ve cut and reshaped your thrifted pieces, you’ll need to hold everything together fast — so grab a needle and thread for quick hand-stitching along high-stress seams like waistbands and sleeve attachments.
For surfaces that won’t take a needle well, fabric glue bonds layers of felt, foam, and trim in minutes, but let it dry completely before testing the hold.
When you’re short on time entirely, safety pins threaded through interior seams keep panels and overlays in place without a single stitch.
Quick Sewing Techniques
Whether you’re racing against a convention deadline or just hate sitting at a sewing machine for hours, quick assembly techniques can hold your cosplay together just as effectively as traditional stitching.
Layering techniques work brilliantly here—stitch leggings directly onto shorts or sew sleeves onto existing t-shirts using simple running stitches for clean, color matching results.
Try these fast hand-sewing methods:
- Whip stitch: Run thread along folded edges to join two fabric pieces cleanly without a machine
- Running stitch: Weave needle and thread in straight lines for lightweight fabric attachments
- Basting stitch: Use long, loose stitches for temporary holds you’ll later reinforce or remove
Each technique takes minutes to master but delivers results that’ll survive a full convention weekend.
Fabric Glue Applications
Fabric glue transforms your thrift store hauls into convention-ready costumes without threading a single needle. It’s your fastest tool when deadlines loom and your sewing kit feels miles away.
For fabric glue durability, let both surfaces dry completely before pressing them together — rushing this step ruins the bond entirely.
Creative glue applications open surprising possibilities. Attach lace trim to a plain dress hem, bond ribbon accents onto a blazer collar, or secure felt emblems onto chest pieces with precision. Use contact cement for heavier materials like faux leather or thick denim layers.
Apply thin, controlled lines using a snipped two-part epoxy tip for tighter accuracy. Test every bond on scrap fabric first — different materials absorb adhesives differently, and you’ll want zero surprises mid-convention.
Safety Pin Fixes
Safety pins are the unsung heroes of last-minute cosplay repairs, stepping in where fabric glue needs drying time and needles feel too slow. Temporary fixes don’t have to look sloppy—creative pinning transforms structural gaps into intentional design choices.
Use safety pins strategically to:
- Cinch oversized thrift blazers at the back seam, creating a tailored silhouette without permanent alteration.
- Secure capes and scarves folded over belts or shoulder seams, mimicking professional draping techniques.
- Fasten layered fabric panels along hemlines, adding dimensional texture that looks deliberately constructed.
Pin from the inside whenever possible, keeping hardware hidden against your skin.
For decorative moments, cluster metallic pins intentionally—they read as steampunk accents or punk embellishments rather than repairs. You’re not hiding the fix; you’re owning it.
Distress and Weather Fabric to Make Your Cosplay Look Worn
Distressing and weathering your thrift store finds can transform a clean, polished garment into a battle-worn costume that looks like it’s lived through adventures.
Start by using a belt sander or coarse sandpaper along edges, seams, and high-wear zones to reveal vintage textures beneath the surface fabric.
Drag sandpaper along seams and edges to uncover raw, weathered texture that screams authenticity.
Apply diluted bleach with a spray bottle for sun-faded, weathered finishes that feel authentically aged.
Spray paint in muted browns or grays adds grime buildup convincingly.
For tears, cut small slits and pull threads apart manually rather than cutting cleanly.
Layer multiple techniques instead of relying on just one—sand first, then bleach, then paint for maximum depth.
These methods work especially well on denim, canvas, and cotton, giving your cosplay that rugged, lived-in authenticity.
Add Accessories and Props to Complete Your Cosplay
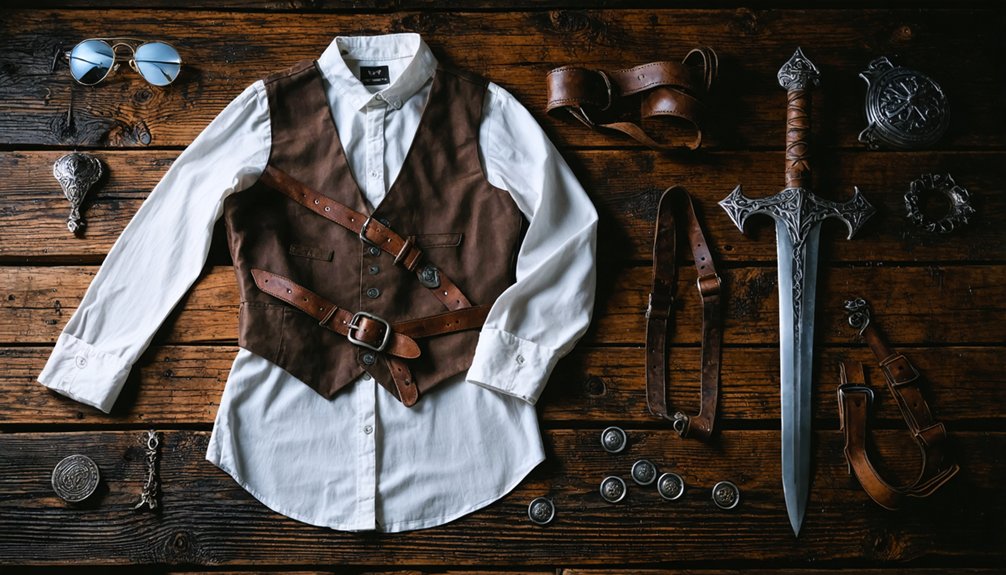
Once your garment looks authentically worn, the right accessories and props pull everything together into a convincing character. Comb thrift stores for vintage accessories — pocket watches, brooches, leather belts, and scarves transform ordinary pieces into something unmistakably specific. Prop customization takes things further; repaint, sand, or add decals to secondhand objects to match your character’s signature items exactly.
Consider these finishing details:
- Clip a worn pocket watch to a vest to instantly signal a Victorian-era detective or steampunk character
- Repurpose a silk scarf as a cape by knotting it strategically at the shoulders
- Layer mismatched jewelry or craft a simple emblem from cardboard and metallic paint for an iconic character emblem
Steam or iron every final piece so your complete look stays sharp and intentional.
Frequently Asked Questions
How Much Money Can I Realistically Save Using Thrift Store Cosplay Methods?
Imagine spending $15 versus $150 on a detective costume! You’ll save 70-90% using thrift store bargains. With smart alterations, you’re stretching costume durability while keeping costs remarkably low for innovative, character-accurate cosplay.
Can Thrift Store Cosplay Hold up Through Multiple Convention Wearings?
Yes, your thrift store cosplay can absolutely endure multiple conventions! Prioritize fabric quality during selection, reinforce seams with sturdy stitching, and you’ll achieve remarkable costume durability. Touch up weathering effects between wearings to keep everything convention-ready!
Are There Specific Thrift Store Chains Better for Finding Cosplay Materials?
Like striking gold, you’ll find Goodwill and Salvation Army offer consistent vintage finds and costume accessories across locations. Frequent multiple chains, since each store’s inventory differs — that’s your secret weapon for cosplay success.
How Do I Store Finished Thrift Store Cosplay Without Damaging Alterations?
Store your finished cosplay on padded hangers or acid-free boxes for smart storage solutions. You’ll protect delicate alterations with these preservation tips: wrap embellishments in tissue paper, avoid plastic bags, and maintain a cool, dry environment.
Can Beginners With Zero Sewing Experience Successfully Create Thrift Store Cosplay?
Yes, you can absolutely create stunning thrift store cosplay without sewing skills! Use fabric glue, safety pins, or staple guns to assemble pieces, though investing in basic sewing skills dramatically boosts costume durability and long-term results.
References
- https://www.youtube.com/watch?v=copqY3Yp4J4
- https://www.americasthrift.com/news/easy-diy-costume/
- https://ashweezcosplay.com/2019/10/17/thrifting-for-cosplay/
- https://learn.adafruit.com/cosplay-hacks/materials
- https://www.larplikerae.com/upcycling-old-clothing-into-cosplay-outfits/
- https://www.instructables.com/Easy-Thrift-Store-Hobbit-Cosplay/