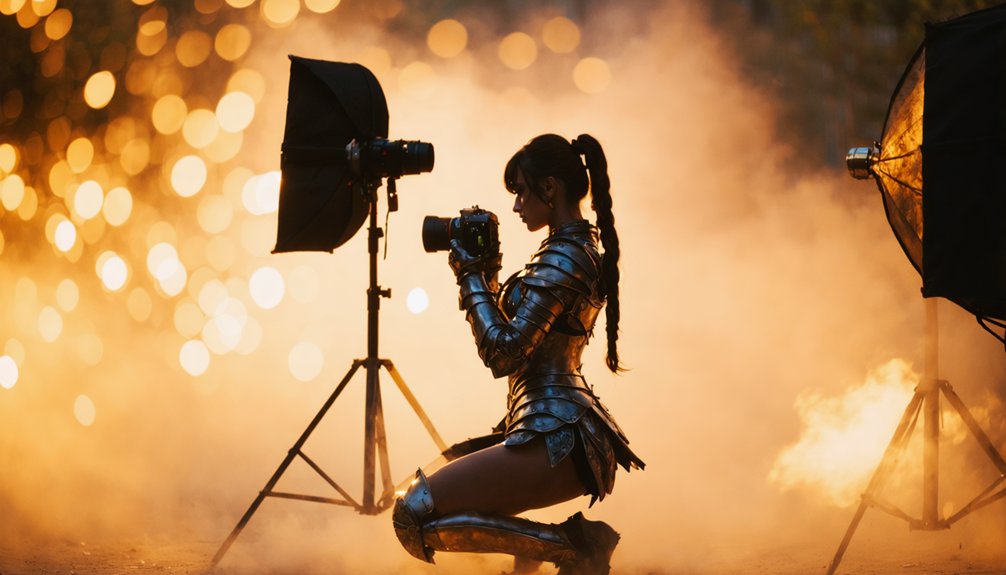
To take professional cosplay photos with your phone, use natural or diffused light during golden hour and avoid harsh midday sun. Switch to your back camera, lock focus on your subject’s eyes, and enable portrait mode for clean subject separation. Apply rule-of-thirds framing, simplify your background, and encourage dynamic poses. Finish in an editing app by adjusting exposure, contrast, and sharpening key costume details. There’s much more to uncover if you want truly polished results.
Key Takeaways
- Use the back camera with portrait mode enabled, manually locking focus on the subject’s eyes for sharp, accurate results.
- Shoot during golden hour or near large windows with sheer curtains to achieve soft, flattering, dimensional lighting.
- Frame subjects at rule-of-thirds intersection points and simplify backgrounds by positioning them 4–6 feet from clean surfaces.
- Encourage dynamic movement and experiment with various angles and heights to create authentic, cinematic poses.
- Edit with targeted sharpening, balanced contrast, and true-to-character colors, avoiding oversaturation for a polished finish.
Why Phone Cameras Work for Cosplay Photography
Modern phone cameras pack several professional-grade features that make them genuinely capable tools for cosplay photography. Their mobile advantages include computational photography, multi-lens arrays, and AI-driven scene optimization that rival entry-level DSLRs.
Lens versatility lets you switch between wide, standard, and telephoto focal lengths within seconds, adapting quickly to convention floors or outdoor shoots. Portability benefits mean you carry a complete imaging system in your pocket, eliminating heavy gear.
User-friendly features like tap-to-focus, portrait mode, and grid overlays streamline your workflow considerably. As a budget-friendly option, your phone removes expensive equipment barriers entirely.
Phone cameras offer tap-to-focus, portrait mode, and grid overlays—professional tools without the professional price tag.
Editing convenience comes built-in through apps like Snapseed, letting you polish images immediately after capture. Accessibility factors and instant sharing capabilities allow you to deliver polished cosplay content directly to your audience without delay.
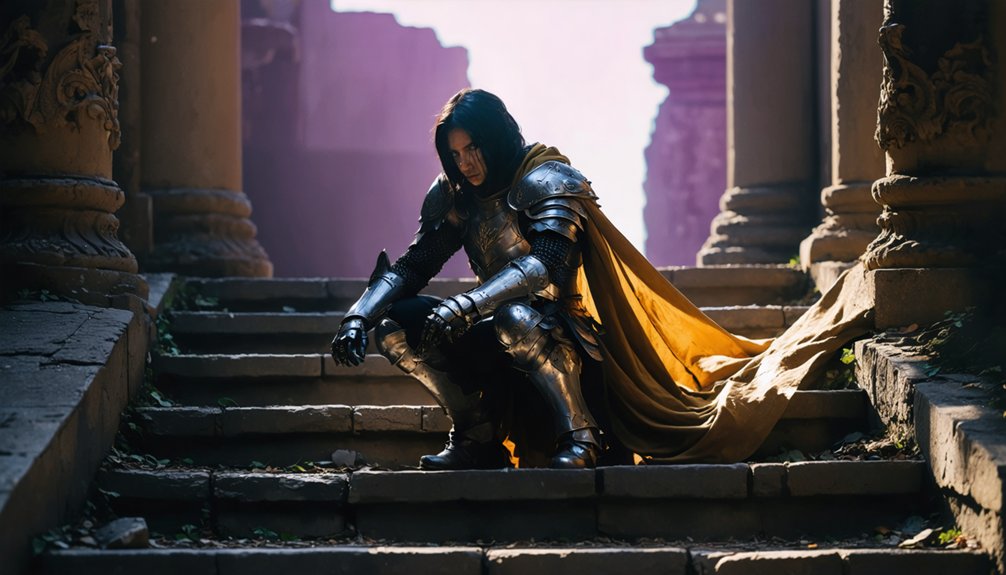
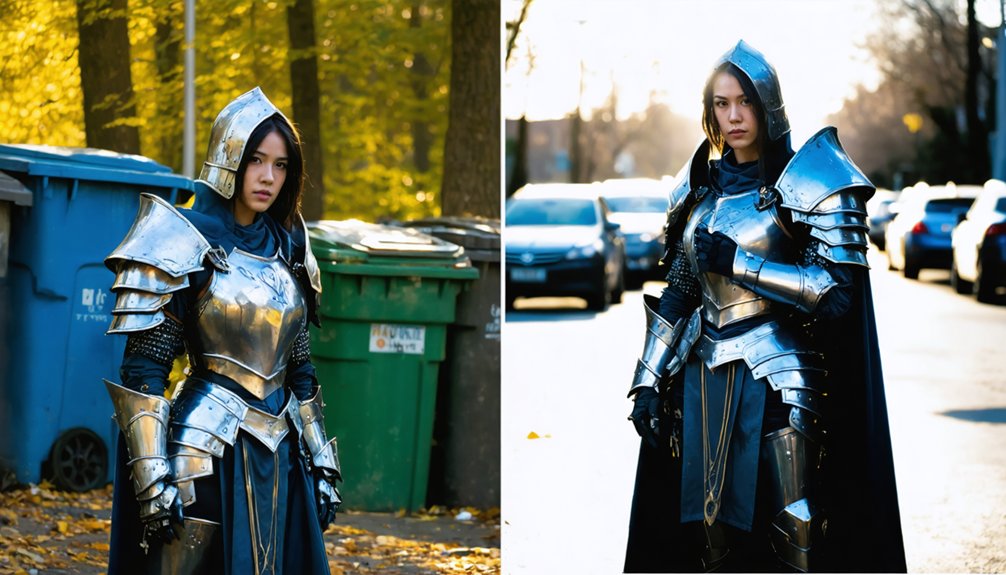
Use Natural and Diffused Light to Flatter Any Costume
Lighting transforms an average cosplay shot into a polished, professional image, so understanding how to harness natural and diffused light gives you a significant edge over photographers relying on harsh, direct sources.
Position your subject beside a large window fitted with sheer curtains to convert direct sunlight into soft, diffused lighting that eliminates unflattering shadows across costume details.
Outdoors, shoot during golden hour—the first hour after sunrise or last before sunset—where natural light delivers warm, dimensional tones that amplify character aesthetics.
Avoid midday overhead sun, which creates harsh contrasts that flatten textures. If direct sun is unavoidable, place a diffuser panel between your subject and the source.
These techniques require zero additional equipment, giving your phone camera ideal conditions to capture sharp, true-to-character cosplay imagery.
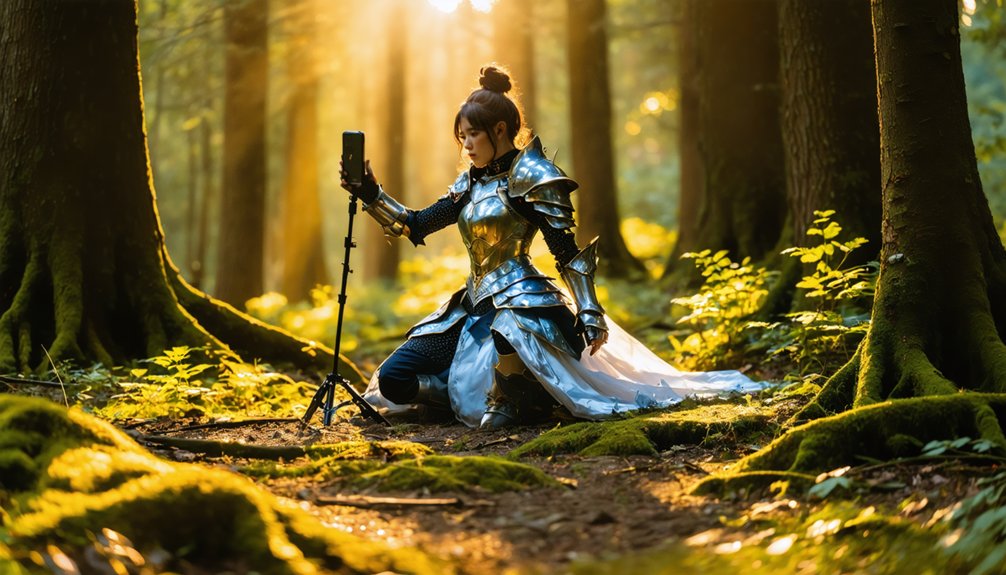
Set Your Phone Camera Up the Right Way
Getting your phone’s camera settings right before you press the shutter makes the difference between a sharp, well-exposed cosplay shot and a blurry, washed-out disappointment.
Always use the back camera over the front-facing lens — it delivers superior resolution and minimal distortion. Switch to your phone’s native camera app and skip third-party filters during capture; you’ll apply edits later with full control.
The back camera outperforms front-facing lenses every time — use your native app and save filters for editing.
For focus techniques, tap directly on your subject’s eyes or face to manually lock both focus and exposure simultaneously.
Enable portrait mode when shooting solo subjects, keeping them 4–6 feet from the background for accurate edge detection. Turn on grid lines to guide your composition.
These deliberate camera settings eliminate guesswork and give every cosplay shot a technically strong foundation before editing even begins.
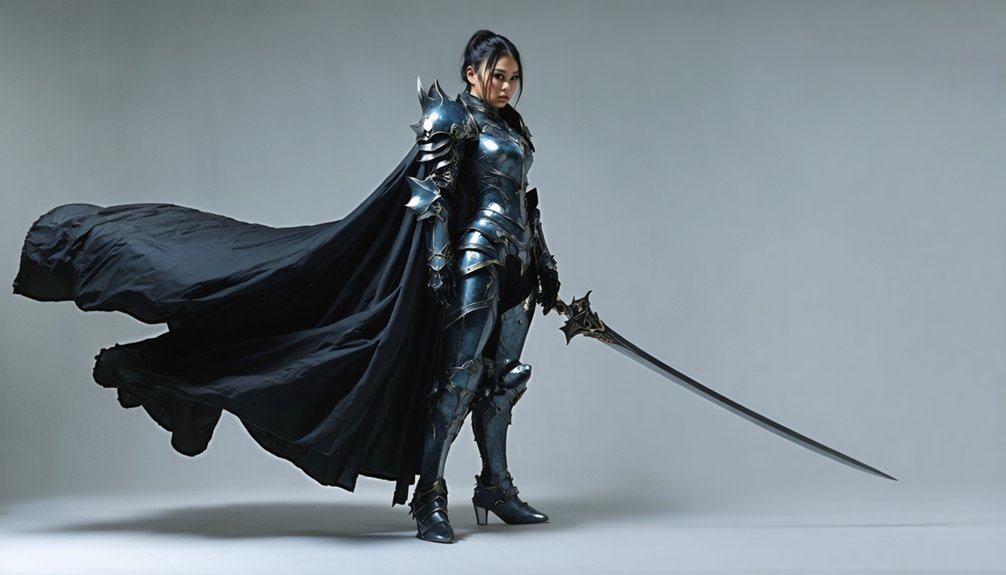
Composition and Posing Techniques for Cosplay Shoots
Once your camera settings are locked in, how you frame and pose your subject determines whether the final shot reads as polished or amateur. Place your subject on rule-of-thirds intersection points to achieve balanced composition rather than dead-center framing.
Prioritize background simplicity by eliminating clutter that competes with costume details and weakens subject focus.
For dynamic poses, encourage movement — walking, twirling, or mid-jump captures authenticity that static stances rarely deliver. Movement encouragement reduces stiffness and produces frames that feel cinematic rather than forced.
Shoot from multiple heights and positions for angle variety; low angles can emphasize dramatic armor or footwear, while high angles suit smaller-scale accessories.
Lock exposure before repositioning, and crop aggressively afterward to remove any remaining distractions from the final composition.
Shoot Sharp Cosplay Photos in Low Light or Action Scenes
Capturing sharp cosplay images in low light or during action sequences demands deliberate technique, because your phone’s sensor struggles most when photons are scarce or your subject is moving.
For low light techniques, position your subject within four feet of a strong window or reflective white surface to maximize available photons without introducing flash distortion. Manually bump exposure slightly upward, but monitor noise carefully. Avoid ceiling lights that cast unflattering shadows across costume details.
For action photography, take rapid successive shots to statistically increase your odds of capturing peak sharpness. Lock focus manually on your subject’s face before they move.
Natural light outperforms artificial alternatives during dynamic poses, giving your sensor adequate data to freeze motion cleanly. Steady your hands against a wall or surface whenever possible.
Edit Your Cosplay Photos to a Professional Finish
Once you’ve captured your shots, open them in a free app like Snapseed and start by adjusting exposure to correct any underlit or blown-out areas.
Then dial in contrast to give the costume depth and definition.
Don’t oversaturate colors — keep them true to the character’s palette while ensuring the image retains a natural, polished look.
Finally, apply targeted sharpening to key costume details like armor edges, fabric textures, or intricate props, preserving skin texture rather than over-processing the entire frame.
Adjust Exposure and Contrast
After capturing your shots, two core adjustments—exposure and contrast—form the foundation of a polished edit. In Snapseed, open your image and navigate to the Tune Image tool to begin exposure adjustments and contrast balancing immediately.
- Lift shadows on underexposed areas to reveal hidden costume details without blowing out highlights.
- Tighten contrast by pulling the contrast slider incrementally—over-contrasting flattens skin tone and kills subtle fabric texture.
- Check midtones by zooming into the subject’s face; correct midtone exposure separates your shot from amateur work instantly.
Avoid applying extreme exposure shifts that introduce digital noise. Instead, make small, deliberate corrections across multiple parameters.
These precision adjustments transform a flat, unpolished capture into a sharp, character-accurate image that commands attention.
Sharpen Key Costume Details
Three costume details—metallic armor, embroidered fabric, and fine prop edges—demand targeted sharpening to read as professional in a final edit.
In Snapseed, use the Selective tool to isolate specific costume zones rather than applying global sharpening, which degrades skin texture. Tap directly onto armor plates or embroidered panels, then increase the Structure slider to boost costume detailing without introducing digital noise across the entire frame.
For texture enhancement on intricate props or woven fabric, switch to the Details tool and raise Sharpening between 20–35 points. Keep Skin Tone areas masked or untouched.
Zoom to 100% to verify edge clarity before exporting. Over-sharpening creates artificial halos—dial back immediately if artifact rings appear around costume edges. Precision matters more than intensity here.
Common Cosplay Photo Mistakes and How to Fix Them
Even experienced photographers make avoidable errors that undermine an otherwise strong cosplay shoot, so identifying and correcting them early will sharpen your results fast.
These common mistakes drain impact from your shots, but their quick fixes are straightforward once you recognize them.
These mistakes quietly sabotage your shots, but the fixes are simple once you know what to look for.
- Lighting errors and exposure misjudgments — Overhead ceiling lights create harsh shadows; reposition near a window and tap your screen to manually lock exposure.
- Background distractions and focus problems — Cluttered environments pull attention from your costume; move 4–6 feet from a clean background and manually lock focus on your subject’s eyes.
- Posing issues and editing oversights — Static, centered poses feel lifeless; encourage movement, apply rule-of-thirds composition, and avoid oversaturating colors in post-processing.
Correct these systematically and your results will improve immediately.
Frequently Asked Questions
Can I Shoot Cosplay Photos at a Convention With Crowds Nearby?
Like Ansel Adams conquering chaos, you can shoot stunning cosplay photos amid convention crowds. Master crowd management by isolating your subject against clean backgrounds, and apply natural lighting techniques to minimize distracting elements effectively.
How Do I Photograph Reflective or Metallic Costume Materials Effectively?
Shoot metallic costumes near a large window using diffused natural light to control reflections. You’ll nail lighting techniques by tapping to adjust exposure manually, then fine-tune color balance in Snapseed to preserve the material’s authentic sheen.
Should I Shoot in RAW Format if My Phone Supports It?
Yes, shoot in RAW if your phone supports it. You’ll gain significant raw format benefits, including greater editing flexibility when correcting exposure, white balance, and color grading in post—crucial for accurately rendering complex cosplay costume details.
How Do I Handle Cosplay Photos When the Costume Is Very Dark?
Struggling with dark costumes? You’ll need strong lighting techniques to reveal costume details. Position your subject near a large window, bump exposure slightly, and shoot during golden hour to illuminate every shadow effectively.
Yes, you can share one phone by alternating shooting roles. Use teamwork techniques to coordinate shared poses, designate one photographer per setup, and manually tap focus on both subjects to guarantee sharp, balanced collaborative shots.
References
- https://www.youtube.com/watch?v=xygKpx-Njqs
- https://onreplay.ai/blog/cosplay-photography-tips/
- https://www.youtube.com/watch?v=qxZmAlCCB_E
- https://www.youtube.com/watch?v=guVIOKkoYcY
- https://www.youtube.com/watch?v=kHt3_tyOpz0
- https://www.deviantart.com/zelda006/art/10-Tips-for-Taking-Professional-Looking-Cosplay-1186395843
- https://www.youtube.com/watch?v=lm64i1nz1S4
- https://www.reddit.com/r/CosplayHelp/comments/1t6jrbm/any_advice_on_how_to_take_professionalneat/
- https://www.thepopverse.com/cosplay-photography-tips-amateur-photos
- https://facegear.de/en/cosplay-2/how-to-do-cosplay-photography/