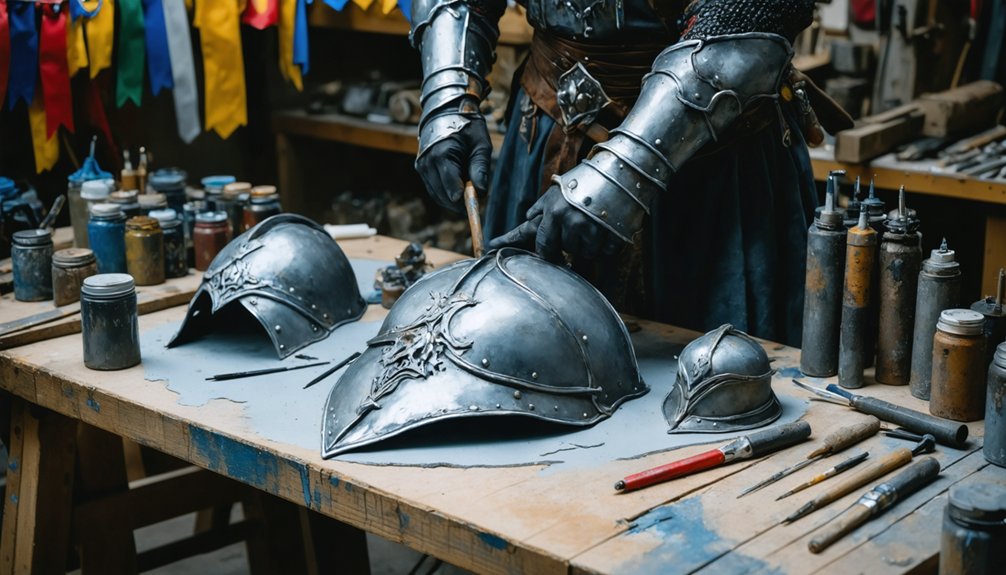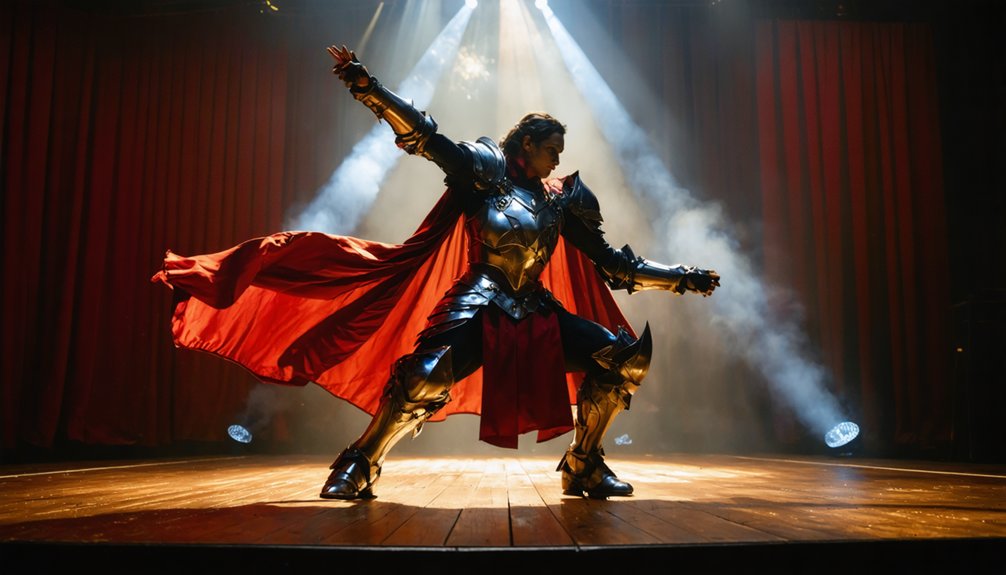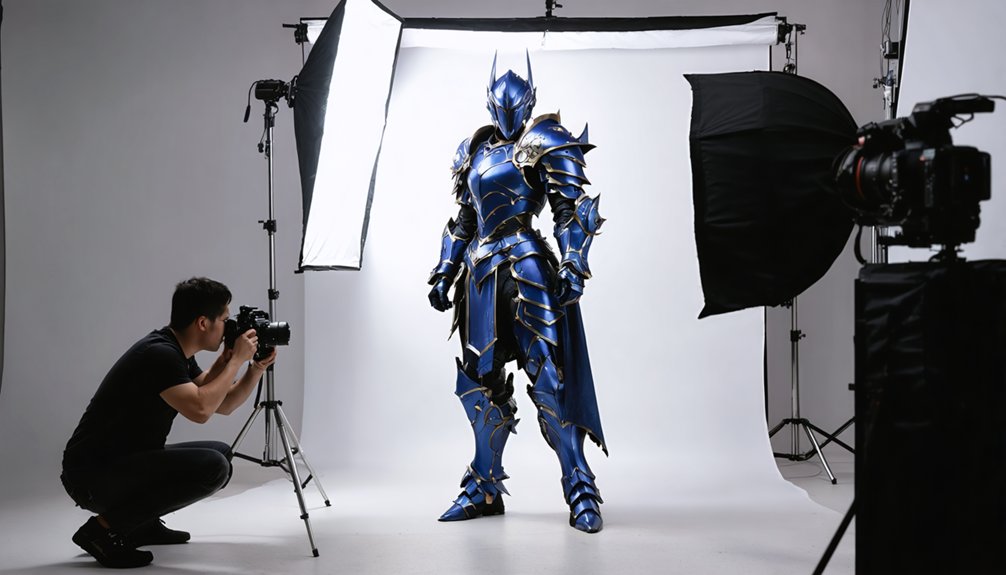
To perfect your cosplay contest photo shoot, you’ll need solid preparation across every stage—from deep character research to smart location scouting and precise camera settings. Practice your signature poses until they’re locked into muscle memory, choose backgrounds that match your character’s world, and shoot in RAW with a low ISO for vivid, detail-rich results. Ethical shooting practices and careful post-processing will seal the deal. There’s far more technique waiting to sharpen your shots.
Key Takeaways
- Study your character thoroughly by reviewing official artwork, screenshots, and wikis to master their signature poses, mannerisms, and emotional tone.
- Scout your location beforehand to assess lighting angles, themed backdrops, and backup spots that match your character’s world.
- Use reflectors to control shadows and contrast, positioning them 2–4 feet from the subject for flattering, consistent results.
- Shoot in RAW format with low ISO (100–400), manual white balance, and aperture around f/2.8–f/4 for vivid, detailed images.
- During post-processing, use non-destructive editing to sharpen prop edges selectively while preserving authentic costume textures and craftsmanship.
Know Your Character Before You Pick Up a Camera
Before you even touch your camera, research the character you’re shooting so thoroughly that you could describe their mannerisms, environment, and signature poses from memory. Pull reference images from official sources, fan wikis, and “best of” highlight reels to build a solid visual library.
Study how costume accuracy translates on camera — certain fabric textures and colors shift under different lighting conditions, so knowing these details prevents unwanted surprises during the shoot. Examine prop integration carefully; understanding how a character naturally wields or interacts with their props helps you direct authentic, dynamic poses rather than stiff, unnatural ones.
Create a dedicated reference folder covering costume specifics, environmental contexts, and signature stances. This preparation transforms your shoot from generic snapshots into technically precise, character-faithful images that genuinely capture who the cosplayer is embodying.
Choose a Location That Matches Your Character’s World
When your location reinforces your character’s world, the entire image gains narrative weight that no post-processing filter can replicate. Environmental storytelling transforms a cosplay photo from a simple portrait into a compelling scene.
The right location doesn’t just frame your cosplay — it completes the story your costume begins to tell.
Scout venues beforehand to identify depth, texture, and lighting conditions that align with your character’s origin.
Prioritize locations that function as a themed backdrop — forest clearings for nature-based characters, urban architecture for cyberpunk aesthetics, or temple-like stone structures for fantasy warriors. Natural light within these spaces enhances color accuracy far better than convention floor lighting or built-in flash.
Match the location’s mood to the character’s emotional tone. A villain needs dramatic shadow; a healer thrives in soft, diffused light. Your setting isn’t decoration — it’s narrative infrastructure working alongside every costume detail you’ve perfected.
Get Your Lighting Right Before the Shoot
Nailing your lighting starts long before you press the shutter—scout your location ahead of time to identify where natural light falls, how it shifts throughout the day, and which spots will best complement your character’s aesthetic.
You’ll want to prioritize natural light over harsh indoor fixtures or built-in flash, both of which flatten colors and create unflattering shadows on intricate costume details.
Pack a reflector to fill in any stubborn shadows and give your cosplayer that polished, competition-ready glow the judges won’t miss.
Prioritize Natural Light Sources
Getting your lighting right can make or break a cosplay photo shoot, so you’ll want to prioritize natural light sources whenever possible. Natural light delivers superior color fidelity compared to indoor lighting, which often distorts your costume’s true hues and flattens intricate details.
Urban backgrounds bathed in diffused daylight create dynamic, visually compelling compositions that artificial setups simply can’t replicate.
Position your subject near windows, doorways, or outdoor settings where soft, even light wraps naturally around the costume. Avoid your camera’s built-in flash — it generates harsh shadows and washes out vibrant fabric textures.
Instead, carry a reflector to redirect available light into shadow areas, preserving dimension and depth.
Shooting during golden hour intensifies warmth and contrast, giving your final images a polished, professional quality that stands out in any contest submission.
Scout Locations Beforehand
Scouting your location before the shoot gives you a critical advantage — you’ll identify the best natural light angles, avoid high-traffic bottlenecks, and mentally map out your composition before the cosplayer ever steps into frame. Think of it as urban exploration with a technical purpose: you’re hunting for walls, archways, or textured surfaces that complement the character’s world.
Walk the venue at the same time of day as your planned shoot. Note where shadows fall, where sunlight creates flattering depth, and which backgrounds will highlight intricate costume details without visual clutter.
Test your camera settings on-site so you’re not troubleshooting mid-shoot. Identify two or three backup spots in case your primary location gets crowded.
That pre-shoot reconnaissance transforms reactive shooting into intentional, precision-driven storytelling.
Use Reflectors Effectively
Once you’ve locked in your location, reflectors become your most versatile lighting tool — and knowing how to use them separates polished cosplay shots from flat, washed-out ones.
Reflector positioning directly impacts how light wraps around your subject. Angle a silver reflector opposite your primary light source to bounce fill light into shadowed areas, eliminating the harsh contrast that convention lighting typically creates. Shadow management isn’t passive — you’re actively sculpting dimension across the cosplayer’s costume details and face.
For outdoor shoots, position a gold reflector low and angled upward to mimic warm, ambient fill without overpowering natural light.
Indoors, use white reflectors to soften overhead fluorescent harshness. Always test reflector distance before your subject steps in — two to four feet typically delivers controlled, flattering results without overexposing highlight zones.
How Should You Pose for a Cosplay Contest Photo?
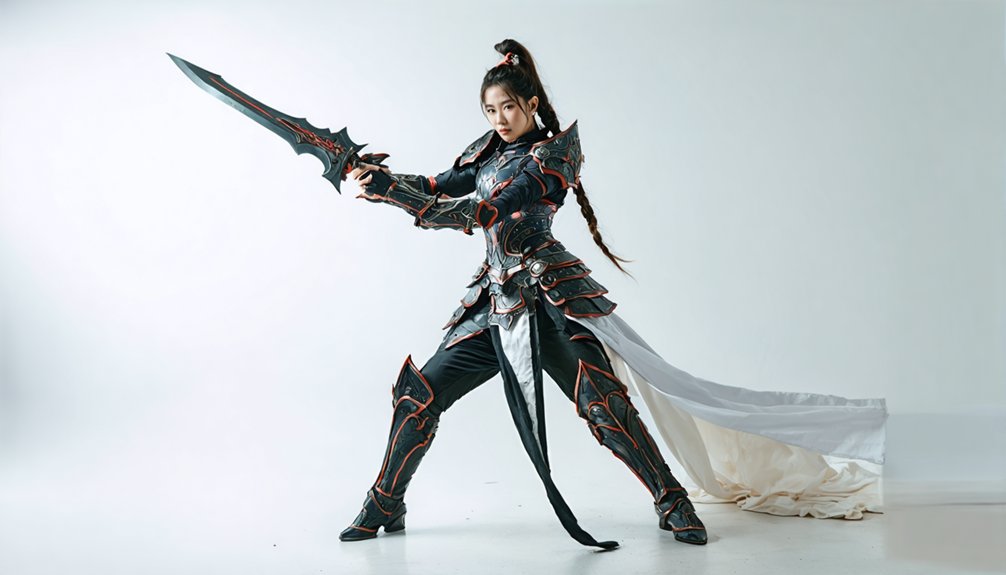
When posing for your cosplay contest photo, you’ve got to fully embody your character by mimicking their signature stance, facial expression, and energy.
Pull up reference images from official artwork, screenshots, or fan wikis to guarantee your pose accurately reflects the character’s iconic look.
Practice your chosen poses at home beforehand so you can hit them confidently and precisely when the camera’s ready.
Embody Your Character Fully
Nailing your character’s essence starts long before you step in front of the camera—study reference images, screenshots, and “best of” videos to internalize how your character physically carries themselves. Notice their signature stances, facial expressions, and weight distribution. That groundwork directly elevates both costume accuracy and character expression during the actual shoot.
Once you’re on set, don’t just wear the costume—inhabit it. Mirror your character’s emotional state, whether that’s fierce determination or quiet vulnerability. Sync your facial expression to their defining personality traits rather than defaulting to a generic smile.
Your hands, posture, and gaze all communicate who this character truly is. Small micro-adjustments, like a tilted chin or a clenched fist, can transform a flat photo into a compelling, competition-worthy image.
Use Reference Images
Before stepping in front of the camera, build a dedicated reference folder packed with official character art, in-game screenshots, and fan wiki imagery that captures your character’s most iconic poses. Study how the character holds their weapon, shifts their weight, or tilts their head during signature moments.
Cross-reference multiple sources to nail costume accuracy — subtle details like layering, fabric drape, and emblem placement directly influence how convincingly you’ll translate the character visually. Don’t overlook prop integration; your reference images will reveal exactly how props align with the body during specific stances.
Watch “best of” cosplay videos on YouTube to analyze real-world pose execution. Then rehearse in costume beforehand, mirroring your references precisely. This preparation transforms your photo shoot from guesswork into a technically sharp, character-authentic performance.
Practice Poses Beforehand
Rehearsing your poses before the shoot locks in muscle memory and eliminates hesitation the moment the camera points your way. Your posing practice should begin with thorough character research — study official artwork, gameplay screenshots, and fan wikis to identify signature stances that define your character’s personality.
Mirror sessions are invaluable here. Stand in front of a full-length mirror and cycle through three to five key poses, refining angles, hand placement, and facial expressions with each repetition. Record short videos of yourself to catch inconsistencies you’d otherwise miss.
Time each pose hold at roughly five to ten seconds, simulating the photographer’s actual shooting rhythm. This precision reduces motion blur and sharpens your execution under pressure, ensuring your final shots capture an authentic, dynamic representation of your character.
Which Camera Settings Actually Make Cosplay Colors Pop?
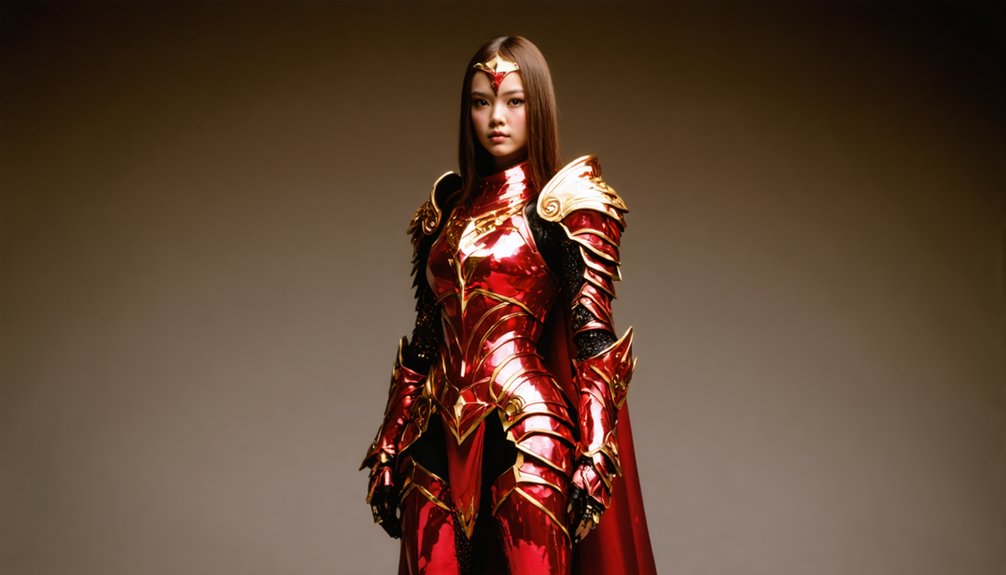
Getting cosplay colors to truly pop comes down to a few key camera settings you’ll want to dial in before the shoot begins. Start with ISO optimization — keep your ISO as low as possible, ideally between 100 and 400, to minimize noise that muddies vibrant fabric tones. Higher ISO introduces grain that kills color enhancement efforts before post-processing even starts.
Next, set your white balance manually rather than trusting Auto WB, which frequently shifts warm or cool and distorts costume hues. Shoot in RAW format to preserve maximum color data for editing flexibility.
Use a slightly wider aperture around f/2.8 to f/4 to separate your subject from busy backgrounds, making colors visually dominant. Finally, expose slightly to the right on your histogram to retain rich, saturated detail without blowing highlights.
How to Shoot Cosplay Without Being That Photographer
Shooting cosplay well means nothing if you’re making your subject uncomfortable in the process. Ethical photography starts before you lift your camera — always ask permission, clarify angles, and confirm how you’ll use the images. Don’t assume a costume is an invitation for uninvited closeness or candid shots.
Permission isn’t optional — it’s the foundation every great cosplay photo is built on.
Cultural sensitivity matters enormously here. Many cosplayers portray characters rooted in specific cultural traditions, so approach those shoots with genuine respect and curiosity rather than detachment. Discuss what the cosplayer wants highlighted and honor those preferences precisely.
Use a contract for paid work, stay within designated photo zones, and never falsely claim official convention credentials. If your subject signals discomfort, stop immediately — no shot is worth violating trust.
Professionalism isn’t optional; it’s what separates skilled photographers from “that photographer.”
Retouch Cosplay Contest Photos Without Losing Costume Detail
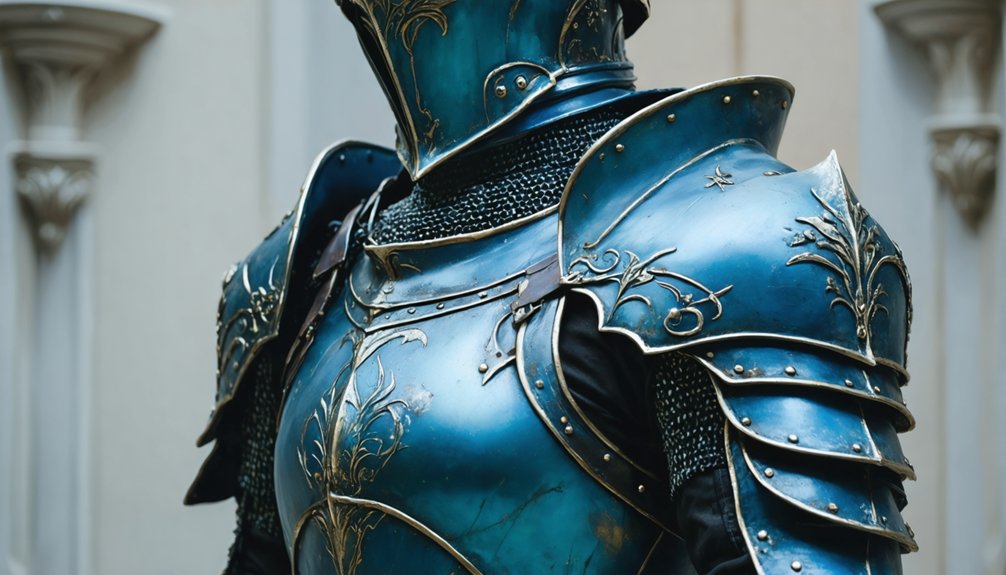
Once you’ve nailed the ethics and technique of capturing cosplay on camera, the real test begins in post-processing — where a heavy-handed edit can erase the very details that make a costume impressive. To preserve costume durability and prop integration in your retouches, work non-destructively using adjustment layers in Lightroom or Photoshop.
Avoid over-smoothing skin near textured armor, embroidery, or weathered prop surfaces — those imperfections communicate craftsmanship. Use frequency separation to refine skin tones without bleeding into adjacent fabric. Sharpen selectively, targeting prop edges and costume seams rather than applying global clarity boosts.
Pull highlights back carefully on metallic props to retain surface dimension. Mask color corrections to avoid shifting intentional dye choices. Your editing should amplify what’s already there, not reinvent it.
Frequently Asked Questions
Can I Submit Digitally Altered Photos to a Cosplay Contest?
You can submit digitally altered photos, but you’ve got to respect photo editing ethics and stay within digital enhancement limits! Check each contest’s rules, as most allow color correction and minor retouching but prohibit heavy compositing or fabricated elements.
How Do I Handle Copyright Issues When Sharing Cosplay Photos Online?
When sharing cosplay copyright content, you’ll want to tag original IP owners and apply clear image licensing like Creative Commons. Always credit costume designers, avoid commercial use without permission, and watermark your photos to protect your creative work!
What File Format Should I Submit for Official Cosplay Contest Entries?
Like a master craftsman selecting the finest materials, you’ll want to submit JPEG files! They’ll showcase your costume craftsmanship and photo lighting brilliantly. However, always check contest rules first, as some innovators prefer high-quality PNG or TIFF formats instead!
How Many Photos Are Typically Allowed in a Cosplay Contest Submission?
Most contests let you submit three to five photos! You’ll want to maximize costume accuracy across varied angles while showcasing pose variety to impress judges. Always check the specific contest rules, as submission limits can differ considerably between events.
Should I Hire a Professional Photographer for Cosplay Contest Submissions?
While it’s tempting to DIY, you’ll want a professional photographer to capture your cosplay makeup details and costume accuracy precisely. They’ll expertly handle lighting and angles, dramatically elevating your contest submission’s competitive edge!
References
- https://nerdalertnews.net/an-introverts-guide-to-cosplay-photography/
- https://www.youtube.com/watch?v=oMavB7uW6iA
- https://ifanboy.com/articles/how-to-take-a-good-cosplay-photograph/
- https://fstoppers.com/lifestyle/quick-tips-improve-your-cosplay-convention-photos-192081
- https://www.lancereis.com/photography-tips-for-beginners/7-key-elements-to-a-viral-cosplay-photo
- https://www.lyricalvillaincosplay.com/post/cosplay-photography-101
- https://ganknow.com/blog/cosplay-photography-tips/
- https://www.scribd.com/document/878014754/Cosplay-Photography-Guide
- https://www.reddit.com/r/photography/comments/6gzoga/advice_for_shooting_cosplayersmodels/
- https://rossicatberry.medium.com/posing-for-photos-101-cosplay-edition-9b28fcfcf9a4