For DIY prop making on a budget, your best materials are cardboard, EVA foam, PVC pipe, papier-mâché, and plywood. Cardboard layers build structure fast, while EVA foam shapes easily with heat for costumes and weapons. PVC pipe creates rigid frameworks, and papier-mâché handles large organic forms without adding weight. Combine these with hot glue, contact cement, and acrylic paints to finish builds professionally. Keep exploring to discover exactly how each material performs at every stage of your build.
Key Takeaways
- Cardboard is a cheap, lightweight staple for prop making, easily sourced from shipping boxes and strengthened by laminating multiple layers together.
- EVA foam is affordable and versatile, shapeable with a heat gun, and suitable for costumes, weapons, and detailed structural props.
- PVC pipe offers cost-effective structural support, with heat shaping for curves and modular connectors enabling diverse prop applications.
- Plywood provides strong, load-bearing support, with ¼-inch sheets for lightweight curves and ½-inch stock for sturdy bases and frames.
- Combining PVC, cardboard, and EVA foam compensates for individual material weaknesses, creating stronger, more refined props on a budget.
Why Prop Makers Keep Coming Back to Cardboard
Cardboard earns its place in nearly every prop maker’s workshop because it’s cheap, lightweight, and ready to work with the moment you break down a shipping box. Creative recycling transforms household packaging and business discard streams into usable stock without spending anything.
You can cut it precisely with utility knives or rotary cutters, then laminate multiple layers to boost cardboard durability and achieve real structural thickness. Stack and glue layers to build dimensional armor bases, set pieces, and rigid forms that hold their shape under acrylic paint and varnish.
Hot glue bonds layers fast, while paper mache finishes smooth the surface for cleaner results. For low-load applications, laminated cardboard rivals foam board in stiffness while costing far less, making it a technically sound first-choice material.
EVA Foam: The Budget Builder’s Secret Weapon
EVA foam earns its place in budget builds because it’s lightweight, flexible, and inexpensive enough to experiment with freely.
You can heat it with a heat gun to shape curves and bevels, carve it with a craft knife for surface detail, and sand edges smooth for clean shifts.
Before you paint, seal the foam with a plastidip, contact cement, or acrylic-based sealer to prevent the paint from cracking or absorbing unevenly.
Why Choose EVA Foam
Among the most versatile low-cost materials available to prop makers, foam ethylene-vinyl acetate—commonly called EVA foam—stands out for its balance of workability, durability, and affordability.
Its EVA foam flexibility lets you heat-form curves, carve bevels, and sand fine surface detail without specialized equipment. These EVA foam advantages make it a reliable foundation for costumes, weapons, and structural props alike.
Here’s why you’ll keep reaching for it:
- Heat responsiveness — A heat gun softens it instantly, letting you mold complex curves in seconds.
- Lightweight strength — It holds its shape under regular handling without adding unnecessary bulk.
- Surface compatibility — Once sealed, it accepts spray paint, acrylics, and weathering techniques cleanly and consistently.
Shaping And Carving Techniques
Knowing why EVA foam works is only half the equation—getting it to do what you want comes down to technique.
Apply a heat gun to release EVA foam’s most powerful shaping techniques—gentle, even passes soften the material so you can bend, curve, and compress it into precise forms. Hold shaped sections until they cool to fix the geometry permanently.
For carving methods, use a sharp craft knife or rotary tool to cut bevels, channels, and surface details. Work in controlled strokes rather than forcing the blade.
Dremel attachments let you carve finer textures and undercuts efficiently. Sandpaper smooths rough edges and refines contours before sealing.
Always seal carved surfaces with Plasti-Dip or a foam primer before painting to prevent cracking and guarantee adhesion.
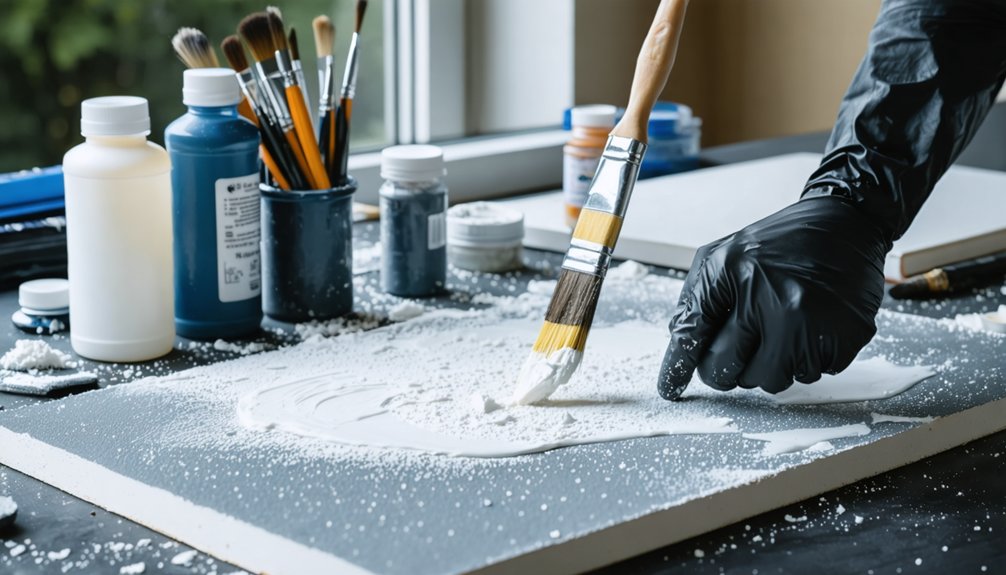
Sealing And Painting Foam
Sealing foam takes two critical steps before any paint touches the surface—skip either one and you’ll face cracking, peeling, or uneven color.
Apply sealing techniques strategically to lock down porous foam cells and create a paintable base.
- Heat-seal first: Use a heat gun on low to lightly melt and close surface pores without warping the foam’s shape.
- Apply a flexible sealant: Brush on Plasti-Dip, Mod Podge, or watered-down PVA glue in two thin coats, allowing full drying between layers.
- Layer your paint finishes: Start with a spray-painted base coat, then build detail using acrylic brush work, dry brushing, and ink washes for depth.
This sequence guarantees adhesion, flexibility, and professional-looking results on your finished prop.
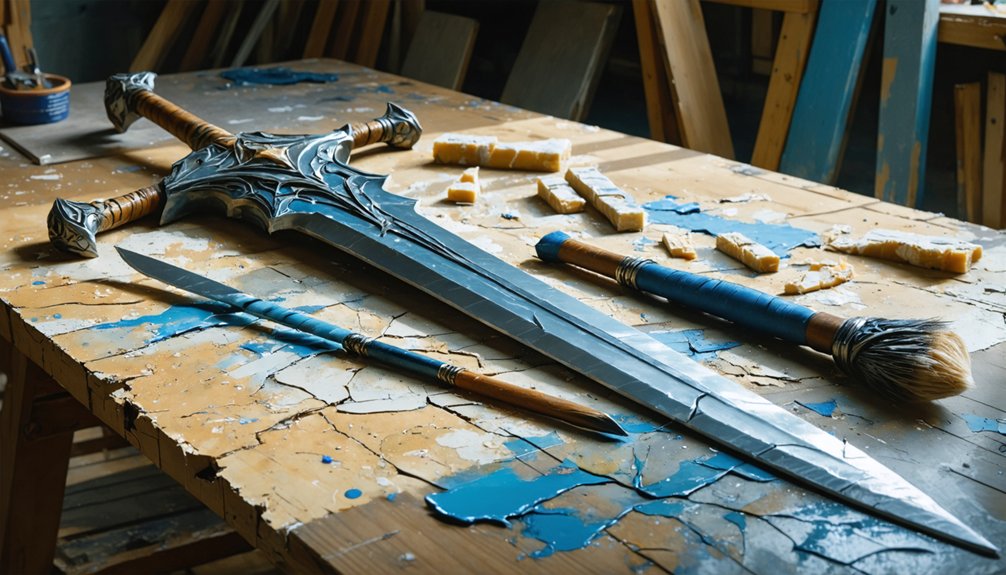
PVC Pipe Builds That Look Expensive
PVC pipe punches well above its price point when you combine basic hardware-store materials with thoughtful construction techniques. Start by selecting the right diameter for your build’s structural needs, then use a heat gun to shape curves, tapers, and organic forms that rigid pipe alone can’t achieve.
Connectors create modular joints for staffs, weapon handles, and armor rigs, while pipe insulation wraps transform straight sections into textured blade silhouettes. For aesthetic upgrades, layer foam details directly over the pipe surface before sealing and painting. These design techniques add visual complexity without adding cost.
Proper priming guarantees paint adhesion, and metallic dry-brushing delivers convincing material finishes. Applied consistently, these methods greatly improve prop durability while keeping your overall material budget well within reach.
Papier-Mâché for Organic Shapes and Large-Scale Props
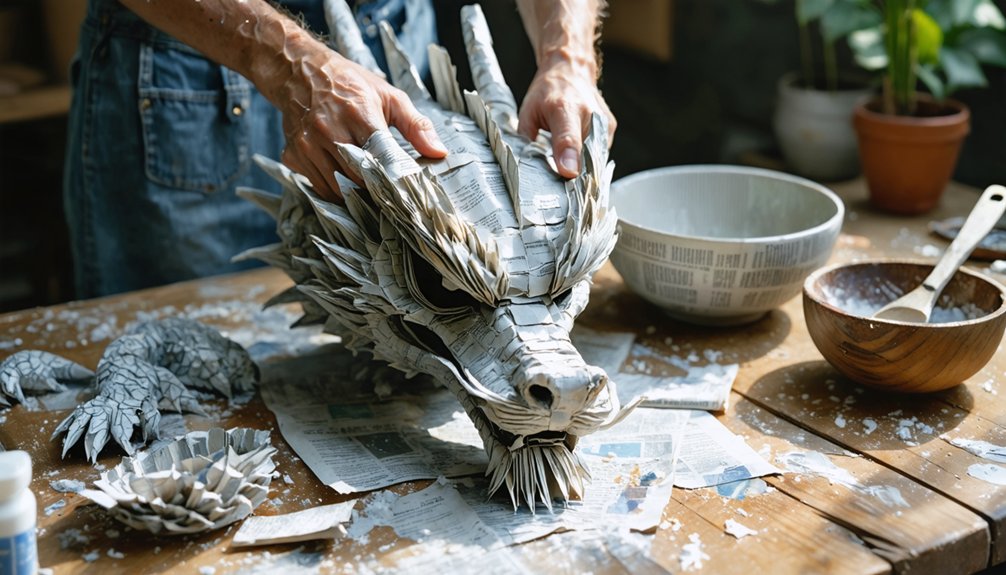
Where PVC excels at rigid, structural forms, papier-mâché opens up a different set of possibilities — lightweight, organic shapes and large-scale builds that would be difficult or costly to achieve with harder materials.
By layering paper strips over armatures like balloons, wire frames, or cardboard, you’ll build durable shells that dry sandable and paint-ready.
Your adhesive choices directly affect the final result:
- Flour-water paste — lowest cost, slower drying, best for large surfaces
- PVC glue or white glue diluted 1:1 — stronger bond, better moisture resistance
- Cellulose wallpaper paste — smooth finish, ideal for fine detail layers
Papier-mâché techniques work best when you let each layer fully cure before adding the next, ensuring structural integrity without added weight.
Hot Glue, Contact Cement, and When to Use Each
Adhesives can make or break a prop build, so choosing between hot glue and contact cement comes down to the materials you’re bonding and the stress that joint will face.
Understanding these glue types helps you work smarter and avoid failed seams mid-build.
Hot glue excels at fast assembly, layering cardboard, attaching foam accents, and tacking lightweight elements. Its adhesive properties allow repositioning during quick prototyping, but it weakens under sustained tension or heat.
Hot glue is your best friend for speed, but don’t count on it where heat or tension are involved.
Contact cement creates a permanent, flexible bond ideal for large foam surfaces, vinyl, and leather-like materials.
Apply it to both surfaces, let it tack, then press firmly for an aggressive hold that resists pulling and flexing.
Use hot glue for speed and detail work; use contact cement where structural integrity matters most.
Cheap Paints and Sealants That Actually Look Professional
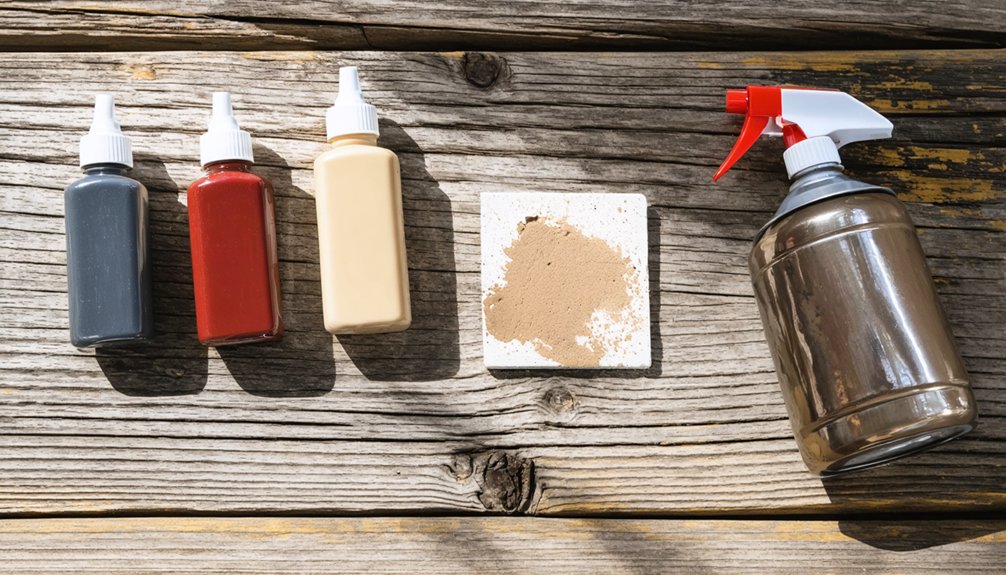
Once you’ve sealed your foam or cardboard base, cheap acrylic craft paints become surprisingly capable tools for achieving professional-looking finishes.
Dollar-store acrylics deliver solid base coats, while artist-grade tubes offer richer pigmentation for detail work.
For cheap spray options, hardware store primers and spray enamels cover large surfaces evenly and bond well to sealed foam.
Apply techniques strategically:
- Base coat first — use flat or matte spray paint to establish uniform color before detail work.
- Dry brush highlights — load minimal paint onto a stiff brush and drag across raised edges to simulate wear.
- Wash shadows — thin dark acrylic with water and flow it into recessed areas for instant depth.
Finish with matte or gloss varnish to lock everything in and boost durability.
Plywood, PVC, and Hardware Scraps That Upgrade Any Build
When your build needs real structural strength, you can turn to plywood for load-bearing bases, weapon cores, and frame assemblies that foam and cardboard can’t reliably support.
PVC pipe and its connector fittings let you construct modular frames, staffs, and armor rigs that are both lightweight and durable. You can heat-shape the pipe to form curves, horns, or blade profiles.
Household hardware scraps like washers, bolt caps, and scrap plastic serve as low-cost surface details that add mechanical texture and visual complexity to any prop.
Plywood For Structural Strength
Plywood steps in where foam and cardboard can’t hold up—it’s the go-to material when your prop needs to bear weight, resist flex, or anchor heavier components.
Its layered grain construction delivers plywood durability that single-sheet alternatives simply can’t match.
Plywood applications range from weapon bases and shield cores to display stands and wearable armor backplates.
Here’s how to use it effectively:
- Choose ¼-inch sheets for lightweight curved components that still resist warping under pressure.
- Use ½-inch stock when building load-bearing bases, frames, or props that endure repeated handling.
- Cut with a jigsaw for clean profile edges, then sand and seal before applying foam, paint, or surface detail layers.
PVC Pipe Versatility
PVC pipe earns its place in nearly every prop builder’s toolkit because it’s cheap, strong, and far more versatile than it first appears.
Cut it to custom lengths for staffs, weapon cores, or lightweight frames that support heavier surface materials. PVC fittings and creative connectors let you build modular assemblies with precise angled joints, making complex armor rigs and gadget housings far easier to engineer.
Apply heat to reveal curved designs — shaped horns, tentacles, and decorative elements become achievable without expensive molds. The pipe’s smooth exterior bonds readily with foam wrap, fabric, and paint, expanding its versatile applications across hybrid builds.
Because it’s hollow and lightweight, you can run internal wiring or LED strips through longer sections, adding functional detail without structural compromise.
Hardware Scraps Add Detail
Scavenging hardware scraps transforms ordinary prop builds into convincing, detail-rich pieces without adding significant cost. Washers, bolts, bottle caps, and scrap plastic deliver authentic hardware textures that paint alone can’t replicate.
Scrap layering lets you build dimensional surface interest directly onto foam or cardboard bases.
Here’s how to maximize scrap hardware effectively:
- Adhere washers and bolt heads onto foam surfaces using hot glue to simulate mechanical paneling or industrial fasteners.
- Layer thin plywood scraps over cardboard bases for reinforced edges and realistic depth on weapon hilts or armor plates.
- Embed bottle caps and scrap plastic pieces into papier-mâché surfaces before sealing, creating permanently integrated hardware textures.
Finish everything with acrylic weathering washes to unify mixed materials convincingly.
How to Combine Cardboard, Foam, and PVC for Stronger Props
When building props that need to hold their shape under handling or performance stress, combining cardboard, EVA foam, and PVC lets you use each material where it performs best.
Use PVC pipe as your central spine, providing structural integrity for staffs, weapons, or framed armor pieces. Layer laminated cardboard around the pipe for rigid, shaped forms, then apply EVA foam over the exterior to add curved surfaces, beveled edges, and fine detail.
These combining techniques allow each material to compensate for the others’ weaknesses — PVC resists flex, cardboard builds mass and geometry, and foam refines the surface finish.
Secure layers with hot glue, reinforce stress points with tape, then seal and paint the foam exterior for a durable, professional result.
Where to Source Budget Prop Materials Without Paying Retail
Knowing which materials work best together is only half the equation — finding them without draining your budget is where smart prop makers gain a real edge.
Knowing the right materials is only half the battle — sourcing them affordably is where real prop makers win.
You don’t need retail pricing to build quality props.
Target these three sourcing strategies:
1. Free and low-cost community channels** — Hit yard sales, thrift stores**, and community swaps for foam, hardware, and scrap plastics.
Check recycling centers for cardboard and PVC offcuts.
2. Business and institutional discards — Approach local businesses, construction sites, and school resources for surplus materials.
Many discard usable foam board, pipe lengths, and plywood regularly.
3. Online marketplaces — Platforms like Facebook Marketplace and Craigslist list free or cheap bulk materials from renovations, closures, and overstock situations.
Frequently Asked Questions
Can Budget Prop Materials Hold up Outdoors or in Humid Conditions?
Budget materials can struggle outdoors, but you’ll boost weather resistance and outdoor durability by sealing foam and cardboard with waterproof varnish, applying exterior-grade paint, and using moisture-resistant adhesives to protect your innovative prop builds effectively.
How Do I Safely Dispose of or Recycle Leftover Prop Materials?
Like Leonardo repurposing workshop scraps, you’ll find sustainable disposal simple: donate usable foam and cardboard, explore recycling options at local centers, and responsibly bin non-recyclables. You’re minimizing waste while fueling your next innovative build.
Are Budget Prop Materials Safe for Children to Handle and Use?
Most budget prop materials are safe, but you’ll need to evaluate child safety carefully. Check material toxicity labels, supervise hot glue use, guarantee proper ventilation when spray painting, and choose age-appropriate cutting tools for younger builders.
Can These Materials Be Reused or Repurposed After a Project Ends?
Though projects end, materials don’t have to. You can maximize reusability factors by stripping, cutting, and storing components for creative repurposing. Foam, PVC, and cardboard transform effortlessly into new builds, reducing waste while fueling your next innovative project.
What Tools Are Absolutely Essential Before Starting Any Prop Build?
You’ll need basic hand tools like utility knives, scissors, and hot glue guns, plus essential power tools such as a rotary cutter and heat gun to efficiently cut, shape, and assemble any prop build successfully.
References
- https://starstruckpanda.com/affordable-prop-making-materials-list/
- https://taylortheatrics.com/2018/07/18/prop-making-must-haves/
- https://www.reddit.com/r/DnD/comments/1uzo3a/favorite_cheaphomemademakeshiftlifehack_materials/
- https://www.youtube.com/watch?v=OVvxiy8ucj4
- https://davidneat.wordpress.com/tag/best-prop-making-materials/
- https://www.facebook.com/groups/avncosplaycompass/posts/872102105209257/
- https://www.tiktok.com/@nadjanikko/video/7525359774779706647
- https://www.therpf.com/forums/threads/what-is-the-basic-kit-needed-for-prop-making.242794/
- https://www.youtube.com/playlist?list=PLKkAjHV6rbUdd0wRzuUjuZxyvGIQr73jK
- https://www.youtube.com/watch?v=bQ8kE0ZgP84