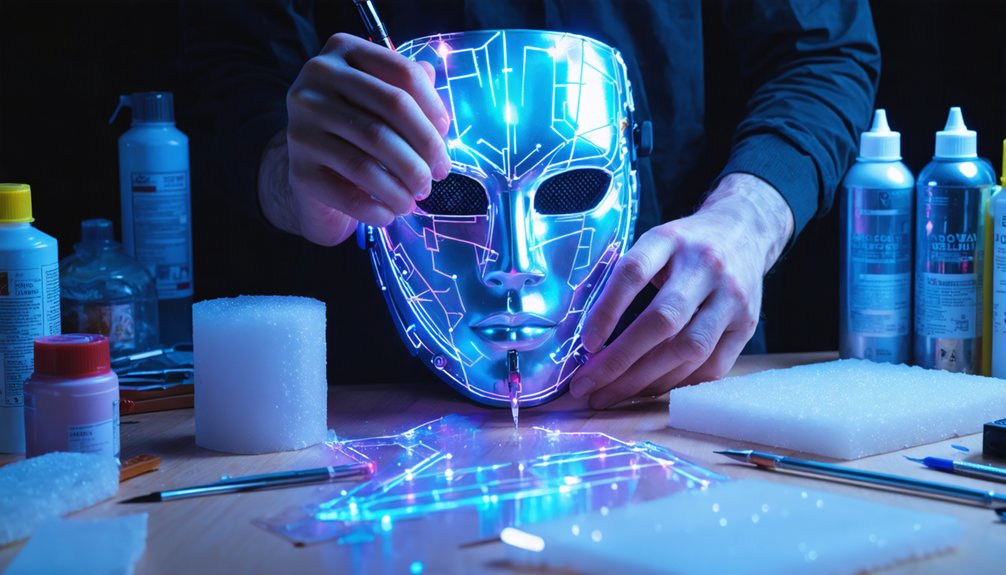
To build a futuristic cosplay mask, you’ll start by folding aluminum foil into a face-shaped mold, then layering it with paper mache strips mixed with diluted white glue. Once dry, you trim, cut eye holes, and reinforce weak spots with cardboard and screws. You’ll stretch tights fabric over the surface, paint it with acrylics, and finish with rhinestones and glitter. The real craftsmanship comes next.
Key Takeaways
- Start with an aluminum foil mold shaped to your face, applying 3-5 paper mache layers for a strong, lightweight base structure.
- Cut precise eye holes and ventilation openings using sharp scissors or a craft knife, ensuring symmetry with ruler measurements.
- Secure dual-piece mask sections using appropriately sized screws (10mm or 50mm), trimming excess length with a metal saw for flush fitting.
- Stretch tights fabric over the mask, then apply acrylic paint, rhinestones, and glitter to achieve a futuristic, high-tech aesthetic.
- Thread string through punched side holes, tying firmly at the back and tucking under hair for a polished, comfortable fit.
What Materials Do You Need to Build a Futuristic Cosplay Mask?
Building a futuristic cosplay mask starts with gathering the right materials, and you’ll need a surprisingly accessible set of supplies to get started.
Crafting a futuristic cosplay mask begins with one simple step: gathering the right materials.
For materials sourcing, collect aluminum foil, white glue, water, magazine paper, newspaper, thin cardboard, acrylic paint, fabric from a tights leg, tissue strips, contact paper, glitter, rhinestones, and assorted screws in 50 mm and 10 mm sizes.
You’ll also need a metal saw, map tack, hole punch, string, and a ruler.
During materials sourcing, prioritize quality glue and durable paper layers for structural integrity.
Observe safety precautions when cutting cardboard or trimming screws with a metal saw — always use protective gloves and eyewear.
Having every component prepared before starting keeps your workflow efficient and your build precise.
Build Your Paper Mache Base for a Futuristic Cosplay Mask
To set up your mold, fold aluminum foil three times into a face shape slightly larger than your intended mask, then cut holes at the eye positions before applying any paper layers.
Mix white glue with water until runny, brush it onto the foil, and build three to five layers using magazine paper, newspaper, and thin cardboard strips for structural strength.
Once you’ve applied all layers, rest the mask on a tall, slim object to prevent flattening and let it dry completely before peeling it from the reusable foil mold.
Mold and Material Setup
Before anything else, you’ll need aluminum foil folded three times to form a face mold slightly larger than your intended mask size. This approach draws on historical references to traditional techniques used in theatrical mask-making, now adapted for modern cosplay precision.
Once your foil mold is shaped, mix white glue with water until the consistency runs smoothly off your brush. Apply this mixture directly onto the foil surface before layering your materials.
Alternate between magazine paper, newspaper, and thin cardboard strips to build three to five structural layers, each reinforcing the last.
Cut eye holes into the foil mold before applying paper to define your mask’s openings accurately.
Let the completed base dry fully on a tall, slim object to maintain its three-dimensional form.
Layering and Drying Process
Once your foil mold is prepped and eye holes are cut, start layering torn strips of magazine paper, newspaper, and thin cardboard directly over the glue-water mixture you’ve brushed onto the surface.
Alternate material types between layers to maximize material durability—each distinct paper density reinforces the structure differently, reducing weak points across the mask’s surface.
Build three to five layers minimum, allowing slight tackiness between coats rather than full drying. This bonding technique improves cohesion and structural integrity.
For drying techniques, rest the layered mask on a tall, slim object like a bottle. This elevates the piece, promoting airflow underneath and preventing distortion or flattening.
Let it dry completely before peeling it from the mold—rushing this stage compromises the entire build.
Shape and Cut Your Cosplay Mask for a Secure Custom Fit
After the first coat dries, trim any excess paper edges and mark your cut lines to define the mask’s final shape. Use sharp scissors or a craft knife for clean, precise edges that align with your design blueprint.
Cut eye holes at pre-marked positions, ensuring symmetry by measuring with a ruler from the mask’s centerline.
For ventilation techniques, incorporate small strategic openings along the lower cheek areas to improve airflow without compromising structural integrity. These cuts also address comfort considerations, reducing heat buildup during extended wear.
If you’re building a dual-piece assembly, align both sections centrally, punch holes on the upper and lower sections, then insert screws to create a firm connection. Test the fit against your face before finalizing any permanent cuts.
Attach Hardware and Screws Without Wrecking Your Mask
Hardware installation can make or break your mask’s final structure, so you’ll want to select the right screw size before drilling a single hole. Use 50 mm screws for binder attachments and 10 mm screws for smaller connections. Proper screw alignment keeps both mask halves balanced and prevents structural warping.
- Replace existing binder screws with new hardware before mounting.
- Align the binder on both mask sides simultaneously for symmetry.
- Trim oversized screws with a metal saw to match hole depth.
- Punch holes precisely before inserting screws to avoid cracking layers.
- Tighten hardware fastening on both sides evenly to distribute tension.
Check that every screw sits flush against the surface. Uneven hardware fastening weakens joints and distorts your mask’s geometry during wear.
Cover Your Cosplay Mask With Fabric for a Clean Finish
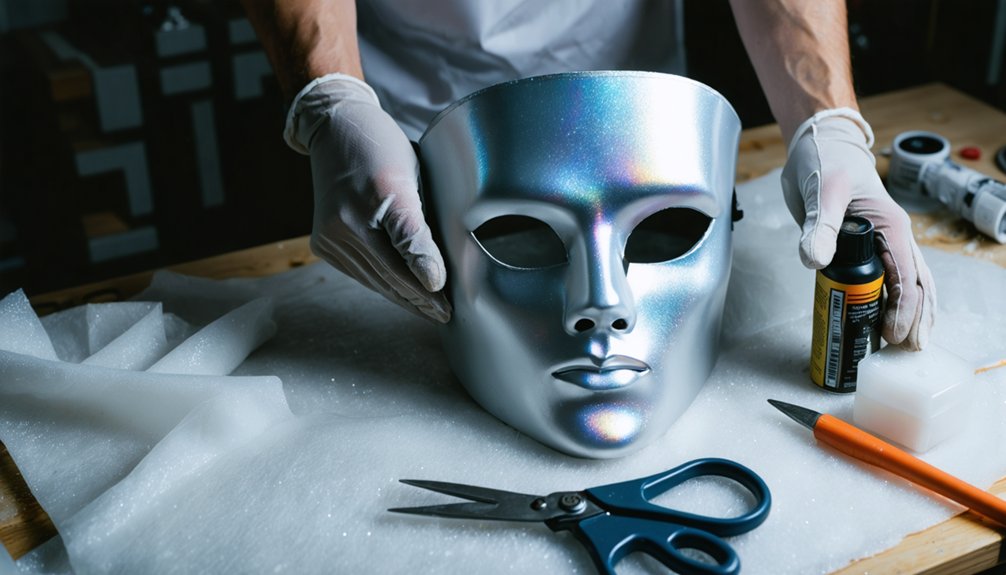
To cover your mask, cut a section from a tights leg and stretch it tightly over the paper surface. Then brush undiluted white glue onto the mask’s backside to bond the fabric firmly in place.
Keep the fabric taut as you adhere it to avoid wrinkles that’ll distort the final finish.
Once the glue dries, cut eye holes carefully with sharp scissors and slit the fabric at stress points to maintain clean edges and unobstructed visibility.
Stretching Fabric Over Mask
Covering your mask with fabric transforms the rough paper surface into a smooth, professional finish. Cut a section from a tights leg for ideal stretch. Apply undiluted white glue to the mask’s backside before beginning fabric stretching across the surface.
- Cut a tights leg section sized larger than your mask.
- Brush undiluted white glue across the entire mask backside for strong glue adhesion.
- Stretch fabric evenly over the surface, pulling taut from opposite edges.
- Slit fabric at eye holes and curved points to prevent bunching.
- Press edges firmly against glued surfaces and trim excess cleanly.
Work quickly before glue sets. Smooth out wrinkles as you pull each section. Precision during fabric stretching determines your mask’s final professional quality.
Cutting Eye Holes Cleanly
Once the fabric adheres fully to your mask’s surface, cutting clean eye holes becomes your next critical step. Locate the pre-cut openings beneath the stretched fabric and mark them precisely using a fabric pen.
Insert small scissors carefully, cutting from the center outward in controlled slits rather than one continuous cut. This technique preserves your color blending work and prevents fraying along decorative edges.
Fold each fabric flap backward and glue it to the mask’s interior edge, securing a smooth, finished border.
When your pattern design incorporates geometric or asymmetrical detailing near the eye region, trim fabric incrementally to maintain alignment with those lines.
Test visibility through each opening before finalizing glue placement. Press edges firmly and allow complete drying before proceeding to any additional decorative or hardware installation steps.
Paint and Embellish Your Futuristic Cosplay Mask for Maximum Impact
With your mask structure complete, it’s time to bring it to life through paint and embellishment. Color blending and embellishment techniques transform a raw paper shell into a striking futuristic piece.
Apply undiluted acrylic paint directly onto the fabric-covered surface for sharp, lasting color.
- Brush base coat colors evenly, letting each layer dry before adding depth through color blending.
- Layer metallic acrylics over base colors to create a high-tech, dimensional finish.
- Press rhinestones into wet glue along edges and panels for structured embellishment techniques.
- Apply contact paper over filter sections for added texture and visual complexity.
- Seal glitter accents with undiluted white glue to prevent shedding during wear.
Ensure screws remain paint-free by masking them before applying final decorative layers.
Fix the Most Common Cosplay Mask Building Mistakes
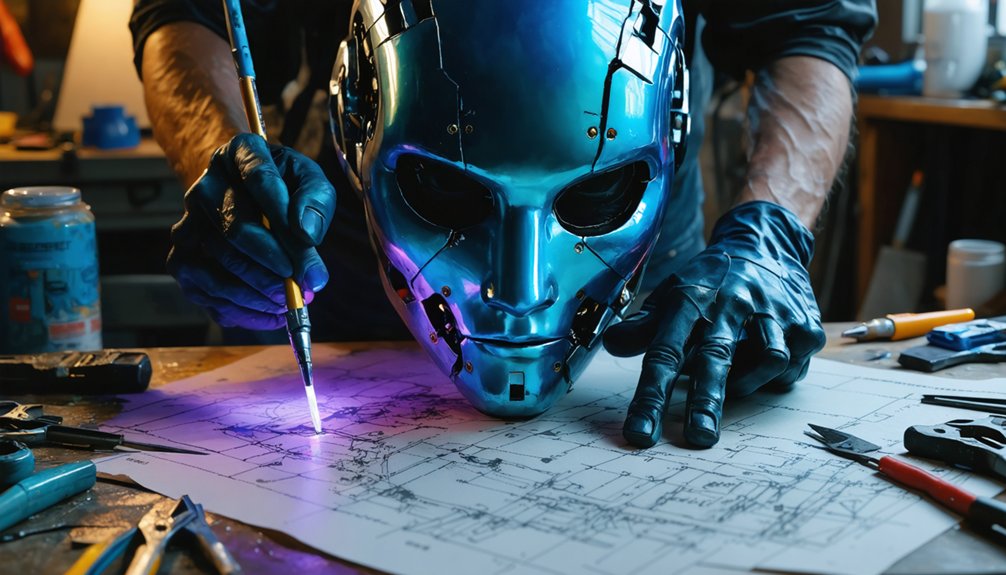
Even the most carefully painted mask can reveal structural flaws you overlooked earlier in the build process. Start by checking material durability—press firmly across the surface to locate soft spots, then reinforce them with additional cardboard or paper layers brushed with undiluted glue.
If eye holes sit unevenly, use a ruler to re-mark and trim both openings symmetrically. Loose screws compromise your mask customization efforts, so retighten or replace hardware using correctly sized 10 mm or 50 mm screws. Trim any protruding screw ends with a metal saw for a flush fit.
If fabric bubbles near edges, re-apply undiluted white glue underneath and press firmly. Finally, re-test fit on your face, removing residual glue bits that cause discomfort before applying finishing embellishments.
Fit and Adjust Your Cosplay Mask for All-Day Wear
Comfort during all-day wear starts with proper string placement—poke two holes on each side of the mask using a map tack or hole punch, then thread ribbon or string through and tie it firmly at the back of your head. Tuck string under long hair for a cleaner finish.
Mask comfort depends on balanced eye holes and even edge alignment, so use a ruler to verify symmetry. Incorporate ventilation techniques by trimming the backside with a metal saw for better airflow and fit.
- Test the fit directly on your face before finalizing
- Remove dried glue bits from the front surface
- Adjust eye hole symmetry using a ruler
- Trim excess backside material for breathability
- Hide ties under hair for a polished, professional look
Frequently Asked Questions
How Long Does a Finished Cosplay Mask Typically Last Before Deteriorating?
Like a well-built circuit, your mask’s material durability can last years—if you’ve sealed it properly. Paint longevity depends on acrylic coats you’ve applied; store it carefully to prevent moisture damage and structural breakdown.
Can Futuristic Cosplay Masks Be Safely Worn by Children?
You can make futuristic cosplay masks child-safe if you prioritize child safety by verifying material toxicity levels. Make sure you’re using non-toxic glues, paints, and screws with no sharp edges before letting children wear them.
How Do You Store Cosplay Masks Without Warping or Damage?
Store your masks flat or upright in rigid containers as your go-to storage solutions. You’ll preserve material preservation by avoiding humidity, wrapping in acid-free tissue, and keeping screws tightened to prevent structural warping or fabric distortion.
Are These Mask-Building Techniques Suitable for Large-Scale Costume Competitions?
You’ll build layers, you’ll reinforce joints, and you’ll secure screws tightly—ensuring material durability and manageable costume weight. These techniques handle competition demands effectively, letting you create structurally sound, visually striking masks that impress judges confidently.
What Is the Average Total Cost to Build One Futuristic Cosplay Mask?
You’ll spend roughly $15–$40 on material costs for one futuristic cosplay mask. For accurate cost estimation, you’re sourcing aluminum foil, glue, acrylic paint, screws, fabric, and embellishments—innovating affordably without compromising structural integrity or visual impact.
References
- https://www.punishedprops.com/masks-helmets/
- https://www.futurfam.com/blogs/news/how-to-diy-a-cyberpunk-mask-tutorial-for-beginner-futurfam
- https://www.instructables.com/Ultimate-Mask-Accessories-Helmet-Making-Resource/
- https://www.raisincosplay.com/blog/video-tutorial-how-to-make-a-superhero-mask-for-cosplay-or-halloween-free-templates
- https://www.youtube.com/watch?v=LHXv4aKi6Qw
- https://www.instructables.com/Got-a-Mask-On/
- https://www.youtube.com/watch?v=YuWjgr53UCA
- https://www.youtube.com/watch?v=jFDQ-8O_hBo
- https://www.youtube.com/watch?v=7OAbrXKUxus
- https://thecosplaysite.com/how-to-make-a-cosplay-mask/