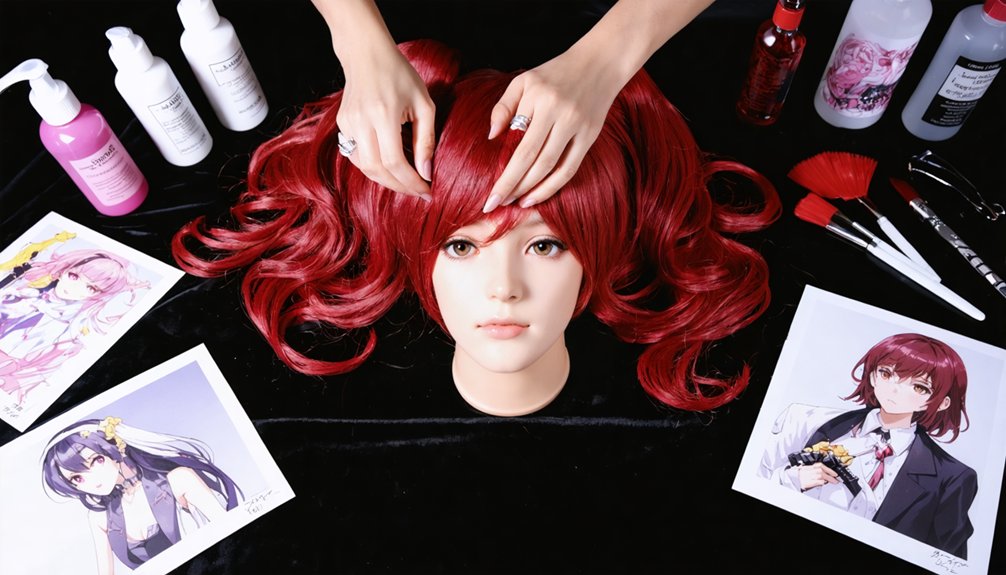
Recreating character hairstyles starts with collecting strong references and building a mood board to align style with personality. You’ll want to sketch on a bald head foundation, mapping directional flow lines from root to tip before adding any detail. Use separate style sheets to explore at least four variations freely. Layer textures, shade along natural curves, and leverage digital tools like Clip Studio Paint for efficiency. There’s a whole structured process worth exploring further.
Key Takeaways
- Start with a bald head sketch to establish accurate volume, structure, and directional flow lines before adding any hair details.
- Gather high-resolution references from movies, anime, and comics to analyze hair texture, flow, and volume accurately.
- Create multiple style sheet variations exploring different volumes, asymmetry, and cultural influences like braids or coils.
- Layer shading with directional strand lines, mid-tones, and highlights along hair curvature to achieve realistic depth.
- Use digital tools like Clip Studio Paint to build color palettes, manage layered sections, and generate strand clusters efficiently.
Start With Reference Gathering and a Mood Board
Before sketching a single strand, you’ll need a rock-solid visual foundation — and that starts with gathering references from movies, anime, and comics to establish your character’s baseline style.
Pull high-resolution images of hairstyles that reflect your character’s personality, paying close attention to historical influences that shaped iconic looks across different eras.
Historical hairstyles carry personality — study iconic eras to unlock design choices that truly reflect your character.
Once you’ve collected enough material, build a mood board or collage to visualize how each style aligns with specific character traits.
Don’t overlook cultural symbolism — certain silhouettes and textures carry deep meaning that can reinforce your character’s identity powerfully.
Analyze hair flow, texture, and volume within your references to understand structural details before committing to anything permanent.
This preparation stage transforms vague inspiration into precise, actionable design decisions that’ll accelerate every step that follows.
Build the Hair Structure From a Bald Head Up
Once you’ve got your references ready, it’s time to build your character’s hair from the ground up — literally — by starting with a clean, bald head as your structural foundation.
From there, sketch directional flow lines across the scalp like a GPS map, guiding where each strand group will travel, curve, and settle. These flow lines are your blueprint, ensuring every lock and tuft you add later follows a cohesive, intentional path rather than sitting randomly on the head.
Starting With Bald Foundation
Starting with a bald head isn’t just a technique—it’s the smartest structural move you can make when recreating a character’s hairstyle. It eliminates guesswork and forces precision before texture mapping and color blending even enter the picture.
Here’s why this foundation changes everything:
- You’ll see volume honestly — no hair obscures your structural mistakes.
- Flow direction becomes intentional — every strand placement gets purposeful guidance.
- Color blending lands correctly — base tones anchor naturally to defined scalp regions.
- Texture mapping stays cohesive — surfaces respond predictably when structure precedes detail.
Building upward from bare geometry means you’re engineering hair, not guessing it. Your character deserves that level of deliberate construction. Start bald, think architecturally, and watch your hairstyle recreation transform from approximate to extraordinary.
Mapping Hair Flow Directions
With your bald foundation locked in, hair flow mapping is where your character’s hairstyle truly starts breathing. Sketch directional lines across the scalp like a GPS system, guiding every strand toward its destination. Think of these lines as invisible currents shaping movement, volume, and personality simultaneously.
Start at the crown and radiate outward, establishing dominant flow patterns before committing to details. Where hair parts, splits, or swoops dramatically, reinforce those directional shifts with confident strokes. Your hair color choice will influence how you shade these flow lines later, so mentally note light source angles now.
Consider where hair accessories will interrupt natural flow — clips, bands, or pins create tension points that redirect strands convincingly. Map those interruptions deliberately. Every directional decision you make here becomes your structural blueprint, making every subsequent drawing step significantly faster and more intentional.
Mapping Hair Flow and Direction From Root to Tip
Mapping hair flow from root to tip is one of the most critical steps in nailing a convincing character hairstyle, and it’s where structure truly comes alive. Understanding scalp anatomy helps you identify natural growth patterns, ensuring every strand feels intentional. Even hair color influences perceived flow direction through light interaction.
Follow these steps to master directional flow:
- Sketch growth origins directly on the scalp to establish authentic movement anchors.
- Trace flow lines from root outward, following gravitational pull and styling intent.
- Layer directional curves to create dimensional depth across overlapping strand groups.
- Cross-check consistency between your flow map and final linework to eliminate structural contradictions.
You’re not just drawing hair — you’re engineering movement that breathes life into your character.
Sketching Character Hairstyles on Separate Style Sheets
When sketching character hairstyles on separate style sheets, you’ll want to start with a clean bald head to map the skull’s shape before committing to any design.
From there, sketch directional flow lines from root to tip, treating them like a GPS system that guides every strand’s movement and volume.
Once you’ve locked in the flow, explore bold style variations across multiple sheets so you’re never altering your main character drawing while experimenting.
Starting With Bald Sketches
Starting with a bald head sketch is your most powerful structural tool — it strips away distraction and forces you to commit to the hair’s overall shape and volume before a single strand appears.
This foundation liberates creative precision you can’t achieve otherwise:
- Define volume boundaries before adding strands — your silhouette determines everything.
- Map hair flow direction like a GPS grid, guiding strand placement with intentional momentum.
- Plan hair accessories early, positioning pins or clips structurally rather than decorating randomly afterward.
- Test color blending zones directly on the bald sketch, identifying where tones transition naturally across the form.
This method eliminates guesswork entirely. You’re engineering a hairstyle architecturally — building upward from pure structure into something dynamic, intentional, and visually compelling every single time.
Mapping Hair Flow Directions
Once your bald sketch establishes the structural foundation, you map hair flow directions — and this is where your hairstyle gains genuine momentum and life. Think of flow lines as a GPS system, guiding every strand toward its natural destination.
Sketch directional arrows across the scalp, indicating where hair moves forward, backward, or sideways.
Strand separation becomes critical here — divide hair into distinct sections that each follow their own directional logic, creating dynamic visual movement rather than a flat, uniform mass. These mapped sections also inform your color blending decisions later, since light catches each separated group differently.
Work on separate style sheets to test multiple flow configurations without compromising your main drawing. You’ll quickly discover which directional choices amplify your character’s personality most powerfully and authentically.
Exploring Style Sheet Variations
Style sheets liberate your creative process — you’re free to sketch wild, experimental hairstyles without ever touching your main character drawing. Dedicated variation sheets let you push boundaries fearlessly.
- Test innovative color palettes directly on sketched hairstyles, visualizing dramatic contrasts before committing to final designs.
- Incorporate cultural hairstyle influences — braids, coils, or elaborate updos — exploring authentic representations that deepen character identity.
- Sketch minimum four variations per character, capturing volume shifts, asymmetrical cuts, and structural contrasts that reveal unexpected personality dimensions.
- Annotate each variation with directional flow notes and texture observations, creating a technical reference library you’ll genuinely treasure.
Your style sheet becomes a creative laboratory — every rejected hairstyle teaches you something valuable about your character’s visual language and emotional resonance.
Texturing Techniques That Make Character Hair Look Real
Texturing character hair is where your artwork truly comes alive, transforming flat shapes into strands that feel like they’ve weight and movement. Start by shading small, directional blinds that mimic individual strands rather than relying on flat fills. Follow your hair’s natural flow precisely, letting strand lines reinforce the shading’s structure.
Innovative color blending elevates your work dramatically — layer mid-tones, shadows, and highlights along the hair’s curvature to simulate real depth. Texture mapping takes this further digitally, allowing you to project detailed strand patterns onto your base shape with surgical precision.
Overlap strands, curve them intentionally, and shift directions periodically to avoid that dreaded spaghetti effect. Every line you draw should serve the hair’s volume, making viewers instinctively feel the texture before they consciously analyze it.
Shading and Inking for Defined, Dimensional Character Hair
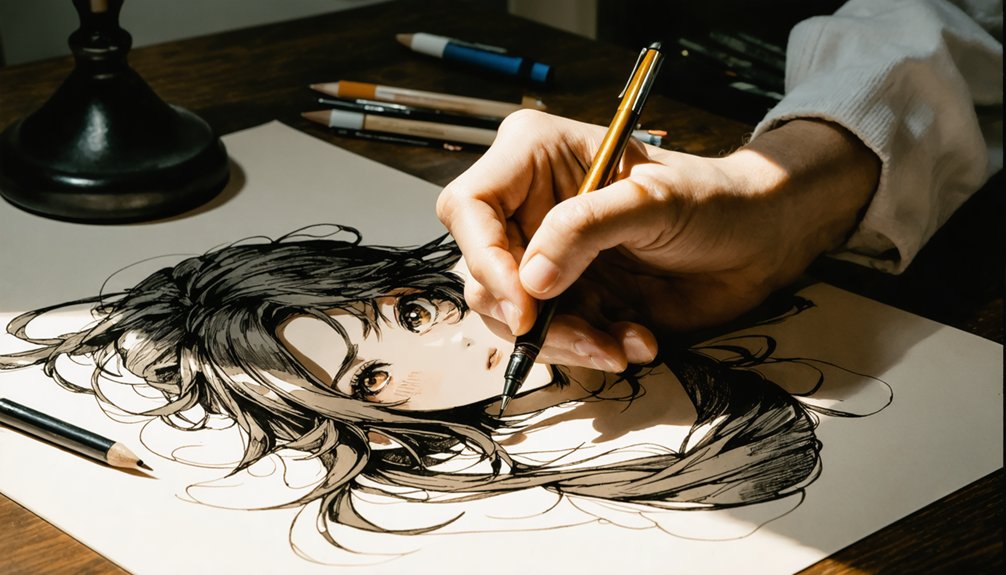
With your texture work locked in, inking and shading push that dimensional quality even further by defining hair’s edges and contrast with confidence. You’ll transform flat strands into living, breathing volume through deliberate technique.
Texture grounds the work. Inking and shading breathe life into it, transforming flat strands into bold, dimensional reality.
Master these four essential steps:
- Ink edges boldly — confident strokes lock in structural integrity and prevent hair from dissolving into background noise.
- Apply strand layering strategically — overlap curved lines, shift directions, and avoid monotonous parallel strokes that flatten your work.
- Introduce halftones and shadows — targeted contrast creates genuine three-dimensionality that stops viewers cold.
- Execute color blending precisely — transition tones along hair’s natural flow, reinforcing shading rather than contradicting your established strand direction.
Each decision compounds, turning technical execution into emotional resonance that makes your character’s hair unforgettable.
Digital Tools That Speed Up Character Hair Design
Once you shift your workflow into dedicated digital tools, character hair design accelerates dramatically. Software like Clip Studio Paint and Blender lets you experiment freely, using digital sculpting to push and pull hair volumes into precise, expressive shapes without committing to permanent strokes. You’ll test structural decisions faster, catching awkward silhouettes early.
Build your color palette using digital swatches directly on your character sketch, instantly visualizing how warm chestnuts or cool silvers affect personality. Stem brushes and strimer sub-tools generate realistic strand clusters in seconds, eliminating tedious manual repetition.
Layer organization keeps individual sections manageable, letting you isolate bangs, crown pieces, or nape sections independently.
These tools don’t just save time — they discover creative possibilities that traditional methods simply can’t match at this speed or precision.
Adapting Character Hair for Game Engines
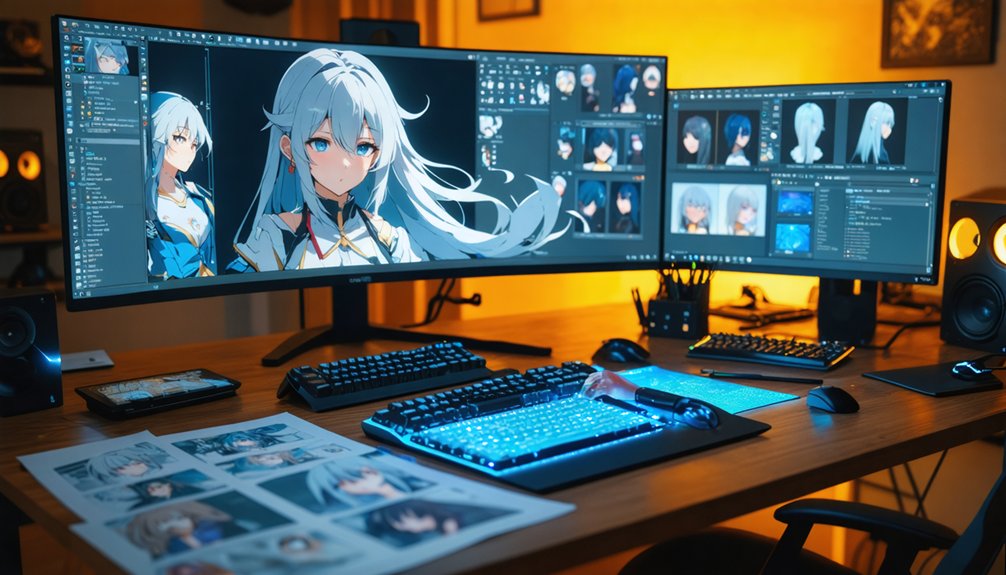
Game engines demand a fundamentally different approach to character hair — you’re no longer sculpting for beauty alone, but for real-time performance. Every strand decision carries technical weight, and that’s genuinely exciting.
Follow these essential steps to nail game-ready hair:
- Organize hair cards across separate layers, placing them from scalp outward to build natural volume progressively.
- Apply texture mapping carefully to each card, ensuring transparency masks cleanly define strand edges without polygon bloat.
- Use color blending techniques across card surfaces to simulate depth, highlights, and shadow variation dynamically.
- Combine all hair planes into a unified mesh, then refine overall volume using soft selection for cohesive results.
Check everything inside the engine itself — viewport previews lie, and real-time lighting reveals exactly where your hair succeeds or needs refinement.
Common Mistakes That Make Character Hair Look Flat
Why does character hair so often end up looking painted on, lifeless, and flat? Usually, it’s because you’re making two critical mistakes: unnatural highlights and excessive uniformity.
When every strand catches light identically, your hair loses dimensional credibility instantly. Real hair clusters into groups, creating varied shadow pockets and irregular shine patterns.
You’re also likely ignoring directional flow changes. Hair doesn’t travel in one continuous direction — it shifts, overlaps, and curves around the skull’s contours. Strand lines that run parallel without variation scream amateur work.
Fix this by intentionally breaking uniformity. Vary your highlight placement, stagger strand thickness, and introduce subtle color shifts between hair clusters. These small technical decisions transform flat, lifeless hair into something that feels genuinely three-dimensional and visually dynamic.
Frequently Asked Questions
Can Character Hairstyles Reflect Cultural Backgrounds Without Appearing Stereotypical or Offensive?
You can celebrate, you can honor, and you can innovate cultural hairstyles authentically through deep research. Prioritize cultural sensitivity and stereotype avoidance by collaborating with cultural consultants, ensuring your designs reflect genuine heritage rather than harmful generalizations.
How Do You Match a Character’s Hairstyle to Their Age and Personality?
You’ll match hairstyles to age and personality by ensuring style consistency with character traits while applying historical accuracy to era-specific cuts. Sketch volume, texture, and flow that reflect youthful energy or mature sophistication authentically!
What Hair Colors Best Complement Different Character Skin Tones in Illustrations?
Over 80% of illustrators prioritize hair color harmony for lifelike characters! You’ll achieve perfect skin tone complement by contrasting warm skin with cool hues like ash brown, while cool undertones shine alongside golden or copper shades.
How Do Professional Artists Price Commissions Involving Complex Character Hairstyle Designs?
You’ll find that professional artists factor in hairstyle complexity when determining commission pricing—counting intricate braids, layered strands, and detailing hours. They’re calculating time, skill, and software usage to craft innovative, fair rates for you!
Should Character Hairstyles Change Across Different Story Arcs or Remain Consistent?
You should absolutely evolve your character’s hairstyles across story arcs! Hair consistency anchors identity, but strategic style evolution signals growth, trauma, or transformation—making your character feel authentically dynamic and visually compelling throughout their journey.
References
- https://www.youtube.com/watch?v=1gZMuS7ipgU
- https://www.instagram.com/p/DMQQzucNcxL/
- https://www.seventeen.com/beauty/celeb-beauty/g334/tv-and-movie-character-beauty-looks/
- https://starstruckpanda.com/film-character-cosplay-hair-styling-techniques/
- https://brookeseggleston.com/blog/how-to-draw-and-design-hair-for-characters
- https://www.skillshare.com/en/classes/hairstyles-101-draw-and-colour-hair-for-character-design/298638027
- https://www.reddit.com/r/ArtistLounge/comments/1qh7p3g/how_to_decide_character_hair_without_messing_it_up/
- https://beautytap.com/2021/3/how-to-recreate-award-worthy-celebrity-hairstyles
- https://www.instagram.com/reel/DMX7J7LInOB/
- https://tips.clip-studio.com/en-us/articles/10801