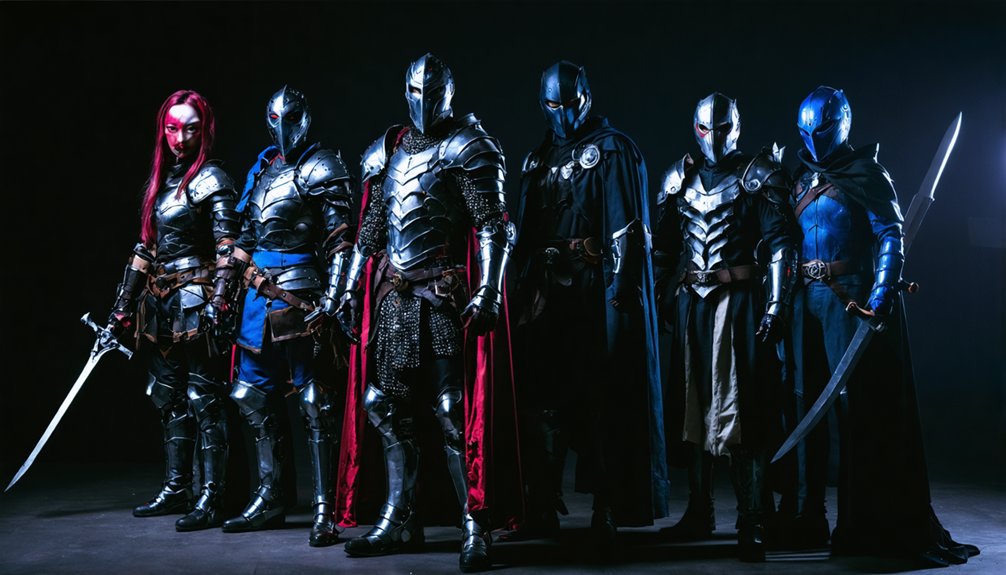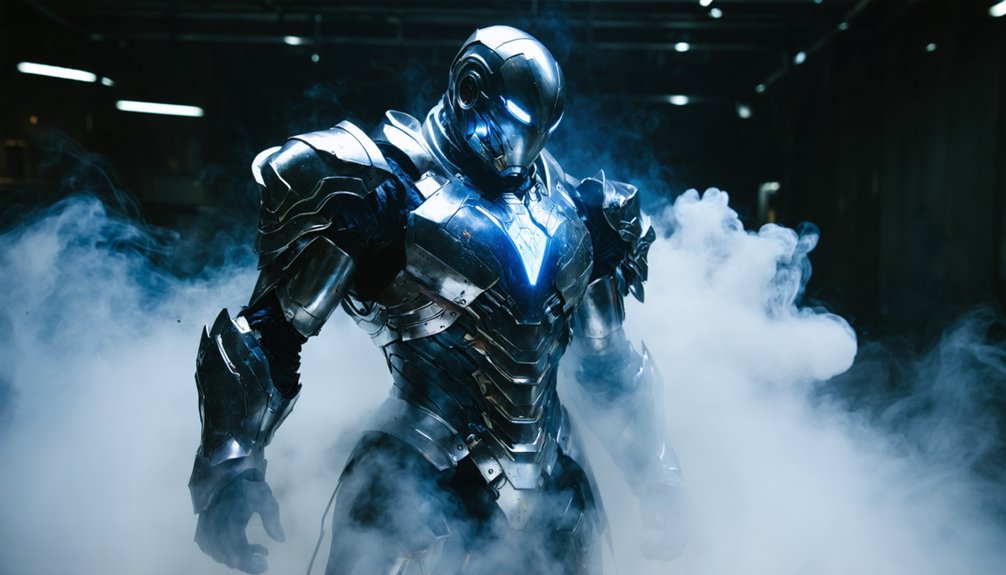
You don’t just wear cosplay armor — you engineer a second skin that turns foam, paint, and precision into the Iron Man suit, Batman cowl, or Mandalorian beskar you’ve studied frame by frame. Start with accurate body measurements, select EVA foam matched to your skill level, and layer finishes like Plasti-Dip and dry-brushed metallics for screen-accurate depth. Whether your budget is $100 or $1,500, the right techniques make every panel count — and there’s much more craft waiting to be uncovered.
Key Takeaways
- Match armor complexity to your skill level, starting with simple modular foam designs before advancing to compound curves and layered construction techniques.
- Measure chest, torso, shoulders, and collarbone accurately, adding 1–2 inches at joints for comfortable, functional movement during wear.
- Use EVA foam in multiple thicknesses—10mm for structure, 4mm for edges, and 2mm for surface textures—to achieve film-accurate results.
- Seal foam with two Plasti-Dip coats, then dry-brush metallic paints and apply weathering techniques to create realistic, screen-accurate finishes.
- Attach armor segments using industrial-strength Velcro at side panels and shoulders, enabling easy assembly, transport, repairs, and resizing.
Pick Your Cosplay Armor Based on Build Complexity
Before committing to foam sheets and heat guns, you’ll want to match your character choice to your current skill level and available build time.
Simpler designs with minimal plating let you master foam cutting techniques—scoring, beveling, and heat-shaping—before tackling segmented complexity.
If you’re targeting cosplay armor durability across convention-length wear, characters like Iron Man Mark 85 demand 50 to 200 hours and layered construction expertise.
Budget realistically: full armor builds typically run $100 to $1,500 depending on material density and detail count.
Beginners should prioritize modular silhouettes with fewer interlocking pieces, while intermediate builders can engineer compound curves and raised panel systems.
Aligning ambition with honest skill assessment prevents abandoned builds and produces screen-accurate results worth wearing.
Take Body Measurements Before You Cut Any Foam
Before you cut a single piece of EVA foam, grab a measuring tape and map your chest circumference, torso length, shoulder width, and the distance from your collarbone to your sternum. These numbers form the dimensional blueprint that keeps your armor proportional to your body rather than to some generic template.
Once you’ve logged your base measurements, add roughly 1–2 inches of movement allowance to any panel that crosses a joint or flexes during wear, so your finished chest plate won’t crack or bind when you raise your arms.
Map Your Body First
Every armor build lives or dies by the accuracy of its foundation, so grab a flexible measuring tape and map your body before you touch a single sheet of foam. Record chest circumference, torso length, shoulder width, and the distance from collarbone to sternum. These numbers drive every template decision downstream, including material selection for structural versus detail layers.
Add roughly one inch of ease to each measurement so you’ve got room for movement and underlayer thickness. Sketch a personal body map on paper, marking segment boundaries where plates will shift. This diagram becomes your translation tool between character reference and wearable form.
It also informs color matching decisions later, since proportioned panels will receive different tones to reinforce depth and dimensional realism across the finished suit.
Add Movement Allowance
Accurate armor only moves with you if you’ve built that movement into the measurements from the start. Raw body measurements alone aren’t enough — you’ll need strategic allowances at every articulation point to prevent binding during wear.
Add movement allowance by targeting these three critical zones:
- Shoulders — Add 1–2 inches beyond your measured width to accommodate arm elevation and rotation without plate collision.
- Chest-to-abdomen transition — Leave flexible joints between upper and lower torso sections using segmented foam panels rather than one rigid piece.
- Underarm clearance — Build an additional half-inch gap where side panels meet chest plates to preserve lateral reach.
These calculated additions keep your armor functional, screen-accurate, and comfortable across long convention wear without sacrificing structural integrity.
Choose EVA Foam for Lightweight Cosplay Armor
When building superhero armor, EVA foam stands out as the go-to material because it’s lightweight, affordable, and detailed enough to replicate comic-accurate plating. You’ll typically use 10 mm foam for structural chest components, 4 mm sheets for logos and beveled edges, and 2 mm layers for surface textures that add dimensional depth.
This tiered approach lets you engineer armor that mirrors the layered complexity of film-accurate designs.
EVA foam also integrates seamlessly with costume accessories like LED lighting channels routed beneath panel seams, creating that iconic powered-suit glow without adding excessive weight.
Heat-shaping curves the foam precisely around your body’s contours, while Plasti-Dip seals the surface for a durable, paint-ready finish.
The result is a structurally sound, visually striking build engineered for both performance and authenticity.
Seal and Shape Your Cosplay Armor Foam
Sealing and shaping your EVA foam transforms raw cut pieces into rigid, paint-ready armor that holds its form under convention-hall conditions. A heat gun is your primary tool—softening foam lets you bend it over curved forms, locking shoulder plates and chest pieces into body-conforming arcs permanently.
Heat and pressure turn flat foam sheets into sculpted armor that holds its shape long after the convention ends.
Before painting, execute these three critical surface finishing steps:
- Heat-seal all exposed foam faces using quick, sweeping heat gun passes to close the porous foam texture.
- Apply two Plasti-Dip coats, allowing full drying between layers, to prevent paint cracking.
- Dry-brush metallic paint over sealed surfaces to build dimensional depth and screen-accurate realism.
Each step compounds the previous one, producing armor that photographs sharply, resists flex cracking, and maintains structural integrity through an entire convention day.
Add Depth and Detail to Your Cosplay Armor
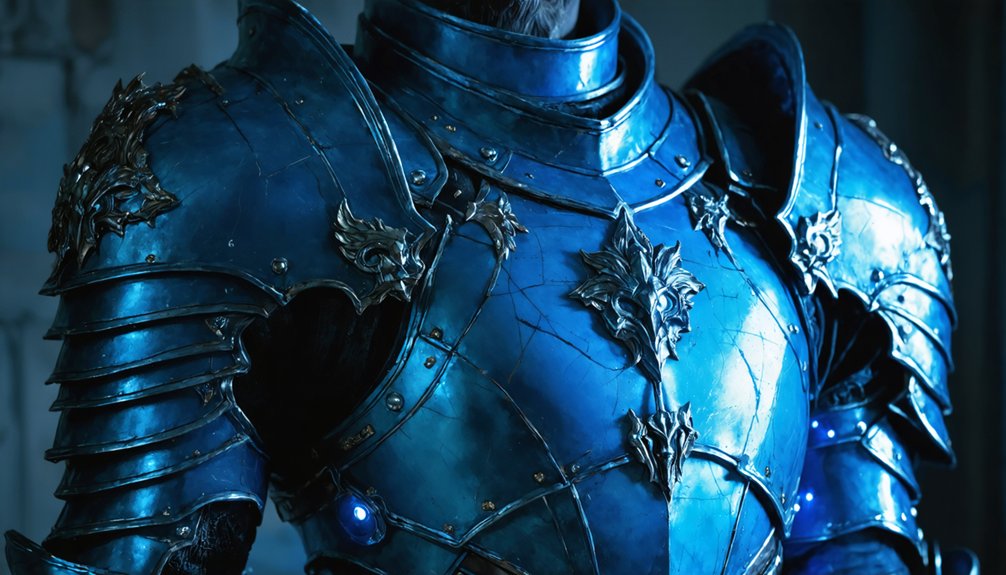
Once your sealed foam has that paint-ready surface, the real character work begins—layering raised details that separate a flat costume from screen-accurate armor. Cut thin craft foam strips for panel lines, rivet dots, and segmented plating, bonding each piece with contact cement for clean adhesion.
Press crumpled aluminum foil into heat-softened areas to generate grain-like surface texture that catches light convincingly.
Color matching your base coat precisely to reference images anchors the entire design. Build tonal depth by dry-brushing lighter metallics along raised edges, then apply weathering techniques—controlled sanding, dark washes pooled into recesses, and edge chipping—to suggest battle-worn realism.
Attach your character’s emblem as a separate foam piece to preserve crisp geometry. Every deliberate layer compounds into dimensional armor that reads as genuinely cinematic.
Strap Your Cosplay Armor for Solo Wear
Once your armor’s details are locked in, you’ll need a reliable attachment system that lets you suit up solo and move freely.
Anchor your chest plate using nylon straps routed through reinforced slits cut into the foam, then cinch them with side-release buckles for a secure, adjustable fit.
Back each strap junction with Velcro strips so individual armor segments snap on and off cleanly without compromising your range of motion during wear.
Nylon Strap Attachment Methods
Securing your armor so you can suit up alone takes more planning than the build itself might suggest. Nylon straps distribute chest plate weight evenly while letting you fasten everything without help.
For a clean, functional system, consider these three attachment methods:
- Velcro-backed nylon straps — bond directly to foam with contact cement for adjustable, repeatable closure.
- Magnetic closures — allow snap-together assembly on side panels where buckles would break your silhouette.
- Elastic cords — thread through reinforced foam channels to maintain tension across segmented pieces during movement.
Layer your strap anchors beneath detail foam so hardware stays hidden. Route each strap along natural contour lines to reduce bulk.
Precision placement here directly determines whether your armor moves with you or fights against you.
Velcro Fastening For Mobility
Nylon straps give your armor its backbone, but Velcro turns that structure into something you can actually step into alone. Position hook-and-loop strips along your side panels and shoulder junctions, where strap placement directly affects how freely you’ll move between poses.
Use industrial-strength Velcro for Velcro durability under convention heat and repeated wear cycles — standard craft-store varieties separate under pressure. Sew or contact-cement the soft loop side onto your underlayer fabric, then bond the hook side to the foam’s sealed interior face.
This pairing lets you peel pieces away for transport, quick repairs, or resizing without dismantling the entire suit. Layering a nylon anchor beneath the Velcro bond reinforces high-stress points like the chest plate’s lower edge, where torso movement constantly challenges adhesion.
What a Full Cosplay Armor Build Actually Costs
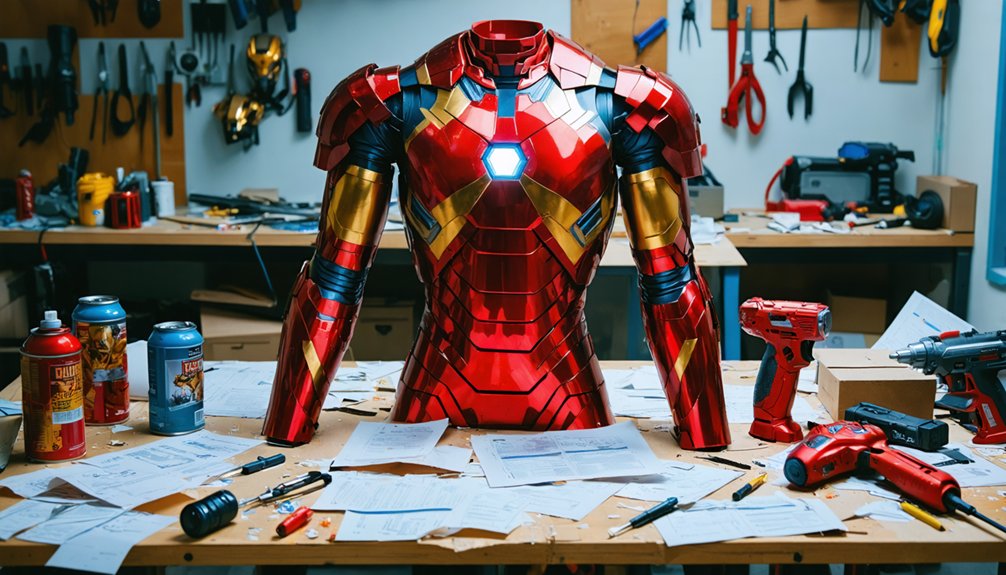
Before you cut a single piece of foam, understanding the financial scope of a full armor build helps you plan smarter and avoid mid-project surprises. A cost comparison across material options reveals three realistic budget tiers:
Before cutting a single piece of foam, understand the full financial scope to plan smarter and avoid costly mid-project surprises.
- $100–$300 — EVA foam, contact cement, Plasti-Dip, and basic acrylic paint cover entry-level builds with solid results.
- $300–$800 — Mid-tier builds add metallic Lycra underlayers, LED accents, and premium sealants for screen-closer finishes.
- $800–$1,500 — Advanced suits like Iron Man Mark 85 demand precision-cut foam, detailed templates, and layered finishing techniques.
Time investment runs 50 to 200 hours depending on complexity.
Prioritize your budget around structural foam first, then allocate remaining funds toward finishing details that elevate visual authenticity.
Frequently Asked Questions
Can Children Wear EVA Foam Cosplay Armor Safely at Conventions?
Yes, children can safely wear EVA foam cosplay armor at conventions! You’ll appreciate its child safety benefits—it’s lightweight and impact-resistant. Prioritize EVA foam durability by sealing edges, securing straps snugly, and ensuring unrestricted movement throughout the event.
How Do You Store Finished Cosplay Armor Without Damaging It?
Up to 200 hours of craftsmanship deserves proper care—store your finished armor using innovative storage solutions like labeled bins with protective coverings such as bubble wrap or breathable fabric to prevent crushing, warping, or paint damage between conventions.
Are Cosplay Armor Builds Allowed in Official Marvel or DC Events?
Yes, you’re generally welcome at Marvel and DC events with cosplay armor, but check each event’s prop weapon policies. Prioritize cosplay armor durability and smart cosplay armor customization to meet safety inspections confidently and compliantly.
Can Cosplay Armor Be Repainted After the Original Finish Wears Down?
Yes, you can repaint your foam armor! Sand lightly, reapply Plasti-Dip for finish restoration, then layer fresh metallic coats. Strategic paint touch-ups revive weathered panels, letting you innovate your suit’s appearance with every renewal.
How Do You Repair Cracked or Torn EVA Foam Armor Pieces?
Like stitching a warrior’s battle scar, you’ll repair cracked EVA foam by applying contact cement to both edges, pressing firmly, then layering thin foam for armor reinforcement and finishing with foam sealing to restore durability.
References
- https://www.youtube.com/watch?v=hT1YRrlePHc
- https://www.ebay.com/b/Armor-Superhero-Costumes/175648/bn_6851820
- https://starstruckpanda.com/unique-ideas-for-superhero-cosplay-transformation/
- https://journal.transformativeworks.org/index.php/twc/article/view/613
- https://coscosmos.com/collections/company-marvel-studios
- https://starstruckpanda.com/what-comic-book-character-armor-cosplay-ideas/
- https://kaze.ai/ai-superhero-generator