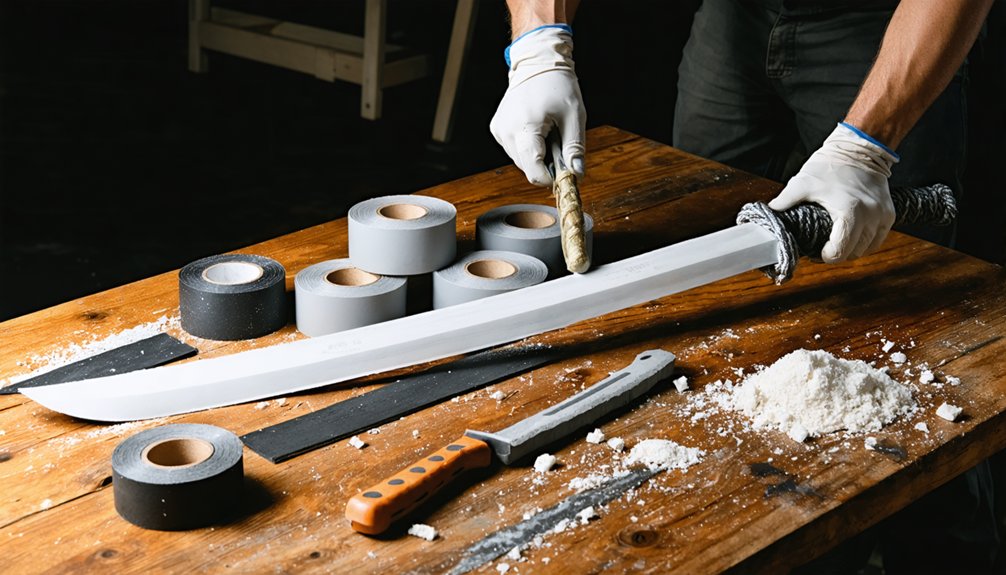
To craft a foam LARP weapon, you’ll need EVA foam, a fiberglass or PVC core, contact cement, latex coating, and flexible acrylic paint. Cut your core to length, cap the ends with foam plugs, shape your blade by beveling the edges symmetrically, then wrap the handle and apply two thin latex coats before painting. Always safety-check tip compression, seam integrity, and padding thickness before any event. There’s plenty more technique waiting ahead.
Key Takeaways
- Check your LARP system’s weapon safety rules, including foam thickness standards and prohibited materials, before starting your build.
- Use closed-cell EVA foam, a rigid fiberglass or PVC core, and contact cement for a durable, safe weapon.
- Cut and cap your core precisely, then test foam alignment to ensure a snug, wobble-free fit.
- Shape foam blades by marking symmetry lines first, beveling edges evenly, and smoothing contours with 240-grit sandpaper.
- Finish weapons with two latex coats, flexible acrylic paint, and a topcoat, then conduct full safety checks before use.
Know Your LARP Rules Before You Build
Before cutting a single piece of foam, check the weapon rules for your specific LARP system. Each game enforces different safety standards, and building without that knowledge wastes materials and time. Most systems specify minimum striking surface thickness—often around 5/8 inch over the core—along with tip softness requirements and prohibited materials.
Know your LARP system’s weapon rules before building—safety standards vary, and ignorance wastes both materials and time.
Beyond safety specs, consider historical accuracy when designing your weapon. A well-researched blade profile strengthens immersion and often earns faster approval from event marshals.
You’ll also want costume coordination in mind early; a weapon’s length, grip style, and finish should complement your character’s overall aesthetic.
Map out your weapon’s dimensions before touching foam. Confirm core length, handle placement, and blade geometry against your rulebook. Building to spec from the start eliminates costly rebuilds later.
What Materials Do You Actually Need?
Once you’ve confirmed your rulebook requirements, you can build your material list around three core categories: structural components, adhesives, and finishing supplies.
For structure, you’ll need closed-cell EVA foam — select the right foam density based on your weapon type — and a rigid core like fiberglass rod or PVC pipe. Historical inspiration can guide your proportions, but your materials must meet modern safety standards.
For adhesives, contact cement outperforms hot glue for foam-to-core bonding because it creates a flexible, durable seam.
For finishing, stock latex coating, flexible acrylic paint, and your preferred grip wrap — leather, cord, or racket tape all work.
Your basic tools include a craft knife, ruler, marker, and sandpaper around 240 grit for final smoothing.
Cut and Prep Your LARP Weapon Core
With your materials gathered, cutting and prepping your core is the first structural step that determines everything downstream. Measure your desired weapon length, subtract handle space, and mark your fiberglass rod or PVC pipe precisely before cutting. A clean, straight cut prevents structural misalignment later.
Measure twice, cut once — your core length sets the foundation for every structural decision that follows.
Core reinforcement starts at the tip. Cap the exposed end with a dense foam plug and secure it with contact cement to prevent the core from punching through during impact. This step isn’t optional — it’s a safety requirement.
Once capped, test foam alignment by sliding your foam blank over the core. It should fit snugly with no lateral wobble.
Mark your handle zone clearly before bonding anything permanently. Getting this geometry right now makes every subsequent shaping and finishing step considerably cleaner.
Shape Your LARP Foam Blade the Right Way
Your core is prepped and aligned — now the foam takes shape. Precision cutting defines both blade aesthetics and combat safety, so work deliberately with a sharp craft knife.
Follow this shaping sequence:
- Mark symmetry lines on both faces before cutting to keep edges balanced
- Bevel the edges at a consistent angle for a chamfered, realistic profile
- Remove bulk material in controlled passes rather than single aggressive cuts
- Sand contours with 240-grit or finer to smooth progressions and eliminate flat spots
- Consider foam color choices early — colored EVA reduces painting steps and improves finish consistency
Check both sides constantly during shaping. Uneven bevels create unsafe hard spots and poor balance. Your blade should feel intentional — refined geometry signals craftsmanship before a single coat of paint touches the surface.
Wrap, Paint, and Seal Your LARP Weapon
Finishing transforms raw foam into a combat-ready weapon, so work through the grip, paint, and seal stages in sequence rather than rushing ahead.
Start by wrapping the handle with leather strip or tennis-racket tape, pulling tension consistently to eliminate gaps. Apply contact cement to secure any overlapping ends.
Wrap the handle tightly with leather or grip tape, keeping tension even and cementing any overlapping ends securely.
Move to painting once the grip is set. Brush on two thin latex coats first, allowing full drying between each layer. Follow with flexible acrylics in your base metallic tone, then layer in weathering effects using dry-brushed dark washes along edges and recessed lines.
Add decorative accents such as rune markings or inlaid color bands at this stage.
Seal everything with a flexible topcoat, letting it cure overnight before field use.
How to Safety-Check a Foam LARP Weapon
Before your weapon ever sees the field, run a structured safety check to catch any hard spots, exposed core sections, or under-padded edges that could injure another player. Treat this process like inspecting safety gear—systematic and non-negotiable.
Work through these five checks before every event:
- Press the tip flat to confirm it compresses fully without resistance
- Flex the core gently to verify no cracking or hard point exposure occurs
- Run your fingers along every edge to confirm consistent foam padding throughout
- Strike your forearm at fighting speed to identify any painful contact points
- Inspect seams under bright light, simulating environmental hazards like outdoor glare, to spot gaps or lifting foam
Fix any failure before field use—no exceptions.
Avoid These Common LARP Weapon Building Mistakes
Even a weapon that passes every safety check can still fail if it was built with poor technique from the start. Don’t skip the cardboard template phase — it prevents costly rework and keeps historical accuracy intact when replicating period weapon profiles.
Avoid using rigid adhesives like standard super glue; they crack under flex stress. Contact cement bonds foam cleanly and stays cost effective across multiple builds.
Never skip the tip cap — an uncapped core will punch through foam after repeated strikes.
Don’t apply latex over wet paint; cure each layer fully.
Avoid cutting asymmetrical blade edges, since uneven foam distribution creates unpredictable impact points.
Finally, always verify your weapon meets event-specific thickness rules before your first session, not after.
Frequently Asked Questions
How Long Does a Finished Foam LARP Weapon Typically Last?
With proper weapon maintenance, your foam LARP weapon lasts two to five years. Foam durability depends on how often you seal, inspect, and repair it—you’ll extend its lifespan considerably by recoating latex regularly.
Can Foam LARP Weapons Be Repaired After Damage During Combat?
Over 80% of damage is fixable. You can restore material durability using proven repair techniques—reapply contact cement to separating seams, patch torn foam with matching EVA layers, and recoat surfaces with fresh latex to extend combat life.
Where Can Beginners Purchase EVA Foam and Core Materials Affordably?
You’ll find EVA foam and core materials affordably at craft stores, Amazon, or foam suppliers like Foamsmith. Don’t skip safety precautions when foam cutting—proper tools guarantee precision and innovative builds every time.
Are There Beginner Communities or Forums for Sharing LARP Weapon Builds?
Like a forge sharpening steel, communities sharpen your craft—you’ll find active beginner forums on Reddit’s r/LARP and The Replica Prop Forum, where members share builds, discuss LARP safety standards, and innovate costume accessories together.
How Much Does It Typically Cost to Build One Foam LARP Weapon?
You’ll typically spend $20–$50 per weapon, depending on your cost considerations and material options. EVA foam, a fiberglass core, contact cement, and latex coating drive most expenses, letting you innovate without breaking your budget.
References
- https://www.youtube.com/watch?v=iUoKFNaHVaY
- https://www.medievalware.com/blog/make-foam-weapons-larp/
- https://www.instructables.com/DIY-Foam-Weaponry/
- https://www.youtube.com/watch?v=jnvnViQwd1M
- https://nerdist.com/article/diy-building-your-own-larp-sword/
- https://starstruckpanda.com/how-to-make-larping-weapons/
- https://www.costumary.com/templates/weapon-shield
- https://www.youtube.com/watch?v=ODkdBFCuQsM
- https://www.youtube.com/watch?v=Dx2NPQaFczA
- https://www.youtube.com/watch?v=6MLcuxZpGyk