You’ll elevate your superhero cosplay by integrating tactical weapon housings into 3D-printed armor plates, applying thermochromic fabrics for adaptive camouflage effects, and sculpting battle-damaged filigree using ZBrush’s 300 configurable brushes. Layer EVA foam beneath metallic Lycra to create dimensional muscle definition, then seal with Plasti-dip before dry-brushing metallic powders for professional weathering. Incorporate concealed restraint mechanisms like retractable grappling lines within forearm compartments, and use multi-scale disruption patterns that combine macro shape obscuration with micro texture detail. The techniques below demonstrate how digital sculpting pipelines transform basic blockouts into convention-dominating costumes.
Key Takeaways
- Use digital sculpting software like ZBrush to create intricate armor details with 100-million-polygon capacity and 300 configurable brushes.
- Integrate adaptive camouflage using thermochromic fabrics or LED matrices that shift between environmental tones for tactical realism.
- Design concealed weapon housings and retractable gadgets within forearm compartments for functional, comic-accurate transformation features.
- Build budget-friendly transforming elements using EVA foam layers, metallic Lycra, and dry-brush techniques for professional-grade finishes.
- Incorporate power-dampening restraints using compression bodysuits and pressure-responsive materials that maintain heroic silhouettes while suggesting ability control.
Mastering Digital Sculpting Tools for Custom Costume Components
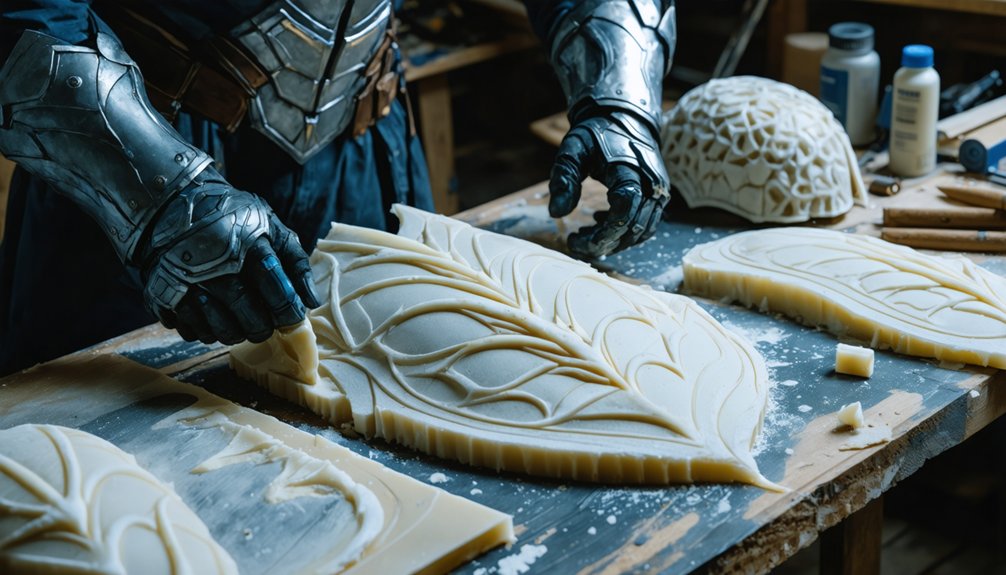
When digital sculpting software places millions of polygons at your fingertips, you’re wielding the same tools that shape blockbuster movie props and AAA game assets. ZBrush’s 100-million-polygon capacity lets you carve intricate filigree and battle damage into armor blockouts, while its 300 configurable brushes manipulate virtual clay with surgical precision.
The digital sculpting pipeline flows from Dynamesh retopology through detailed sculpting to texture detailing techniques that bake high-resolution surfaces onto optimized meshes. Fusion 360’s blueprint-based approach converts flat reference views into contoured armor pieces without polygon manipulation.
SelfCAD bridges sculpting to fabrication, slicing your models into G-code for direct 3D printing. Whether you’re raising blueprint sections in Fusion or applying photorealistic effects in Mudbox, each program channels your design vision into wearable reality.
Tactical Functions to Incorporate Into Your Hero Design
When shifting from digital sculpting to physical fabrication, you’ll need to embed tactical systems that mirror superhero functionality. Integrated weapon housings—whether repulsor emitters in gauntlets or spring-loaded projectile chambers in utility belts—require precise cavity planning within your 3D models before printing armor plates.
Your design must also account for adaptive camouflage overlays using thermochromic fabrics or LED matrices, alongside concealed restraint mechanisms like retractable grappling lines stored in forearm compartments.
Integrated Weapon Systems Design
Modern superhero costumes demand tactical integration that mirrors military-grade weapons architecture, where individual components synchronize into unified combat systems rather than operating as isolated gadgets.
You’ll need multi-spectral sensors feeding real-time targeting data to weapon platforms mounted across your suit—think directed energy countermeasures like laser systems on articulation points. Integrate HUD overlays that display threat vectors from multiple sensor feeds simultaneously, enabling instantaneous response protocols.
Your gauntlet weaponry shouldn’t function independently; instead, link it to shoulder-mounted systems and chest arrays through centralized battle management software. Consider modular attachment points for swappable ordnance packages—kinetic projectiles, energy weapons, or non-lethal options.
Design distributed power routing that maintains weapon functionality even when primary systems sustain damage, ensuring combat effectiveness through redundant architecture pathways.
Adaptive Camouflage Pattern Choices
Your weapon systems won’t matter if opponents detect you before engagement range—camouflage patterns determine whether you control the tactical initiative or become the target.
Advanced cosplay designs demand operational concealment across environments:
- Multi-scale disruption patterns combining macro shape obscuration with micro texture detail—pixelated schemes like MARPAT break your silhouette across engagement distances while maintaining close-range effectiveness.
- Shape shifting materials mimicking cephalopod adaptation—experimental fabrics transform between urban concrete gray, woodland earth tones, and desert tan based on environmental input sensors.
- Multispectral coatings reducing thermal and infrared signatures—critical for countering night vision and drone detection systems through specialized heat-dissipating layers.
- Environmental mimicry integration—Tiger Stripe jungle chaos, OCP desert-to-forest versatility, or urban shadow gradients replicate terrain-specific visual complexity.
Deploy pattern combinations matching your superhero’s operational theater for maximum tactical advantage.
Restraint Mechanisms and Gadgets
Strategic power limitation systems separate controlled superheroes from catastrophic liabilities—your costume’s restraint mechanisms must physically govern superhuman output before abilities escalate beyond tactical parameters.
Engineer integrated power limiter systems through binding materials that compress energy channels: incorporate foam latex segments across shoulders and chest to physically restrict movement ranges, mimicking tactical armor from Batman’s militaristic designs.
Install concealed restraint mechanisms within padding layers that maintain heroic silhouettes while dampening strength output—thick tactical pieces replace full muscle augmentation, allowing precision operations without overwhelming force.
Position pressure-responsive dampeners at joint articulations, creating physical barriers against uncontrolled ability discharge.
Your binding tech should mirror comic-originated safety protocols: spandex-composite layers that stabilize mutation-triggered powers, deep pocket compartments housing emergency limiters, and compression bodysuit foundations that counterbalance excessive energy before catastrophic release occurs.
Budget-Friendly Materials for Professional-Looking Suits
You’ll construct your suit’s foundation using two yards of cloth fleece for the main body, paired with contrasting accent fabrics like furry materials for chest pieces.
Craft foam sheets and thin scrap foam pieces transform into dimensional masks and emblems, while cardboard boxes cut precisely replicate armor components such as Iron Man’s chest plates and gauntlets.
Secure these elements with spray adhesive for fabric-to-foam bonds and hot glue for detail attachments, then finish with fabric paint like Tulip red and iron-on glitter stars for professional-grade embellishments.
Foam and Fabric Essentials
When building a superhero costume that rivals screen-accurate replicas without draining your wallet, EVA foam stands as your foundational material—a closed-cell, high-density sheet that cuts cleanly, heat-shapes with precision, and mimics rigid armor once sealed and painted.
Layer your costume strategically:
- Base structure: 6-8mm EVA foam establishes chest plates, pauldrons, and gauntlets with structural integrity
- Mid-level depth: 4mm sheets add dimensional bevels and raised geometric patterns across armor segments
- Surface detailing: 2mm craft foam creates rivets, panel lines, and intricate surface textures
- Flexible coverage: Metallic Lycra or polyester blends stretch over foam assemblies, preserving articulation while adding fabric textures that photograph like composite materials
Source floor mats initially, graduating to TNT Cosplay Supply sheets as skills advance. Secure components with durable closures—Velcro strips, magnetic clasps, elastic webbing—enabling quick costume changes.
Paint and Finishing Techniques
Your meticulously shaped foam components demand surface treatments that transform craft-store materials into screen-worthy armor. Plasti-dip provides flexible sealing options that strengthen EVA foam while creating paint-ready surfaces, though strategic barrier application on stress points conserves budget.
Cost-effective priming solutions include Mod Podge for rigid sections or thinned wood glue alternatives. Layer metallic acrylics over charcoal-gray bases using dry-brush techniques—remove excess pigment before feathering highlights across textured surfaces. Mix metallic powders with acrylic medium for custom finishes rivaling commercial formulations.
Painter’s tape enables precision masking for crisp detail work, while stencils cut from scrap materials add professional insignias. Apply flexible varnish topcoats to prevent cracking on articulated joints. Build depth through graduated transparent washes rather than single heavy applications, ensuring durability without compromising movement flexibility.
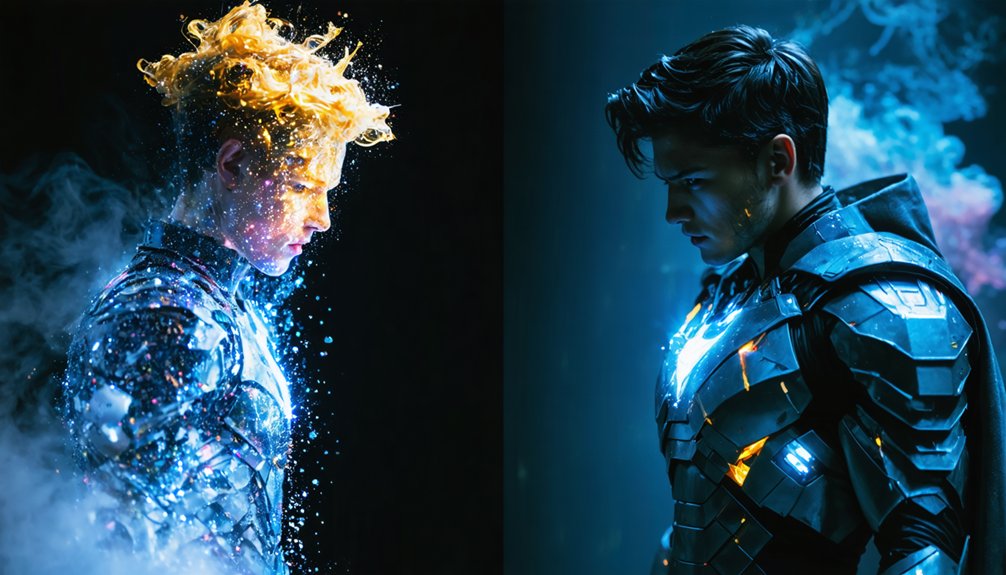
Color Theory and Silhouette Strategies for Memorable Characters
Superhero costumes stand out from crowded panels and convention halls through deliberate color theory rooted in four-color printing’s historical limitations. You’ll leverage primary palettes—red’s passionate energy, blue’s confident depth, yellow’s vivacious attention—to establish instant heroic recognition.
Silhouette balance emerges when contrasting primaries divide your design vertically, creating memorable profiles against any backdrop.
Strategic implementation requires:
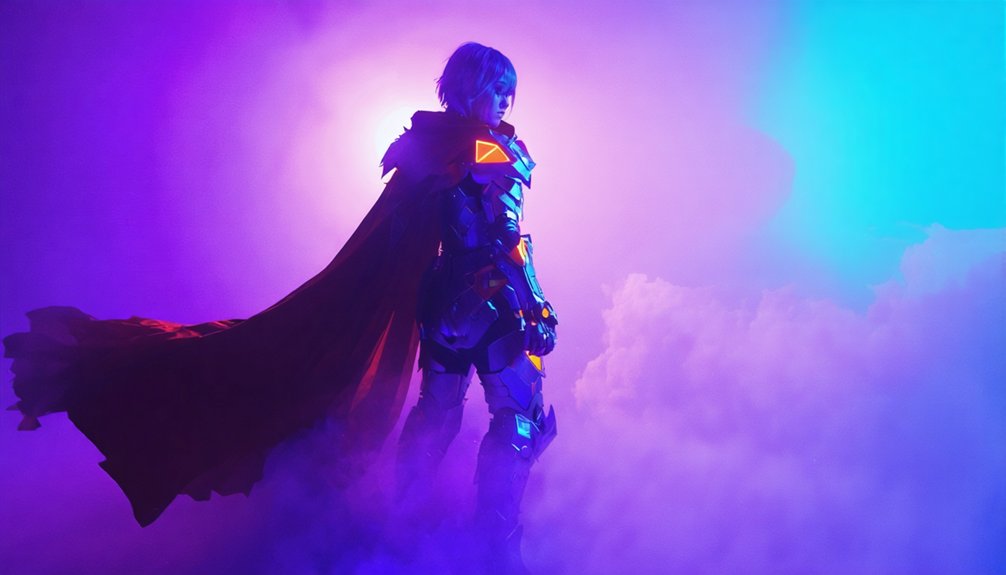
- Dominant-neutral pairing: Single bold hue with grey or black simplifies visual parsing while suggesting moral complexity
- Tertiary accent placement: Purple or green positioned at key zones signals villain aesthetics or magical specialization
- Skin exposure calibration: Bare areas or metallic gold breaks concentrate viewer focus on character essence
- Tonal darkness gradient: Post-1990s black saturation communicates gritty maturity, distinguishing anti-heroes from traditional champions
Modern cosplay demands these chromatic frameworks translate across photography’s varied lighting conditions.
Creating Realistic Texture Effects With Everyday Craft Supplies
You’ll achieve professional-grade reptilian or dragon scales by applying controlled heat to EVA foam using a heat gun, which causes the material to contract and form raised, dimensional patterns. The DecoArt X-Treme Flex paint kit‘s flexible composition prevents cracking across these textured surfaces, allowing you to layer Safari Tan, Dark Brown, and Yellow Ochre for depth and organic variation.
Apply paint with a stippling or dry-brush technique to emphasize the raised scale edges, creating shadows that enhance the three-dimensional illusion.
Foam Texturing With Heat
When working with EVA foam armor pieces, heat transforms the material’s surface from flat and lifeless into textured, dimensional elements that mimic real-world materials. Your heat gun becomes essential for surface alteration experiments, operating on low settings at 2-3 inches distance to prevent scorching. These heat transfer techniques seal foam porosity while enabling texture creation.
Advanced Texturing Methods:
- Crumpled aluminum foil pressed against heated foam generates authentic leather grain patterns
- 3D stamps applied to softened surfaces create hexagonal or mechanical detailing
- Soldering iron engraving produces precise scales, wood grain, or circuitry effects
- Wood burner tips pierce organic holes for bone or weathered metal appearances
Heat both sides evenly, working in small sections. You’ll stretch and shape heated foam beyond manual bending capabilities, maintaining curves with tape during cooling phases.
Paint Application For Scales
Scale painting demands systematic layering that transforms flat surfaces into dimensional, light-catching reptilian armor. Begin with X-treme Flex acrylic black base coat, working top-downward to prevent scale adherence. Once dried, dab iridescent paint from corners in organic patterns, offloading excess to avoid glopping. Build vivid realistic scale effects through multiple overlay passes, wiping whitish buildup for controlled application.
Apply oil washes strategically—sepia and payne’s gray for shadow areas, pushing deepest recesses darker with dry paint techniques. Outline individual scales using diluted white paint via fine brush, simulating zenithal lighting on upper surfaces. This creates stunning iridescent surface finishes with authentic depth perception.
Enhance definition through complete oil washes, darkening panel lines and indentations. Blend oils while wet for seamless integration. Seal your work with varnish for durable, convention-ready armor.
Foam Fabrication Techniques for Armor and Accessories
Transforming flat sheets of EVA foam into dimensional superhero armor requires mastering five essential fabrication stages that progress from pattern creation through final attachment.
Core Fabrication Sequence:
- Pattern Development – Engineer poster board templates using precise body measurements, adding centimeters for volumetric adjustments before tracing numbered patterns onto 6-8mm foam sheets.
- Foam Carving Techniques – Execute cuts using sharp X-Acto blades, creating 7mm detail strips from 2mm EVA while maintaining clean edges that prevent tearing.
- Thermoforming – Apply heat gun methodically to soften surfaces, then bend foam over curved forms—knees, balls, or jars—holding until cooled for permanent shaping.
- Multi Layer Foam Assembly – Bond components using contact cement or hot glue, concealing seams with vinyl tubing before applying paint in ventilated spaces and securing via Velcro-backed straps.
Transforming Fabric Into Distinctive Costume Elements
How does a flat piece of fabric evolve into Wonder Woman’s iconic golden eagle emblem or Spider-Man’s web-slinging chest symbol? You’ll master fabric surface treatments through strategic textile manipulation.
Apply fabric paint in graduated tones—darker edges moving/shifting to lighter highlights—creating dimensional logos with authentic shadow effects. Heat transfer vinyl produces patterned textures impossible with standard materials, while glow-in-the-dark paint dots dry in 2 minutes for blacklight-reactive designs.
Layered fabric overlays transform basic morphsuits into character-specific masterpieces: secure torn fabric fragments with washable fabric glue (4-minute dry time) for weathered zombie aesthetics. Integrate metallic fabrics, faux leather, or velvet for tactile depth.
Position adhesive emblems 6 inches below the neckline using proper proportions. Pre-wipe surfaces 5 minutes before application, ensuring 8-hour adhesive performance during convention wear.
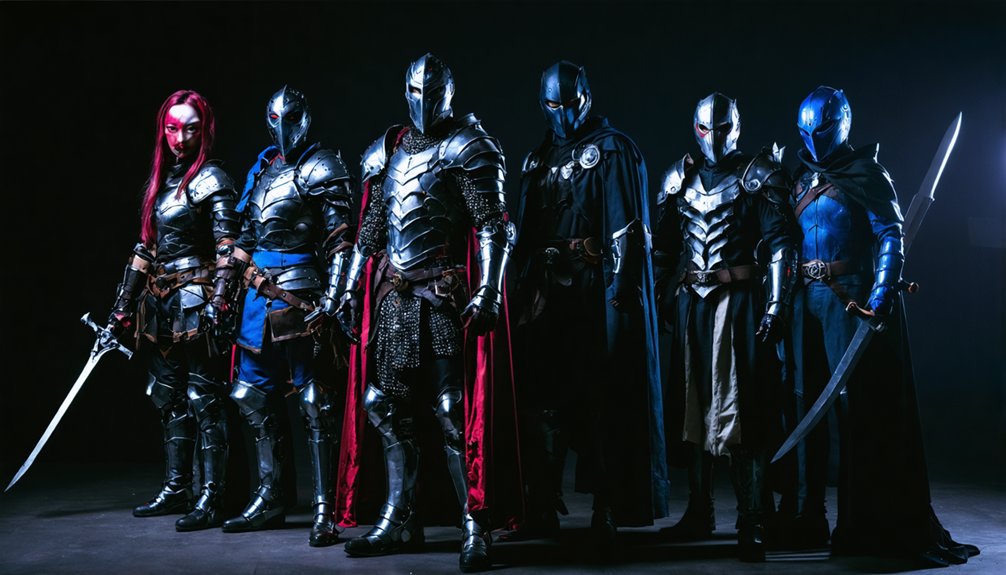
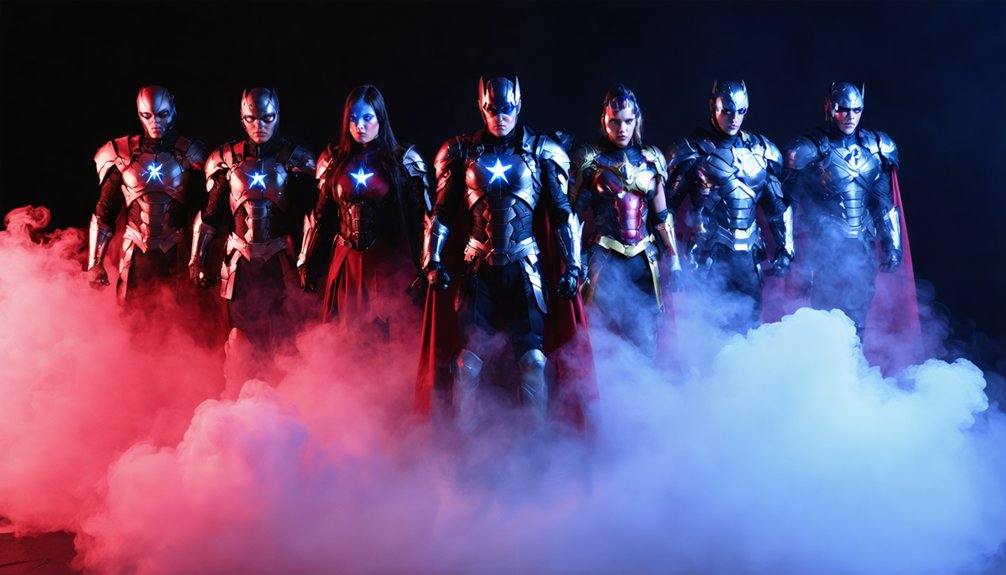
Building Unified Team Costumes With Coordinated Aesthetics
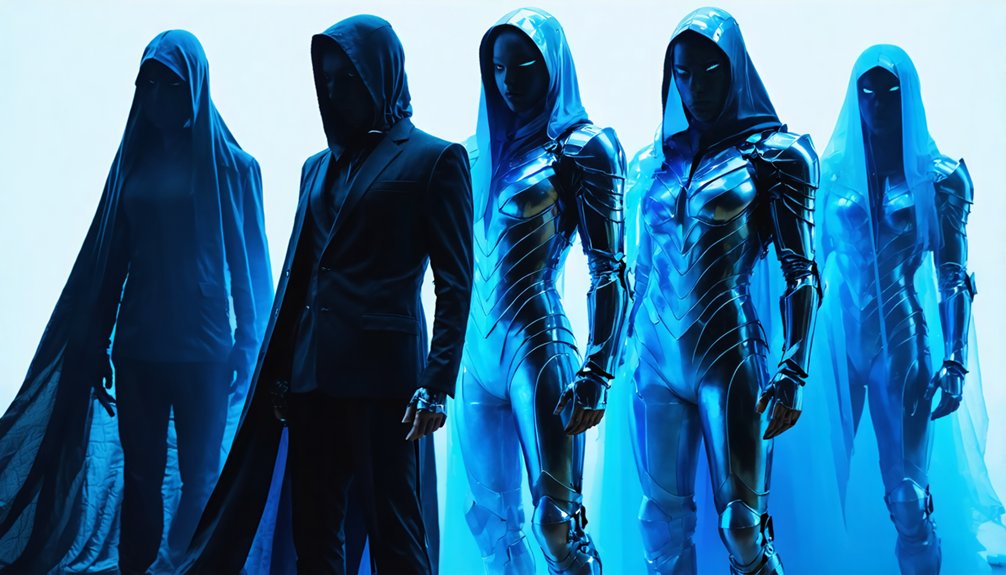
Three foundational color choices establish your team’s visual cohesion across multiple cosplayers. Apply color harmony principles by selecting hues that convey unified personality—bright tones signal optimism while deeper shades create mysterious group dynamics. Test your palette through preliminary sketches, ensuring complementary relationships across all members’ silhouettes.
Integrate shared symbolism through these technical approaches:
- Recurring motifs: Adapt identical wing patterns or antennae elements across costumes for instant team recognition
- Matching accessories: Coordinate boots, gloves, and gadgets that reinforce collective crime-fighting identity
- Unified construction: Employ consistent stretch fabrics with magnetic closures for synchronized mobility
- Proportional alignment: Sketch over croquis templates to maintain cohesive shapes and reproducible design elements
This collaborative process merges classic superhero aesthetics with innovative team-specific traits, creating practical costumes that enhance coordinated action sequences.
Adding Dimensional Details With Prosthetics and Padding
Strategic prosthetic application transforms flat costume surfaces into anatomically convincing superhuman forms through layered latex construction and precision padding techniques.
Begin latex appliance molding by casting your face in plaster, then applying thin latex layers over the smoothed, wood-glue-sealed mold. Powder each dried layer before carefully extracting with tweezers, maintaining gossamer-thin edges for seamless foundation blending.
For muscle padding proportions, sculpt EVA foam sheets into anatomical forms, then fill with cotton wool or pillow padding. Adhere these dimensional pieces directly onto compression lycra undersuits using contact cement, protecting your skin with plastic wrap during application. Layer a secondary lycra suit over the padding, creating unified muscle definition.
Heat-formed EVA shoulder armor adds superhuman bulk—apply Plasti Dip coating before acrylic finishing. This systematic approach delivers professional-grade dimensional realism.
Heat Shaping Methods for Dynamic Costume Pieces
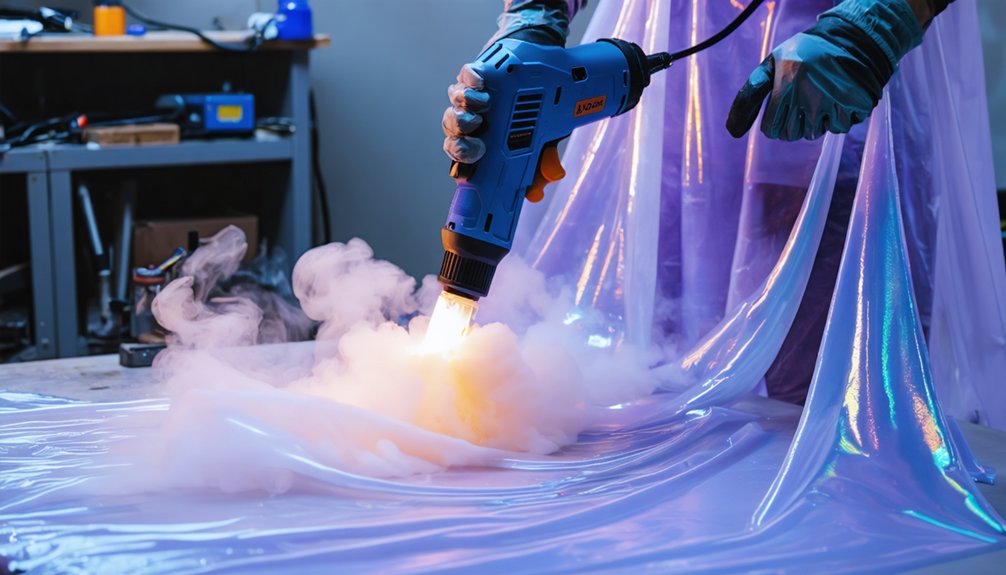
Multiple thermal manipulation techniques enable cosplayers to transform rigid materials into flowing, three-dimensional costume elements that capture superhero dynamism. Industrial infrared molding techniques revolutionize traditional crafting by offering precision control over EVA foam armor curves and thermoplastic prop construction.
Heat-shaping technology transforms flat costume materials into dynamic armor pieces, giving cosplayers professional-grade control over superhero aesthetic construction.
Essential Heat Shaping Applications:
- EVA Foam Armor: Use low heat settings moving from corner to corner, creating chest plates and forearms. Larger pieces require highest settings with front-and-back heating for structural integrity.
- Thermoplastic Props: Heat guns outperform water baths for polymorph materials, enabling targeted section work and complex mask construction through repeated reshaping cycles.
- Thermal Shaping of Polycarbonate Sheets: Boil wrapped fabrics at 180°C for 40+ minutes using 3D molds, achieving permanent pleating and crease-resistant sculptural forms.
- Weathering Effects: Singe organic fabric edges for battle-worn aesthetics, avoiding synthetic materials that combust unpredictably.
Frequently Asked Questions
How Do I Maintain and Clean Foam Armor Between Conventions?
Store your armor in dust-free conditions while preserving foam armor integrity. For cleaning foam armor between events, you’ll wipe painted surfaces with damp rags, air-dry components thoroughly, and inspect meticulously for damage before storage.
What’s the Best Way to Transport Bulky Costumes Without Damage?
Studies show 60% of costume damage occurs during transit. You’ll need rigid hardshell cases with foam inserts as packing materials for fragile components, while modular storage solutions for large pieces enable stackable configurations that protect structural integrity throughout transportation.
How Can I Make My Costume Comfortable for All-Day Wear?
Choose breathable fabric selections like 125+ GSM materials and leather components to prevent heat retention. Execute proper fit adjustments through precise body measurements, compression underlayers, and strategic padding at pressure points—ensuring unrestricted mobility throughout extended convention wear.
What Lighting Techniques Enhance Costume Photography at Events?
Paint with light like a master: you’ll command attention using portable studio lighting with softboxes for controlled illumination, while harnessing natural lighting through strategic positioning near windows or golden-hour outdoor spots to sculpt dimensional, magazine-worthy superhero portraits.
How Do I Modify Patterns for Different Body Types?
You’ll modify patterns by adjusting size through slashing and spreading techniques, then customizing fit with mock-up testing. Pinch excess fabric along seams, mark adjustments with disappearing ink, and transfer alterations to accommodate your unique body proportions perfectly.