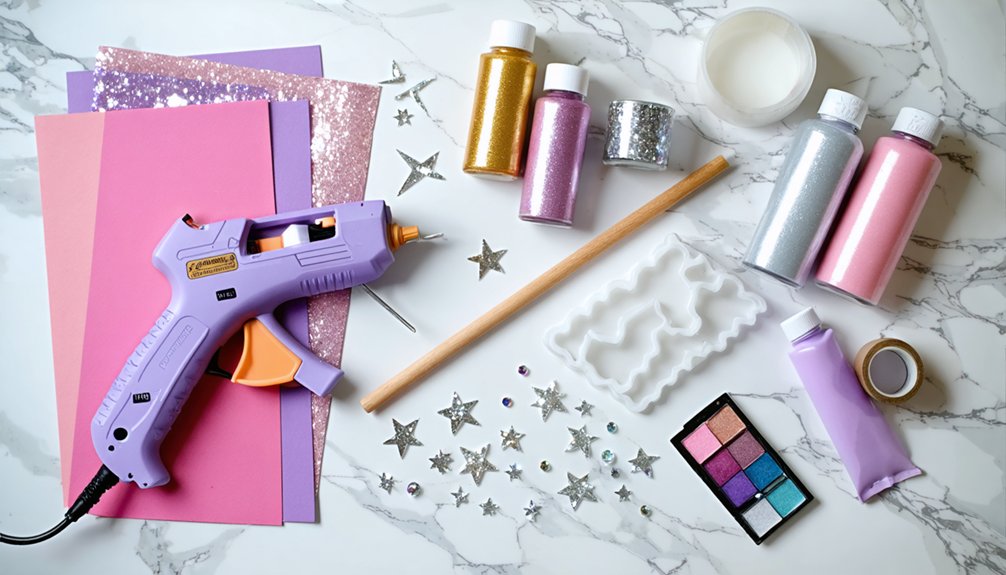
You’ll need wooden dowels (¼″ or ½″ depending on length), 18-gauge craft wire for star frames, and 2mm craft foam or Worbla thermoplastic for sculpted accents. Bond everything with hot glue for quick assembly or Barge contact cement for heavy-duty connections. Finish with Montana GOLD spray paint, grosgrain ribbons, and crystal sequins for authentic magical-girl flair. Stick around to discover exactly how each material transforms a basic build into a stunning statement piece.
Key Takeaways
- Beginner builds use chopsticks or ¼″ dowels, 2mm craft foam, and hot glue for simple, lightweight wand construction.
- Intermediate builds require ½″ wooden dowels, 18-gauge wire frames, and Montana GOLD spray paint for enhanced durability.
- Advanced wands use Worbla Black Art thermoplastic, Barge contact cement, and Plasti-Dip coating for professional-quality results.
- Finishing materials include grosgrain ribbon, crystal sequins, glitter glue, and themed toppers like stars or hearts.
- Essential tools include wire cutters, a hot glue gun, scissors, 120-grit sandpaper, and auto-filler primer spray.
What Separates an Authentic Magical Girl Wand From a Cheap One?
When you hold a high-quality magical girl wand next to a cheap one, the difference is immediate and physical — the authentic build has weight distribution, layered texture, and intentional surface detail that a mass-produced plastic toy simply can’t replicate.
Genuine wand functionality depends on structural integrity: a wooden dowel core, heat-molded Worbla accents, and foam sculpting that responds deliberately to design intent. Cheap wands skip these layers entirely, leaving you with hollow plastic that wobbles and reflects light poorly.
Magical girl aesthetics demand precision — crisp painted edges, metallic spraypaint with actual sheen, and embellishments that stay anchored under convention conditions.
You’re not just building a prop; you’re engineering a statement piece where every material choice compounds into something that reads as real from across a crowded room.
Magical Girl Wand Base Materials: Dowels, Wire, and Foam Cores
That structural integrity starts before you ever apply paint or glitter — it lives inside the wand, in the spine you choose to build around. Your dowel rod types determine everything: ½″ wooden dowels handle longer wand length considerations beautifully, while ¼″ rods or chopsticks maximize lightweight material benefits for delicate builds.
Wire gauge selection matters equally — 18-gauge craft wire bends precisely around star cookie cutters, creating rigid decorative frames without adding bulk. For grip design choices, 10mm HD foam prism dowels deliver ergonomic control layered seamlessly over wooden cores.
Foam thickness options — from 2mm craft sheets to 2″ Styrofoam balls — expand your decorative layering techniques dramatically. Apply structural stability tips early: reinforce joints with Barge contact cement before any surface treatment begins.
How to Shape Your Magical Girl Wand With Foam and Thermoplastics
Shaping foam transforms your raw wand skeleton into something that actually looks magical — and the technique you choose determines how crisp your final details read.
For organic curves, cut 2mm craft foam sheets into petal or geometric shapes, then heat-form them against rounded surfaces like Styrofoam balls. Layering foam sculpting techniques this way builds dimensional depth without adding significant weight.
For harder, more defined accents, Worbla Black Art thermoplastic molding methods deliver precision — heat the sheet with a heat gun until pliable, press it firmly over your wire frame or cookie cutter template, then hold until it sets rigid.
Pink spackle fills seams between layers seamlessly. Finish with auto-filler primer to unify textures before painting, ensuring clean paint adhesion across both foam and thermoplastic surfaces.
Which Adhesives Hold Magical Girl Wand Parts Together?
When layering foam pieces together, you’ll want to reach for 3M Super 77 spray adhesive, which bonds lightweight foam sheets quickly without warping or adding bulk to your wand’s sculpted details.
For heavier-duty connections—like securing Worbla Black Art thermoplastic accents to a wooden dowel core—you’ll need Barge contact cement, which creates a flexible yet iron-strong bond between dense, dissimilar materials.
Apply the Barge to both surfaces, let it tack for 60–90 seconds, then press the parts together firmly for a permanent, stress-resistant joint that’ll survive the rigors of a full convention day.
Foam Layering Spray Adhesives
Bonding foam layers on a magical girl wand demands the right adhesive for each material pairing, and 3M Super 77 spray adhesive is your go-to for lightweight foam-to-foam connections.
Among spray adhesive types, Super 77 excels because it delivers a fast-tacking, flexible bond without saturating delicate 2mm craft foam sheets. Apply it in short, even bursts at 6–8 inches from the surface, letting it flash off for 30 seconds before pressing layers together.
For foam adhesion techniques involving denser materials like Worbla or insulation foam, upgrade to Barge contact cement, which handles heavier stress points more reliably.
Always work in a ventilated space and use masking tape to protect painted sections from overspray, keeping your wand’s decorative details crisp and undamaged throughout assembly.
Bonding Dense Plastic Parts
Three adhesives stand out when you’re securing dense plastic components on a magical girl wand, and choosing the wrong one means failed bonds mid-convention.
Barge contact cement dominates adhesive comparisons for Worbla Black Art thermoplastic — apply it to both surfaces, let it tack for 90 seconds, then press firmly for an immediate aggressive bond.
Black Plasti-Dip spray adds a secondary bonding technique by creating a unified flexible coating that locks layered plastic sections together structurally.
Auto-filler primer spraypaint prepares slick plastic surfaces before any adhesive application, giving Barge and Plasti-Dip something to grip.
Never skip surface preparation — glossy plastic rejects adhesives instantly.
For best results, combine mechanical roughening with 120-grit sandpaper alongside chemical bonding for connections that survive transport, posing, and full convention-day handling.
How to Frame and Mold Wire for Magical Girl Wand Stars and Tips
For wire framing, you’ll want to work with 18-gauge craft wire in gold or anodized aluminum, since both materials hold their shape well after bending while remaining lightweight enough for extended wear.
To mold a clean star tip, press your wire firmly around a 4-inch star-shaped cookie cutter, tracing each point precisely before twisting the tail ends together to lock the frame closed.
Once you’ve shaped your star, secure the wire tip directly onto your dowel handle by wrapping the twisted tail tightly in overlapping coils. Then reinforce the joint with a bead of hot glue to prevent rotation or slippage during use.
Choosing Wire Frame Materials
When framing the star or decorative tip of a magical girl wand, your two best wire options are 18-gauge craft wire in gold or anodized aluminum—both sturdy enough to hold a defined shape yet flexible enough to bend without snapping.
Your wire gauge directly impacts frame stability and weight distribution; thinner wire risks sagging under embellishments, while 18-gauge maintains structural integrity without adding bulk.
For bending techniques, use a 4-inch star-shaped cookie cutter as a molding template to achieve clean, symmetrical wire connections and precise design intricacies.
Anodized aluminum enhances wire aesthetics with a polished finish, while gold craft wire adds warmth.
Both support frame flexibility during assembly, letting you adjust angles without compromising the final structure’s balance or visual impact.
Molding Stars With Templates
Using a 4-inch star-shaped cookie cutter as your molding template transforms freehand guesswork into a repeatable, symmetrical process. Press your 18-gauge craft wire firmly against the cutter’s interior edges, tracing each point with precision.
These molding techniques eliminate inconsistency across multiple star variations, ensuring uniform proportions throughout your build.
For template adjustments, layer two wire outlines offset by 15 degrees, creating a double-star silhouette that adds dimensional complexity. When incorporating Worbla Black Art thermoplastic, heat application softens the material enough to press directly over your cookie cutter, capturing every sharp angle cleanly.
Draw design inspirations from celestial motifs—elongate specific star points asymmetrically for a dynamic, otherworldly feel.
Secure completed wire frames with a tight spiral wrap at each intersection point before moving toward surface detailing.
Securing Wire Wand Tips
Once your wire star frame is shaped, securing the tips keeps the structure rigid and prevents unraveling during handling or display.
Apply these wire securing techniques to lock each point cleanly before decorating wand tips with foam or paint layers.
- Wrap 18-gauge wire tightly around each star point using 3–4 overlapping coils.
- Seal wrapped joints with a small hot glue bead for instant adhesion.
- Reinforce high-stress intersections using Barge contact cement for dense holds.
- Coat finished wire tips with Black Plasti-Dip spray for grip and durability.
- Clip secured sections with binder clips while adhesives cure completely.
Once every tip is locked down, your frame becomes a stable armature ready for Worbla Black Art thermoplastic molding or acrylic paint detailing without structural compromise.
Primers, Paints, and Sprays for a Polished Magical Girl Wand Finish
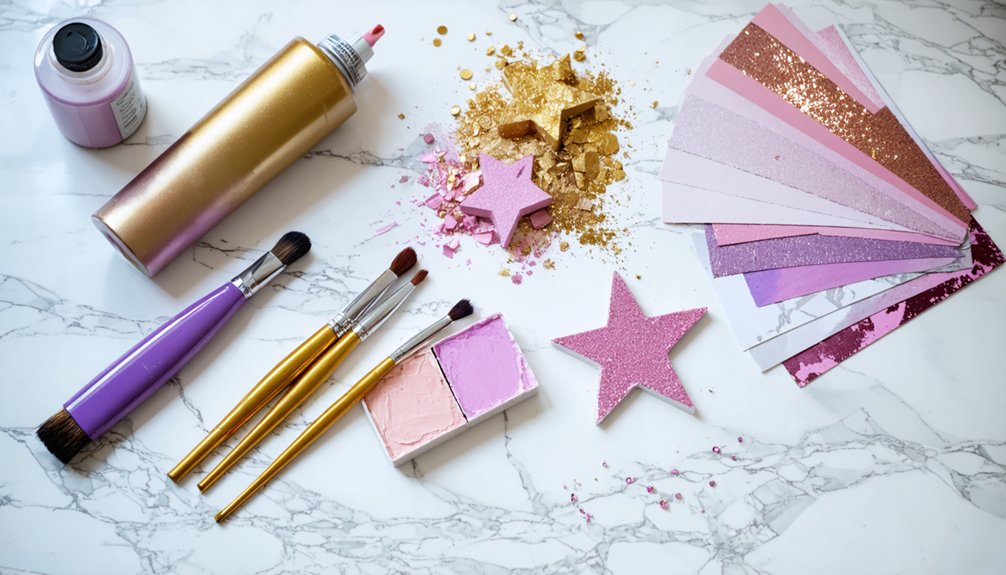
Achieving a smooth, professional finish on your magical girl wand starts long before you pick up a paintbrush.
Begin with surface preparation tips: sand your dowel using 120-grit sandpaper, then apply auto-filler primer spraypaint to seal foam and wood simultaneously. This primer types comparison matters — spray primer penetrates uneven surfaces faster than brush-on alternatives.
For color layering strategies, start with Montana GOLD light blue as your base, letting each coat cure fully before adding Rustoleum Chrome Gold for spray paint effects along raised edges.
Use acrylic vs spray judgment wisely — hand-brush black and light pink acrylics for precise detailing with paint on small sculptural accents.
Finally, apply paint application techniques like dry-brushing for depth, finishing with glitter glue as finishing touches ideas for signature sparkle.
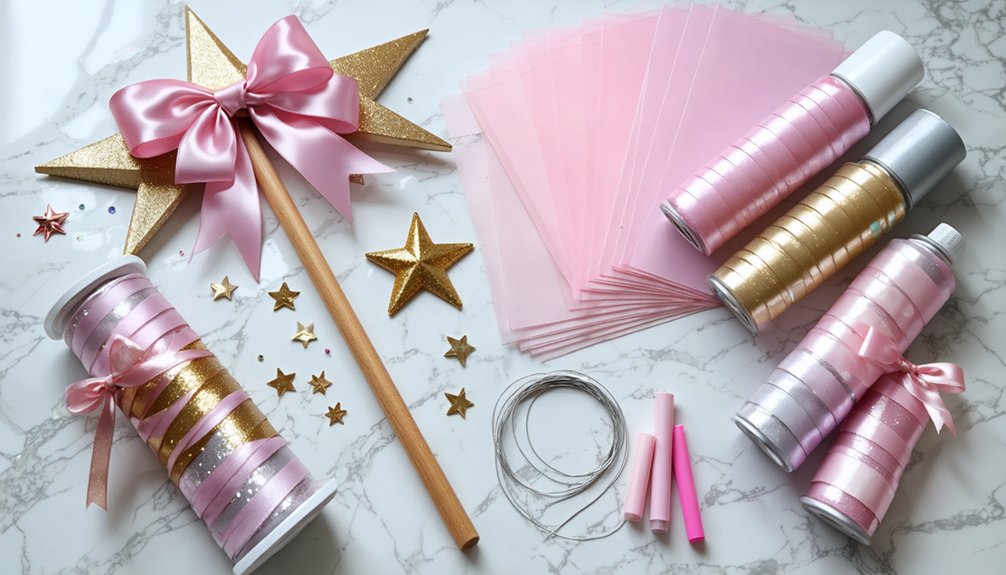
Ribbons, Crystals, and Toppers That Define Magical Girl Wand Style
Cut your ½″ grosgrain or satin ribbon into 6–7 foot lengths and snip the streamer ribbons diagonally to prevent fraying, giving your wand a clean, professional flutter.
Press 6mm or 8mm crystal sequins into hot glue at strategic focal points—around the topper base or along the handle—to catch and scatter light with maximum visual impact.
For your topper, choose between a wire-framed star molded over a 4-inch cookie cutter, a 2″ Styrofoam ball sculpted with 2mm craft foam accents, or a dangly crystal threaded through a hole and secured with florist wire for elegant movement.
Ribbon Length And Cutting
Ribbons bring the signature flutter and flow to any magical girl wand, so you’ll want to cut two distinct lengths — 6 to 7 feet for your primary grosgrain or satin streamers and 14 inches for shorter accent ribbons. Snipping each end at a clean diagonal to prevent fraying and create that tapered, dynamic look when the wand moves through the air.
Master these ribbon techniques and ribbon types for excellent results:
- Use grosgrain for structured, dimensional movement
- Choose satin when you need high-sheen, fluid drape
- Always cut diagonally at 45-degree angles
- Apply fray check immediately after cutting each edge
- Layer contrasting ribbon types for dimensional visual depth
Both lengths serve distinct choreographic purposes — long ribbons trail dramatically, while short accents amplify the wand’s topper details.
Crystal And Sequin Placement
Every crystal and sequin you place transforms a simple wand topper into a light-catching focal point, so you’ll want to anchor your 6mm or 8mm crystal sequins directly at high-visibility junctions — where ribbons meet the topper base, along the wand’s neck, and at any geometric foam seams.
Strategic crystal placement at these structural intersections conceals raw edges while maximizing sparkle refraction.
For sequin arrangement, work outward from a central dangly crystal — ideally threaded through its pre-drilled hole and secured with fabric glue — then radiate sequins in a tight spiral or starburst pattern using a hot glue gun for precision bonding.
Press each sequin firmly for three seconds before releasing. Layer translucent sequins over opaque ones to create dimensional depth, letting light diffuse across multiple planes simultaneously.
Choosing Wand Toppers
What crowns your wand’s tip ultimately defines its magical girl identity, so choose your topper shape — star, crescent, heart, or floral bloom — based on your character’s thematic archetype before selecting any subordinate embellishments. Wand topper styles directly influence your structural approach, since a 4-inch star cookie cutter frames 18-gauge wire beautifully, while Styrofoam balls support rounded floral configurations. Layer decorative embellishments strategically after locking your core silhouette.
Consider these construction-defining decisions:
- Wire-framed stars accept Worbla Black Art overlays for rigid definition
- Foam floral toppers benefit from 2mm craft foam petal layering
- Crystal dangles require pre-drilled holes or florist wire wrapping
- Crescent shapes need internal dowel armatures for cantilever stability
- Heart toppers seal cleanly with Plasti-Dip before chrome gold finishing
Magical Girl Wand Materials Ranked by Budget and Skill Level
Whether you’re a first-time cosplayer working with a tight budget or a seasoned prop-maker ready to invest in professional-grade thermoplastics, the materials you choose will directly shape your wand’s durability, finish quality, and build complexity.
Beginner tier pairs chopsticks or ¼″ dowels with 2mm craft foam and hot glue, keeping costs minimal while you explore magical themes through simple shapes and acrylic paint.
Intermediate builders should upgrade to ½″ wooden dowels, 18-gauge wire frames, and Montana GOLD spraypaint for cleaner metallic finishes that elevate your wand design inspiration.
Advanced tier demands Worbla Black Art thermoplastic, Barge contact cement, and Plasti-Dip coating, delivering professional rigidity and precision detailing that handles convention wear without structural compromise.
Tools You Need Before Building a Magical Girl Wand
Once you’ve locked in your material tier, the right tools will determine whether those materials perform as intended or fight you at every step.
Executing advanced wand design concepts demands precision instruments that match your crafting techniques.
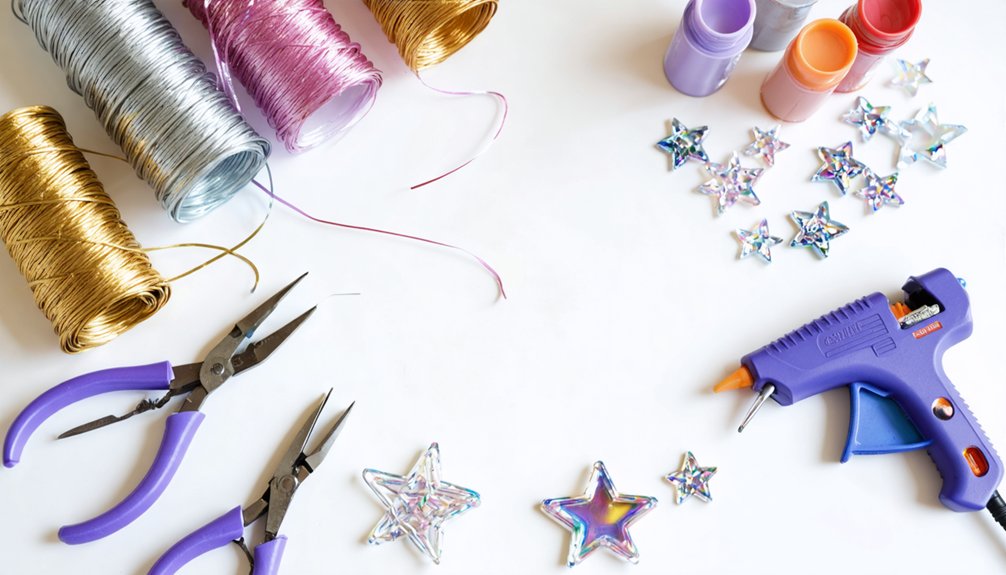
Essential tools before you start:
- Wire cutters — cleanly trim 18-gauge craft wire without fraying or distortion
- Hot glue gun — rapidly bonds ribbons, sequins, and foam layers with controlled placement
- Scissors — cut grosgrain ribbon, streamer lengths, and craft foam with accuracy
- 120-grit sandpaper — smooths wooden dowel surfaces before priming or painting
- Binder clips with fray check — stabilizes fabric edges during adhesive curing
Skip any one of these, and your build introduces preventable errors that compromise structural integrity and visual polish.
Where to Buy Magical Girl Wand Cosplay Supplies Online
Knowing where to source each material separates a smooth build from a frustrating parts hunt. For structural components like dowel rods and craft wire, check Home Depot or Amazon.
Worbla Black Art and 10mm HD foam prism dowels are reliably stocked at Cosplay Supplies or Worbla’s official site. Montana GOLD and Rustoleum Chrome Gold sprays are available through hardware retailers and Dick Blick Art Materials.
For DIY wand embellishments like crystal sequins, grosgrain ribbon, and sparkly fabric paint, Etsy shops offer curated selections driven by magical girl inspirations.
Michael’s and JoAnn carry 2mm craft foam, hot glue sticks, and fray check. Barge contact cement and Plasti-Dip ship efficiently through Amazon Prime.
Cross-referencing multiple suppliers guarantees you’re never stalled waiting on a single critical part.
Frequently Asked Questions
Can Magical Girl Wands Be Safely Used by Young Children at Conventions?
You can let young children use magical girl wands at conventions, but you’ll want to prioritize safety concerns by ensuring child supervision remains constant, avoiding sharp wire edges, and selecting lightweight foam-based builds over rigid dowel constructions.
How Long Does a Completed Magical Girl Wand Typically Last Before Deteriorating?
Your wand’s durability depends on materials and care. With proper maintenance tips—resealing Plasti-Dip, touching up acrylics, and storing ribbons carefully—you’ll extend its lifespan to several convention seasons before noticeable deterioration occurs.
Are Magical Girl Wand Materials Allowed Through Airport Security When Traveling?
You’ll likely clear airport security with most magical girl wand materials, but check cosplay regulations carefully — TSA flags sharp wire cutters, Plasti-Dip sprays, and Barge cement as restricted carry-on items requiring checked baggage instead.
Can Leftover Magical Girl Wand Materials Be Repurposed for Other Cosplay Projects?
You can absolutely repurpose leftover materials for creative projects! For example, use excess Worbla and foam in repurposing techniques for armor builds. Your ribbons, wire, and crystals transform beautifully into fairy wings or fantasy crowns.
How Should Finished Magical Girl Wands Be Stored to Prevent Damage?
Store your finished wands vertically in padded PVC tubes for ideal wand protection. You’ll maximize storage solutions by wrapping delicate foam details in acid-free tissue, preventing crushing, color transfer, and moisture damage to your thermoplastic accents.
References
- https://www.youtube.com/watch?v=0DE-RBs2DI4
- https://craftwhack.com/diy-magic-wand/
- https://www.miniaturesweethk.com/products/magical-girl-wand-making-kit-mahou-kei-magic-wand-diy-kit-kawaii-craft-supplies
- https://www.youtube.com/watch?v=dasz7QCmbUQ
- https://www.youtube.com/watch?v=f5tO78NdJfk
- https://www.youtube.com/watch?v=TNnqAsBj2N8
- https://www.etsy.com/listing/1807391847/heart-magic-wand-diy-cosplay-kit-magical
- https://andreasnotebook.com/handmade-dress-up-diy-fairy-wand-tutorial/
- https://www.sandiegofamily.com/things-to-do/seasonal-happenings/how-to-make-fairy-wand
- https://www.reddit.com/r/cosplayprops/comments/1ta9970/help_how_should_i_make_this_wand/