Armor cosplay construction is essential because it determines whether your costume survives a full convention day or falls apart within hours. You need proper materials, precise patterns, and durable assembly techniques to achieve accurate screen representation while maintaining comfort and mobility. Without solid construction fundamentals, even the most visually impressive designs fail structurally. Getting your build process right also guarantees you’ll meet convention safety requirements. The sections ahead break down exactly how to nail every stage.
Key Takeaways
- Proper construction ensures armor pieces fit accurately to body measurements, preventing discomfort or restricted movement during extended wear.
- Selecting appropriate materials like EVA foam or thermoplastics balances flexibility, rigidity, and lightweight comfort for realistic-looking costumes.
- Structured assembly techniques, including contact cement and metal reinforcements, provide durability that withstands convention wear and active movement.
- Accurate patterning using mock-ups guarantees costume pieces conform naturally to curved body surfaces without gaps or misalignment.
- Finishing processes like sealing, painting, and edge smoothing enhance realism while ensuring safety compliance at cosplay events.
Plan Your Armor Cosplay Before You Cut Anything
Before cutting a single piece of EVA foam or thermoplastic, you’ll need a solid plan that covers reference accuracy, body measurements, and material choices. Gather concept art, screenshots, and fan art to capture every design detail, including historical influences and cultural symbolism embedded in the armor’s aesthetic.
Take precise body measurements—forearm length, hand width, and shoulder width—to establish correct scaling. Create a duct tape dummy for draping complex curved sections accurately.
Test functionality using paper mock-ups before committing to expensive materials. This approach exposes design flaws early, saving both time and cost.
Always preserve backup pattern copies, allowing future alterations without rebuilding templates from scratch. Structured pre-construction planning directly determines whether your finished armor achieves visual fidelity and structural integrity throughout the entire build process.
Choose the Right Materials for Every Armor Piece
Once you’ve locked in your design plan, material selection becomes the next critical decision that’ll determine your armor’s durability, weight, and overall wearability. High-density EVA foam delivers exceptional material flexibility, letting you shape curved surfaces while keeping total costume weight manageable during long convention hours.
For rigid components like breastplates and helmets, thermoplastics offer superior heat-shaping precision that EVA foam can’t match.
Cost effective sourcing means prioritizing expensive thermoplastics only where structural rigidity matters most, while reserving EVA foam for articulated sections requiring movement. Always seal foam surfaces with primer before painting—this prevents moisture absorption and dramatically improves paint adhesion.
Use contact cement over hot glue for permanent bonds at high-stress attachment points. Your material choices directly determine whether your armor survives one event or twenty.
Pattern and Mock-Up Each Section for Exact Fit
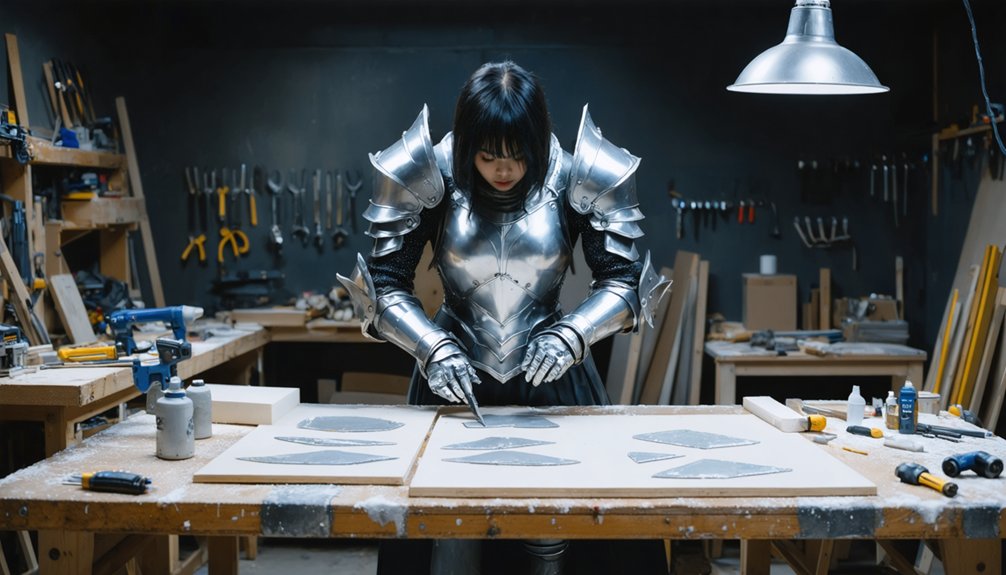
Accurate patterning transforms your design sketches into wearable armor that fits your body precisely. You’ll use plastic wrap and tape to capture exact body contours, then cut flat pattern guides that account for fabric layering across curved surfaces. Paper mock-ups validate every dimension before you commit to EVA foam or thermoplastics.
- Trace arm outlines with 1-inch allowances for snug bracer patterns.
- Test paper mock-ups for mobility before cutting final materials.
- Analyze layer separation points where armor moves versus stays rigid.
- Apply color matching references during mock-up stages to anticipate paint depth.
- Keep backup templates for future alterations without rebuilding from scratch.
Mock-up testing eliminates costly errors, ensuring each section aligns perfectly when adhesive bonds permanently during final assembly.
Build Armor Pieces That Stay Together Under Pressure
Building armor that survives a full convention day requires adhesives and attachment systems that handle constant movement, friction, and stress. Contact cement outperforms hot glue at high-stress bond points, creating flexible yet durable connections that won’t separate mid-event.
Contact cement creates flexible, durable bonds that survive a full convention day without separating under stress.
You’ll want to reinforce critical joints with metal reinforcement strips embedded beneath foam layers, distributing load across broader surface areas rather than concentrating stress at single points.
For joint articulation, layer overlapping armor sections using elastic webbing or chicago screws, allowing natural movement without compromising structural cohesion.
Test every connection through full range-of-motion exercises before finalizing assembly.
Velcro backing on internal attachment points adds redundant security at shoulder and chest connections.
Smooth all exterior seams with a rotary sanding drum, eliminating stress-concentration edges that accelerate material fatigue during extended wear.
Finish and Paint Your Armor for a Screen-Accurate Look
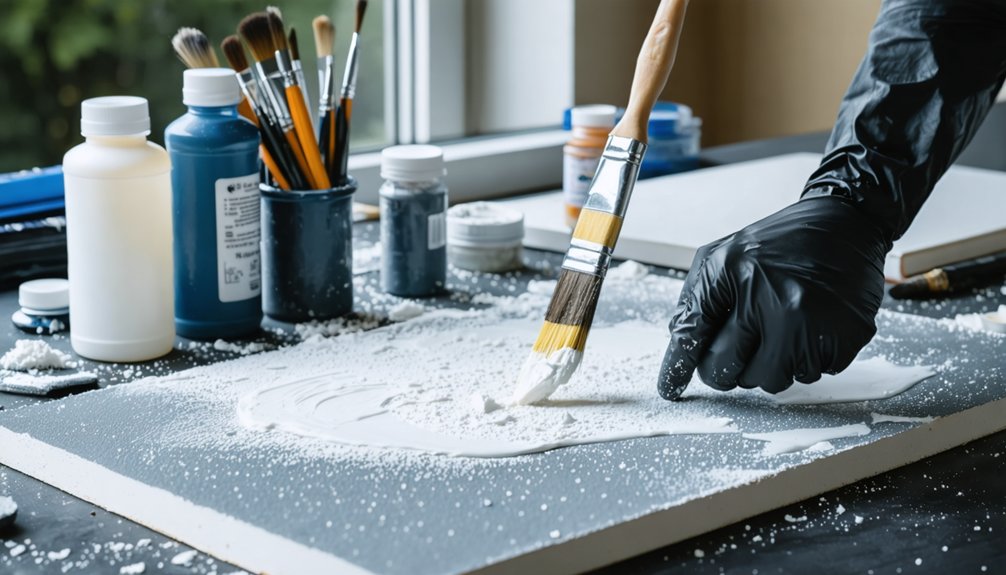
Achieving a screen-accurate finish starts with sealing your foam before any paint touches the surface. Primer locks out moisture and creates adhesion for precise paint application across every armor section.
- Apply multiple thin coats rather than single heavy layers to preserve underlying texture details.
- Use weathering techniques like dry-brushing with minimal black paint to define cracks and recessed edges.
- Heat seal painted surfaces with a hair dryer to accelerate drying between coats.
- Layer base colors before adding battle damage, oxidation, or metallic highlights for visual depth.
- Remove accidental paint spills immediately while coats remain thin and workable.
These steps transform raw foam into convincing screen-accurate armor. Controlled weathering techniques and disciplined paint application separate amateur builds from professional-grade costumes that hold up under convention lighting and photography.
Meet Convention Safety Rules Without Sacrificing Design
Convention rules typically prohibit sharp edges, rigid protrusions, and oversized weapons that could injure attendees, so you’ll need to address these restrictions before you finalize your build. Sand all foam edges smooth and round every protruding point to eliminate injury risks while preserving visual accuracy. For cosplay comfort during extended wear, internal surfaces must be finished cleanly to prevent skin irritation against exposed areas.
Achieving mithril durability without sacrificing design integrity requires strategic material choices. Use high-density EVA foam for structural pieces and reinforce attachment points with contact cement and elastic straps rather than rigid fasteners.
Test normal movement patterns including sitting, turning, and navigating doorways to confirm your armor won’t restrict circulation or separate under stress. Compliance-ready construction doesn’t compromise screen accuracy—it refines your execution.
Frequently Asked Questions
How Long Does a Complete Armor Cosplay Typically Take to Build?
You’ll typically spend 40–200+ hours building complete armor cosplay, depending on complexity. Your fabric selection, foam fabrication, and painting techniques each demand precise time investment, so you’re planning meticulously to innovate efficiently.
Can Beginners Successfully Create Armor Cosplay Without Prior Crafting Experience?
Ironically, you don’t need experience to start — beginners can absolutely build armor cosplay. Follow beginner tips like paper mock-ups, test movements for cosplay safety, and use EVA foam before attempting complex thermoplastics.
How Do You Transport Large Armor Pieces Safely to Conventions?
Pack your armor storage containers with foam padding to guarantee transportation safety. You’ll want to disassemble large pieces, label each section, and secure them with bubble wrap, preventing damage during transit to conventions.
What Is the Average Cost of Building a Full Armor Cosplay?
Like medieval blacksmiths budgeting steel, you’ll typically spend $200–$800 on a full armor cosplay. Your fabric selection and armor detailing costs vary based on thermoplastics, EVA foam, adhesives, and paint complexity you’re innovating with.
How Do You Repair Armor Cosplay Damage Quickly During an Event?
Keep a repair kit with contact cement, spare EVA foam, and Velcro for quick fixes. You’ll restore cosplay safety fast by patching cracks and reattaching loose pieces using your repair tools between event activities.
References
- https://www.archaia.com/safe-cosplay-weapons-and-armor-for-festivals-how-rules-and-materials-are-changing-crafting/
- https://learn.ganknow.com/course/crafting-cosplay-armor-materials-and-prop-construction-tips/
- https://cosplayculture.com/2018/10/13/cosplay-101-armor-construction-with-arda-wigs-part-2/
- https://www.youtube.com/watch?v=sTVkIAmwH5w
- https://www.mmoday.com/creating-realistic-cosplay-armor-techniques-and-tools/
- https://cosplayculture.com/2018/10/12/cosplay-101-armor-construction-with-arda-wigs-part-1-patterning/
- https://cosplayadvice.com/cosplay-armor/
- https://www.famcut.com/blogs/tips-and-tricks/how-to-make-cosplay-armor
- https://fancymasks.com/how-to-make-cosplay-armor-safe-for-conventions/
- https://www.youtube.com/watch?v=Ns75Zz83-3k