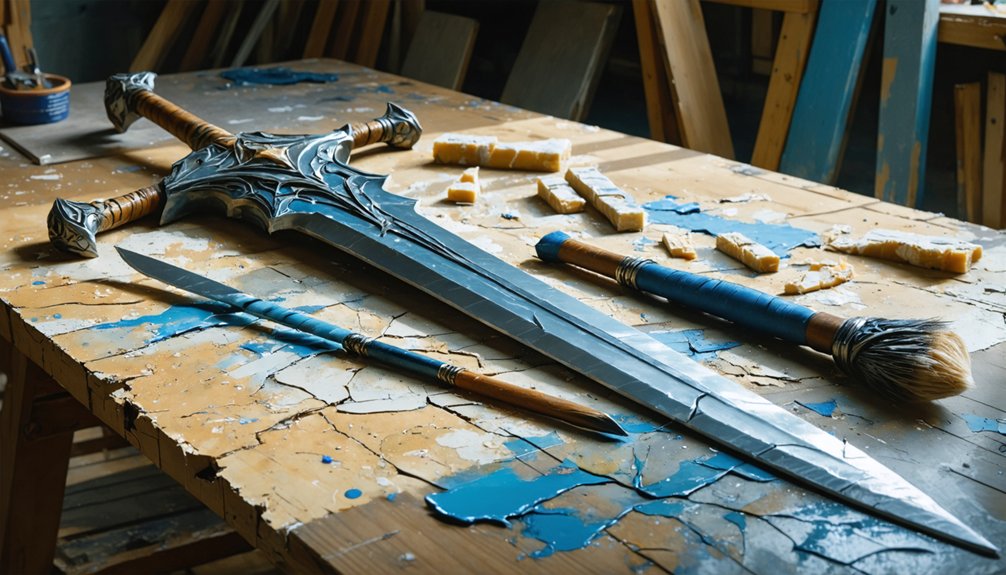
Proper construction determines whether your anime armor reads as an accurate recreation or falls apart under event lighting. You need precise scaling, validated mockups, and controlled heat-shaping to match a character’s silhouette and proportions. Skipping structural steps causes distorted edges, poor fit, and paint that absorbs unevenly. Your sealing, layering, and adhesive choices directly affect mobility, durability, and photographic quality. Every principle covered ahead builds toward armor that holds up when it matters most.
Key Takeaways
- Proper construction ensures accurate proportions and silhouettes, maintaining character recognition and preserving the symbolic integrity of the armor design.
- Correct scaling and fit prevent costly rework, keeping measurements aligned with body proportions for a polished, professional appearance.
- Sealing and painting techniques rely on proper construction to ensure even color absorption, sharp edges, and photographic clarity.
- Well-constructed armor balances rigidity and flexibility, allowing natural movement in high-stress zones like shoulders, elbows, and hips.
- Safe construction practices, including proper ventilation and tool usage, protect builders while ensuring durable, high-quality results.
The Core Construction Principles Behind Accurate Anime Armor
When building anime cosplay armor, you’ll need to prioritize visual accuracy above all else. Match every piece against high-resolution character references and concept art, ensuring proportions align precisely with your body’s measurements. Distorted silhouettes undermine the cultural symbolism embedded in a character’s design, erasing intentional visual storytelling.
Apply realistic layering techniques that replicate the multi-layered construction found in anime source material. Much like historical armor relied on strategic material stacking for functionality, your foam construction demands the same methodical sequencing. Use 5mm EVA foam for top layers and 10mm for structural base layers.
Before cutting expensive materials, build paper or duct tape mockups to verify design integrity early. Sharp, defined edges require precise beveling, so test your shaping techniques on scrap pieces first.
Why Visual Accuracy Makes or Breaks Anime Armor Cosplay
Accurate scaling and layering give your armor its structural foundation, but visual fidelity determines whether viewers recognize the character at all. Much like historical armor demanded exact proportions to communicate rank and identity, your anime builds require the same disciplined attention to detail.
Precise scaling isn’t optional — it’s what transforms foam and paint into a recognizable character.
Reference high-resolution concept art and match every bevel, edge angle, and surface contour precisely. Medieval craftsmanship succeeded through meticulous replication of established forms — apply that same methodology when scaling measurements to your body proportions.
Distorted silhouettes immediately signal poor construction to experienced cosplay audiences. Sharp, defined edges characteristic of futuristic designs require deliberate shaping with heat guns and precise knife work.
Verify your design integrity through paper mockups before committing to EVA foam, ensuring visual accuracy is locked in early.
How to Scale Anime Armor Patterns to Your Body Proportions
Scaling anime armor patterns correctly requires you to treat your body as the blueprint, not an afterthought. Measure your circumferences, lengths, and joint placements precisely before drafting any pattern. Just as historical armor smiths fitted plate to the individual warrior, you must anchor every panel to your actual proportions.
Use a ratio system: divide your reference image into a grid, then map those grid units to your body measurements. This prevents the distorted silhouettes that plague mythical designs when builders ignore proportion.
Transfer measurements onto paper mockups first, verifying fit before touching EVA foam.
Mark tick points at key anatomical landmarks — shoulders, elbows, and wrists — ensuring symmetry across both sides. Accurate scaling eliminates costly rework and guarantees your finished armor reads correctly at any distance.
How to Work Safely With Foam, Heat Guns, and Adhesives
When working with EVA foam, heat guns, and adhesives, you’ll need to prioritize workspace ventilation by opening windows and running fans to disperse fumes from contact cement and super glue.
You should keep your heat gun 6–12 inches from the foam surface, using scrap pieces to practice controlled passes before committing to your main components.
Choose your adhesives based on foam thickness and joint stress requirements, reading all safety instructions before application to prevent skin irritation or structural failure.
Ventilating Your Workspace Properly
Proper ventilation is non-negotiable when working with contact cement, super glue, or heat guns, as each releases fumes that accumulate quickly in enclosed spaces. You’ll want to open windows, activate exhaust fans, and position a cross-ventilation airflow path before starting any bonding or heating process.
When applying adhesives that’ll later receive paint mixed with precise color theory formulations, trapped fumes can compromise both your health and the coating’s adhesion quality. Outdoors or semi-open garages remain ideal workspaces.
If you’re indoors, wear a respirator rated for organic vapors. This precaution extends to finishing costume accessories attached with contact cement, where prolonged exposure during detail work is common.
Never assume brief exposure is harmless—cumulative fume inhalation degrades your focus, precision, and long-term respiratory health.
Heat Gun Safety Techniques
Heat guns transform flat EVA foam into curved, contoured armor pieces, but mishandling them causes irreversible surface damage or outright melting. Maintain a 6-12 inch distance between the nozzle and your cosplay costume components, moving the gun continuously rather than holding it stationary.
Work on scrap pieces first to calibrate temperature response before committing to primary armor sections.
Fabric selection within your underlayer assembly affects heat transfer, so account for material proximity when shaping adjacent components. Apply heat in short, controlled bursts, monitoring the foam’s surface for subtle texture shifts that signal suitable pliability.
Once you’ve achieved the desired curve, press the piece firmly against a form and hold it until fully cooled. Never redirect heat toward adhesive-bonded seams, as concentrated temperature exposure weakens contact cement bonds instantly.
Choosing Safe Adhesives
Selecting the right adhesive for your foam armor determines both structural longevity and personal safety during construction. Contact cement delivers superior bond strength for layered EVA foam, making it ideal for structural armor design components. You’ll want to apply thin, even coats to both surfaces, letting each layer become tacky before pressing them together.
Hot glue works efficiently for costume accessories and lightweight decorative elements but lacks the resilience needed for high-stress joints. Always work in well-ventilated spaces when using contact cement, as fumes accumulate quickly indoors.
Super glue suits small precision fixes but risks skin bonding, so wear nitrile gloves throughout. Read every adhesive’s safety instructions before application, and match your bonding agent specifically to your foam thickness for best structural performance.
Why Mockups Save You Time and Money Before Cutting Cosplay Armor Foam
Before you cut into a single sheet of EVA foam, building a mockup from cheap materials like paper or duct tape lets you catch design flaws early and avoid costly mistakes. Mockups let you test scaling, proportions, and layering sequences against your body without wasting premium foam.
You’ll verify that historical armor silhouettes and mythical motifs translate accurately from concept art to physical form before committing to final cuts.
Use plasticine or clay sculptures to confirm three-dimensional shapes, then transfer those dimensions directly onto your mockup templates. Mark tick points along every edge so your final foam pieces align precisely.
This methodical step eliminates costly enlargement errors, reduces material waste, and confirms structural integrity before you invest time in heat-gunning, cementing, or finishing your actual armor components.
Choosing the Right EVA Foam Thickness for Each Armor Layer
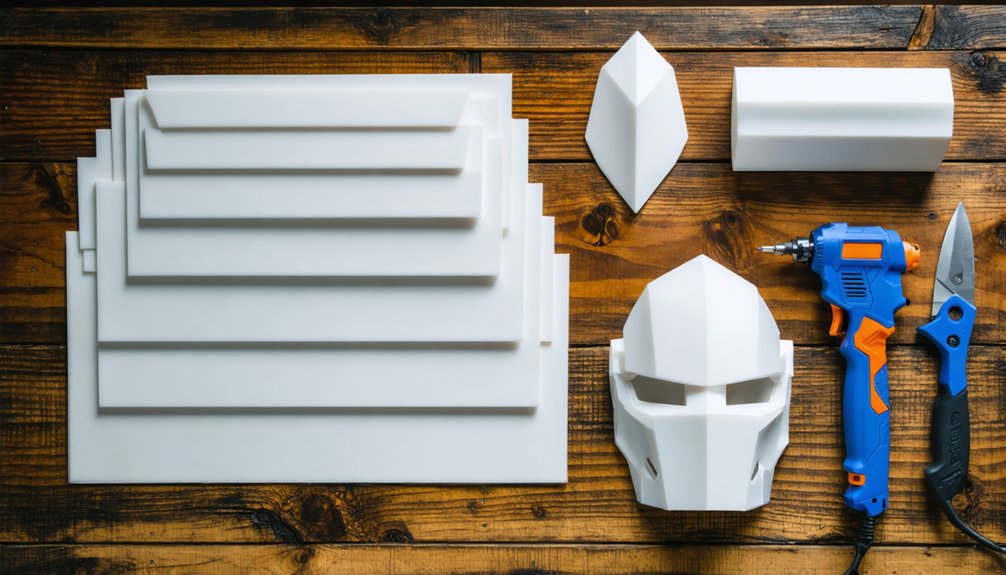
Once you’ve validated your mockup, choosing the correct EVA foam thickness for each armor layer directly determines structural integrity and visual accuracy. Use 10mm EVA foam for base layers, providing foundational support against impact and heavy movement. Reserve 5mm foam for top decorative layers, where precision shaping replicates sharp, defined edges from your character’s concept art.
Consider your character backstory when determining surface complexity — battle-worn armor demands deeper beveling, requiring thicker material tolerances. Thinner top layers allow cleaner gradations between panels, improving your final paint adhesion and color theory application, ensuring pigments read correctly under event lighting.
Always match thickness selections to specific body zones. Forearms and shoulders require flexible layering combinations, while chest pieces prioritize rigid, heavier construction for maintaining silhouette accuracy during active performance.
Heat-Gunning EVA Foam for Sharp, Defined Anime Armor Edges
When heat-gunning EVA foam, hold the gun 6–12 inches from the surface to distribute heat evenly and prevent scorching or unintended melting.
Move the gun steadily across edges to achieve the sharp, defined lines characteristic of anime armor designs.
Once you’ve shaped the foam into your intended curve, cool it against a mannequin or taped to your body to lock the form permanently.
Heat Gun Distance Control
Controlling the distance between your heat gun and EVA foam is critical for achieving the sharp, defined edges that characterize anime armor. Maintain a 6–12 inch gap between the nozzle and foam surface, moving steadily to distribute heat evenly.
Holding the gun too close melts the material, while holding it too far produces insufficient shaping results.
Apply heat in short, controlled passes, observing the foam’s surface for a slight texture change that signals best pliability. Once softened, bend and hold the foam firmly until it cools into your intended shape.
This technique supports color matching accuracy by creating a smooth, non-porous surface that accepts paint uniformly. It also complements fabric selection decisions by ensuring foam edges align cleanly with textile overlays on complex armor builds.
Achieving Defined Foam Edges
Achieving sharp, defined edges on EVA foam requires disciplined heat application and immediate mechanical pressure before the material cools.
Draw from historical inspirations found in samurai armor construction — precise, deliberate creasing techniques that translate directly into futuristic anime aesthetics.
You’ll apply your heat gun at controlled distances, targeting the edge zone until the foam becomes pliable. Then press firmly against a straight metal ruler or beveled jig, holding steady for 15-20 seconds.
This mechanical intervention locks the molecular structure into a crisp, angular form.
Repeated stress-testing confirms costume durability across extended convention wear.
You shouldn’t rush the cooling phase — premature movement collapses your defined edge before it sets.
Consistent repetition across identical components ensures uniform, professional-grade sharpness throughout your complete armor build.
Locking Curved Foam Shapes
Where defined edges demand mechanical pressure and controlled cooling, curved forms follow a different discipline — one where the foam’s pliability becomes your primary tool rather than a variable to suppress.
Apply your heat gun at 6–12 inches, moving steadily across the EVA foam’s surface until it softens uniformly. Then curve it against your body, a mannequin, or a pre-shaped form, holding the position until it cools completely.
This heat-locked geometry directly affects armor weight distribution — properly curved pieces sit flush against the body, reducing cantilevered stress on straps and seams.
Material durability improves markedly when foam holds its intended curve naturally rather than fighting against a flat default shape.
Forcing seams to compensate for uncured curves accelerates adhesive failure and structural breakdown during repeated movement.
Which Adhesives Actually Work for Cosplay Armor Construction?
When building cosplay armor, choosing the right adhesive determines whether your seams hold through a full convention day or fail mid-pose. Contact cement remains the industry standard, bonding quantum foam layers with aggressive, flexible strength that resists shear forces during movement. Apply both surfaces, wait until tacky, then press firmly for an immediate, repositioning-free bond.
Hot glue works for lightweight accent pieces but lacks the tensile strength required for structural joints. Super glue handles small, rigid connections effectively, though it becomes brittle under repeated flexing.
Magnetic adhesives represent an emerging innovation, letting you attach modular armor sections without permanent bonding — ideal for interchangeable costume configurations. Always ventilate your workspace regardless of adhesive type, since fumes accumulate quickly and compromise your health and work quality.
How to Build Cosplay Armor That Moves With Your Body
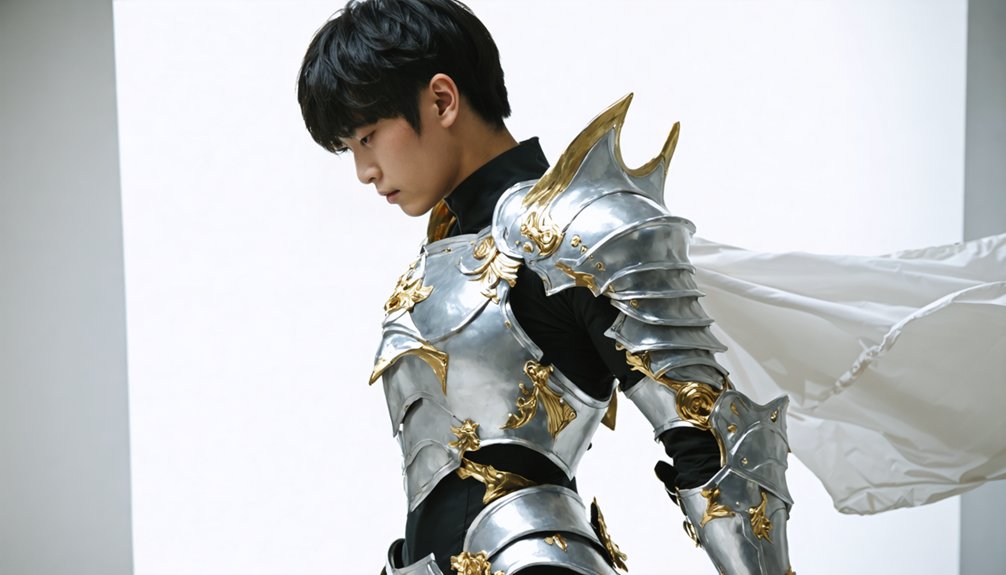
To build armor that moves with your body, you’ll first need to identify which sections must flex—like shoulder joints and elbow guards—versus which can remain rigid.
Once you’ve mapped those zones, you’ll anchor the flexible sections using strategically placed straps that allow full range of motion without compromising structural hold.
Layering thinner foam over thicker base pieces in these high-movement areas lets you maintain the armor’s visual complexity while keeping it responsive to every pose and gesture.
Identifying Flexible Armor Sections
How you divide your armor into flexible and static sections determines whether your costume survives a full convention day or falls apart mid-pose. Study your character’s reference art the way engineers analyze historical armor and mythical designs — identify every joint, pivot point, and load-bearing panel before cutting a single piece of foam.
Map shoulder rotations, elbow bends, and hip flexion zones first. These high-movement areas require segmented panels with floating connections, not rigid bonded layers. Static chest and back plates can receive full adhesion and structural reinforcement.
Mark each section on your pattern using distinct notation so you never confuse a mobile piece with a fixed one. This systematic pre-build analysis prevents misaligned seams, restricted movement, and structural failures during active wear.
Strategic Strapping For Movement
Once you’ve identified your flexible sections, your strapping system becomes the mechanical backbone that translates body movement into armor movement. Anchor static plates directly to your base layer, then connect flexible sections using adjustable cosplay fabric straps that distribute tension evenly across joints.
Position strap attachment points at stress convergence zones—shoulders, elbows, and hips—where movement amplitude peaks. Use D-rings and quick-release buckles for rapid adjustments between poses or performance segments.
For builds incorporating prop lighting within chest or shoulder assemblies, route wiring through hollow strap channels to prevent cable interference during articulation.
Test every strap configuration through a full range of motion: sitting, arm raises, and combat stances. Tighten incrementally, verifying that no strap restricts circulation or distorts your armor’s silhouette under dynamic conditions.
Layered Construction Enables Mobility
Strapping holds your armor in place, but layered construction determines whether it actually moves with you. Start with 10mm EVA foam as your base layer for structural rigidity, then apply 5mm foam on top for detail work.
This cosplay material combination distributes weight evenly while maintaining costume stability across dynamic poses.
Separate rigid panels from flexible zones intentionally. Chest plates stay static; shoulder and forearm sections need articulated gaps that compress during arm raises.
Cut your layers so edges don’t overlap at joint lines, preventing binding when you bend or reach.
Test each layered section through full range-of-motion checks before final adhesion. If a panel restricts movement, trim the interfering edge.
Precise layering isn’t decorative — it’s the mechanical foundation that lets your armor perform.
Sealing, Painting, and Finishing Anime Armor for Photography
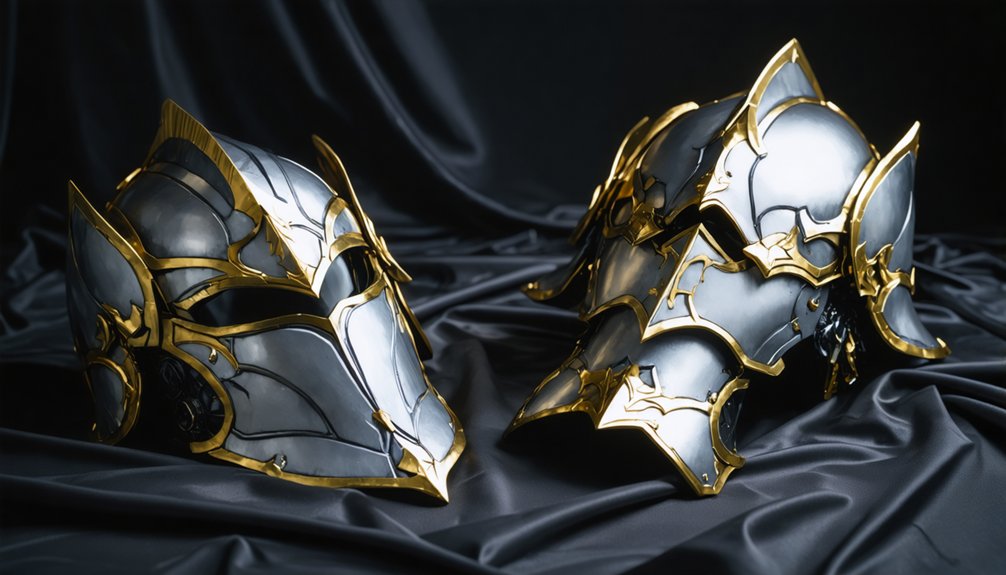
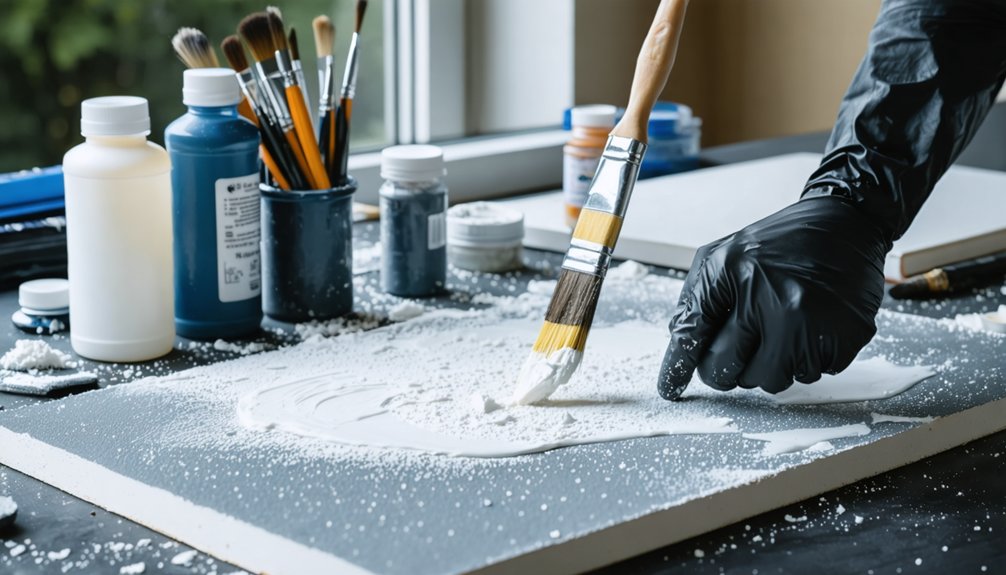
Sealing your foam armor before painting isn’t optional—it’s what separates a polished, photography-ready piece from one that absorbs paint unevenly and looks amateurish under studio lighting. Apply two to three coats of Plasti-Dip or a foam-compatible sealant, allowing full drying time between layers.
Skipping the sealant isn’t an option—it’s the difference between polished armor and a paint-absorbing mess.
This step locks down surface textures and creates a non-porous base that accepts acrylic paint uniformly.
Once sealed, you’ll achieve precise color blending using an airbrush rather than a brush, which eliminates visible stroke marks. Layer base colors first, then build shadows and highlights directionally to replicate the dimensional shading in your source material.
Finish with a matte or gloss topcoat matching your character’s aesthetic. Properly sealed and painted armor photographs crisply, accurately reproducing sharp edges and defined color transitions under high-resolution lighting conditions.
Frequently Asked Questions
How Do You Store Finished Cosplay Armor Without Damaging Its Shape?
Store your finished cosplay armor using padded storage solutions that support curved surfaces. You’ll maintain shape preservation by stuffing hollow sections with foam, avoiding compression, and keeping pieces in climate-controlled environments to prevent warping or structural deformation.
Can Anime Cosplay Armor Be Repaired Quickly During a Convention?
You can execute cosplay armor repairs swiftly using convention quick fixes like hot glue guns, foam scraps, and contact cement. You’ll reinforce separating seams, reattach broken layers, and restore structural integrity efficiently between event sessions.
What Body-Safe Undergarments Work Best Beneath Heavy Foam Armor?
You’ll want moisture-wicking compression garments for ideal fabric comfort and undergarment support beneath heavy foam armor. They’ll stabilize your body, reduce friction, distribute weight evenly, and enhance mobility during extended convention wear.
How Do You Transport Large Cosplay Armor Pieces to Convention Venues?
Like fragile glass sculptures, you’ll want to disassemble large pieces before transport. Select lightweight material selection choices, pad components with foam inserts, and use hard-shell cases as your primary transportation methods to prevent damage.
Which Online Communities Offer the Best Feedback for Beginner Cosplay Builders?
You’ll find Reddit’s r/cosplay and the Cosplay.com forums offer precise feedback on fabric selection and paint techniques, helping you methodically refine your builds through innovative community-driven critiques tailored for beginner armor construction.
References
- https://cosplayculture.com/2018/10/13/cosplay-101-armor-construction-with-arda-wigs-part-2/
- https://cosplayculture.com/2018/10/12/cosplay-101-armor-construction-with-arda-wigs-part-1-patterning/
- https://www.youtube.com/watch?v=_L2nTtgM1BQ
- https://www.youtube.com/watch?v=riuQ7zfXOSg
- https://www.reddit.com/r/cosplayprops/comments/1czf1ac/how_to_make_cosplay_armor_for_beginners/
- https://www.scribd.com/document/846783824/ArmorMaking1zzz
- https://www.famcut.com/blogs/tips-and-tricks/how-to-make-cosplay-armor
- https://learn.ganknow.com/course/crafting-cosplay-armor-materials-and-prop-construction-tips/
- https://cosplayadvice.com/cosplay-armor/
- https://www.youtube.com/watch?v=C4uSfaPIepo