For cosplay armor, you’ll want a 0.20–0.30 mm nozzle with air pressure set between 1.5 and 1.8 bar. Thin your acrylics at a 1:1 ratio to prevent clogging and reduce overspray. Start with a dark primer, then build color through multiple thin layers, allowing full drying time between passes. Use directional glazing at 15–30 degrees to blend highlights on curved surfaces naturally. There’s much more technique ahead to help you achieve professional-grade results.
Key Takeaways
- Use a 0.20–0.30 mm nozzle with paint thinned at a 1:1 ratio and air pressure set between 1.5–1.8 bar for clean application.
- Apply a dark primer with multiple thin passes at 3–5 cm distance to create a consistent adhesive base for color layers.
- Build color gradually with three to four thin layers, allowing full drying time between each to ensure even coverage and adhesion.
- Position highlights at curve apexes, tilting the airbrush 15–45 degrees and pulling the trigger 30–50% back for smooth gradient blending.
- Add weathered metal texture using stippling and sponge techniques with varied black-to-silver ratios, then refine edges with fine-tipped dry brushing.
Choose the Right Airbrush Nozzle for Cosplay Armor
Choosing the right nozzle size directly determines the level of detail and control you’ll achieve on cosplay armor. For intricate armor panels and sharp edge definition, you’ll want to work within the 0.20 mm to 0.30 mm nozzle range. These nozzle types deliver precision without sacrificing flow consistency.
Paint viscosity plays an equally critical role. Thicker paint clogs smaller nozzles, disrupting spray patterns and damaging tips. Thin your acrylics at a 1:1 ratio to maintain ideal viscosity for these finer nozzle types.
Pairing the correct nozzle with properly thinned paint guarantees clean, controlled application across complex armor surfaces. You’ll avoid pooling, reduce overspray, and maintain sharper shifts between color zones—essential factors when executing technical, multi-layered armor paint schemes.
Set Up Your Air Pressure for Smooth, Even Coverage
Once your nozzle is set, air pressure becomes the next critical variable controlling paint flow and surface coverage. For cosplay armor, you’ll want to set your air pressure between 1.5 bar and 1.8 bar. This range delivers consistent atomization without overspraying delicate edge work.
Air pressure directly interacts with paint viscosity, so you’ll need to calibrate both together. If your acrylic paint is thinned at a 1:1 ratio, 1.5 bar provides sufficient force for smooth layering.
Increase pressure slightly when working with thicker mixtures to maintain even atomization.
Test your settings on scrap material before committing to your armor piece. Minor pressure adjustments prevent common issues like spattering, pooling, and uneven coverage that compromise your final finish.
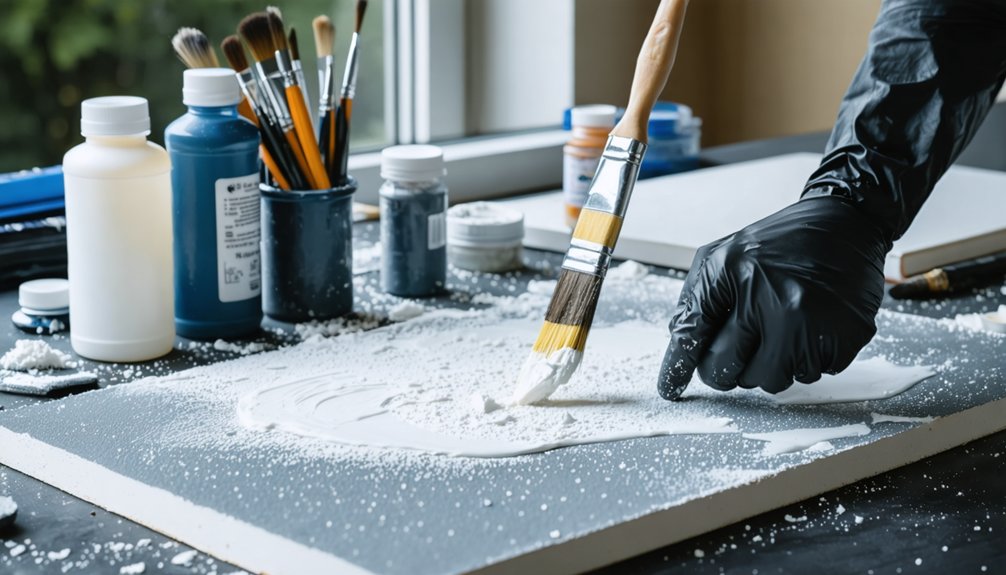
Prime Your Cosplay Armor Before Laying Down Color
Before you apply any color, coat your entire armor piece with a dark primer to give the paint a consistent, adhesive base.
Once the primer cures, build your color using multiple thin layers rather than a single heavy coat to prevent cracking, pooling, and uneven coverage.
You’ll achieve cleaner, more controlled results by letting each layer dry fully before applying the next.
Applying Dark Primer First
Priming your cosplay armor with a dark base coat is the critical first step that determines how well your final colors pop and layer. Dark primer benefits your build by establishing deep shadow tones that naturally enhance contrast without extra shading work.
Apply Rust-Oleum black spray paint as your foundation, covering the entire armor piece evenly before introducing any color.
Follow these primer application tips for ideal results: maintain a consistent 3 cm to 5 cm spray distance, use multiple thin passes rather than one heavy coat, and allow full drying time between layers.
Mask inner areas with scotch tape to protect zones you want untouched. A properly applied dark primer eliminates uneven absorption, giving subsequent acrylic layers a reliable, controlled surface to bond against.
Building Thin Color Layers
With your dark primer fully cured, you’re ready to build color through controlled, incremental layers rather than a single heavy application.
Thin your acrylic paint at a 1:1 ratio, then spray from 3 cm to 5 cm distance, pulling the trigger 30% to 50% back for consistent release.
Effective layering techniques demand patience. Apply each coat lightly, allowing full drying between passes to prevent smudging and paint buildup.
Three to four thin layers outperform one heavy coat in both adhesion and color consistency.
Set your air pressure between 1.5 bar and 1.8 bar to maintain smooth flow without oversaturation.
Each layer should gradually intensify the hue, giving you precise control over the final tone across every armor surface.
Apply Zenithal Undercoating for Realistic Light Effects
Zenithal undercoating gives your cosplay armor a realistic light source from the start, making every subsequent layer of paint more effective. This technique uses Zenithal contrast to simulate natural overhead lighting, establishing light source simulation before you apply a single color coat.
Follow these steps for precise execution:
- Spray black primer across the entire armor surface as your base.
- Apply white or light gray from directly above at a 45-degree angle.
- Maintain 1.5 bar to 1.8 bar pressure for controlled gradient shifts.
- Keep your airbrush 3 cm to 5 cm away to avoid oversaturation.
- Use Zenithal undercoating before any blending or color layering begins.
This foundation lets every highlight and shadow you add afterward respond naturally to your established light direction.
Build Your Base Coat With Thin, Layered Passes
Building your base coat in thin, layered passes is the most reliable way to achieve even color coverage without obscuring surface detail. Understanding base coat importance means recognizing that a single thick application traps air, causes pooling, and hides sculpted edges.
Instead, apply multiple controlled passes using acrylic paint thinned at a 1:1 ratio, spraying from 3 cm to 5 cm away at 1.5 to 1.8 bar pressure.
Layering techniques require patience. Let each pass dry fully before adding the next, building opacity gradually rather than forcing coverage immediately. Pull your trigger 30% to 50% back for consistent flow.
Start with a dark primer, then layer your primary color upward. This disciplined process preserves fine detail and creates a stable foundation for highlights and shading.
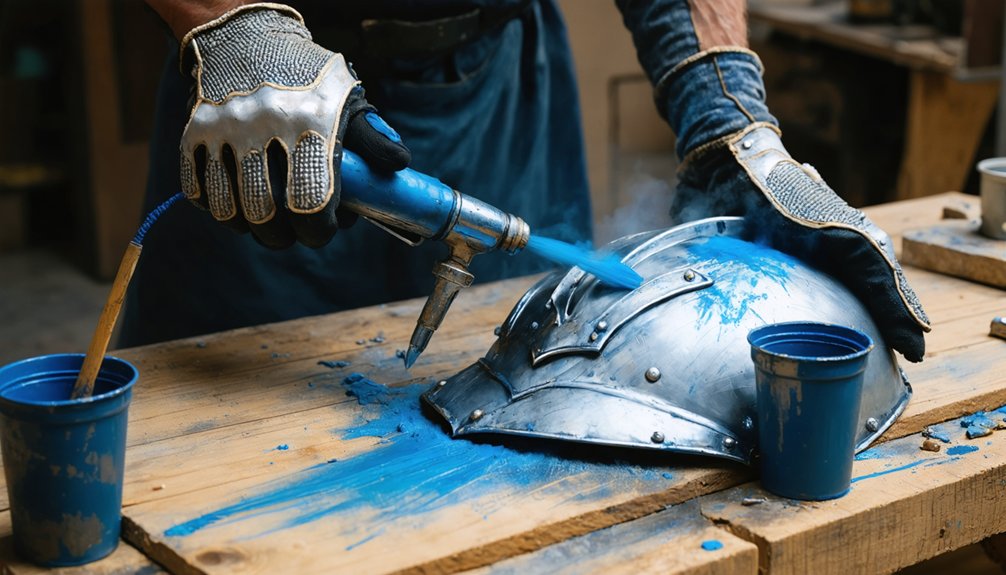
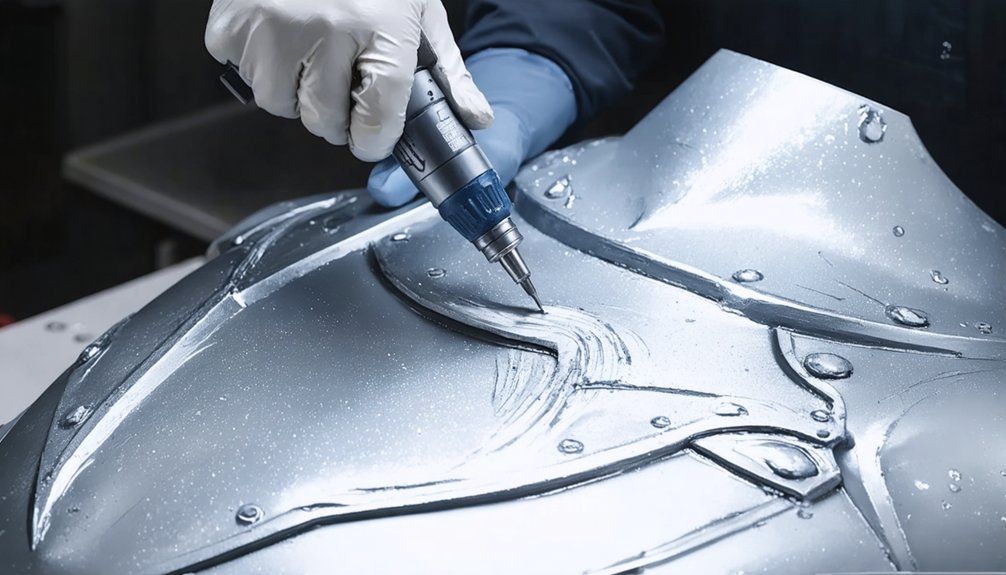
Blend Highlights Smoothly Across Curved Armor Surfaces
When airbrushing curved armor surfaces, you’ll want to position your highlights at the apex of each curve and feather outward in controlled passes to simulate a realistic light source.
Use directional glazing by angling your airbrush at 15 to 30 degrees relative to the surface, pulling the trigger 30% to 50% back to release thin, translucent color shifts across the contour.
This technique lets you build smooth gradients without hard edges, preserving the dimensional shape of the armor beneath each highlight layer.
Curved Surface Highlight Blending
Curved armor surfaces demand a controlled, graduated approach to highlight blending if you want to avoid harsh shifts. Apply highlight techniques in thin, directional passes, letting each layer inform the next before adding intensity.
- Set air pressure between 1.5–1.8 bar for precise control across convex panels.
- Pull trigger 30%–50% back to regulate paint flow during blending methods.
- Spray from 3–5 cm distance to maintain gradient consistency.
- Build lighter blue shades incrementally over your base coat on raised curves.
- Add white highlights only to apex surfaces to simulate a realistic light source.
Keep each pass deliberate. Zenithal undercoating beforehand gives you a luminosity map, making your blending methods faster and your highlight techniques far more accurate.
Smooth Gradient Color Transitions
Continuity across curved armor surfaces starts with understanding how light behaves on a convex plane before you touch the trigger.
Set your air pressure between 1.5 and 1.8 bar, thin acrylics at a 1:1 ratio, and maintain a 3 cm to 5 cm spray distance. These parameters give you precise control over gradient techniques across compound curves.
Begin color blending from the zenith point, pulling your trigger 30% to 50% back while sweeping laterally in controlled passes. Layer lighter blue over your dark primer base, then introduce white highlights exclusively on raised surfaces.
Each successive pass should overlap the previous by 40%. Let each layer dry completely before advancing—this prevents smudging and preserves the crisp tonal shifts that define professional armor work.
Directional Glazing For Curves
Directional glazing takes gradient work further by letting you steer diluted color across curved surfaces with intentional brush angle rather than relying on sweep passes alone.
Applying color theory here means understanding how light wraps convex armor, so you’re reinforcing that logic with each glaze pass.
- Tilt airbrush angles between 15° and 45° relative to the curve’s apex for controlled fade
- Thin glazes to a 1:3 paint-to-water ratio to maintain transparency
- Build successive layers rather than saturating in a single pass
- Target raised shifts first, then pull color downward into recesses
- Use directional glazing on single surfaces before advancing to compound curves
Each angled pass deposits color exactly where light physically strikes, producing gradients that feel structurally accurate rather than painted on.
Add Depth With Directional Glazing and Edge Shading
Two core techniques — directional glazing and edge shading — give cosplay armor its sense of depth and dimensionality.
Directional glazing builds layered depth by applying thin, translucent color layers along a consistent light source angle. You’ll achieve gradient blending by overlapping each glaze pass slightly, letting previous layers influence the tonal shift. Keep your airbrush between 3 cm and 5 cm from the surface, pulling the trigger 30% to 50% back for controlled flow.
For edge shading, blend black into corners using short, angled strokes to create defined shadow shifts. Follow that with white highlights on raised surfaces to reinforce contrast.
Together, these methods transform flat armor panels into visually dynamic pieces with structured light logic and convincing three-dimensional presence.
Stipple and Sponge Techniques for Weathered Metal Texture
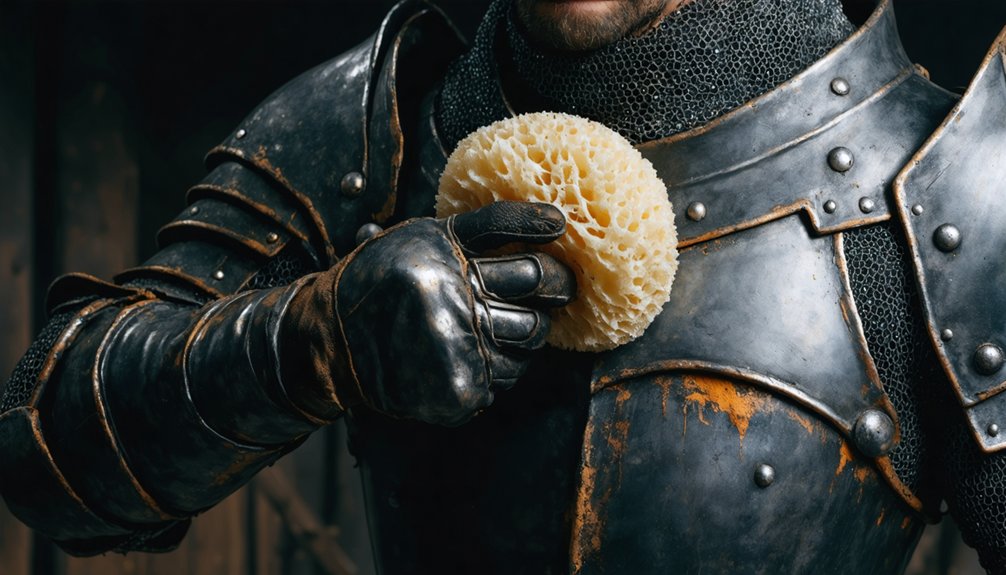
Weathered metal texture starts with stippling — mix black paint into silver, then dab the blend onto armor surfaces using short, irregular pouncing motions. Stipple techniques build realistic wear without overloading any single area.
For sponge application, use a natural sponge to blend crevices, layering texture gradually for depth:
- Mix black into silver at varying ratios to control oxidation intensity.
- Apply stipple techniques in thin passes, letting each layer dry completely.
- Use natural sponge application across recessed areas for organic texture variation.
- Take breaks between layers to prevent smudging and color contamination.
- Build darkness selectively near edges and bolt recesses for battle-worn realism.
Never apply heavy texture in one pass — controlled, incremental layering produces convincing weathered metal that reads authentically across complex armor surfaces.
Paint Bolts, Trim, and Fine Details by Hand
Once the weathered metal texture has fully dried, hand painting takes over for bolts, trim, and fine surface details.
Switch to a fine-tipped brush and load it with silver acrylic paint for precise bolt detailing. Apply paint using controlled, deliberate strokes directly onto each bolt head, keeping coverage tight and intentional.
For trim painting, follow the raised edges with a steady hand, using thin paint consistency to prevent bleeding into adjacent surfaces. Build coverage with two controlled passes rather than one heavy application.
Dry brushing works exceptionally well here — drag a lightly loaded brush across bolt heads and trim lines to emphasize dimensionality.
These hand-applied details integrate seamlessly with your airbrushed base, creating professional contrast between surface texture and structural hardware.
Keep Your Airbrush Clean and Ready Between Sessions
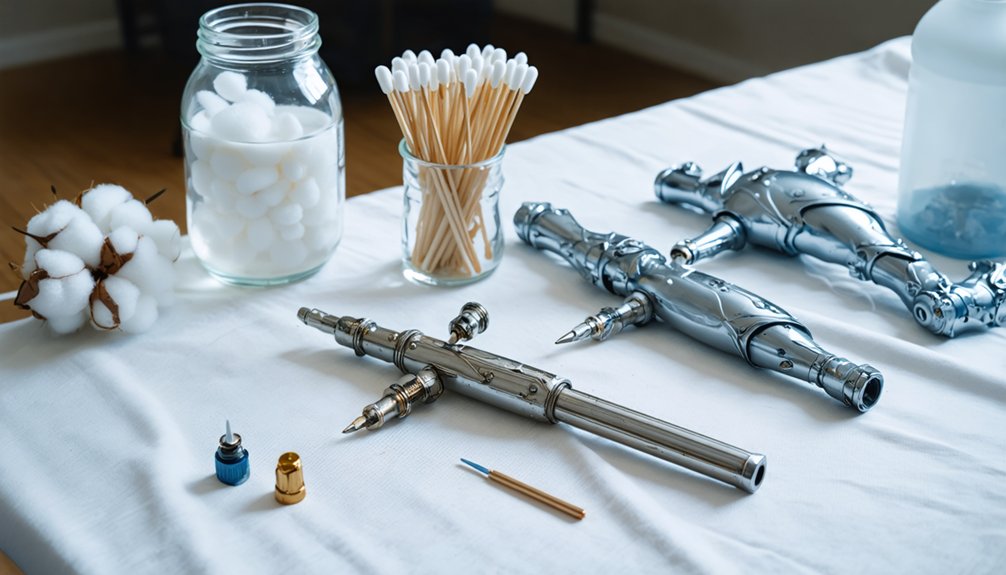
Three maintenance habits protect your airbrush and guarantee consistent performance between cosplay sessions. Applying consistent airbrush maintenance tips and smart cleaning techniques keeps your equipment performing at peak precision every time you pick it up.
- Flush the nozzle with water immediately after each session to prevent acrylic residue buildup.
- Disassemble the needle and nozzle weekly for deep cleaning using isopropyl alcohol.
- Replace damaged or bent tips immediately to maintain a consistent spray pattern.
- Store your airbrush in a protective case to prevent tip damage during storage.
- Inspect the trigger mechanism before each session and lubricate moving parts lightly.
Don’t let dried paint compromise your next armor project. Clean equipment translates directly into sharper gradients, smoother base coats, and more controlled highlighting across every armor surface you tackle.
Frequently Asked Questions
Can I Use an Airbrush on Foam Armor Instead of Worbla?
Over 60% of cosplayers prefer foam. Yes, you can airbrush foam armor! Prioritize foam preparation with a sealant coat to maximize paint adhesion, ensuring your acrylics bond effectively without cracking during wear.
How Long Should I Wait Between Airbrushing and Hand Detailing?
Wait until each airbrushed layer’s completely dry before you begin hand detailing. Mastering drying times between layering techniques prevents smudging and guarantees crisp, precise results. You’ll achieve cleaner bolt and trim details when paint’s fully cured.
What Acrylic Paint Brands Work Best for Cosplay Armor Airbrushing?
Ironically, you don’t need expensive brands — Vallejo, Liquitex, and Createx deliver superior acrylic paint performance. You’ll achieve ideal paint consistency by thinning each at a 1:1 ratio, ensuring flawless, innovative airbrush results on your cosplay armor.
Can Beginners Airbrush Cosplay Armor Without Prior Painting Experience?
Yes, you can master airbrush basics without prior experience. Follow these beginner tips: thin paints 1:1, set pressure at 1.5–1.8 bar, spray 3–5 cm away, and employ Directional Glazing on single surfaces first.
How Do I Fix Paint Mistakes on Finished Cosplay Armor Pieces?
You’ve got a million ways to recover! Use paint removal techniques like light sanding or Gesso to smooth errors. Apply touch-up tips by re-thinning acrylics at 1:1, then re-airbrush thin corrective layers precisely.
References
- https://www.youtube.com/watch?v=wehHVrTKoAg
- https://www.youtube.com/watch?v=B-IADlCW5-0
- https://www.nebulaluben.com/en/a-basic-begginers-guide-on-airbrushing/
- https://www.youtube.com/watch?v=Sc-g3BzKQFA
- https://www.worbla.com/?p=4981
- https://www.reddit.com/r/airbrush/comments/1eb3ldu/im_about_to_buy_my_first_airbrush_as_a_cosplayer/
- https://www.kamuicosplay.com/product/airbrush-weathering/
- https://www.reddit.com/r/CosplayHelp/comments/1tr7hxx/airbrush_tips/
- https://www.reddit.com/r/CosplayHelp/comments/1glyact/beginner_airbrush_for_armour/
- https://www.youtube.com/watch?v=NHp0YrPTv4I