For cosplay photography, you’ll want to shoot in RAW with Aperture Priority for dynamic convention floors or Manual mode for controlled setups. Set your aperture between f/1.4–f/4 depending on group size, keep shutter speed at 1/160s–1/1000s to freeze movement, and adjust ISO from 100–3200 based on available light. Use Spot or Center-weighted metering, enable Eye AF, and sync flash at around 1/200s. The settings below will sharpen every detail further.
Key Takeaways
- Shoot in Aperture Priority for dynamic lighting changes, using f/1.4–f/2.8 for solo portraits and f/4 for group shots.
- Use Spot metering to lock exposure on the subject’s face, preventing underexposed skin and lost costume texture.
- Set ISO between 100–400 outdoors and 1600–3200 in dim indoor venues to balance noise and detail.
- Use shutter speeds of 1/250s–1/1000s for dynamic poses to freeze motion and preserve sharp costume details.
- Enable Eye AF and continuous autofocus (AF-C) to track moving subjects accurately in crowded convention environments.
How to Choose Your Shooting Mode at Conventions
Choosing the right shooting mode at a convention can mean the difference between consistent exposures and a card full of blown-out or underexposed frames. Aperture Priority works best when lighting techniques shift rapidly across different hall zones, letting you lock in subject separation while the camera adjusts exposure automatically.
Set your minimum shutter speed to 1/125s or 1/200s to prevent motion blur during wardrobe adjustments and spontaneous movement.
Manual mode becomes the stronger choice during controlled shoots, flash setups, or staged scenes where lighting techniques remain constant. It eliminates exposure drift between frames and keeps your histogram predictable.
Shoot RAW regardless of which mode you select — it preserves the editing latitude you’ll need when correcting mixed light sources. Test your settings before the session starts.
The Right ISO for Every Cosplay Lighting Situation
Once your shooting mode is locked in, ISO becomes the next variable that directly shapes image quality across every lighting zone you’ll encounter.
Bright outdoor shoots call for ISO 100–400, preserving fabric texture and skin tone detail that supports cleaner color grading in post.
Move indoors to mixed convention lighting, and ISO 400–800 handles most situations without introducing destructive noise.
Historic or dim indoor venues often demand ISO 1600–3200, particularly when your lighting techniques rely on available light rather than flash.
In very dark spaces, push to ISO 3200–6400, but monitor noise carefully.
Always prioritize a higher ISO over motion blur—blurred cosplay shots are unrecoverable, while modern sensors and noise reduction tools make elevated ISO increasingly manageable during editing.
Shutter Speeds That Freeze Cosplay Movement
When shooting cosplay, you’ll want to set your shutter speed to at least 1/160s–1/250s for standard convention portraits.
Push to 1/250s–1/1000s whenever your subject breaks into dynamic poses or active movement.
Treat 1/125s as your minimum safety threshold for subjects with even subtle body motion, since anything slower risks introducing blur that no amount of post-processing can fully correct.
Matching your shutter speed to the intensity of movement is the most direct way to keep costume details sharp and eliminate motion blur before it becomes a problem.
Freezing Fast Cosplay Movement
Capturing fast cosplay movement without blur requires shutter speeds well above the baseline used for still portraits. Dynamic poses, cape sweeps, and prop spins demand precision your slower settings simply can’t deliver.
Pair aggressive shutter control with smart lighting techniques to maintain exposure without sacrificing costume detail.
Push your shutter speed into these ranges for sharp results:
- 1/250s–1/500s freezes moderate action like dramatic poses and mid-motion gestures
- 1/500s–1/1000s locks down fast spins, leaps, and weapon swings with zero compromise
- 1/1000s+ captures the split-second peak of explosive movement with clinical sharpness
You’ll need to compensate with wider apertures or elevated ISO values. Shooting in RAW preserves recovery latitude when exposure shifts under fast-changing conditions.
Ideal Shutter Speed Ranges
Shutter speed is the single most decisive variable when you’re trying to freeze cosplay movement without motion blur. For convention portraits with minimal action, 1/160s–1/250s delivers consistent results across varied lighting effects.
When subjects shift into dynamic poses or active movement, push to 1/250s–1/1000s to lock in sharp costume textures without ghosting. Treat 1/125s as your absolute floor for still subjects showing subtle body sway.
For distant stage cosplay, 1/60s can work when you’re shooting tripod-mounted with a wide-open aperture. Prioritize faster shutter speeds over ISO cleanliness when movement is involved—motion blur destroys costume texture detail far more aggressively than grain does.
Always run test shots before committing to a setting across an extended session.
Avoiding Motion Blur
Motion blur ruins cosplay shots in 3 specific ways: it smears costume texture, softens embroidered or painted detail, and turns dynamic poses into unreadable smears of color. Your shutter speed is the primary defense, and getting it wrong means losing irreplaceable moments.
Match your speed to the situation:
- 1/250s–1/1000s freezes active movement and preserves the sharp edge detail that costume materials like metallic armor and layered fabric demand.
- 1/160s–1/250s handles controlled portrait poses while accommodating shifting lighting techniques across convention floors.
- 1/125s minimum protects subtle movement from creeping blur during still subject frames.
Raise ISO before you slow your shutter. Noise is recoverable in post-processing. Motion blur permanently destroys costume authenticity and the shot’s emotional impact.
Aperture Settings for Costumes, Portraits, and Groups
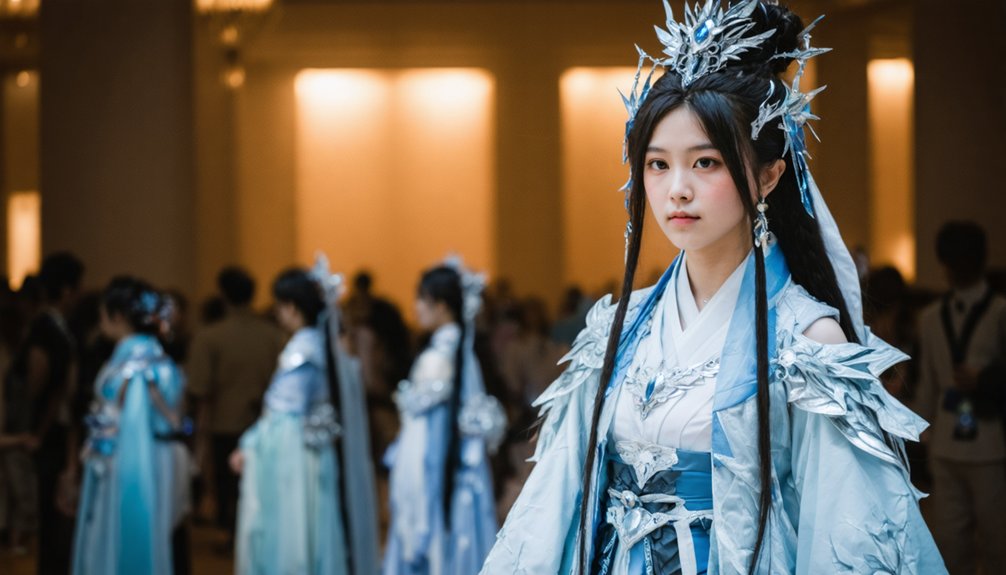
Aperture shapes both the exposure and the visual feel of your cosplay shots, so choosing the right f-stop for each situation matters more than many beginners expect.
Aperture does more than control light — it defines the entire mood and story of your cosplay image.
For solo portraits, shoot between f/1.4 and f/2.8 to isolate your subject, blur distracting convention backgrounds, and let lighting effects sculpt the face naturally. This range also reveals costume textures with striking clarity when you nail focus precisely.
Step up to f/2.8–f/4 when you need sharper edge-to-edge detail across an elaborate outfit.
For group shots involving three or more cosplayers, f/4 keeps multiple faces in focus without sacrificing too much background separation.
Smaller apertures increase depth of field but demand more light or a higher ISO, so adjust accordingly based on your shooting environment.
White Balance That Keeps Cosplay Colors Accurate
Getting aperture right locks in your composition and exposure balance, but it won’t save you if the camera misreads the light’s color temperature and shifts your subject’s costume into an inaccurate hue. Lighting color directly threatens costume authenticity when auto white balance drifts warm or cool between frames.
Take control with these targeted adjustments:
- Set manual white balance using a gray card to lock consistency across your entire session
- Dial in Kelvin values around 2800K–3200K for warm indoor or candlelit scenes where auto balance fails
- Shoot RAW to retain full correction latitude when mixed convention lighting makes a single setting impossible
Consistent white balance means the crimson in that armor stays crimson, not orange—preserving every intentional color choice the cosplayer made.
Metering and Autofocus Settings for Sharper Cosplay Shots
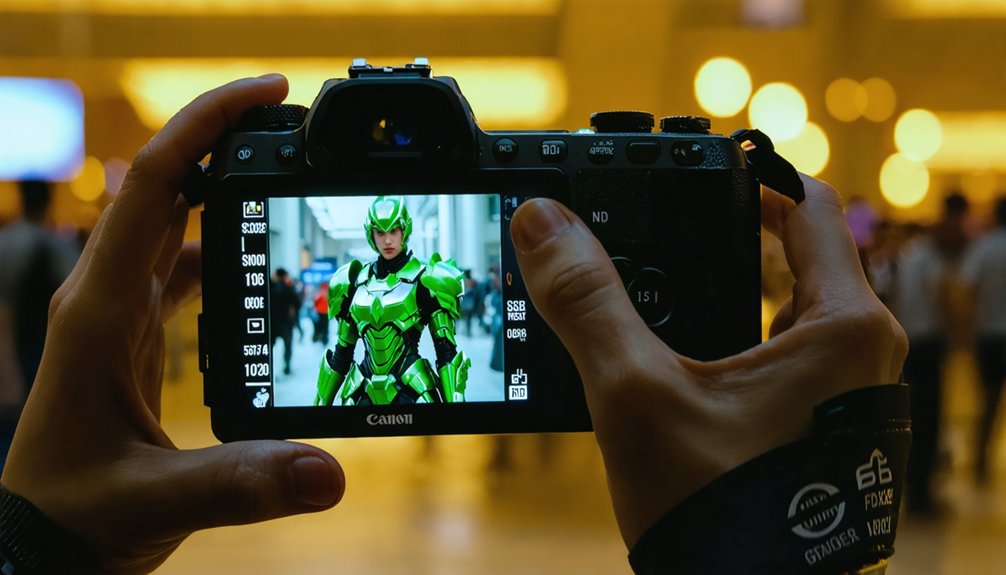
Switch your metering mode to spot or center-weighted so your camera exposes for your subject’s face rather than the surrounding convention chaos.
Enable Eye AF if your camera supports it, or lock focus on a single central point to consistently nail facial sharpness across portrait-style cosplay shots.
Before you commit to a full session, run several test shots to confirm your metering and autofocus settings are working together correctly, catching any errors before they cost you dozens of frames.
Metering Modes For Subjects
When shooting cosplay portraits in busy convention halls, your metering mode directly controls how the camera reads light and exposes for your subject. Crowded backgrounds and uneven lighting angles can fool evaluative metering, causing underexposed faces and lost costume textures.
Switch to these targeted modes instead:
- Spot metering locks exposure to your subject’s face, ignoring blown-out backdrops or dark corners entirely
- Center-weighted metering balances the subject against surroundings, ideal when lighting angles shift mid-shoot
- Partial metering gives you a slightly wider reading zone while still prioritizing your cosplayer over chaotic backgrounds
Each mode puts creative control in your hands rather than leaving exposure decisions to the camera’s assumptions. Test your chosen mode before the session starts to confirm accurate skin and costume texture rendering.
Autofocus Settings That Work
Sharp focus separates a technically strong cosplay shot from a wasted frame, and your autofocus settings determine how consistently you land it. Enable Eye AF whenever your camera supports it — it locks onto facial detail with precision that single-point AF can’t match in shifting convention crowds.
For moving subjects, continuous autofocus (AF-C or AI Servo) tracks motion without requiring manual refocusing between frames. Pair this with lens selection that offers fast, quiet motors, since slower glass struggles during dynamic posing sequences.
Single-area AF works for controlled, stationary setups where you’re also managing color grading consistency across a session. Set your autofocus sensitivity to a mid-response speed to avoid the system jumping to background elements.
Test your configuration before shooting to confirm tracking behaves predictably under your venue’s lighting conditions.
Sharpness Through Test Shots
Getting autofocus right sets up the frame, but test shots are what confirm your metering is working alongside it. Before committing to a full session, fire several frames and review them critically for exposure accuracy across costume textures and lighting effects.
Check these three elements immediately after each test shot:
- Highlight clipping on bright costume fabrics that strips detail you can’t recover in post
- Shadow crushing in dark armor or layered textures where subtle definition disappears entirely
- Color shifting under mixed lighting effects that misrepresents the costume’s authentic palette
Adjust spot metering placement, ISO, or aperture based on what you see. RAW capture gives you latitude, but a well-metered test shot reduces correction time and protects costume texture detail from the start.
Tripods, Flash, and Support Gear That Improve Results
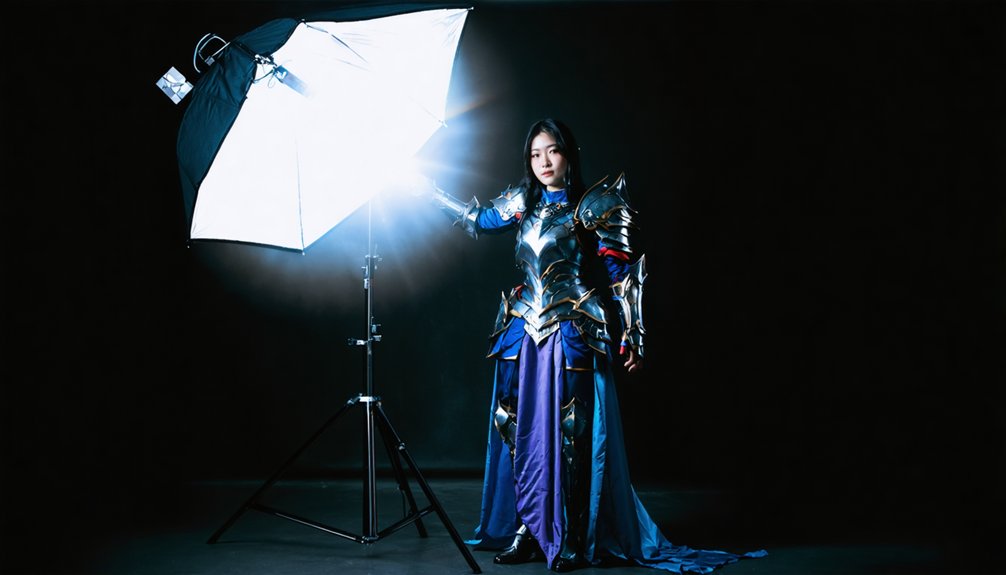
Support gear directly influences how cleanly your camera settings translate into finished shots. A tripod stability setup lets you shoot at 1/60s on distant stage subjects without introducing camera shake, freeing you to prioritize aperture and ISO instead.
Support gear shapes how cleanly your settings translate into finished shots, freeing you to prioritize aperture and ISO.
For handheld work in tight convention spaces, a monopod offers a practical compromise between mobility and steadiness.
Flash positioning matters equally. Mount your speedlight at a 45-degree angle to the subject rather than shooting on-axis, which eliminates flat lighting and adds dimensional modeling to costume textures.
This approach also lets you drop your ISO closer to 400 and tighten your aperture toward f/4 for sharper group coverage.
Sync your shutter speed to your flash’s rated limit, typically 1/200s, to avoid partial exposure across the frame.
Frequently Asked Questions
Does Lens Focal Length Affect Sharpness in Cosplay Portrait Photography?
Yes, focal length affects image sharpness in cosplay portraits. You’ll get more flattering compression and sharper detail using 85mm–135mm, as wider focal lengths introduce distortion that compromises your subject’s features and overall costume clarity.
Should I Shoot in Burst Mode for Dynamic Cosplay Action Shots?
At 1/250s–1/1000s, burst mode’s your best weapon for action sequences—it eliminates motion blur across rapid movement. You’ll capture multiple sharp frames per second, ensuring you don’t miss dynamic poses mid-flight.
Can Smartphone Cameras Achieve Good Results for Cosplay Photography?
You can achieve great cosplay shots with a smartphone by mastering lighting techniques like natural diffused light and choosing clean, uncluttered backgrounds to compensate for sensor limitations, maximizing detail and color accuracy.
How Does Image Stabilization Affect Cosplay Shooting Without a Tripod?
Image stabilization lets you shoot handheld stability at slower shutter speeds, reducing blur without tripod alternatives. You’ll gain roughly two to four stops, letting you capture sharp cosplay detail at 1/60s in dim convention lighting.
Does Memory Card Speed Matter When Shooting Cosplay in RAW Format?
Yes, memory card speed matters when you’re shooting RAW format. You’ll need fast write speeds to handle large RAW files quickly, preventing buffer slowdowns that’ll cause you to miss critical cosplay action shots.
References
- https://cosplay.com/archive/thread/580roe/favorite-camera-settings-for-portraits
- https://www.reddit.com/r/AskPhotography/comments/1dtbtlh/how_to_correctly_take_cosplay_photos_at_a/
- https://nerdalertnews.net/an-introverts-guide-to-cosplay-photography/
- https://starstruckpanda.com/top-cosplay-photography-tips-for-novices/
- https://www.lyricalvillaincosplay.com/post/cosplay-photography-101
- https://insightadv.it/en/blog/how-to-photograph-cosplay-and-historical-re-enactments-complete-technical-guide-to-costume-portraiture
- http://sewyourcosplay.com/photographing-cosplay-at-any-skill-level-with-any-camera-part-2/
- https://starstruckpanda.com/essential-cosplay-photography-tips-for-anime-fans/
- https://starstruckpanda.com/tips-for-perfecting-your-cosplay-contest-photo-shoot/
- https://www.reddit.com/r/AskPhotography/comments/1dbmzho/any_tips_on_cosplay_convention_photography/