Creating detailed cosplay accessories starts with gathering accurate reference images, then planning your scale using real body measurements before cutting anything. You’ll want to choose materials like EVA foam or Worbla based on each piece’s structural needs. Shape and carve your details using heat guns and Dremel tools, then prime with Plasti Dip before applying layered paint techniques. Master these five expert secrets and your builds will reach a whole new level of screen accuracy.
Key Takeaways
- Use official artwork and in-game screenshots as references to accurately replicate signature features like engravings, silhouettes, and textures.
- Always measure against your body and sketch real dimensions before cutting to avoid irreversible scale errors.
- Choose EVA foam for large lightweight pieces, Worbla for stress points, and PVC armatures for structural support.
- Carve surface details with a Dremel, heat-shape curves with a heat gun, and apply Plasti Dip before painting.
- Reinforce stress points with layered construction, then finish with base coats, dry-brushed metallics, and weathering for realistic depth.
Start With Reference Images That Actually Work
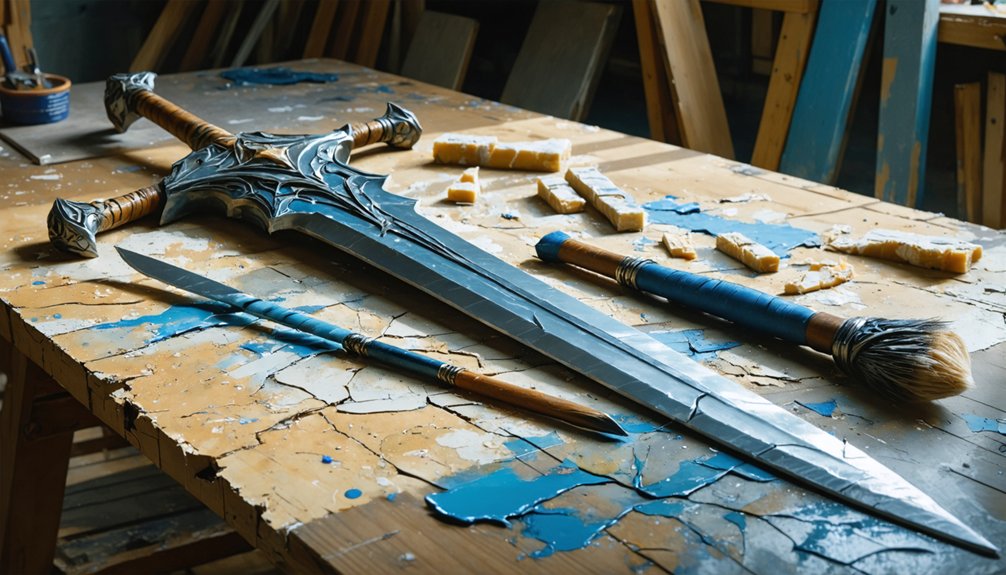
Before cutting a single piece of foam or thermoplastic, you’ll need a solid reference library that captures your prop from every critical angle. Pull official artwork, in-game screenshots, and promotional images because these sources preserve the most accurate details. Side views reveal depth and layering that front-facing images obscure entirely.
Prioritize color matching early by sampling exact hues from your references rather than estimating from memory. Lighting variations across sources will skew your perception, so cross-check multiple images before committing to paint selections.
Identify the signature features your audience will recognize instantly — specific engravings, distinctive silhouettes, or unique surface textures. These elements carry the most visual weight and deserve the most fabrication attention. Build your entire planning process around getting those details precisely right.
Plan Your Scale Before You Cut Anything
Scale errors are harder to fix than surface imperfections, so measure your prop against your actual body before committing to any cuts. Proportional accuracy determines whether your accessory reads as intentional or awkward on camera and in person.
Measure twice, cut once — scale mistakes are far harder to reverse than any surface flaw.
Start with a rough sketch using real dimensions pulled from your shoulder width, arm length, or head circumference depending on the prop type. Transfer those measurements onto pattern paper using measurement techniques like grid scaling or direct body tracing to preserve spatial relationships accurately.
Hold your paper template against your body in a mirror before touching your foam. If proportions drift at the template stage, correct them now.
Once you’ve confirmed fit and scale, trace onto your material and cut with confidence, knowing your final build aligns with your reference.
Pick the Right Materials for Your Cosplay Accessories
Once your template is confirmed, material selection determines how well your prop holds its shape, survives a full convention day, and matches the visual weight of your character’s design.
Prioritize material durability alongside cost effective options to build smart without sacrificing quality.
- EVA foam (6–10 mm): Your go-to for large weapons and armor pieces. It’s lightweight, heat-shapeable, and among the most cost effective options available.
- Worbla thermoplastic: Apply it over foam stress points and edges where material durability matters most. It bonds to itself when heated, eliminating extra adhesive.
- PVC or dowel armatures: Insert these into longer props to prevent sagging. They add structural integrity without significant weight penalties.
Match each material to its functional role before purchasing anything.
Shape, Carve, and Detail Your Cosplay Accessories Like a Pro
With your materials selected and staged, shaping and detailing transforms flat stock into convincing three-dimensional props. Use a sharp craft knife for clean cuts, making several shallow passes through thick EVA foam rather than one deep cut.
Heat-shape curves with a heat gun, never a hair dryer, to lock permanent forms accurately.
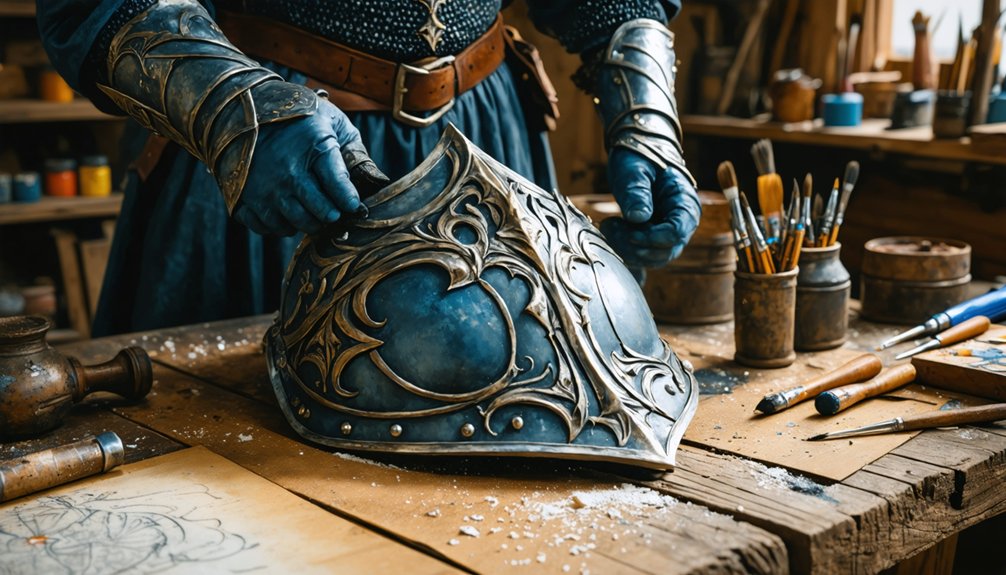
Carve surface detail using a Dremel or engraving cutter to refine edges and smooth progressions. Texture techniques like pressed wrinkles, sculpted foam-clay overlays, and organic surface variation add believable depth.
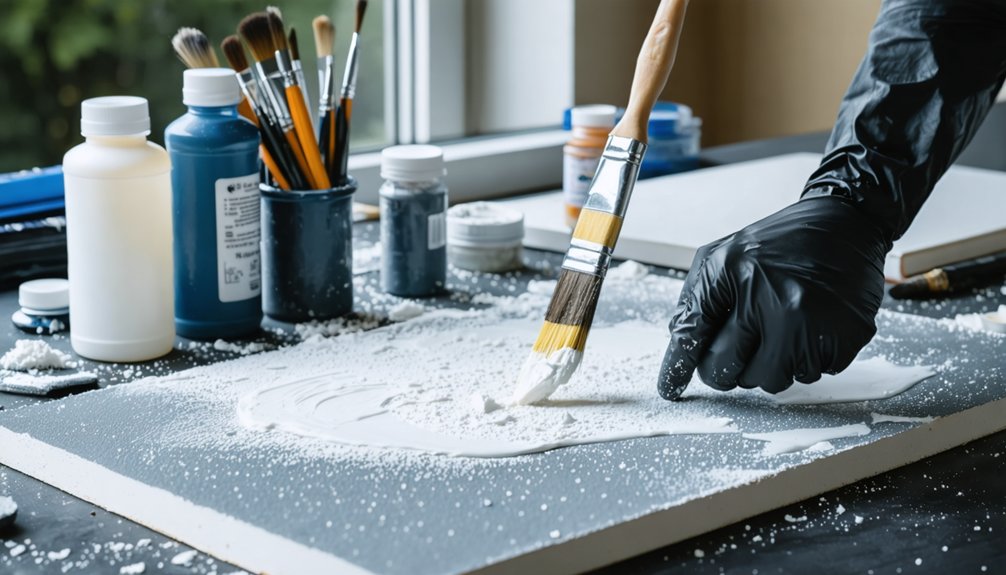
Surface treatments including Plasti Dip primer improve paint adhesion and eliminate porous foam texture before applying base coats.
Layer acrylic paints, then dry-brush metallic tones to simulate worn metal convincingly. Create bevels on angular joins for cleaner, professional-looking seams throughout your build.
Glue, Reinforce, and Finish Your Cosplay Accessories for a Professional Look
Adhesion and reinforcement determine whether a finished prop survives a full convention day or falls apart at the seams. Master your adhesive techniques by coating both foam surfaces with contact cement, letting each layer tack before pressing them together firmly. Reinforce stress points with layered construction instead of trusting single-thickness material.
- Prime before painting: Apply Plasti Dip or spray rubber primer to seal foam and improve acrylic paint adhesion significantly.
- Build realistic depth: Use base coats followed by dry-brushed metallics, then add surface weathering through dark sponging and targeted smudging for contrast.
- Test before the event: Check fit, weight distribution, and attachment security while wearing your full costume to catch failures early.
Frequently Asked Questions
How Do I Transport Large Cosplay Accessories Safely to Convention Venues?
Pack your large accessories in padded cases to guarantee material durability during transit. You’ll want to disassemble modular sections, wrap foam parts individually, and use rigid containers. These transportation tips minimize damage and keep innovative builds convention-ready.
Can I Repair a Broken Cosplay Accessory Quickly During a Convention?
Yes, you can! Carry contact cement, foam scraps, and a heat gun for quick fixes. Smart material selection and accessory customization prep beforehand means you’ll patch, reshape, and restore broken pieces efficiently right at the venue.
How Do I Attach Cosplay Accessories Securely Without Damaging My Costume?
Use fabric glue and backstitching to secure costume embellishments without damage. Test accessory adhesives on scraps first, then reinforce attachment points with patches. You’ll maintain structural integrity while protecting delicate costume fabric from tears or residue.
What Should I Do if My Finished Accessory Looks Different Under Convention Lighting?
Test your accessory under similar lighting beforehand. You’ll need to make lighting adjustments by tweaking paint layers or metallic dry-brushing. Revisit your material choices—reflective Worbla or matte foam reacts differently, so adapt your finishing technique accordingly.
How Do I Store Completed Cosplay Accessories Without Warping or Damage?
Store your completed accessories in rigid containers with foam padding for ideal material preservation. Use storage solutions like acid-free tissue, climate-controlled spaces, and labeled bins to prevent warping, crushing, and UV degradation effectively.
References
- https://makezine.com/article/craft/cosplay-props/cosplay-pro-tips/
- https://realitypathing.com/steps-to-mastering-props-and-accessories-in-cosplaying/
- https://www.youtube.com/watch?v=rewCL624QOs
- https://starstruckpanda.com/how-to-create-character-accurate-cosplay-accessories/
- https://starstruckpanda.com/enhancing-cosplay-accessories-creative-ideas/
- https://www.crazecosplay.com/blogs/questions/how-to-make-cosplay-accessories