
Enhancing your cosplay with horns and ears starts with choosing between DIY builds and store-bought pieces. DIY gives you precise control over dimensions, color, and texture, while store-bought offers convenience and durability. You’ll shape foil cores, layer paper strips with glue, and finish everything with spray paint and clear coat. Secure pieces to headbands or apply them directly to skin using spirit gum. The details ahead will sharpen every step of your build.
Key Takeaways
- DIY horns and ears allow custom proportions and colors, while store-bought options offer convenience but rarely match specific character designs perfectly.
- Shape ears by rolling foil into tapered forms, wrapping with painters tape, then layering paper strips with diluted glue for durability.
- Achieve realistic finishes by layering spray paint, blending highlight colors along edges, and sealing surfaces with multiple thin clear coats.
- Attach ears and horns using hot glue on headbands or snap clips, positioning them at anatomically accurate heights for realistic appearance.
- Bond skin-applied prosthetics using spirit gum after cleaning skin with isopropyl alcohol, and always saturate adhesive with remover before gentle removal.
Choose Between DIY and Store-Bought Cosplay Ears and Horns
Whether you’re building ears from aluminum foil and paper strips or ordering a finished silicone prosthetic online, your choice between DIY and store-bought determines your timeline, budget, and how much creative control you’ll have over the final look.
Store-bought costume accessories offer immediate availability and consistent material durability, but they rarely match a specific character’s proportions exactly.
DIY construction lets you dial in precise dimensions, custom colors, and unique textures that pre-made options can’t replicate. However, handmade builds demand time, skill, and material investment.
If you’re debuting at a convention within days, a quality pre-finished piece is often the smarter call.
If you’re engineering a signature look with exacting detail, building from scratch gives you complete design authority over every structural and aesthetic decision.
Gather the Right Materials Before You Start Building
Before you cut a single strip of paper or bend a piece of foil, pulling together the right materials saves you from mid-build interruptions that break workflow and compromise structural consistency. Material durability depends entirely on your upfront selections, so prioritize quality over convenience.
Stock these essentials before starting:
- Aluminum foil for shaping horn spirals and ear bases with controlled thickness
- Painters tape for smoothing foil surfaces before paper layering
- School glue mixed with water for adhesive compatibility across paper strip applications
- Isopropyl alcohol and spirit gum for skin-safe prosthetic bonding
Each material serves a specific structural or adhesive function. Substituting carelessly introduces weak points that fail under wear. Treat your material list like a blueprint—every item earns its place.
Shape Realistic Cosplay Ears From Foil and Paper
Roll aluminum foil into a banana shape, making the attachment point thicker than the tip to mimic natural ear anatomy. Once you’ve formed the base, wrap painters tape around it to smooth out the foil’s texture.
Then dip paper strips into your glue-water mixture and layer them across the mold until it’s fully covered. For realistic curvature, cup-round one side of the base while pressing the tip flat.
Finally, scale the finished piece down uniformly so it tapers the way an actual ear would.
Foil Base Construction
Shaping realistic cosplay ears starts with aluminum foil rolled into a banana-like curve, thicker at the base where it’ll attach to your head and tapering toward the tip. These foil techniques give you full control over size and curvature before committing to any adhesive options.
Once your foil base holds its shape, wrap it tightly with painters tape to eliminate texture and create a workable surface.
Key construction steps include:
- Rolling foil firmly to prevent internal collapse during layering
- Cupping one side for anatomical depth while pressing the tip flat
- Wrapping tape smoothly without creasing for an even surface
- Checking symmetry against your reference image before proceeding
This foundation determines everything downstream, so refine it until the silhouette matches your character’s ear anatomy precisely.
Layering Paper Strips
With your foil base wrapped and ready, mix school glue with water until it reaches a consistency thin enough to saturate paper strips without clumping.
Dip each strip individually, letting excess glue drip off before layering it across your mold. Overlap strips in alternating directions, covering every surface completely.
This cross-hatching technique dramatically improves material durability, preventing cracks or weak spots during wear.
Apply at least three full layers, allowing partial drying between sessions to maintain structural integrity without distortion.
Once fully cured, the hardened surface accepts spray paint evenly, making color blending far more precise and controlled than raw foil ever could.
Trim any ragged edges cleanly after the final layer dries to define your ear’s silhouette with professional sharpness.
Shaping Natural Curves
Once your layered shell has fully cured, you’ll shape it into anatomically convincing curves by applying targeted pressure at specific zones. Cup one side firmly while pressing the tip flat, mimicking natural ear geometry.
Key shaping techniques include:
- Cup the base: Round the attachment zone inward for depth and dimensional realism
- Flatten the tip: Press gradually toward the outer edge to taper thickness naturally
- Counter humidity effects: Work in low-moisture environments, since excess humidity softens paper layers prematurely
- Implement storage solutions: Keep finished ears in sealed containers with silica gel packets to preserve shape integrity
Scale adjustments using uniform or varied factors refine the curvature further. Trim excess material cleanly around edges to define the final silhouette before moving into surface finishing stages.
Sculpt and Style Cosplay Horns That Match Your Character
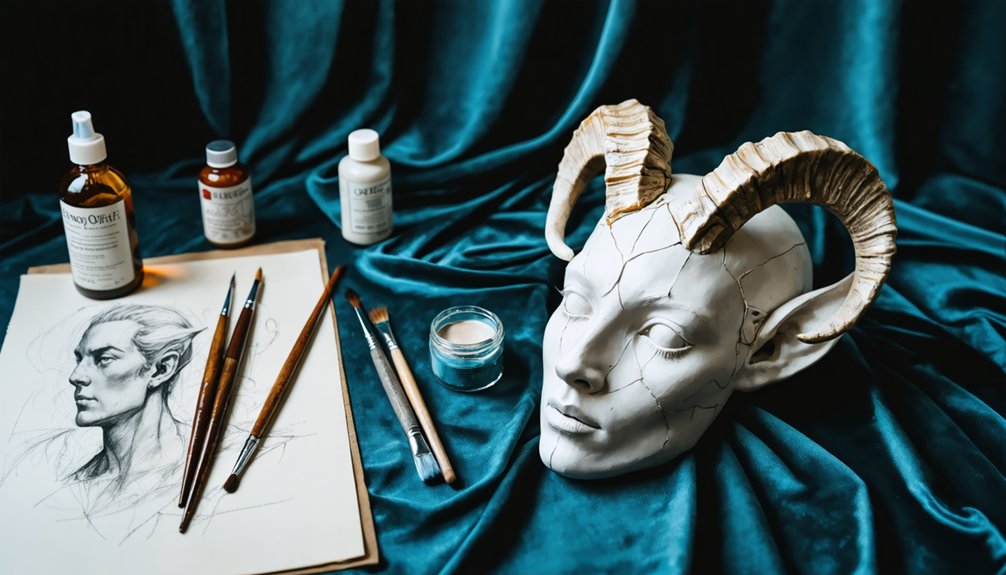
When sculpting cosplay horns, you’ll start by choosing your cross-section shape—plain circles create sharp, classic horns, while ovals push your design toward something more stylized and character-specific.
Roll aluminum foil into tight spirals to build your foundational horn structure, then mirror the shape digitally or physically to produce a precise symmetrical pair.
Once your forms are solid, secure them during spray painting with folded tape, then seal everything with a clear coat to lock in durability and a professional finish.
Choosing Horn Cross-Sections
Before you start sculpting, the cross-section you choose for your horns defines their entire character—plain circles produce clean, symmetrical horns ideal for demonic or classic fantasy designs, while ovals introduce a flattened, stylized profile that suits more exotic or alien aesthetics.
Your cross-section choice directly impacts material durability and how convincingly you’ll replicate mythical creatures across builds. Consider these options:
- Perfect circles for traditional unicorn or demon horns
- Tall ovals for elongated, otherworldly silhouettes
- Wide ovals for broad, ram-inspired fantasy designs
- Irregular ovals for asymmetrical creature concepts
Each profile behaves differently during layering—circles maintain uniform wall thickness throughout, while ovals require careful attention at their narrower edges to prevent weak points that compromise structural integrity during wear.
Building Symmetrical Horn Pairs
With your cross-section profile locked in, getting both horns to match becomes your next challenge—and symmetry is where most builds fall apart.
Roll your foil into tight spiral shapes, keeping tension consistent across both pieces. Inconsistent rolling directly compromises material durability by creating uneven stress points that crack paint and coatings later.
Use 3D modeling software’s mirror function to generate precise left and right counterparts before committing to physical construction. Once mirrored digitally, transfer measurements manually onto your foil forms.
Wrap both bases in painters tape using identical passes and pressure.
Adhesive longevity depends on uniform surface preparation—any inconsistency between horn surfaces means one bond outlasts the other.
Press both simultaneously when possible, ensuring equal curing time and eliminating placement drift during the adhesive’s setting phase.
Finishing And Painting Horns
Once your horns are fully shaped and symmetrical, finishing and painting transforms raw construction into a polished, character-accurate prop. Secure each horn with tape during application to prevent shifting mid-process.
Follow this streamlined finishing workflow:
- Apply base coat spray paint evenly across the entire surface texture, establishing your primary color foundation.
- Layer color blending techniques using darker tones near the base and lighter highlights toward the tip for dimensional realism.
- Feather highlight colors along edges to eliminate harsh transitions and mimic natural material gradients.
- Seal everything with clear coat to lock in your color blending work and protect against wear.
Each layer requires complete drying before proceeding. Rushing compromises adhesion and finish quality.
Strategic color blending elevates basic painted horns into convincing character-specific props.
Paint and Finish Your Ears and Horns Before Wearing
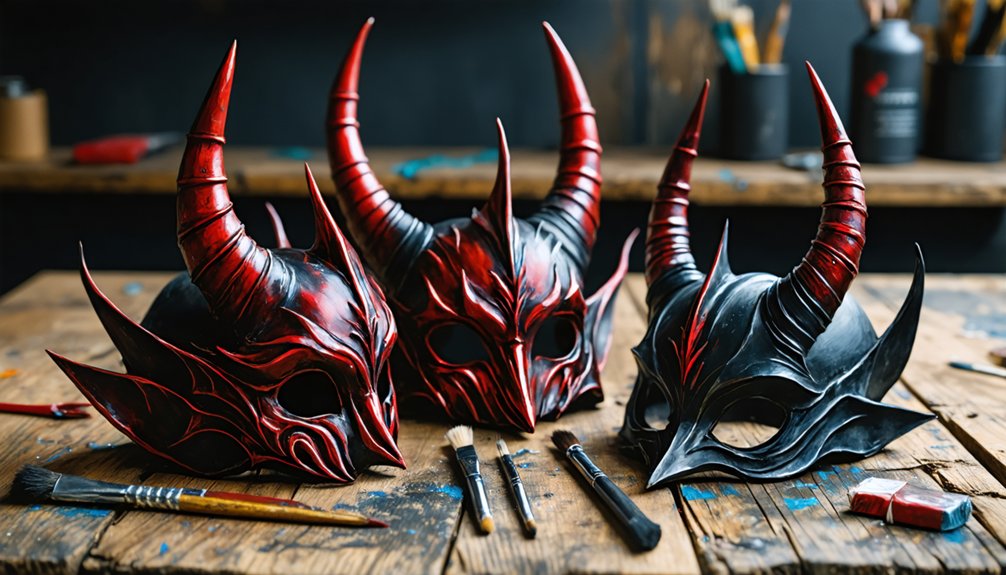
Spray painting your ears and horns correctly makes the difference between a polished costume piece and an amateur-looking accessory. Secure each component using tape folded underneath, preventing movement and unwanted flying during application.
Apply your base coat evenly, then execute strategic color blending along edges using feathered highlight tones that eliminate harsh progressions. This technique mimics organic depth, making synthetic pieces appear dimensional rather than flat.
Once your color layers satisfy your vision, surface sealing becomes essential. Apply clear coat over every painted surface, building multiple thin layers rather than one heavy application. This protective barrier extends wear durability considerably, shielding your work from friction and moisture throughout extended convention hours.
Allow complete drying between each coat before handling to preserve the integrity of your finished design.
Attach Cosplay Ears and Horns to Wigs and Headbands
Securing ears and horns to wigs or headbands requires choosing the right fastening method before committing to permanent placement. Understanding ear anatomy helps you position pieces at anatomically accurate heights for convincing results.
Your adhesive types vary depending on the base material you’re working with:
- Paper fasteners pass through wig holes, with plastic circles underneath and bent folds securing the opposite side.
- Snap clips hot-glued to ear bottoms click directly onto wig fibers for quick removal.
- Alligator clips from beauty supply stores offer a reliable clip-on alternative for wigs.
- Hot glue lines applied to headbands require immediate attachment before the adhesive solidifies.
Test each fastening method before your event. Permanent placements demand precision, while clip-based systems allow repositioning flexibility throughout extended wear.
Apply Spirit Gum So It Actually Stays Put
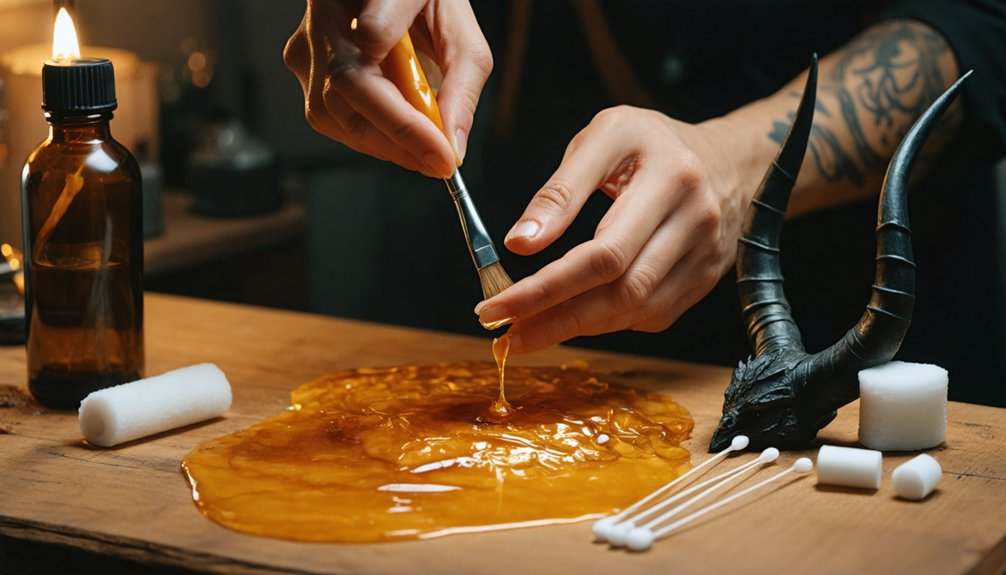
Getting spirit gum to bond properly starts long before you open the bottle. Skin preparation is everything — wipe the application zone with isopropyl alcohol and let it dry completely. Any residual moisture or oil destroys adhesive durability before you’ve even started.
Apply spirit gum to both your skin and the prosthetic surface, then wait. That tacky stage isn’t optional; it’s where the chemistry activates. Press firmly for 30–60 seconds after contact, letting molecular bonding do its work.
For ear prosthetics, seat the lower flange first, then press upward — this anchors the base and prevents edge lifting. Once cured, blend flesh-toned foundation outward over seam perimeters using a round sponge, feathering edges until the gradual shift disappears entirely.
Remove Prosthetic Cosplay Ears Safely After the Event
Once the event ends, resist the urge to peel prosthetic ears off dry — that’s how you damage both your skin and the pieces. Instead, use a dedicated spirit gum remover to dissolve the bond safely.
Follow these targeted removal steps:
- Saturate the adhesive perimeter completely with remover before touching edges
- Gently work edges free using slow, controlled peeling motions
- Apply cleaning techniques immediately after removal — wipe residual adhesive from both skin and prosthetic surfaces using isopropyl alcohol
- Implement smart storage solutions by wrapping cleaned pieces in tissue and boxing them individually to prevent warping
Let the remover do the heavy lifting. Rushing breaks the prosthetic’s delicate edges and irritates skin. Proper cleaning and storage extend your pieces across multiple conventions, protecting your investment long-term.
Frequently Asked Questions
Can Cosplay Ears and Horns Be Reused at Multiple Future Events?
Yes, you can reuse your ears and horns across multiple events. Apply clear coat layers to boost material durability, and embrace creative customization by revitalizing paint or details between uses for innovative, evolving cosplay looks.
How Do You Store Finished Ears and Horns Without Damage?
Store delicate pieces boldly—you’ll maximize material durability by wrapping ears and horns in tissue paper, then boxing them separately. Protective storage in rigid containers prevents crushing, keeping your creative work convention-ready for years ahead.
Are There Specific Conventions That Restrict Oversized Horn Designs?
Yes, many conventions enforce convention regulations limiting oversized horn designs for costume safety. You’ll want to check each event’s specific guidelines, as they often restrict sharp points, excessive width, or materials that could injure nearby attendees.
Can Children Safely Wear Spirit Gum Prosthetic Ears at Events?
You’ll want to avoid spirit gum for children due to serious allergy concerns and skin sensitivity. Instead, prioritize safety precautions by exploring hypoallergenic alternatives like ear cuffs or headband attachments, which deliver equally innovative, event-ready results.
How Long Does It Typically Take to Complete a Full Set?
Completion varies wildly—you’ll typically spend 2–6 hours on a full set. Material options and customization techniques like layering, molding, and finishing directly influence your timeline, so don’t underestimate intricate designs.
References
- https://www.youtube.com/watch?v=aBHqjBgmeQI
- https://www.instructables.com/Satyr-Horns-and-Ears/
- https://www.youtube.com/watch?v=J-aSBAhth0c
- https://www.youtube.com/watch?v=2kAP329zJuY
- https://starstruckpanda.com/how-to-apply-prosthetic-ears-and-horns-for-cosplay/
- https://www.youtube.com/watch?v=pthlZR0BeEg