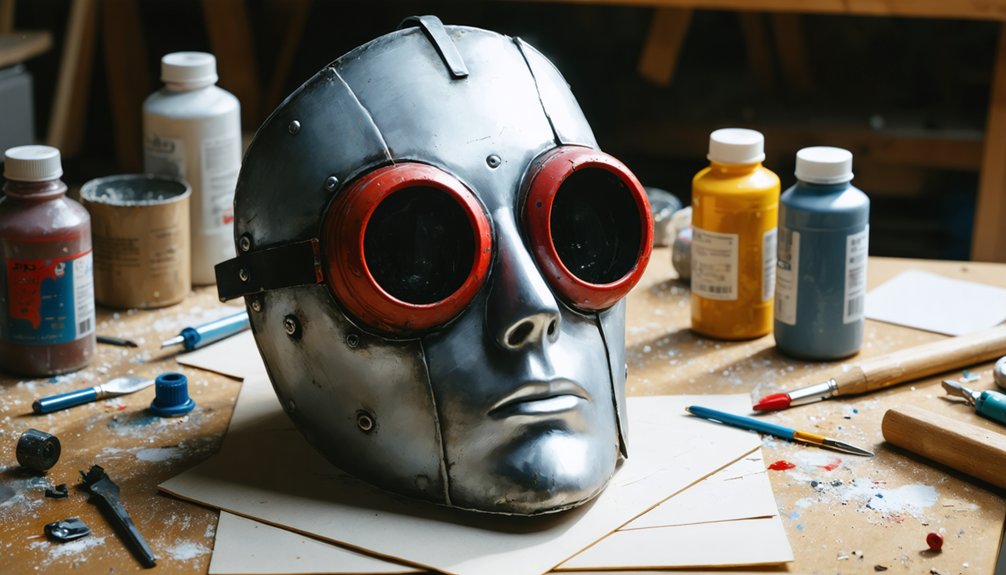
Building a DIY Cyclops mask starts with choosing a snug blue lycra suit that keeps your foam components stable and your movement unrestricted. You’ll shape the visor frame from EVA foam, reinforce the mask with paper mache layers, and wire a simple LED circuit for that iconic red glow. Blend prosthetics using dry-brush texturing, and secure everything with ribbon ties and contact adhesive straps. Stick around—there’s much more to unpack.
Key Takeaways
- Build the visor frame from 1 cm EVA foam strips, heat-molded to fit facial contours, then sealed with Plastidip for durability.
- Attach red acrylic lenses using contact glue or silicone after testing fit to ensure precise alignment before permanent bonding.
- Test LED circuit connections with crock clips before soldering to confirm functionality and prevent wiring mistakes.
- Use dry-brushing and sponge-dabbing techniques to simulate wear, battle damage, and a realistic aged surface appearance.
- Secure the mask with ribbon threaded through small side holes, routing strings under hair to hide attachment points comfortably.
Choose the Right Lycra Suit for Your Cyclops Costume
When building a Cyclops costume, your fabric choice sets the foundation for everything else. You’ll want a full-body blue lycra suit that balances fabric durability with costume mobility, letting you move freely without compromising structural integrity.
Once you’ve selected your suit, don’t discard the glove and foot sections. Dismantle them strategically to harvest material strips you’ll later repurpose into collars and straps. This approach maximizes every inch of fabric while maintaining visual consistency across the entire costume.
Fit matters enormously. A suit that’s too loose creates unwanted bunching around attachment points, making foam components harder to secure. Choose a size that conforms closely to your body, giving adhesives and foam elements a taut, stable surface to bond against effectively.
Build a Cyclops Visor Frame That Holds Its Shape
Building a visor frame that holds its shape starts with EVA foam—cut 1 cm wide strips of rubber EVA to form the visor’s contour, then apply adhesive to join the pieces securely. This visor material delivers both flexibility and structural integrity, making it ideal for cosplay builds.
Refine your foam shaping process with these three critical steps:
- Apply heat to mold the foam strips precisely against your facial contours before sealing.
- Smooth all edges using a Dremel tool to achieve a symmetrical, polished finish.
- Seal the shaped foam with Plastidip, then attach red acrylic lenses using contact glue or silicone.
Testing the frame’s fit before permanent adhesion saves you from costly adjustments later—precision now means a cleaner final build.
Shape Your Cyclops Mask With Foam, Foil, and Paper Mache
To shape your Cyclops mask, fold aluminum foil three times to create a mold slightly larger than your face. Press it firmly against your features, and cut eye holes to establish the mask’s core structure.
Once you’ve got your mold set, mix white glue with water to a runny consistency. Layer strips of paper over the foil surface, building up several coats for rigidity.
After the paper mache dries completely, peel it from the mold. Use a ruler to check both sides for even symmetry before moving on to finishing.
Foil Mold Face Shaping
Before diving into the paper mache layers, you’ll need a solid foil mold that captures your face’s exact contours. This face shaping stage determines whether your final mask sits flush or gaps awkwardly.
Build your foil mold using this precise sequence:
- Layer aluminum foil three times for structural rigidity, sizing it larger than your intended mask dimensions.
- Press the layered foil firmly against your face, contouring around your nose bridge, cheekbones, and brow line.
- Cut eye holes immediately while the mold holds its pressed shape, locking in accurate placement.
Once removed, your foil mold becomes the architectural blueprint everything else follows.
A poorly shaped mold cascades into fitting problems downstream, so take extra time pressing every contour deliberately before moving forward.
Paper Mache Mask Layering
With your foil mold shaped and ready, mix white glue with water until it reaches a runny, almost watery consistency—thick enough to coat paper strips but thin enough to soak through them.
Tear newspaper into narrow strips and saturate each one thoroughly before layering them across the mold. Apply at least three overlapping layers, alternating directions to build structural integrity. Let each layer dry completely before adding the next.
Once fully cured, carefully peel the hardened mask from the foil mold. Use a ruler to check symmetry on both sides, trimming uneven edges precisely.
Your surface is now primed for decorative paint applications or fabric embellishments that’ll elevate the Cyclops aesthetic. Sand rough patches lightly before finishing to ensure a clean, professional base.
Wire Your Cyclops Visor Lights Without Overcomplicating It
Before you commit to any permanent adhesive, test all your electronic connections using crock clips to confirm the circuit functions correctly.
If you’re only lighting one visor panel, keep it simple with a series circuit connecting your battery, light, and switch.
Once everything checks out, solder your connections permanently so they’ll hold up through every wear.
Testing Connections First
Testing your electronic connections before committing to glue is the smartest move you’ll make during this build. A failed circuit buried inside your visor design means tearing apart foam shaping work you’ve already perfected. Use crock clips to temporarily link your battery, light, and switch before anything gets sealed permanently.
Follow this sequence:
- Clip all components together loosely and power the circuit to confirm the light activates correctly.
- Check for flickering or dead spots by wiggling each connection point individually.
- Only after everything functions reliably should you solder joints permanently.
This approach saves hours of frustrating rework. One weak solder joint can kill your entire lighting effect mid-convention. Test ruthlessly, then commit. Your finished mask deserves connections that actually hold up under real wear.
Simple Circuit Setup
Once you’ve confirmed your connections work, the actual circuit couldn’t be simpler: run one wire from your battery’s positive terminal to your switch, another from the switch to your red LED or bulb, then close the loop back to the battery’s negative terminal. That’s your complete series circuit — clean, minimal, and effective.
Don’t overcomplicate it. Adding unnecessary components risks turning your visor into a cluttered mess rather than a sleek Cyclops aesthetic.
Explore LED color options beyond standard red — deep crimson or amber can create striking visual variations depending on your character interpretation.
For costume storage, disconnect your battery between events to prevent drainage and corrosion inside the visor housing. A small foam-lined box keeps your electronic components protected, ensuring your build stays performance-ready for every convention appearance.
Soldering For Permanence
When your crock clips have proven every connection reliable, it’s time to make those joints permanent with solder. Proper soldering techniques transform your temporary test circuit into a durable, professional-grade visor system.
Follow these steps for clean results:
- Heat your soldering iron fully before touching any joint, ensuring clean, fast bonds that won’t damage surrounding components.
- Apply solder to the heated wire, not the iron directly, creating solid electrical connections without cold joints.
- Trim excess wire after soldering to eliminate short-circuit risks and keep your internal layout compact.
Electrical safety matters throughout this process — work in ventilated spaces and avoid touching the iron tip.
Once cooled, tug-test each joint firmly. A properly soldered Cyclops visor won’t flicker mid-convention, keeping your cosplay sharp and stage-ready.
Paint and Texture Your Cyclops Mask for a Worn-In Look
Painting your Cyclops mask to look battle-worn starts with darkening the edges and deepening any molded wrinkles using a dark brown or black acrylic mix. Work your color blending carefully, pulling darker tones into recessed areas to simulate grime and shadow.
Don’t just brush paint on flatly — use a dry-brush technique to catch raised surfaces with lighter tones, creating contrast that reads as wear. For texture techniques, load a sponge’s torn edge with paint and tap it across the forehead and along prosthetic borders to break up smooth surfaces convincingly.
Apply multiple thin layers rather than one heavy coat, building depth gradually. You’ll want to soften bold patches by tapping over them with a nearly-dry sponge, achieving a gritty, lived-in finish that elevates the entire costume.
Blend Prosthetics Seamlessly Into Your Cyclops Costume

With your mask’s worn-in paintwork locked in, the next challenge is making any prosthetic pieces disappear into your actual skin. Seamless prosthetic blending transforms a good costume into a convincing one. Nail these three techniques for effective seam concealment:
- Texture the edges — Dab a sponge along prosthetic borders at the forehead and hairline, layering paint to visually dissolve hard transitions.
- Deepen surrounding lines — Blend dark brown tones into wrinkles adjacent to prosthetic edges, making seams read as natural skin detail.
- Feather paint onto skin — Extend mask-matched colors directly onto your actual skin, softening the boundary between appliance and face.
Tap over bold paint areas with a sponge’s edge to further soften contrast, achieving a mucky, worn, fully integrated look.
Secure Your Cyclops Mask for an All-Day Fit
Once your prosthetics are blended, a mask that shifts or slips mid-wear will undo all that careful work. Start by poking two small holes on each side of your mask, then thread ribbon or string through each hole and tie them securely around your head.
For a comfortable fit, route the strings beneath long hair to eliminate visible attachment points.
Weight distribution matters more than most cosplayers anticipate. A front-heavy visor pulls downward over time, so balance the load by anchoring foam straps directly onto your lycra suit using contact adhesive, marking placement precisely with chalk beforehand.
Use Blutak for temporary positioning before committing with super glue.
Test the full assembly with movement — crouching, turning, and gesturing — to confirm everything holds firmly through extended convention wear.
Frequently Asked Questions
Can I Wash My Cyclops Costume Without Damaging the Foam Pieces?
Avoid machine washing your costume to protect foam maintenance integrity. For costume cleaning, you’ll want to spot-clean lycra sections with mild soap while keeping EVA foam pieces dry, preserving Plastidip seals and adhesive bonds effectively.
How Long Does a Complete DIY Cyclops Costume Typically Take to Build?
You’ll typically spend 20–40 hours building your cosplay costume, depending on skill level. Foam crafting the visor, collar, and mask layers demands careful curing and drying time, so you’re better off planning across several dedicated crafting sessions.
What Is the Approximate Total Cost of Building a Cyclops Costume?
You’d spend roughly $50–$150, proving budget doesn’t limit brilliance! Smart material sourcing—EVA foam, lycra, acrylics—keeps costs low while maximizing costume durability. Your innovative choices today build a stunning Cyclops suit that’ll genuinely last.
Can Children Safely Wear a Cyclops Mask With Electronic Lighting?
Children can safely wear a Cyclops mask with electronic lighting if you test all connections beforehand, avoid overloading circuits, and guarantee child safety by using low-voltage batteries and keeping wiring securely sealed within the foam frame.
Where Can I Purchase EVA Foam and Plastidip for Costume Building?
Over 60% of cosplayers source supplies online! You’ll find EVA foam alternatives and Plastidip color options at Amazon, hobby stores like Michaels, or specialty cosplay retailers—giving you creative flexibility to craft your perfect Cyclops mask efficiently.
References
- https://www.instructables.com/How-to-Make-an-X-Men-Cyclops-Costume/
- https://www.youtube.com/watch?v=57KgYHvE4mU
- https://www.instructables.com/Cyborg-mask/
- https://www.youtube.com/watch?v=woBNCK8iio8
- https://www.youtube.com/watch?v=ovjH9N73lzE