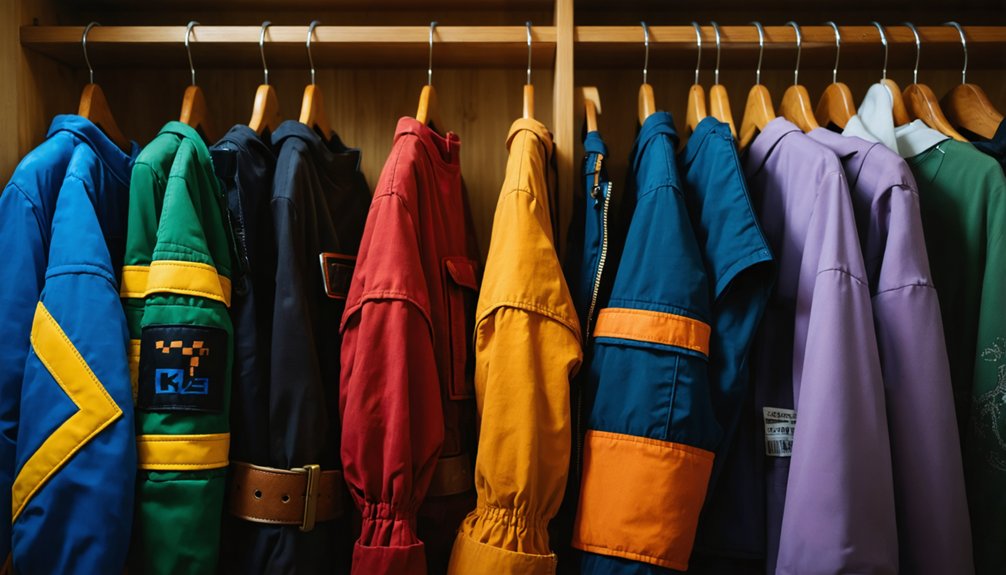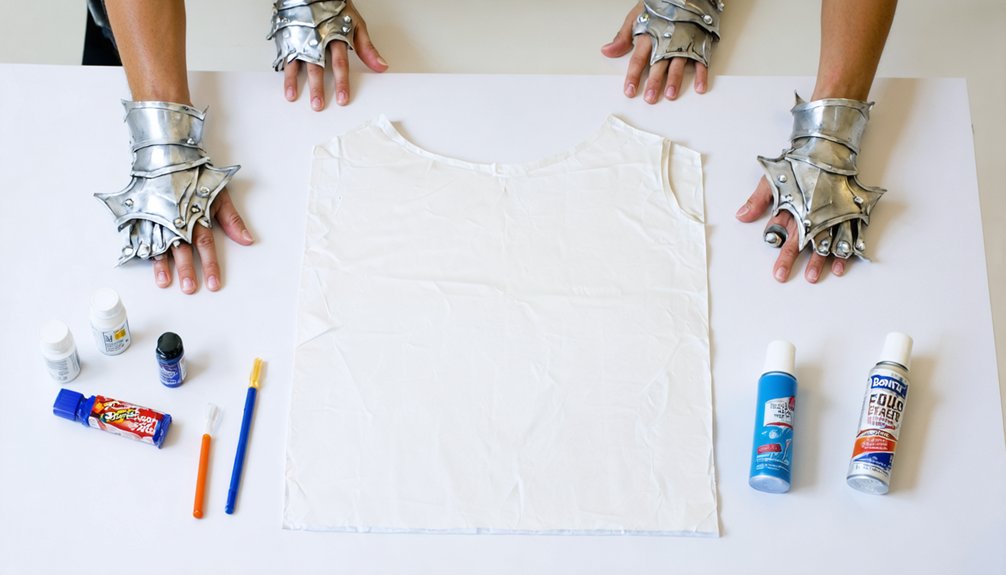
You don’t need a craft store budget to create an amazing cosplay! Start by picking a bold, recognizable concept like a Greek goddess or traffic light, then raid the party, craft, and Halloween aisles for tablecloths, poster board, foam, and headbands. Use hot glue for structure, black marker to sharpen edges, and one consistent accent color to tie everything together. There’s a whole creative strategy waiting to transform your dollar store haul into something unforgettable.
Key Takeaways
- Choose a bold, recognizable concept with a clear silhouette that communicates character identity through one strong visual element.
- Shop the party, craft, Halloween, and gift basket aisles for versatile, affordable structural and decorative materials.
- Build large structural pieces first, establish the base garment, then layer details upward toward the headpiece last.
- Outline edges with black marker, add one consistent accent color, and create a bold focal prop for cohesion.
- Use elastic, adjustable ties, and hot glue reinforcements to ensure the costume stays comfortable, mobile, and durable.
Pick a Dollar Store Cosplay Concept That Actually Works
Before you grab a single foam sheet or balloon, you’ll need a concept that actually translates to dollar store materials — and that’s where most beginners go wrong. Skip anything requiring fabric dyes or LED lights unless you’ve already sourced them affordably, because complexity kills momentum fast.
Instead, choose designs with bold, recognizable silhouettes — think Greek goddesses, traffic lights, jellybeans, or paper dolls. These concepts rely on repeated shapes, simple draping, and strong visual cues rather than technical construction.
Ask yourself: can this costume communicate its identity through one clear element — a headpiece, a sign, a color block? If yes, you’re on the right track.
Matching your concept to what dollar stores actually stock is the smartest creative decision you’ll make.
Dollar Store Supplies Worth Buying for Your Costume
Once your concept is locked in, the real fun begins — loading your cart with the right supplies. Dollar stores are goldmines for budget-friendly accessories that transform simple ideas into head-turning costumes. Skip aimless browsing and shop with intention.
Dollar stores are goldmines — shop with intention and watch budget-friendly supplies transform simple ideas into head-turning costumes.
Hit these four sections strategically:
- Party aisle — balloons, tablecloths, and ribbon for structure and drape
- Craft aisle — foam, poster board, fake flowers, and paint for shaping details
- Halloween section — headbands, gloves, and glasses for instant character definition
- Gift basket supplies — clear bags and elastic for wearable, adjustable components
Many of these sustainable materials pull double duty across multiple costume types, making them smart long-term investments. Prioritize items you can cut, layer, and hot-glue into something genuinely creative and unmistakably yours.
How to Build Your Dollar Store Costume Step by Step
With your cart stocked and your concept locked, it’s time to turn a pile of dollar store finds into an actual wearable costume. Start by cutting and shaping your largest structural pieces—poster board, foam, or tablecloth—before touching anything else. Establish your base garment first, then layer outward.
Use hot glue for permanent bonds and safety pins for adjustable sections. Want extra dimension? Experiment with fabric dye to transform a plain tablecloth into something vivid and costume-ready. Build upward toward your headpiece last, keeping it lightweight.
For a standout finish, weave in LED lights along edges or inside translucent pieces to create unexpected visual impact. Step back frequently, assess the silhouette, and refine details like painted outlines or ribbon accents before calling it complete.
Finishing Touches That Make Cheap Materials Look Intentional
Try these finishing moves:
Try these finishing moves to transform your costume from chaotic to cohesive with just a few intentional details.
- Outline edges with a black marker to sharpen foam or poster board shapes instantly.
- Add one consistent accent color across your headpiece, waist, and accessories to unify color coordination.
- Layer small details—bows, ribbon scraps, or painted dots—through accessory layering for texture depth.
- Create one bold focal point, like a handwritten sign or oversized prop, so your concept reads immediately.
These small steps signal intentionality. When everything feels connected, nobody’s questioning your budget—they’re admiring your execution.
Keep Your Dollar Store Costume Wearable All Night
Looking polished is only half the battle—your costume also needs to survive a full night of movement, heat, and the occasional accidental tug. For real costume comfort, prioritize lightweight materials on your head and shoulders, since heavy attachments fatigue you fast. Use elastic and adjustable ties wherever possible so pieces flex naturally as you move.
These durability tips will save your build: reinforce fragile attachment points on clear bags, paper elements, and loofah strips with extra hot glue or tape before you ever leave the house. Avoid gluing directly onto fabric you care about, since strong adhesive makes clean removal nearly impossible.
Safety pins work brilliantly for adjustable, low-damage connections. Test every component by moving freely at home—if something shifts, fix it before the night begins.
Frequently Asked Questions
Can Dollar Store Costumes Hold up in Outdoor or Rainy Conditions?
Dollar store costumes aren’t built for weather resistance, but you can boost material durability! Seal paper and foam with waterproof spray, reinforce attachments with strong tape, and you’ll confidently rock your creative cosplay outdoors!
Are Dollar Store Materials Safe for Young Children to Wear?
You can make the safest costume on the planet! Prioritize safety considerations by choosing lightweight foam and fabric, avoiding sharp edges. Test material durability before wear, ensuring secure, movement-friendly attachments that won’t irritate young children’s sensitive skin.
How Do You Store a Dollar Store Costume After the Event?
After the fun, you’ll want to enhance costume durability! Disassemble fragile pieces, store flat components in labeled folders, and keep delicate items in breathable bags. These smart storage tips ensure your creative dollar store masterpiece survives for next time!
Can These Costumes Be Altered to Fit Plus Sizes Comfortably?
Like stretchy elastic that adapts to any shape, you can absolutely make plus size modifications! Use adjustable ties, wider tablecloth bases, and flexible attachments for perfect costume fit adjustments that’ll move comfortably with your unique, beautiful body!
What Dollar Stores Carry the Best Selection for Costume Building?
You’ll find the best budget-friendly accessories at Dollar Tree, Five Below, and Party City’s clearance sections! They’re stocked with creative crafting tips waiting to happen—explore party, craft, and seasonal aisles for maximum costume-building inspiration!
References
- https://www.youtube.com/watch?v=QE1qRgY1cxc
- http://www.youtube.com/watch?v=AtkS72EKzdk
- https://www.youtube.com/watch?v=fdYmR-LOAiU
- https://www.youtube.com/watch?v=Cjo2Ni7n-7k
- https://mylifeandkids.com/diy-dollar-store-halloween-costumes/
- https://www.youtube.com/watch?v=Nm48s5WwalQ
- https://www.frugalconfessions.com/holidays/dollar-store-halloween-costume-ideas/
- https://www.youtube.com/watch?v=GZtwB5u6NAE
- https://www.youtube.com/watch?v=2UjEC6ZWy2A
- https://www.instructables.com/Make-a-Paper-Doll-Costume/