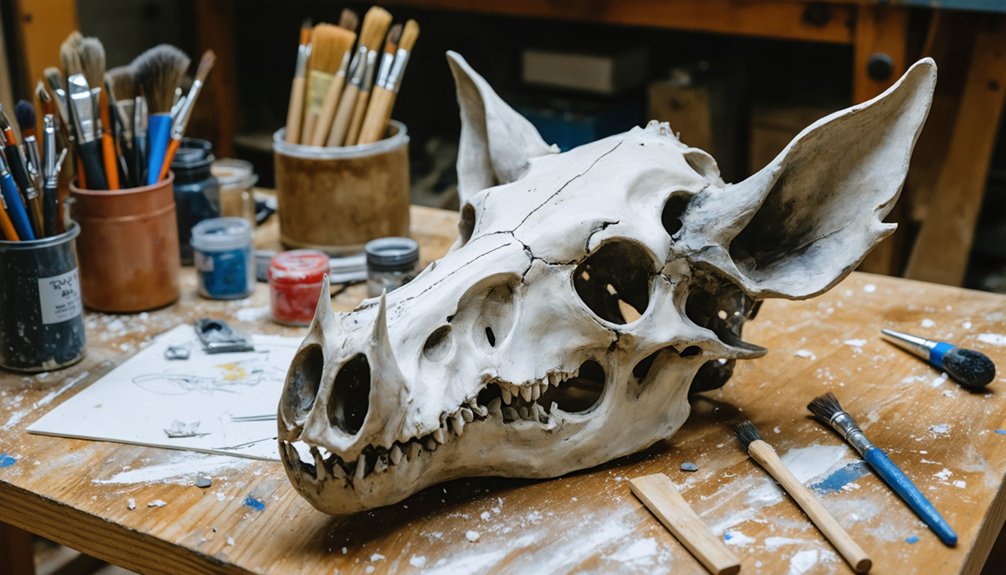
To make an Inosuke Hashibira boar mask, you’ll start by building a paper mache or foam shell over a balloon, shaping it to match a broad boar skull. Layer materials, reinforce with foam strips, then sculpt the snout, tusks, and nostrils using Model Magic. Add mesh eye openings, faux fur, painted ears, and small horns. Seal everything with a matte topcoat for realism. There’s much more to uncover if you keep going.
Key Takeaways
- Build the base using paper mache or foam over a balloon, shaping broad, rounded boar skull proportions larger than human scale.
- Sculpt the upturned snout and curved tusks using Model Magic or foam clay, smoothing surfaces before the material fully sets.
- Reinforce eye openings with cardstock, then layer mesh and black tights fabric for ventilation while concealing the wearer’s eyes.
- Add interior foam padding at the crown, temples, and jawline, securing elastic straps for a comfortable, snug fit.
- Paint with a brown gradient basecoat, dry-brush recessed areas for depth, then seal with matte topcoat for durability.
What You Need to Build an Inosuke Boar Mask
Whether you’re building from scratch or improvising with what’s on hand, gathering the right materials before you start saves you from mid-project headaches. Think of this list like curating seasonal decoration supplies — intentional, purposeful, and visually driven.
Gather your materials with intention — the right prep transforms any project from chaotic to craft-ready.
For the base, you’ll need paper mache, cardstock, and masking tape. The eye area requires metal mesh, fabric mesh, and ping pong balls for rounded depth.
Sculpt the snout and tusks using Model Magic or foam clay. Cover the structure with faux fur or yarn, secured with hot glue.
Drawing from historical references in mask-making traditions, interior padding and elastic keep the finished piece wearable. Paint in off-white, brown gradients, and pink ear tones finishes the look with character-accurate detail.
Build the Base Shape of Your Inosuke Boar Mask
Your first big decision is choosing between a paper mache shell or a wire-and-foam frame, since both methods produce a solid boar head but require different skill sets and drying times.
Once you’ve committed to your approach, shape the head form carefully to match the broad, rounded proportions of Inosuke’s boar skull, keeping your own head size in mind so the finished mask actually fits.
After the basic shape feels right, reinforce the structure by adding cross strips of foam or additional tape layers through the top of the head, preventing any flex or collapse during wear.
Choose Your Base Material
Before anything else, you’ll need to decide what material forms the core of your boar mask, since that single choice shapes every step that follows.
Paper mache delivers strong material durability at low cost, creating a rigid shell that holds paint and detail work beautifully.
If you prefer flexibility and lighter weight, a wire frame covered in foam gives you greater aesthetic customization, letting you sculpt contours more precisely.
A fabric-over-foam approach works well if comfort and wearability are your priorities.
Each method demands a different skill set — paper mache rewards patience, while wire framing rewards spatial thinking.
Consider your timeline, tools, and finishing goals before committing.
Whichever base you choose, confirm it’s sturdy enough to support mesh eyes, sculpted details, and a full faux fur covering.
Shape The Head Form
Once you’ve locked in your base material, the real build begins — shaping a head form large enough to wear comfortably while capturing the wide, rounded silhouette of a boar’s skull.
Focus on material durability from the start — your structure must survive convention wear without warping. Build the form using these steps:
- Inflate a balloon or use a styrofoam head as your shaping base.
- Layer paper mache or foam strips outward, extending the skull width beyond human proportions.
- Add cross-strip foam reinforcements through the crown for structural integrity.
- Let each layer cure fully before adding the next.
Color matching becomes relevant here — seal your base with a neutral gray or tan primer so later paint layers reflect accurate boar tones without bleeding through.
Reinforce The Structure
With your base layer set, reinforcing the structure is what separates a mask that holds its shape through a full convention day from one that collapses mid-wear.
Run foam cross strips through the crown of the head, securing them with hot glue at tension points where warping typically starts.
Material durability depends heavily on layering—combine masking tape wraps over your paper mache shell to distribute stress across the surface rather than concentrating it at seams.
Where you’ve cut eye openings, reinforce the edges with cardstock borders before installing mesh. This step directly affects ventilation considerations, since rigid, well-shaped openings keep mesh taut and airflow consistent.
Press each reinforced section firmly and let it cure completely before moving to facial detail work.
Add Interior Padding and Elastic Before Closing the Shell
Before you close up the shell, press foam padding along any interior edges where wire or hard structure could dig into your head during wear.
Once your padding’s in place, thread elastic through the neck opening or anchor points at the sides.
Then test the fit so the mask sits snug without shifting.
When you’re satisfied with the comfort and tension, seal the neck opening with hot glue or stitching to lock everything into its final position.
Padding Placement Inside Shell
Now that your shell is taking shape, add interior padding before sealing everything up—this step is what separates a wearable mask from one that jabs wire or hard edges into your head. Strategic padding also supports ventilation strategies by creating small air gaps between your face and the shell wall.
Place padding at these four contact points:
- Crown – thick foam strip cushions the top skull pressure
- Temples – thin foam wedges prevent lateral wire contact
- Forehead – flat foam panel stabilizes forward tilt
- Jaw line – narrow foam border softens the lower edge against your chin
Use hot glue for material durability, pressing each piece firmly until fully bonded.
Test the fit before permanently closing any seams.
Attaching Elastic For Wearing
Once your padding is secured and the interior feels comfortable against your head, it’s time to anchor the elastic that’ll actually keep the mask on your face.
Measure elastic from one side of the mask opening to the other, leaving enough slack for a snug but breathable fit. Mark your elastic placement at points that align with your temples or the back of your skull, depending on your preferred wearing angle.
Punch or cut small anchor holes, then thread and knot the elastic securely, reinforcing each attachment point with hot glue for durability.
While you’re working in this zone, check your ventilation options — confirm that mesh-backed eye openings allow adequate airflow before you finalize everything.
A well-anchored elastic makes all the difference during extended wear.
Closing The Shell Securely
With your elastic anchored and padding confirmed, closing the shell is the final structural commitment — so take a breath and double-check everything before you seal it shut.
Run through this sequence before sealing:
- Press every interior padding piece firmly — no sharp wire edges should contact your scalp.
- Confirm ventilation options remain open — mesh eye backing and neck gaps must stay unobstructed.
- Test material durability by flexing the shell gently — hot glue seams shouldn’t crack or separate.
- Apply a final hot glue bead along the entire shell edge, pressing both halves together for ten seconds minimum.
Once sealed, let the structure cure completely before handling. This closure locks in everything — your comfort layer, your airflow design, and your structural integrity simultaneously.
Shape the Snout, Tusks, and Nose Details
The snout brings Inosuke’s mask to life, so grab your foam clay or Model Magic and start building up a rounded, slightly upturned nose shape directly over your foam ring base—this ring keeps the snout level and flush with the rest of the face.
While snout shaping, smooth the clay surface with a little water to eliminate rough edges and improve adhesion. Carve two nostril indentations before the material sets completely.
For tusk attachment, roll separate pieces of Model Magic into curved, tapered forms, then let them firm up before securing them on either side of the snout with hot glue.
Once everything’s dry, apply a brown gradient basecoat followed by off-white highlights on the tusks to achieve that distinctly organic, battle-worn character accuracy.
Create the Inosuke Boar Mask Eye Openings With Mesh
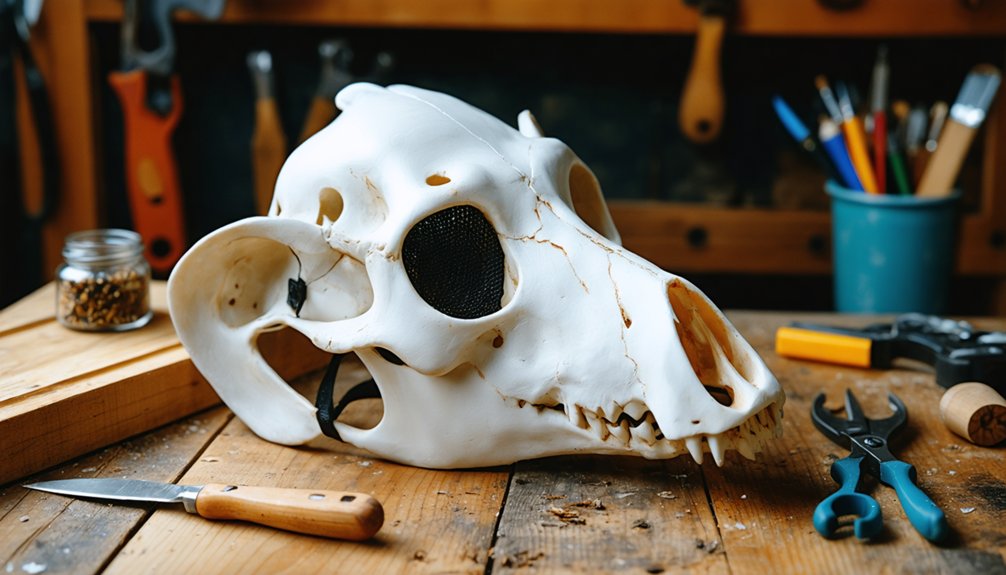
Eye openings make or break a boar mask’s authenticity, so cut two oval holes into your base where the eyes sit, keeping them symmetrical and sized to your actual eye line for comfort. Mesh integration transforms these raw holes into polished, functional features.
- Cut metal or fabric mesh slightly larger than each oval opening.
- Hot glue each mesh piece behind the hole, pulling it taut for a clean finish.
- Layer black tights fabric over the mesh for complete eye concealment from outside viewers.
- Press a ping pong ball ring or foam “banana” strip around each opening’s edge to frame and reinforce it.
Once secured, test visibility from inside before committing to permanent adhesion.
Attach the Ears, Horns, and Faux Fur
Once your mesh is locked in and visibility tested, you’re ready to bring the mask’s wild silhouette to life with ears, horns, and faux fur.
Shape each ear from foam, scoring the surface lightly to mimic natural texture, then paint them with pink interior detail and brown edges before ear attachment to the sides of the skull.
For horns, cut rubber sheet or dense foam into tapered forms, paint them off-white with subtle brown shading, and hot-glue them firmly above the brow line.
For fur styling, plan your faux fur sections before committing to glue. Cut pieces with the hair direction flowing naturally downward, layering from the neck upward so seams stay hidden. Press each section firmly until the adhesive sets completely.
Paint Your Inosuke Boar Mask for Realism
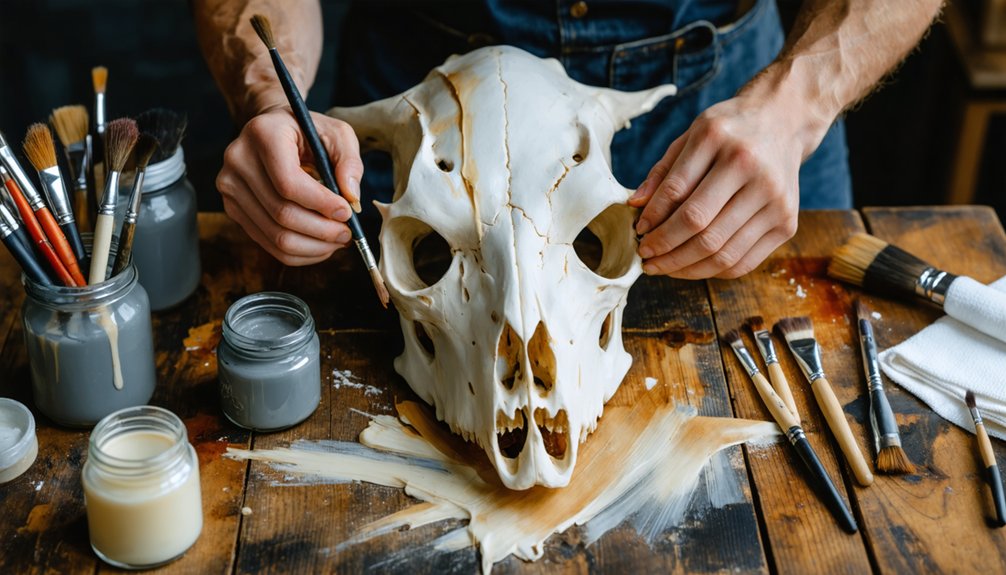
Painting transforms your assembled mask from a craft project into a convincing boar skull, so approach each color zone with intention rather than brushing everything in one flat coat.
Color blending and detail highlighting separate amateur builds from showstopping cosplay pieces.
Color blending and detail highlighting transform an ordinary mask build into an unforgettable, showstopping cosplay centerpiece.
- Base coat the entire mask in off-white, letting it fully dry before layering.
- Brown gradient — dry-brush darker brown into recessed areas around the snout and eye sockets for depth.
- Pink ear detailing — mix soft rose tones into the inner ear cavities to mimic organic tissue.
- Tusk highlighting — drag a thin off-white streak along each tusk’s ridge to create dimensional contrast.
Seal everything with a matte topcoat to lock in your blending and protect the finish during wear.
Inosuke Boar Mask Mistakes That Ruin the Final Look
Even the most carefully painted mask can unravel if earlier construction mistakes go uncorrected, so it’s worth auditing your build at every stage rather than hoping finish work will hide structural flaws.
Skipping interior padding leaves wire edges pressing against your head, killing wearability fast. Poorly secured mesh buckles under movement, ruining your eye openings.
If you rush color blending before the base coat fully dries, colors bleed and muddy rather than blend smoothly.
Uneven texture detailing — particularly around the snout and ears — reads as amateur work under event lighting.
Hot glue strings left unremoved catch fur fibers and create visible clumping.
Always test fit before finalizing fur placement, and never assume paint corrections will compensate for weak foundational shaping decisions made earlier.
Frequently Asked Questions
Can I Buy a Pre-Made Inosuke Boar Mask Instead of Building One?
You can absolutely buy a pre-made mask, but weigh the cost comparison carefully—store-bought options limit your customization options. Building your own lets you innovate, personalize details, and craft something uniquely yours.
How Much Does It Typically Cost to Make an Inosuke Boar Mask?
Cheap thrills, big impact—you’ll spend $20–$50 on materials like foam, faux fur, and mesh. Material durability rises with budget, and this cost comparison beats pre-made masks, letting you innovate every detail yourself.
How Long Does a Completed Inosuke Boar Mask Usually Last?
Your mask’s durability depends on your materials’ longevity—a well-built boar head using faux fur, hot glue, and paper mache can last several convention seasons if you store it carefully and touch up wear spots promptly.
Is the Inosuke Boar Mask Safe for Children to Wear?
Can creativity and safety coexist? They absolutely can! You’ll want to prioritize safety precautions by padding sharp wire edges and ensuring child comfort with breathable mesh openings, elastic straps, and lightweight materials before letting kids wear it.
Where Can I Find Faux Fur and Foam Supplies for This Mask?
You’ll find faux fur sourcing at Joann, Hobby Lobby, or online via Etsy. For foam crafting tips, explore Amazon or local craft stores—they’re stocked with innovative EVA foam sheets perfect for your build!
References
- https://www.youtube.com/watch?v=1nHYFM2OgNI
- https://www.youtube.com/watch?v=QfEnkTmYhEo
- https://www.youtube.com/watch?v=lHlgW12_v6c
- https://www.youtube.com/watch?v=lHH6T1M-RDA
- https://www.youtube.com/watch?v=6ak63rediNI&vl=en-US
- https://iceimports.com/blog/cosplaying-as-inosuke-from-demon-slayer-a-quick-guide/