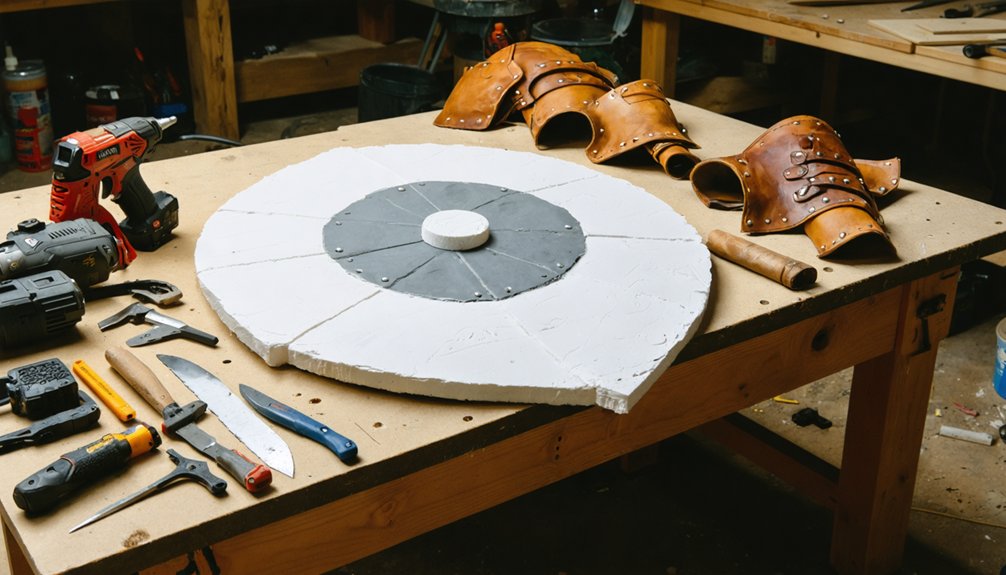
To make a LARP-safe shield, start by choosing an approved core material like XLPE foam or corrugated plastic, keeping dimensions within ruleset limits. Wrap all edges with at least ½” foam padding, and sand every surface smooth to eliminate sharp spots. Reinforce your handle straps with gaffer tape or leather, then test grip comfort and structural stability before combat. There’s a lot more to get right if you want your shield to pass inspection.
Key Takeaways
- Choose lightweight foam or durable XLPE foam as your core material, as material choice affects weight, durability, and impact absorption.
- Sand all surfaces smooth, round every edge, and apply ½–1 inch foam padding along all shield borders.
- Reinforce arm-rests, handle grips, and straps with cotton webbing, gaffer tape, and leather patches to prevent mid-combat failure.
- Shields must not exceed 4 feet in length with a face area under 10 square feet to meet regulations.
- Regularly inspect shields for loose fasteners, sharp protrusions, and padding integrity, retesting after every modification or repair.
LARP Shield Size and Shape Rules You Must Know First
Before you cut a single piece of foam or plywood, you need to understand the size and shape limits that govern LARP-safe shields. These rules draw from historical examples and cultural influences, but safety standards override aesthetic authenticity every time.
Safety standards override aesthetic authenticity every time — know your size and shape limits before cutting a single piece.
Your shield can’t exceed 4 feet in length, and one face must stay under 10 square feet. Rectangular shields max out at 4′ x 2’6″, while circular designs can’t exceed a 3’6½” diameter.
If you’re building a buckler inspired by medieval or cultural influences, keep the diameter at or under 15 inches.
Ignoring these limits gets your shield rejected before combat begins. Measure twice, design once, and build within the boundaries so your creation stays field-legal and fighter-safe.
Choose the Right Core Material for Your LARP Shield
Once you’ve locked in your shield’s dimensions, your core material choice determines everything—weight, durability, and how well it absorbs or deflects impact. Each option balances material durability against portability differently.
For lightweight builds, pink insulation foam reinforced with fiberglass strapping tape keeps weight minimal without sacrificing structure. If you’re running heavier combat scenarios, 2–3 inch thick 4# XLPE foam delivers superior material durability under repeated strikes.
Corrugated plastic sheets stacked 2–4 times mimic cardboard grain while staying rigid and easy to cut for aesthetic customization. For smaller shields where bashing is prohibited, 9mm plywood offers a clean, sturdy foundation.
Approved materials also include ½” plywood, joined solid wood, plexiglass, and various foam types—giving you genuine flexibility to match your shield’s function and visual design simultaneously.
How to Pad and Soften Your Shield’s Edges
With your core material locked in, you’ll need to pad and soften every edge before your shield sees any combat use. Start by sanding any wood surfaces smooth, eliminating sharp spots that foam layering can’t fully compensate for.
Apply a minimum of ½” to 1″ of foam along every edge. K-flex pipe insulation or garden hose sections work excellently for edge softening, wrapping cleanly around curved and straight profiles alike. Secure everything with duct tape to bind layers and prevent material shredding during impact.
Don’t overlook protrusions on the shield face—round, dull, or cover every one. Back straps and rear surfaces must stay smooth too. Sharp corners anywhere on the build aren’t just a rule violation; they’re a safety hazard.
Cover Your LARP Shield Face for Real Impact Protection
Your edges are padded and safe—now it’s time to protect the face of your shield. Cut 10mm EVA foam to your shield’s stencil shape and contact cement it directly onto the core. This layer absorbs impact efficiently while keeping your build lightweight.
For Red Armband combat, face coverage isn’t optional—regulations require a minimum ½” foam thickness across the entire surface. Don’t skip this step.
Historical designs and decorative finishes can integrate seamlessly here. Heat-gun shaped EVA bosses, molded over a ceramic bowl, cover grip holes while referencing authentic medieval aesthetics.
Paint or fabric applied over your foam face adds decorative finishes without compromising safety.
Once your face layer is secured, duct tape binds everything together, preventing material shredding under repeated weapon strikes.
How to Strap and Reinforce Your Shield’s Structure
Strapping and reinforcing your shield correctly keeps it functional under repeated strikes and protects both you and your opponent. Use cotton webbing and gaffer tape to strengthen the arm-rest area, distributing impact load evenly across the structure.
Secure zip ties with leather reinforcement patches to prevent them from digging into the foam exterior. Apply contact cement to bond foam layers firmly to your core, eliminating separation under stress.
Size your handle grip to accommodate a fist plus gauntlets without pinching fingers. Keep all rear surfaces smooth and rounded for user safety.
Once reinforcement is complete, you can apply decorative paint and develop your aesthetic design without compromising structural integrity. Always guarantee decorative additions don’t introduce sharp protrusions or cover padding that affects safety compliance.
Sand, Round, and Finish Every Surface That Can Make Contact
Before your shield sees any combat, sand every wood surface smooth to eliminate sharp spots that could transfer through padding. Work through progressive grits until the core feels uniformly even under your palm.
Round every corner and edge deliberately. Sharp geometry fails safety checks and endangers other players regardless of how thick your padding runs. After sanding, apply edge foam and confirm no protrusions remain uncovered.
Don’t overlook the back face. Straps, zip tie ends, and hardware must sit flush or covered. Trim anything that could pinch a gauntleted fist.
Once structure is confirmed safe, you can pursue color coordination and decorative embellishments across the front face without compromising integrity. Keep ornamentation flush and all added elements rounded.
Safety-first finishing creates the foundation every innovative build requires.
How to Test Your LARP Shield Before It Sees Combat
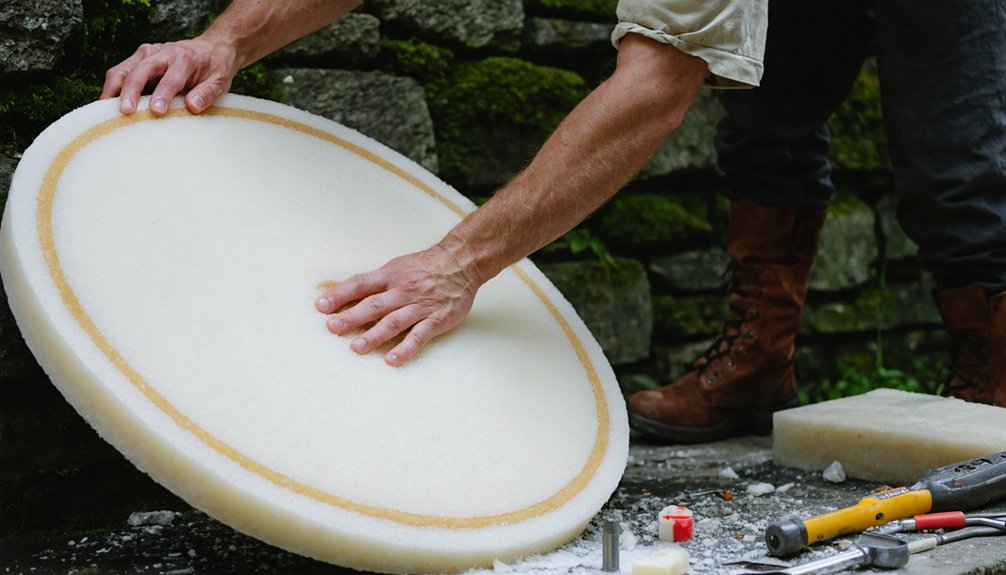
Before your shield ever enters combat, run three essential checks: press firmly along every padded edge to confirm there’s at least ½” of consistent foam coverage with no hard spots breaking through. Then flex the shield body to verify it resists bending under pressure without deforming or cracking.
Grip the handle while wearing your gauntlets to confirm your fist fits without pinching. Simulate combat movement to catch any strap slippage or instability.
Catching these failures now prevents injuries on the field and keeps your build compliant with safety regulations.
Edge Padding Pressure Check
Once your shield’s edge padding is in place, you’ll want to test it thoroughly before it takes any hits in the field. Press firmly along every inch of the edge with your thumb, checking for gaps, compressed spots, or exposed hard material beneath.
Minimum padding thickness runs ½” to 1″—anything less fails safety standards.
Don’t overlook corners, where foam tends to separate or thin out. If your aesthetic design includes color matching between edge foam and the shield face, verify that paint or dye hasn’t stiffened the foam’s surface, reducing its protective give.
Run the back edge across your forearm with moderate pressure. If you feel any sharpness, sand and re-pad immediately. A shield that looks right must also feel right under realistic pressure.
Structural Bend Resistance Test
Your shield must hold firm under realistic combat stress, so testing its structural rigidity before the first event is non-negotiable. Material fatigue develops faster than most builders expect, especially under repeated lateral pressure.
Run these four checks before aesthetic customization begins:
- Apply firm downward pressure across the shield’s center — it shouldn’t flex beyond minimal give.
- Grip both ends and twist — zero torque deformation confirms proper core bonding.
- Strike the face with a closed fist at moderate force — the core must absorb impact without cracking.
- Hold the shield by its handle and shake vigorously — no rattling means your attachment points are secure.
If anything fails, reinforce before proceeding. A compromised shield becomes a liability, not protection.
Handle Grip Safety Verification
Structural integrity means nothing if the handle fails mid-fight. Test your handle grip ergonomics by inserting a gloved fist and confirming zero pinching or restriction — your design must accommodate fists plus gauntlets comfortably.
Flex the grip under load, simulating combat tension, and check that cotton webbing and gaffer tape reinforcements hold without shifting.
Inspect grip material durability by pulling laterally and vertically on each strap; nothing should separate, fray, or compress unevenly.
Run your fingers across all rear-facing surfaces, confirming smoothness with no protruding zip ties or rough edges.
If leather reinforcement patches cover exterior tie points, verify they’re fully bonded.
Any looseness, sharp contact point, or restricted movement disqualifies the shield from combat until corrected. Retest after every modification.
Frequently Asked Questions
Can I Paint or Decorate My LARP Shield After Construction Is Complete?
You can add decorative painting and custom ornamentation post-construction. Paint your design, seal your edges, and protect your foam layers. Make certain you don’t compromise padding thickness or cover safety-critical surfaces during decoration.
How Long Does a Properly Built LARP Shield Typically Last Before Replacement?
Your shield’s durability depends on material longevity and care. With quality foam, plywood, and proper binding, you’ll typically get 2–3 years of active use before edges soften, padding compresses, or structural integrity requires replacement.
Are There Weight Limits for LARP Shields Used in Combat Events?
The knowledge doesn’t specify shield weight limits, but you’ll want to prioritize safety standards by keeping your shield weight manageable. A lighter shield weight ensures you can maneuver effectively without compromising control or risking injury during combat.
Can Children or Younger Players Use Full-Sized LARP Shields Safely?
Bucklers max out at 15 inches—ideal for child safety. You should match shield size to a younger player’s body proportions, ensuring they can control it without strain, reducing injury risks during active LARP combat.
Do Different LARP Organizations Have Conflicting Shield Construction Rules?
Yes, different LARP organizations often conflict on shield durability and construction standards, so you’ll need to verify each group’s specific rulebook before building. Always prioritize the strictest safety requirements to guarantee your shield’s compliance everywhere.
References
- https://www.reddit.com/r/LARP/comments/1gvamyz/looking_for_suggestions_on_shield_construction/
- https://www.medievalware.com/blog/how-make-larp-sheild/
- https://www.celticwebmerchant.com/en/blogs/knowledge-base-larp-cosmetics/all-about-larp-weapons-1
- https://underworldlarp.com/wp-content/uploads/2022/05/Underworld_LARP_Weapon_and_Armour_Guide_v1.4.pdf
- https://www.reddit.com/r/LARP/comments/7wd5jg/shield_core/
- https://www.instructables.com/DIY-Small-LARP-Shield-in-Under-an-Hour/
- https://www.youtube.com/watch?v=P1_8REB69EA