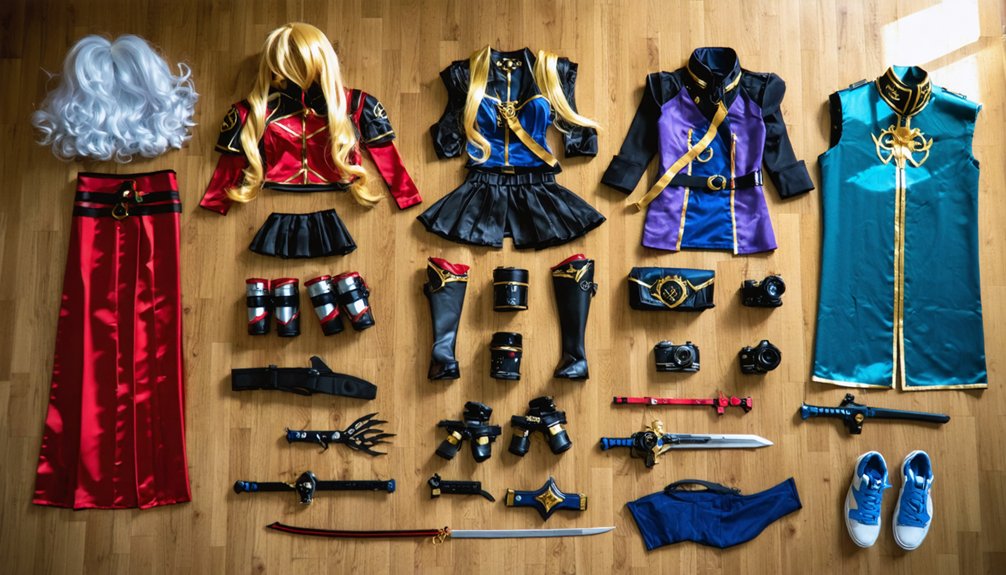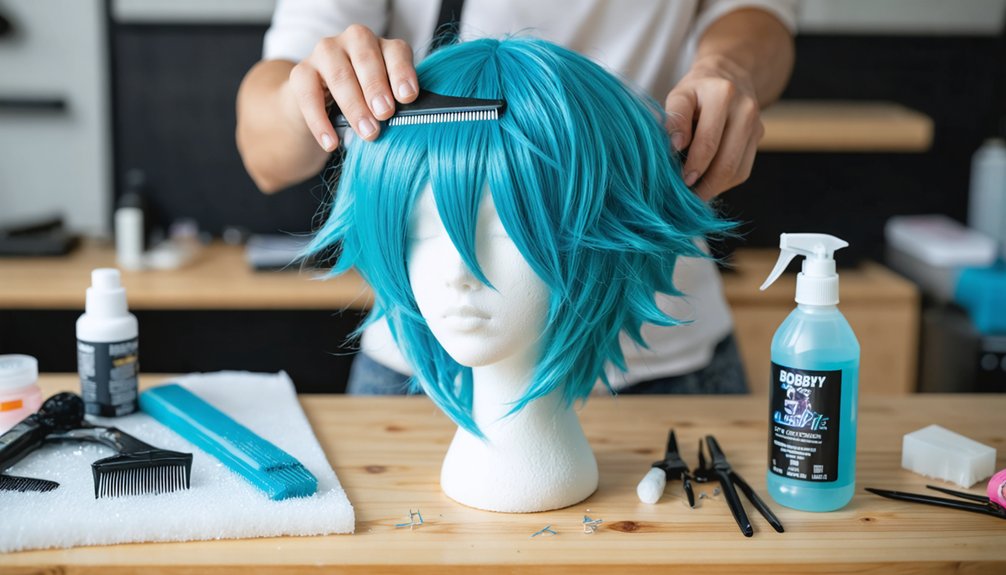
Nami’s striped top and bright orange hair make her one of the easiest One Piece characters you can cosplay on a budget. You can choose her pre-timeskip blue-and-white striped top with an orange skirt or her post-timeskip bikini-and-jeans look. Grab an orange wig, use fabric paint for her stripes, and DIY her Clima-Tact from PVC pipe. Nail her left-arm tattoo with temporary paper, and you’ve got an instantly recognizable cosplay — and there’s even more to discover ahead.
Key Takeaways
- The pre-timeskip outfit—striped blue-and-white top with an orange skirt—is the easiest starting point for beginner Nami cosplayers.
- An orange wig is the most important purchase, instantly making the costume recognizable without expensive additions.
- No-sew techniques like fabric glue, iron-on hem tape, and fabric paint simplify recreating Nami’s signature striped top.
- Build a budget-friendly Clima-Tact prop using painted PVC pipes instead of purchasing costly store-bought versions.
- Recreate Nami’s left-arm tattoo with temporary tattoo paper to add screen-accurate detail without permanent commitment.
Which Nami Outfit Works Best for Beginners?

If you’re just starting out with cosplay, Nami’s pre-timeskip outfit is your best bet — it’s straightforward, recognizable, and doesn’t demand advanced sewing skills or expensive materials. You’ll need a blue-and-white striped top, an orange skirt, and yellow or brown sandals. That’s genuinely achievable on a tight budget.
What elevates this build is wig styling and cosplay makeup. Source a shorter orange wig, trim it to match Nami’s pre-timeskip cut, and style it with light-hold spray for accuracy. Pair that with warm-toned cosplay makeup to capture her sun-kissed complexion and expressive features.
Don’t overlook her tattoo placement — that small detail instantly signals the character. Keep your references arc-specific, stay consistent, and you’ll deliver a sharp, fan-accurate look without overcomplicating your first build.
Pre-Timeskip vs. Post-Timeskip: Pick Your Nami Look
Nami’s pre-timeskip look features her iconic blue-and-white striped top paired with an orange skirt, giving you that classic East Blue-era energy that fans instantly recognize.
If you prefer a more relaxed, beach-ready vibe, her post-timeskip style swaps the skirt for jeans and trades the striped top for a blue-and-white bikini, making it a surprisingly easy build with wardrobe basics.
Your choice between these two eras shapes everything from wig length to fabric shade, so lock in your preferred Nami before you start gathering materials.
Classic Striped Top Look
Whether you’re drawn to the scrappy navigator of the East Blue or the confident powerhouse of the New World, choosing between Nami’s pre-timeskip and post-timeskip looks is the first real decision you’ll make as a cosplayer.
The classic striped top look captures Nami’s original energy perfectly. You’ll need a blue-and-white striped top, an orange skirt, and yellow or brown sandals. Fabric paint makes stripe detailing simple and affordable. Accessories customization lets you personalize the look — consider adding small orange or gold accents to match specific arc references.
Wig styling is equally critical here. Pre-timeskip Nami rocks shorter orange hair, so you’ll want a mid-length wig trimmed and shaped accordingly. Getting this right instantly elevates your costume from generic to genuinely recognizable.
Post-Timeskip Bikini Style
Shifting to the post-timeskip look opens up a completely different energy — bolder, more relaxed, and undeniably cool. You’ll build this version around a blue-and-white bikini top, fitted jeans, and a brown belt for that signature Nami silhouette. Sandals in yellow or brown keep the footwear simple and accurate.
Your costume accessories can stay minimal here — think small gold earrings and a wristband to nail the detail without overcomplicating your build. The real game-changer is wig styling. Post-timeskip Nami rocks longer orange hair, so choose a wig that hits past your shoulders and style it with loose, slightly wavy texture.
This era feels effortlessly wearable, making it a smart pick if you want accuracy without wrestling with complex construction.
Choosing Your Era
Deciding between pre-timeskip and post-timeskip Nami comes down to the vibe you want to bring to your build. If you love leaning into cosplay history and honoring her roots, the classic striped top and orange skirt capture her original, scrappy navigator energy. It’s a strong choice that reflects her early character background and feels instantly recognizable to longtime fans.
Post-timeskip Nami, though, brings a bolder, more confident aesthetic — the bikini top and jeans combo suits cosplayers who want a modern, streamlined look with slightly fewer construction challenges. Each era carries a distinct emotional tone, so think about which version of Nami resonates with you most deeply.
Your era choice shapes everything: wig length, blue shade, and overall silhouette. Choose intentionally, then commit fully.
What to Buy and What to Skip for Budget Nami Cosplay
Keeping your Nami cosplay budget lean doesn’t mean cutting corners on the look—it means spending smart. Prioritize buying an orange wig since Nami’s hair color is non-negotiable for instant recognition.
Skip expensive full costume sets—your existing jeans, a thrifted blouse, and fabric paint can recreate the post-timeskip look convincingly. Invest in blue and white fabric paint for stripes rather than custom-sewn tops.
For costume accessories, a DIY Clima-Tact from PVC pipe costs far less than store-bought versions. Brown sandals you already own work perfectly as footwear.
Skip elaborate armor pieces entirely—Nami’s design doesn’t need them.
For makeup tips, focus on a clean, expressive look with defined eyes that match her animated personality. Smart spending means bigger visual impact for less money.
Where to Find Cheap Materials Before You Start Building
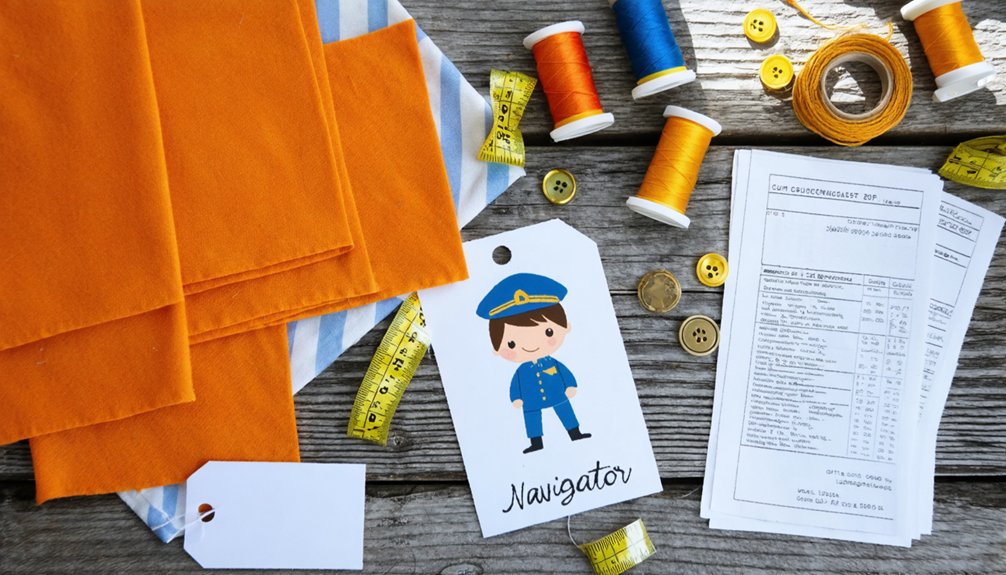
Once you know what to buy and what to skip, the next step is tracking down those materials without draining your wallet. Thrift stores are goldmines for base clothing pieces like jeans, blouses, and sandals that match Nami’s core looks.
Thrift stores are goldmines for base pieces that match Nami’s core looks without draining your wallet.
For fabric sources, check local craft stores, remnant bins, and online marketplaces like Etsy or eBay, where sellers often offer discounted cuts perfect for small projects.
AliExpress carries affordable orange wigs and costume accessories that ship directly to your door.
Facebook Marketplace and cosplay swap groups let you score secondhand materials from other builders.
Don’t overlook your own closet either — existing blue or orange clothing can be repurposed with fabric paint.
Smart sourcing upfront keeps your build flexible, fun, and genuinely budget-friendly.
Make Nami’s Striped Top Without a Sewing Machine
You don’t need a sewing machine to pull off Nami’s iconic striped top, because iron-on hem tape and fabric glue let you cut and bond a blue-and-white top cleanly without a single stitch.
Grab fabric paint and masking tape to lay down crisp, even stripes on a plain white or light blue shirt, peeling the tape away once the paint dries for sharp, screen-accurate lines.
Seal raw edges with no-fray glue or fold them under with hem tape to give your finished top a clean, polished look that holds up through a full day of wear.
No-Sew Fabric Options
If you don’t own a sewing machine, you can still pull off Nami’s iconic striped top using no-sew fabric techniques that are beginner-friendly and budget-conscious. Iron-on hem tape lets you bond fabric edges cleanly without thread, while fabric dyeing opens creative possibilities for transforming a plain white shirt into Nami’s signature blue-and-white striped look.
Use masking tape as a stripe guide, then apply fabric paint in controlled sections for sharp, even lines. Fabric glue works well for attaching trim or layered panels securely. These methods also support accessory crafting, letting you add small emblem details or decorative elements without advanced tools.
You’ll achieve a recognizable, screen-inspired result that holds up well at conventions while keeping your build accessible, affordable, and genuinely fun to create.
Painting Stripes Easily
Painting stripes directly onto fabric takes the no-sew approach one step further, giving you even more control over how Nami’s iconic blue-and-white top turns out. Grab a plain white fitted shirt, fabric paint in the correct dark blue shade, masking tape, and a flat brush.
Apply tape in evenly spaced horizontal lines across the shirt, pressing edges firmly to prevent bleeding. Paint between the tape strips using smooth, consistent strokes, focusing on stripe accuracy so each band matches Nami’s reference design.
Let the first coat dry completely before adding a second for deeper pigment. Peel the tape slowly for clean edges.
Color blending isn’t necessary here since Nami’s top uses solid tones, but layering paint slightly adds dimension and keeps your finished costume looking sharp and deliberate.
Finishing Without Stitching
Once the stripes are dry and looking sharp, finishing the edges of Nami’s top without a sewing machine is completely doable using fabric glue, hem tape, or iron-on bonding strips. These fabric manipulation techniques let you seal raw edges cleanly and professionally without touching a needle.
Press your hem tape along the neckline, armholes, and bottom edge, then apply heat to bond everything securely. You’ll get crisp, clean lines that hold up through a full convention day.
For accessory customization, use the same iron-on method to attach small decorative trim or emblem details directly onto the fabric. It’s fast, beginner-friendly, and surprisingly durable.
Once everything’s set, you’ve got a finished Nami top that looks intentional, polished, and completely ready for your cosplay debut.
Make Nami’s Skirt With Basic Fabric and Elastic
Making Nami’s skirt is one of the most beginner-friendly steps in the entire build, and you’ll only need a few basic supplies to pull it off. Grab orange fabric, a length of elastic, scissors, and a needle and thread.
Cut your fabric to your waist measurement plus seam allowance, then fold the top edge over your elastic and stitch it down to create a clean, fitted waistband.
If you can’t find orange fabric locally, fabric dyeing lets you transform white or cream material into the perfect shade.
Hem the bottom edge to your preferred length, keeping Nami’s classic silhouette in mind.
Pair the skirt with your accessory crafting efforts, like adding small embellishments, to push the costume closer to screen accuracy without overcomplicating the process.
Choose the Right Orange Wig for Your Nami Cosplay
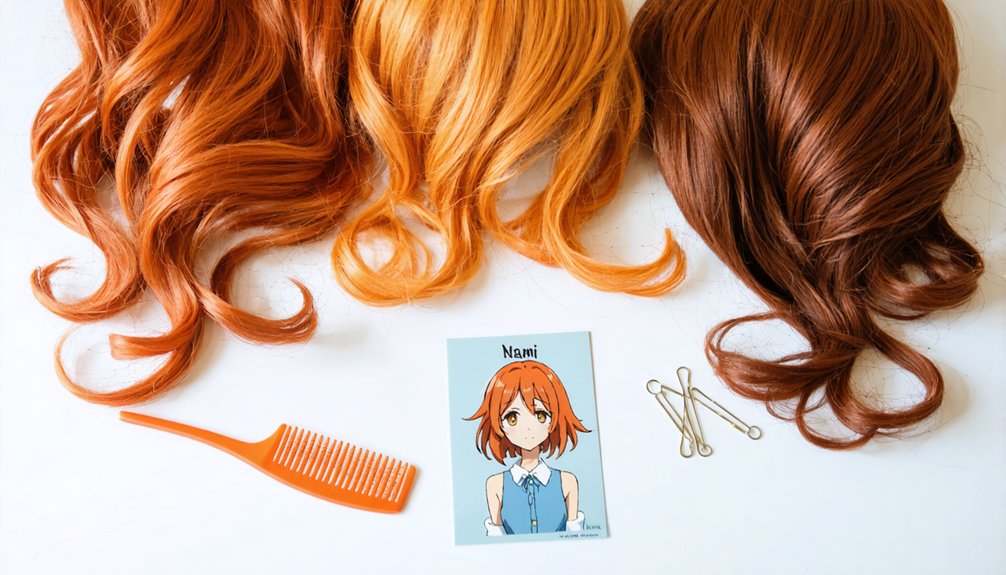
With your skirt done, the wig is where your Nami cosplay really comes to life. Nami’s iconic orange hair instantly signals her character, so choosing the right shade matters more than you’d think.
For pre-timeskip Nami, grab a shorter, shoulder-length orange wig with side-swept styling. Post-timeskip calls for a longer, flowing version that hits past the shoulders. Either way, aim for a warm, burnt-orange tone rather than neon or red-leaning shades.
Wig styling transforms a basic purchase into something screen-accurate. Use a fine-tooth comb, light-hold hairspray, and foam rollers to shape your waves.
Pair your finished wig with cosplay makeup that emphasizes Nami’s bright, expressive eyes using winged liner and warm-toned eyeshadow. That combination seals the whole look together beautifully.
Nail Nami’s Tattoo, Staff, and Finishing Details
These finishing details are what separate a recognizable Nami costume from a truly screen-accurate one. Start with her iconic left-arm tattoo — a pinwheel and tangerine design. You can recreate it using temporary tattoo paper or body-safe face paint.
For makeup tips, keep her look natural and bright, adding subtle contouring to match her animated features.
Her Clima-Tact staff is a standout prop you can build from PVC pipe, painted and assembled in sections. It’s lightweight, budget-friendly, and instantly recognizable to fellow fans.
Don’t overlook wig styling — Nami’s hair flows with a specific shape depending on the arc you’ve chosen. Use light-hold spray and a wide-tooth comb to shape soft waves.
These small details collectively transform your cosplay from good to unforgettable.
Frequently Asked Questions
Can I Cosplay Nami Without Wearing a Wig?
You can absolutely skip the wig! Embrace costume customization by styling your own hair orange with temporary dye or spray. These wig alternatives let you innovate while still nailing Nami’s iconic, recognizable look beautifully!
How Long Does a Beginner Nami Cosplay Take to Complete?
You’re almost there… a beginner Nami cosplay takes one to three weekends! Gathering costume materials and practicing makeup techniques speeds everything up. You’ll nail it faster than you’d expect!
Is Nami Cosplay Appropriate for All Ages and Body Types?
Yes, you can rock Nami’s look at any age or body type! Adjust costume durability and character accuracy by choosing outfit versions that flatter you—there’s a perfect Nami design waiting for everyone!
Can Two People Cosplay Different Nami Versions Together?
Pairing perfectly portrays two distinct eras! You and your cosplay partner can rock different Nami costume variations together — like pre- and post-timeskip looks — creating dynamic, innovative cosplay partner ideas that’ll wow every One Piece fan around!
How Do I Store and Transport My Finished Nami Costume Safely?
For smart costume storage, fold your Nami outfit carefully and use garment bags! Pack accessories separately, and you’ll protect your wig with a box. Follow these transportation tips to keep everything convention-ready and pristine!
References
- https://www.youtube.com/watch?v=6a7b8Th6FZ8
- https://www.cbr.com/one-piece-anime-nami-cosplay-amazing/
- https://corecosplay.com/anime/nami-cosplay-ideas/
- https://www.youtube.com/watch?v=MYKTycmspxM
- https://www.youtube.com/watch?v=ZV4oazYmv44
- https://www.youtube.com/watch?v=iq-mxAA5wTc
- https://www.lemon8-app.com/@hotgluehime/7577468518422069815?region=us