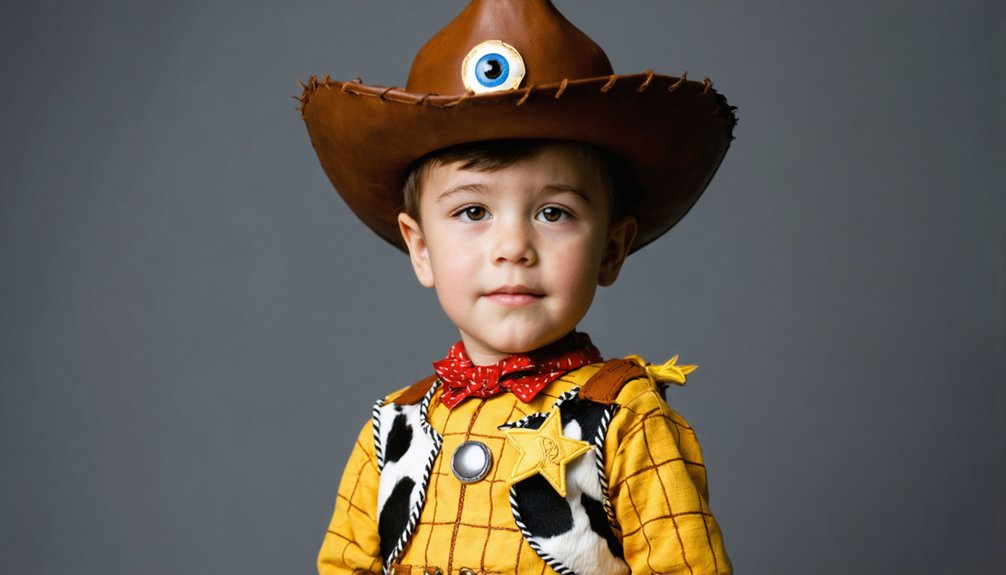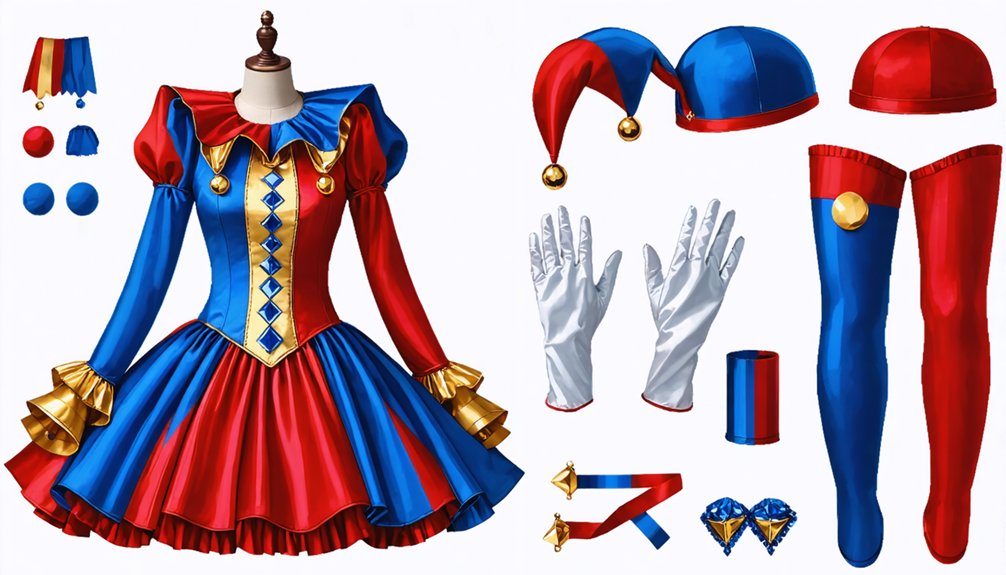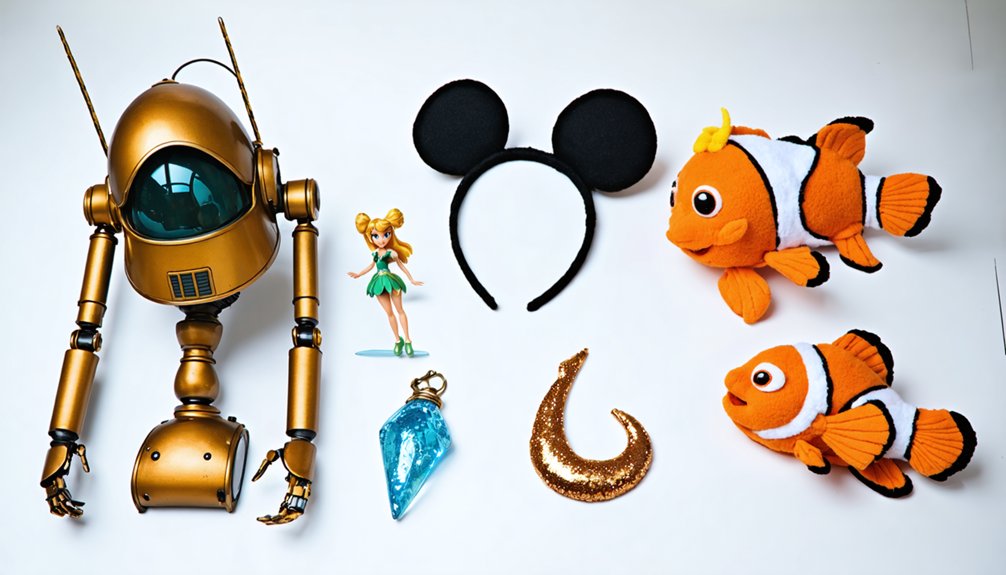
You don’t need a pro prop shop to nail Disney or Pixar cosplay. Cut cardboard circles into a Mike Wazowski body, slice a white plastic folder into a Pixar car shape, and layer craft foam over cardboard for polished finishes. Place signature accessories like bandanas and chokers near your face for instant recognition. Small details—ringlets, precise color matches, gold badges—close the gap between “close enough” and “spot-on.” The best hacks are simpler than you’d expect.
Key Takeaways
- Layer a wide belt over a plain shirt and add character-specific hats or bandanas for instant Disney silhouette recognition.
- Cut cardboard circles, connect with a curled strip, and seal with Mod Podge to craft lightweight, durable character props.
- Use black foam paper for facial features like pupils and smiles to quickly replicate iconic Disney and Pixar characters.
- Small precise details like black ribbon chokers and Alice ringlets transform basic outfits into instantly recognizable character costumes.
- Place signature accessories near the face or waistline to maximize character recall and guide viewers’ eyes efficiently.
Turn a Belt, Hat, and Bandana Into a Disney Character Fast
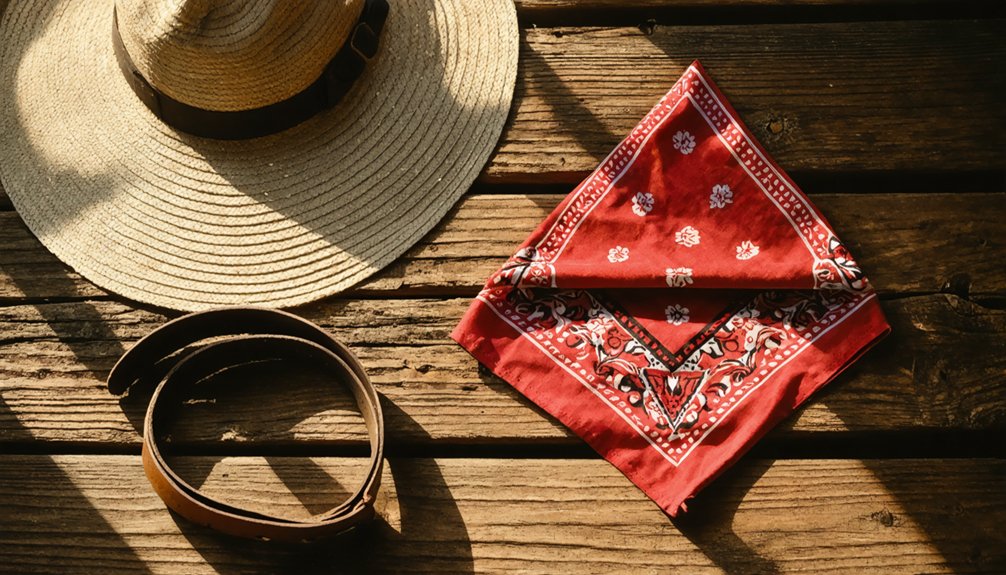
When you’re short on time, a belt, hat, and bandana can do more heavy lifting than an entire costume rebuild. The right costume accessories create an immediate silhouette that registers before anyone reads a name tag.
Layer a wide belt over a plain shirt, knot a bandana at the collar, and top it with a character-specific hat — suddenly, you’ve built a recognizable look from three items.
Hair styling carries equal weight here. Classic Alice ringlets with a sharp middle part reinforce character identity without a single stitch. A black ribbon or choker adds polish in seconds.
These small, deliberate choices signal intentionality, transforming ordinary clothes into a costume that reads clearly across a crowded room.
Precision in accessories always outperforms an elaborate build done carelessly.
Build a Mike Wazowski Prop From Cardboard Circles
Accessories carry a costume far, but sometimes you want to build something you can actually hold up — a prop that stops people mid-sentence. Mike Wazowski’s circular silhouette makes him perfect for cardboard construction, no advanced makeup techniques or elaborate costume accessories required.
Here’s how to pull it together:
- Cut two large cardboard circles and connect them using a curled cardboard strip, forming a hollow cylinder with depth.
- Tape everything with masking tape — it keeps the structure light, flexible, and piñata-sturdy without adding bulk.
- Add black foam paper cutouts for his iconic smile and pupil details, then seal the entire surface with layered Mod Podge for a clean, durable finish.
The result reads instantly — and photographs even better.
Get a Smoother Finish With Craft Foam and Stretch Velvet
Cardboard gets you the shape, but craft foam and stretch velvet get you the finish that makes people ask where you bought it.
Layer craft foam directly over your cardboard base, trimming edges cleanly so seams disappear beneath the fabric. Once your foam layer sits flush, stretch velvet over it—the fabric’s natural give conforms to curves without bunching or puckering.
Before applying velvet, brush a thin layer of tacky glue onto the foam to prevent seepage that ruins surface texture. These two materials working together elevate costume accessories from obviously handmade to genuinely polished.
That polish matters because character recognition depends on clean silhouettes, not just correct colors. When your prop reads clearly from across a room, your entire costume lands harder.
Cut a White Plastic Folder Into a DIY Pixar Character Car
Before you spend money on specialty materials, check your supply drawer for a white plastic folder—it’s already the right color, thickness, and flexibility to cut into a clean Pixar character car shape. It holds its form beautifully, making it ideal for crafting sharp character silhouettes that read instantly from a distance.
Before you buy specialty materials, check your supply drawer—a white plastic folder is already the perfect crafting solution.
Here’s how to build it:
- Sketch and cut your car outline directly onto the folder using a marker and sharp scissors.
- Add black foam paper details—wheels, a smile, and pupils—to define the character’s face.
- Apply sparkly or silver paper for headlights, giving your costume accessories that polished, screen-accurate finish.
This approach transforms overlooked office supplies into imaginative, eye-catching props without complicated tools or expensive materials.
Turn Plastic Folders and Foam Paper Into Pixar Props
Once you’ve shaped your car cutout, you’ll find that plastic folders and foam paper work together as a surprisingly versatile prop-building duo beyond just that single design.
Black foam paper punches out crisp facial details — sharp smiles, bold pupils — while sparkly foam adds instant metallic shimmer for headlights or decorative accents. These materials let you prototype character accessories fast without sacrificing visual impact.
The real advantage is costume simplicity. You’re not rebuilding entire props from scratch; you’re layering targeted details onto lightweight bases that hold their shape. Silver paper mimics polished surfaces convincingly, and decorative stones painted as eyes transform a plain fanny pack into a recognizable Pixar piece.
Together, these materials let your imagination drive the construction rather than your budget limiting it.
Transfer Disney Character Art Onto a T-Shirt With an Iron
- Position the saran wrap design face-down onto your shirt, considering accessory placement so badges or emblems land naturally on the chest.
- Layer parchment paper over the design and iron steadily for three minutes, applying consistent pressure across every edge.
- Seal the transferred image by running a candle across the warm surface, locking the wax into the fabric fibers.
Your custom character shirt now functions as both costume and wearable prop simultaneously.
Paint a Star Badge Gold for an Instant Toy Story Look
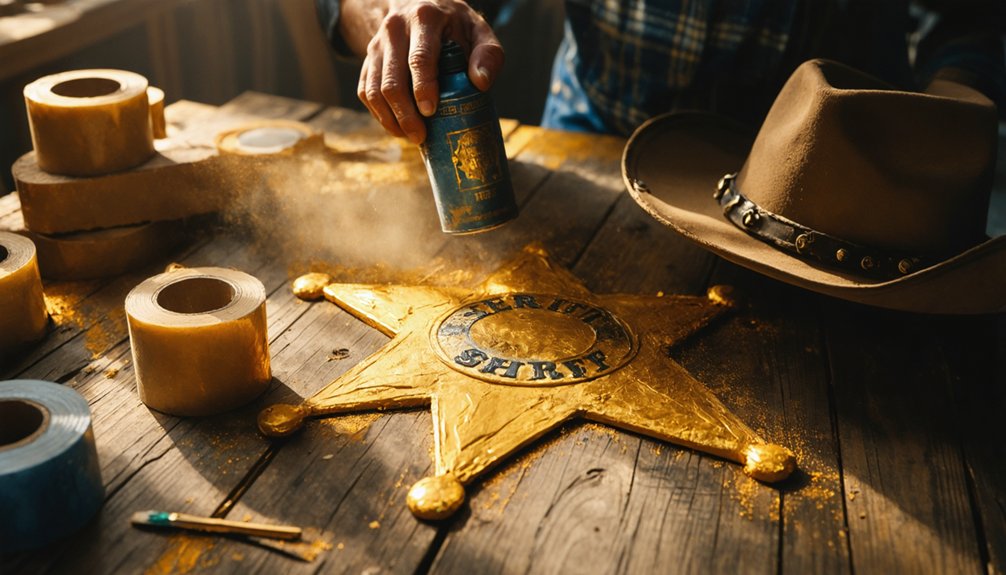
Whether you’re building a full Woody costume or just need a quick character shortcut, a gold-painted star badge delivers an instant Toy Story read with almost no effort. Grab a foam or cardboard star shape, apply a clean base coat of white acrylic paint, then layer gold acrylic paint over the top once it’s fully dry.
Two coats sharpen the finish and boost costume accuracy considerably. Seal everything with Mod Podge to protect the surface during wear. Pin it to a denim vest or plaid shirt, and you’ve got one of the most recognizable character accessories in the Pixar universe.
Small details like this punch far above their weight, transforming an ordinary outfit into something immediately readable across a crowded convention floor.
Seal Every Disney Cosplay Prop With Mod Podge for Durability
Mod Podge does more than add a finishing sheen—it locks in every layer of paint and keeps your prop from chipping, flaking, or absorbing moisture through a long convention day. Every costume accessory deserves this protective ritual, especially pieces carrying painted logos or detailed character recognition elements.
Apply it strategically:
- Brush a thin first coat over bare surfaces and let it cure completely before adding paint layers underneath.
- Seal painted details with two to three coats, allowing full drying between each pass to prevent cloudiness.
- Finish with a matte or gloss coat depending on your prop’s texture—gloss amplifies metallic accents while matte keeps fabric-adjacent pieces looking natural.
Your prop survives the convention. Your character stays unmistakable.
Build One Prop That Works for Two Pixar Costumes at Once
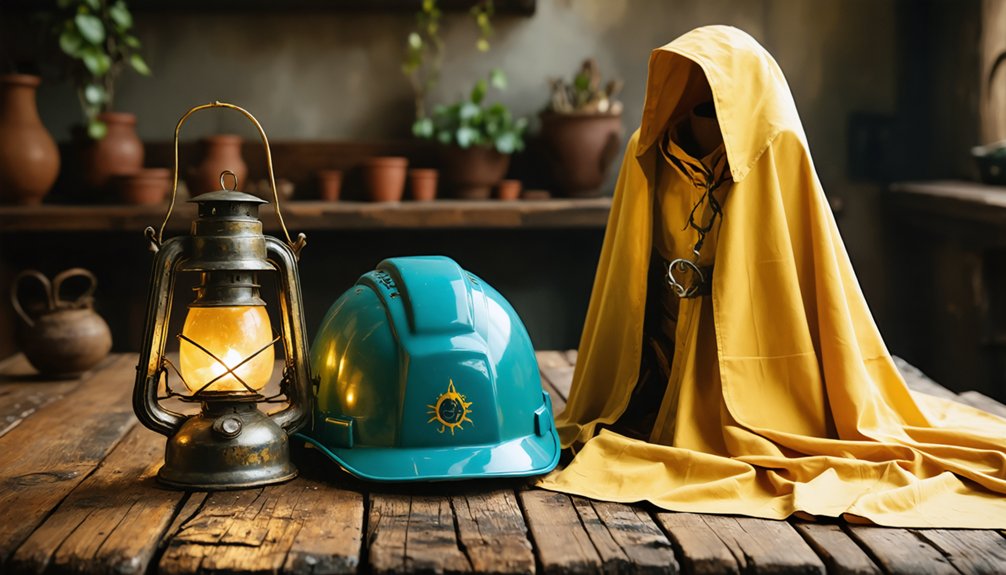
Pixar mashup cosplay rewards prop economy—one well-designed accessory can anchor two completely different character reads without rebuilding anything from scratch.
Think about a sheriff star badge finished in gold acrylic: it reads instantly as Woody from Toy Story, but pair it with an Incredibles-red bodysuit and suddenly you’re playing a superhero lawman hybrid. That’s character versatility working at full power.
Accessory layering makes this possible. You’re not replacing props—you’re recontextualizing them.
A Mike Wazowski-shaped fanny pack decorated with decorative stone eyes shifts meaning entirely when you swap the surrounding outfit. The prop carries consistent visual weight across both costumes.
Build your crossover piece with durable materials, seal it with Mod Podge, and let the surrounding clothing do the narrative switching.
One prop, two characters, zero wasted effort.
Spot the Small Details That Make Disney Cosplay Instantly Work
Prop economy gets you halfway there—but small details close the gap between “kind of looks like” and “instantly recognizable.” A black ribbon choker, a pair of classic Alice ringlets with a precise middle part, or a belt with the right buckle shape signals character identity faster than an elaborate full costume ever could.
Costume color anchors recognition immediately, while accessory placement controls where eyes land first. Nail both, and viewers decode your character within seconds.
- Layer one signature accessory at eye level—a bandana, hat, or choker creates an instant silhouette read.
- Match costume color precisely—even one off-shade breaks the visual shorthand your character depends on.
- Position props intentionally—accessory placement near the face or waistline maximizes character recall without extra materials.
Frequently Asked Questions
Can Disney Cosplay Props Be Made Safe for Young Children to Wear?
Fragile yet fun, you can absolutely make child-safe Disney props! Prioritize child safety by using soft foam and masking tape builds. Boost prop durability with Mod Podge sealing, ensuring lightweight, rounded accessories little ones can wear confidently.
How Do You Store Foam and Cardboard Props Without Damaging Them?
Store your props in flat, dry bins to protect foam durability and prevent warping. You’ll want acid-free tissue between layers for cardboard reinforcement, keeping every creative detail crisp and adventure-ready for your next imaginative cosplay debut!
Are These DIY Prop Techniques Suitable for Outdoor or Rainy Events?
These techniques aren’t built for rain—cardboard warps, foam absorbs moisture fast. Boost weather resistance and material durability by sealing everything with extra Mod Podge layers, wrapping props in plastic, and swapping cardboard for EVA foam at outdoor events.
What Is the Average Total Cost of Building These Pixar Props?
Forget luxury budgets! You’ll spend roughly $10–$30 per prop. Smart cost estimation and budget planning mean you’re raiding your recycling bin, grabbing foam, cardboard, and acrylic paint — innovation never looked so delightfully cheap!
Can These Prop-Making Methods Work for Non-Disney or Pixar Costumes?
Yes, you can absolutely apply foam sculpting methods and custom paint techniques to any costume! These versatile approaches let you craft superheroes, anime characters, or original creations with the same imaginative, detail-oriented precision you’d use elsewhere.
References
- https://www.youtube.com/watch?v=1xfueXHtpdc
- https://www.youtube.com/watch?v=_hRpSjr60Qk
- https://www.youtube.com/watch?v=dFDj4ZnA4w8
- https://www.youtube.com/watch?v=rewCL624QOs
- https://starstruckpanda.com/best-disney-and-pixar-character-cosplay-ideas/