Before you print a single layer, lock in your scale using body measurements and test fits to avoid costly reprints. Orient parts with flat surfaces down, align layer lines across stress points, and segment along natural seams. Keep print speeds between 40–60 mm/s for clean adhesion. Sand progressively, prime with material-compatible coatings, and reinforce joints with epoxy or brass rods. There’s a lot more technique behind armor that actually survives a full convention day.
Key Takeaways
- Use body scanning for precise measurements to ensure costume parts fit correctly before committing to full-scale prints.
- Orient flat surfaces downward to minimize supports and align layer lines across stress points for stronger parts.
- Print at 40–60 mm/s to maintain surface quality, layer adhesion, and overall structural integrity.
- Sand progressively, apply filler primer in thin coats, and wet sand at 400–600 grit for a paint-ready finish.
- Reinforce structural parts with internal rods and use adjustable strap-and-Velcro systems for secure, comfortable wearability.
Plan Scale, Fit, and Print Order Before You Start 3D Printing Cosplay Armor
Before you print a single layer, nailing down scale, fit, and print order will save you from costly missteps that can derail your entire build. Body scanning gives you precise dimensional references, ensuring armor and headpieces conform correctly to your frame. Test fits before final assembly confirm wearability early, preventing expensive reprints. Tackle high-risk components first, leaving recovery time if technical failures emerge.
Material selection directly impacts how you approach scale decisions—rigid filaments behave differently under body movement than flexible alternatives. Factor color matching into your planning too, since printing segmented parts across multiple spools risks subtle hue shifts.
Large armor builds typically need three months of lead time, so map your print sequence strategically and prototype complex sections at reduced scale before committing to full production runs.
Orient and Segment Parts to Reduce Supports and Improve Durability
How you orient each part on the build plate shapes everything from support density to long-term structural integrity. Poor orientation wastes material, weakens stress points, and complicates finishing. Pair smart orientation with deliberate segmentation, and you’ll print cleaner, stronger components every time.
Part orientation isn’t cosmetic — it determines support load, stress resistance, and whether your final assembly holds.
- Lay flat surfaces down to minimize supports and maximize adhesion.
- Align layer lines across stress points, not along them, to prevent delamination under load.
- Segment along natural design seams rather than defaulting to maximum build volume limits, preserving aesthetics and material compatibility between joined sections.
- Dry-fit every segmented piece before committing to glue-up, confirming alignment and wearability at your chosen printing resolution.
Correct orientation paired with logical segmentation reduces post-processing dramatically and keeps structural performance high throughout the full assembly.
Choose Strength Settings for 3D Printed Cosplay Armor That Actually Holds
Keep print speed between 40–60 mm/s to maintain dimensional accuracy. Pushing faster degrades both surface quality and layer adhesion.
Dialing these settings precisely before committing to full-scale prints saves filament, time, and frustration during final assembly.
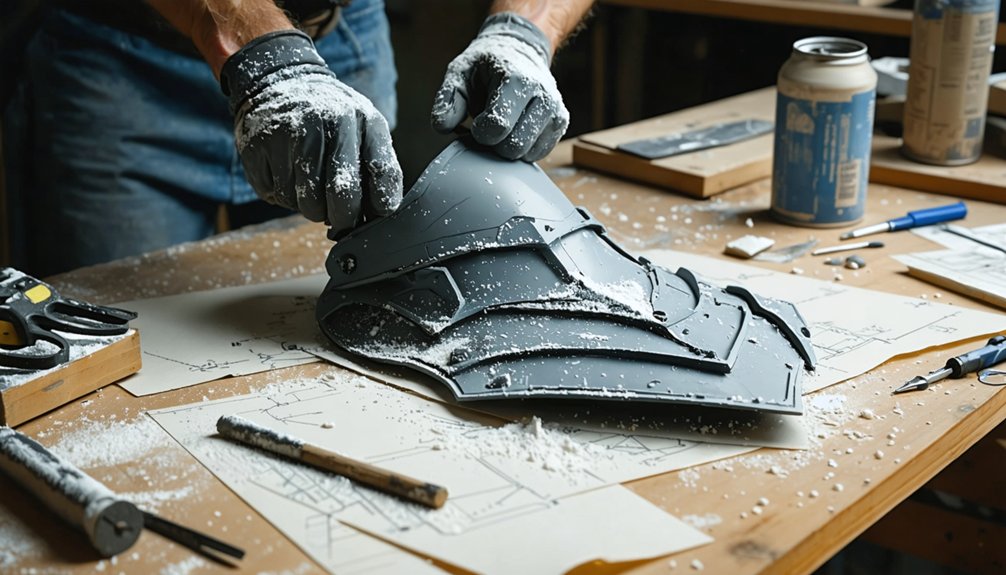
Sand, Prime, and Finish 3D Printed Cosplay Parts Right
Progress deliberately through each stage:
- Step up to 220–320 grit to refine scratch patterns left by coarser passes.
- Apply filler primer in multiple thin coats, blocking between rounds to expose remaining defects.
- Wet sand at 400–600 grit for a near-gloss base that supports accurate color matching.
- Seal with a regular primer coat suited to your material selection—adhesion differs between PLA, PETG, and ABS.
Each layer of prep compounds the last, giving paint something worth applying to.
Attach, Reinforce, and Wear Armor That Stays Together
Finishing your armor means nothing if it falls apart mid-convention, so assembly deserves the same deliberate attention you gave to printing and surface prep. Your material selection influences which adhesives bond effectively — super glue works for tack positioning, but seams under stress need epoxy reinforcement or heat welding.
Design alignment pins or brass rod channels directly into your parts; butt-joint gluing alone invites failure. Internal carbon or fiberglass rods dramatically stabilize larger structural pieces.
For wearability, combine straps with Velcro rather than relying on either alone, since Velcro fails under repeated load. Magnet assemblies demand correct polarity orientation during print calibration planning, so model attracting faces before printing.
Dry-fit every segmented component before permanent bonding to catch misalignments before they become unfixable structural problems.
Frequently Asked Questions
What 3D Printing Filament Materials Work Best for Cosplay Costume Parts?
PLA offers great color options for detailed props, while PETG boosts filament durability for wearable armor. If you’re pushing innovation, TPU’s flexibility handles dynamic costume parts that’d crack under stress.
How Do You Prevent Warping When Printing Large Cosplay Armor Pieces?
Like a firm handshake, print bed adhesion keeps your large armor pieces grounded. You’ll want to dial in temperature control carefully, use a heated bed, and apply adhesive sheets to prevent warping effectively.
Can Resin Printers Produce Better Cosplay Parts Than FDM Printers?
Resin versus FDM print quality depends on your part’s purpose. You’ll get sharper detail with resin, but FDM delivers superior strength and size flexibility for wearable armor—so you’re better off strategically combining both technologies.
How Long Does a Typical Cosplay Armor Piece Take to Print?
Printing time varies wildly—you’re looking at hours to days depending on part size. Balance material strength by keeping speed around 40–60 mm/s, ensuring your armor won’t sacrifice structural integrity for a faster, riskier print.
What Software Is Best for Designing Original Cosplay Costume Parts?
Blender and Fusion 360 lead the pack—you’ll master color calibration for realistic textures and control print orientation for flawless layer alignment, giving your original cosplay designs structural precision and creative freedom that off-the-shelf solutions can’t match.
References
- https://www.youtube.com/watch?v=jCnDA9eNlWY
- https://www.creativebloq.com/3d/3d-software/how-to-3d-print-cosplay-props-from-spider-man-masks-to-thors-hammer
- https://www.youtube.com/watch?v=ChyUv4i1euk
- https://mandarin3d.com/blog/3d-printing-for-cosplay-armor-props-and-accessories
- https://www.forgelyroy.com/blog/cosplay-3d-printing-guide
- https://www.nikkoindustries.com/blogs/news/3d-printed-cosplay-how-to-get-started
- https://33d.ch/en/blog/how-to-plan-and-make-3d-printed-cosplay-decoration
- https://www.geekyinc.com/beginners-guide-to-3d-printing-cosplay/
- https://www.thelasergirlsstudio.com/post/2016/08/04/a-3d-printed-cosplay-journey-thoughts-tips-tricks