
To create a LARP spell book, start by choosing foam, cardboard, or plywood as your base material. Shape and bond your cover layers using contact cement or hot glue, then build texture with papier-mâché, foam shapes, or fabric. Age surfaces with tea staining, dry-brushed acrylics, and sanding. Fill your book with tea-stained, burned-edge pages, then reinforce it with magnetic closures, riveted straps, and metal corner guards. There’s a lot more to unpack with each step.
Key Takeaways
- Choose lightweight materials like foam or cardboard for your spell book base, balancing durability, detail, and portability based on your event needs.
- Build texture by layering papier-mâché, foam shapes, or faux suede, then distress surfaces with sandpaper, tea staining, and dry-brushed acrylic washes.
- Apply two base coats of Plasti-Dip, then highlight raised edges with metallic dry-brushing and seal with a matte or satin clear coat.
- Age scroll pages by soaking them in tea or coffee, burning edges, then binding them loosely for easy in-game removal.
- Reinforce closures with embedded neodymium magnets, install metal corner guards with brads, and stitch or rivet straps for lasting durability.
Choose Foam, Cardboard, or Board for Your LARP Spell Book
Choosing the right base material shapes every other decision in your build, so it’s worth thinking through your options before you commit.
Foam gives you a lightweight, LARP-safe shell that accepts carved magical symbols and layered paint without adding bulk. Open-cell foam pairs well with Plasti-Dip sealing and lets you emboss font styles directly into the surface before finishing.
Cardboard cores offer a stiffer structure, scored along the spine for clean folding and consistent cover alignment. Papier-mâché layers over cardboard build convincing aged texture at low cost.
Board upgrades, like 3 mm pine plywood, suit higher-detail builds where durability outweighs portability.
Match your material to your event’s physical demands, your finishing plan, and how prominently you’ll display or handle the prop during gameplay.
Build and Shape Your LARP Spell Book Cover
Once your base material is chosen, you can start cutting and assembling your cover using a few reliable construction methods.
With your base material selected, cutting and assembling your cover becomes a straightforward process built on proven construction techniques.
Score your cardboard or foam spine carefully so both covers fold symmetrically. Use contact cement or hot glue to bond layers cleanly, then reinforce edges with stitching or additional adhesive passes.
Three techniques that elevate your build:
- Curved spine shaping — bend a wider spine piece around a rounded form before gluing for an organic, aged silhouette.
- Fabric embellishments — apply faux suede or textured cloth panels using spray adhesive for a fitted, tactile outer layer.
- Ink blending — work diluted acrylic into seams and recessed areas before sealing to simulate natural wear.
These methods combine structural integrity with visual depth, producing a prop that performs and looks convincingly arcane.
Add Texture and Age Your LARP Spell Book Cover
Once your cover’s shape is set, you can build surface texture by layering glue-soaked newspaper strips and toilet paper over the cardboard or foam base.
Then pressing wrinkles and folds into the wet material to simulate aged, worn leather or cracked wood grain.
After the texture dries, you’ll distress edges using sandpaper, dry-brushed dark acrylic washes, and optional tea or coffee staining to knock back any brightness and unify the surface.
Seal the finished texture with Plasti-Dip on foam builds or a PVA wash on paper-based ones, then follow up with a clear acrylic coat or leather sheen to protect the surface during repeated handling.
Building Surface Texture Layers
Building surface texture into your LARP spell book cover transforms a flat prop into something that looks genuinely worn and ancient. Start by layering these three techniques in order:
- Apply fun foam shapes — Cut magical symbols or raised border designs, then glue them directly onto the cover before sealing.
- Add papier-mâché layers — Brush PVA-soaked newspaper strips over the entire surface, pressing torn edges flat to build organic, uneven texture.
- Sand and distress edges — Once dry, roughen seams and corners mechanically so added elements blend naturally into the base.
Avoid glossy finishes at this stage since they’ll prevent paint adhesion later. Each layer should dry completely before you add the next to maintain structural integrity.
Distressing And Aging Techniques
With your texture layers fully cured, you can now distress and age the cover to sell the illusion of a centuries-old grimoire. Start by dry-brushing dark brown acrylic into recessed areas to simulate accumulated grime, then lightly drag a lighter tone across raised edges for natural wear.
If you’re working with faux leather, sand high-contact corners to expose underlayers, mimicking genuine wear patterns. For a vintage botanical aesthetic, tea-stain printed inserts or surface paper before adhering them, reducing harsh white contrast.
Carefully char select edges with a flame, extinguishing immediately since foam retains heat. Follow with coffee wash over the entire cover to unify tones.
Finish by applying Rub ‘n Buff to raised details, reinforcing that weathered, antique-metal quality throughout.
Sealing Textured Covers
Your distressed cover needs a protective seal before it sees any field use, so apply a coat of Plasti-Dip in black or clear as your flexible base layer, working in thin, even passes to avoid pooling in recessed texture.
Once dry, layer acrylic paint and finish with these steps:
- Dry-brush Rub ‘n Buff across raised details to simulate aged metal or worn leather.
- Seal everything with leather sheen or matte clear coat for durable, field-ready protection.
- Touch up lifted edges before recoating, especially near decorative tassels or hardware attachments.
Store the finished prop upright like a magazine rack display between sessions to prevent surface compression.
This layered sealing approach keeps your textured cover intact through repeated LARP handling.
Paint and Seal Your LARP Spell Book
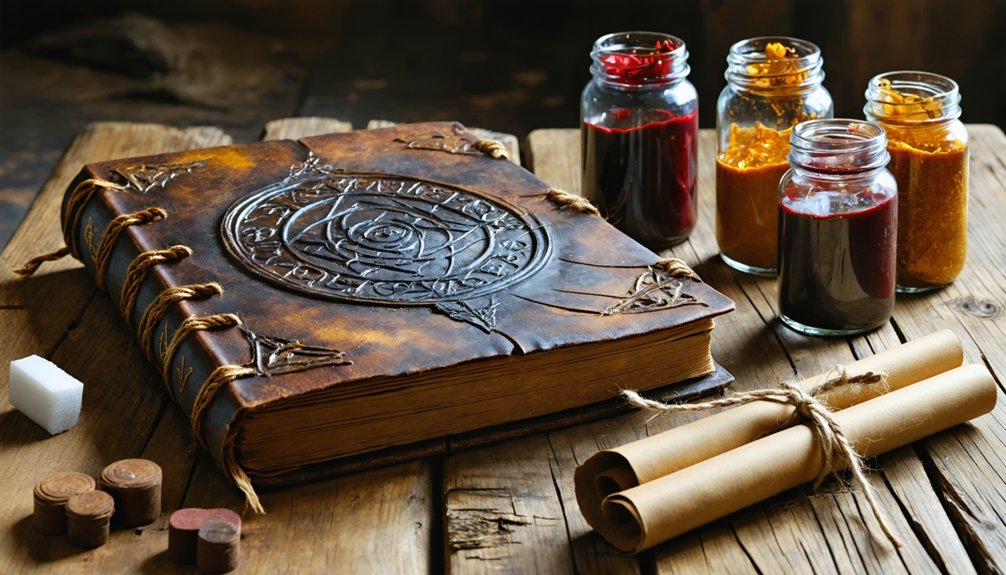
Once your textured cover is fully dry, apply two even coats of black Plasti-Dip as your base coat, letting each layer cure completely before adding the next.
Dry-brush Rub ‘n Buff or metallic acrylic paint over raised details using a stiff, almost-dry brush to pull out highlights on edges, embossed shapes, and stitched lines.
You’ll get the most convincing worn-metal look by working in thin passes and wiping excess paint off your brush before each stroke.
Choosing Your Base Coat
Before you pick up a brush, choosing the right base coat will determine how well your final paint layers bond and how durable the finished prop becomes. Material compatibility is critical here since foam, cardboard, and fabric each respond differently to primers and sealers.
- Foam surfaces — Apply two thin Plasti-Dip coats, letting each dry fully before adding acrylic paint.
- Cardboard and papier-mâché surfaces — Use diluted PVA glue as a sealer, which stiffens the surface and improves paint adhesion.
- Fabric-covered surfaces — A flexible acrylic gesso primer works best, preserving texture while accepting color layers cleanly.
Once sealed, color theory guides your base selection. Choosing a dark neutral base allows subsequent highlight and shadow layers to read with stronger visual depth.
Adding Metallic Highlights
With your base coat fully cured, metallic highlights are what push a flat painted surface into something that reads as aged metal, worn leather fittings, or embossed detail work.
Apply Rub ‘n Buff or dry-brushed metallic acrylic using a stiff, nearly dry brush. Work it across raised edges, embossed details, and corner hardware where natural wear would expose bare metal.
You’re building a metallic patina, not solid coverage, so restraint matters. Load minimal product, then stroke lightly across high points only.
For an antique finish, layer a darker wash into recessed areas first, let it dry, then highlight raised surfaces. This contrast creates visual depth.
Seal everything with a matte or satin clear coat to lock the effect without flattening the metallic sheen.
Fill Your Spell Book With Aging Pages and Inserts
The pages inside your spell book can make or break its believability, so age them before you glue or insert anything. Drawing from historical book styles, layered inserts with varied textures and worn edges feel authentic rather than printed-yesterday flat.
Follow these three steps for convincing results:
- Stain your paper by soaking sheets in strong tea or coffee, then letting them dry completely before cutting.
- Burn or tear edges carefully for a distressed silhouette that reinforces your magical theme integration without looking manufactured.
- Organize printed spell pages alphabetically so they’re actually functional during gameplay, blending practicality with immersive design.
Once aged, attach pages using PVA glue or bind them loosely so removable scroll inserts and spell cards stay accessible mid-game.
Attach Straps, Closures, and Corner Guards for LARP Use

Once your pages are set, you’ll want to outfit your spell book with hardware that keeps it intact and wearable through active gameplay. Start with strap reinforcement by riveting or stitching leather or nylon straps directly through the cover board rather than relying on surface adhesive alone. This distributes tension across a wider area and prevents tearing during movement.
For closure, magnetic closures offer a clean, dependable solution — embed neodymium magnets into the cover and flap before final sealing so they sit flush. Add decorative snaps or buckle hardware over them to maintain aesthetic consistency.
Install metal corner guards using brads pressed through pre-punched holes, then fold the prongs flat inside the cover. These reinforce the highest-contact edges and markedly extend the prop’s lifespan through repeated LARP use.
Frequently Asked Questions
Can a LARP Spell Book Also Function as a Real Notebook?
Yes, you can integrate real notebook pages into your LARP spell book by binding functional paper sections alongside magical writing, blending fantasy accessories with practical use—creating a dual-purpose prop that’s both immersive and genuinely functional.
What Size Should a LARP Spell Book Be for Easy Carrying?
You’ll want to target a 6×9 inch build for ideal size considerations—it’s compact enough for belt-friendly portability tips while still accommodating printed spell pages. Lightweight foam construction keeps it manageable during extended gameplay.
Are There Waterproofing Options for Outdoor LARP Events and Weather?
Like medieval scribes bubble-wrapping manuscripts, you’ll want weather protection through Plasti-Dip sealing, clear acrylic topcoats, and waterproof materials like faux leather. Apply multiple sealing layers to guard against outdoor LARP conditions effectively.
Can Spell Scrolls Be Stored Safely Inside a Prop Spell Book?
You can store spell scrolls safely inside your prop spell book by designing interior pockets from durable cardstock or foam, ensuring storage safety through reinforced seams and material durability that protects scrolls during active LARP gameplay.
How Do You Repair a Damaged LARP Spell Book During an Event?
For magical repair, carry a small kit with hot glue sticks, acrylic paint, and clear sealant. You’ll handle enchantment restoration quickly by regluing lifted foam, touching up paint, and resealing damaged surfaces between encounters.
References
- https://www.youtube.com/watch?v=g6uh3cP4iFM
- https://www.youtube.com/watch?v=1ImWEIozFQU
- https://www.youtube.com/watch?v=sPFGKKTt-tc
- https://saynotsweetanne.com/2023/made-diy-prop-dragon-book-twice/
- https://www.instructables.com/Cardboard-Props-Antique-Book-Magic-Spell-Book-P/